


在项目中偶尔会遇到要求我们自定义navigation,并且有时还需要这个navigation的透明度随屏幕的变化而变化,本文将为大家讲一下如何实现navigation从透明转变为不透明的效果。
在这里,我的方法是将原有的navigation隐藏,自己自定义一个CustomNavigationView,并开放接口控制其本身的透明度。
其中TCustomNavigationView.h代码
#import <UIKit/UIKit.h>

@interface TCustomNavigationView : UIView

@property(nonatomic,strong)UIImageView *customNavigationView;

- (instancetype)initWithFrame:(CGRect)frame title:(NSString *)title;

- (void)navigationViewAhlpa:(CGFloat)ahlpa;

- (void)setNaviTitle:(NSString *)title;

@end
我们今天需要实现的navigation上边会要求显示文字,所以初始化的时候要设置title,后期也需要更改这个title,所以暴露了一个修改title的接口还有修改透明度的接口。
这个是.m文件
#import "TCustomNavigationView.h"
#import "Masonry.h"

//定义了几个后面需要用到的宏
#define SCREEN_WIDTH   [UIScreen mainScreen].bounds.size.width
#define SCREEN_SCALE_WIDTH SCREEN_WIDTH / 320.0
#define PX_24          [UIFont systemFontOfSize:12 * SCREEN_SCALE_WIDTH]
#define PX_26          [UIFont systemFontOfSize:13 * SCREEN_SCALE_WIDTH]

@interface TCustomNavigationView ()

//这个是控制透明度的view
@property(nonatomic,strong)UIImageView *ahlpaView;
//我们这个navigation是需要显示行程的,这个是显示label
@property(nonatomic,strong)UILabel *tripLabel;

@end

@implementation TCustomNavigationView

- (instancetype)initWithFrame:(CGRect)frame title:(NSString *)title{
    self = [super initWithFrame:frame];
    if (self) {
        [self layoutCuetomViewWithFrame:frame title:title];
    }
    return self;
}

- (void)layoutCuetomViewWithFrame:(CGRect)frame title:(NSString *)title{
    //将背景设置为clear,如果直接控制这个view的透明度的话,上面的label的透明度也会跟着变化,所以要在self的基础上分别加上控制背景的view和显示文字的label,这样两个控件才不会相互影响
    self.backgroundColor = [UIColor clearColor];
    //这个就是控制透明度的view
    self.ahlpaView = [[UIImageView alloc] initWithFrame:CGRectMake(0, 0, CGRectGetWidth(frame), CGRectGetHeight(frame))];
    //自己的图片
    self.ahlpaView.image = [UIImage imageNamed:@"dingbutiao-.png"];
    self.ahlpaView.alpha = 0;
    [self addSubview:self.ahlpaView];

    self.customNavigationView = [[UIImageView alloc] initWithImage:[UIImage imageNamed:@"圆角矩形-1.png"]];
    [self addSubview:self.customNavigationView];
    self.customNavigationView.userInteractionEnabled = YES;
    [self.customNavigationView mas_makeConstraints:^(MASConstraintMaker *make) {
        make.centerX.equalTo(self);
        make.centerY.equalTo(self);
        make.height.equalTo([NSNumber numberWithDouble: 23 * SCREEN_SCALE_WIDTH]);
    }];
    UIView *tripView = [UIView new];
    [self.customNavigationView addSubview:tripView];
    [tripView mas_makeConstraints:^(MASConstraintMaker *make) {
        make.center.equalTo(self.customNavigationView);
        make.width.mas_lessThanOrEqualTo(self.customNavigationView).with.offset(-30);
        make.height.equalTo(self.customNavigationView);

    }];

    UIButton *tripButton = [UIButton buttonWithType:UIButtonTypeCustom];
    [tripView addSubview:tripButton];
    self.tripLabel = [UILabel new];
    [tripView addSubview:self.tripLabel];

    [tripButton mas_makeConstraints:^(MASConstraintMaker *make) {
        make.right.equalTo(tripView.mas_right);
        make.left.equalTo(self.tripLabel.mas_right).with.offset( 6 );
        make.centerY.equalTo(tripView);
    }];

    [tripButton setBackgroundImage:[UIImage imageNamed:@"homepage_矩形-10-副本.png"] forState:UIControlStateNormal];

    [self.tripLabel mas_makeConstraints:^(MASConstraintMaker *make) {
        make.left.equalTo(tripView.mas_left);
        make.right.equalTo(tripButton.mas_left).with.offset( -6 );
        make.centerY.equalTo(tripView);
        make.width.mas_lessThanOrEqualTo(tripView).with.offset( -15 );
    }];
    [self.tripLabel setText:title];
    self.tripLabel.font = PX_26;
    self.tripLabel.textColor = [UIColor whiteColor];

}

- (void)setNaviTitle:(NSString *)title {
    self.tripLabel.text = title;
}


- (void)navigationViewAhlpa:(CGFloat)ahlpa {
    self.ahlpaView.alpha = ahlpa;
}

@end
完成customnavigation的定义
我们将会在viewController中实现
controller.h中
//
// ViewController.m
// CustomNavigation
//
// Created by timmy on 16/5/20.
// Copyright © 2016年 timmy. All rights reserved.
//
#import "ViewController.h"
#import "TCustomNavigationView.h"
#import "Masonry.h"
#define BACKGROUND_COLOR [UIColor colorWithRed:239.0 / 255.0 green:239.0 / 255.0 blue:244.0 / 255.0 alpha:1]
#define SCREEN_WIDTH [UIScreen mainScreen].bounds.size.width
@interface ViewController ()<UIScrollViewDelegate>
@property(nonatomic,strong)UIScrollView *pageScrollView;//整体scrollView
@property(nonatomic,strong)UIView *contentView;//scrollView上面覆盖的整体view
@property(nonatomic,strong)TCustomNavigationView *customNavigationView;
@property(nonatomic,assign)CGRect naBarFrame;
@end
@implementation ViewController
- (void)viewWillAppear:(BOOL)animated {
self.navigationController.navigationBarHidden = YES;
}
- (void)viewDidLoad {
[super viewDidLoad];
self.view.backgroundColor = [UIColor yellowColor];
self.pageScrollView = [UIScrollView new];
[self.view addSubview:self.pageScrollView];
[self.pageScrollView mas_makeConstraints:^(MASConstraintMaker *make) {
make.edges.equalTo(self.view);
make.bottom.equalTo(self.view);
}];
self.pageScrollView.delegate = self;
[self.view addSubview:self.pageScrollView];
self.view.backgroundColor = BACKGROUND_COLOR;
self.contentView = [UIView new];
[self.pageScrollView addSubview:self.contentView];
[self.contentView mas_makeConstraints:^(MASConstraintMaker *make) {
make.top.equalTo(self.pageScrollView);
make.left.equalTo(self.pageScrollView);
make.width.equalTo(self.pageScrollView);
make.bottom.equalTo(self.pageScrollView);
make.height.equalTo([NSNumber numberWithInteger:1000]);
}];
self.contentView.backgroundColor = BACKGROUND_COLOR;
UIView *titleView = [UIView new]; //标题view
[self.contentView addSubview:titleView];
[self setCustomNavigationView];
}
#pragma mark 导航栏调整
//滑动控制透明度 + title pageControll 控制
- (void)scrollViewDidScroll:(UIScrollView *)scrollView {
if (scrollView == self.pageScrollView) {
CGFloat yValue = self.pageScrollView.contentOffset.y;
if (yValue <= 200.0) {
[self.customNavigationView navigationViewAhlpa:yValue / 200.0];
}else{
[self.customNavigationView navigationViewAhlpa:1];
}
}else {
return;
}
}
- (void)setCustomNavigationView {
if (SCREEN_HEIGHT != PHONE_5S_HEIGHT) {
self.customNavigationView = [[TCustomNavigationView alloc] initWithFrame:CGRectMake(0, 0, SCREEN_WIDTH, 44) title:@"这个是title"];
}else {
[[TCustomNavigationView alloc] initWithFrame:CGRectMake(0, 20, SCREEN_WIDTH, 44) title:@"这个是title"];
}
[self.view insertSubview:self.customNavigationView aboveSubview:self.pageScrollView];
[self setCustomNavigationView:self.customNavigationView];
}
- (void)didReceiveMemoryWarning {
[super didReceiveMemoryWarning];
// Dispose of any resources that can be recreated.
}
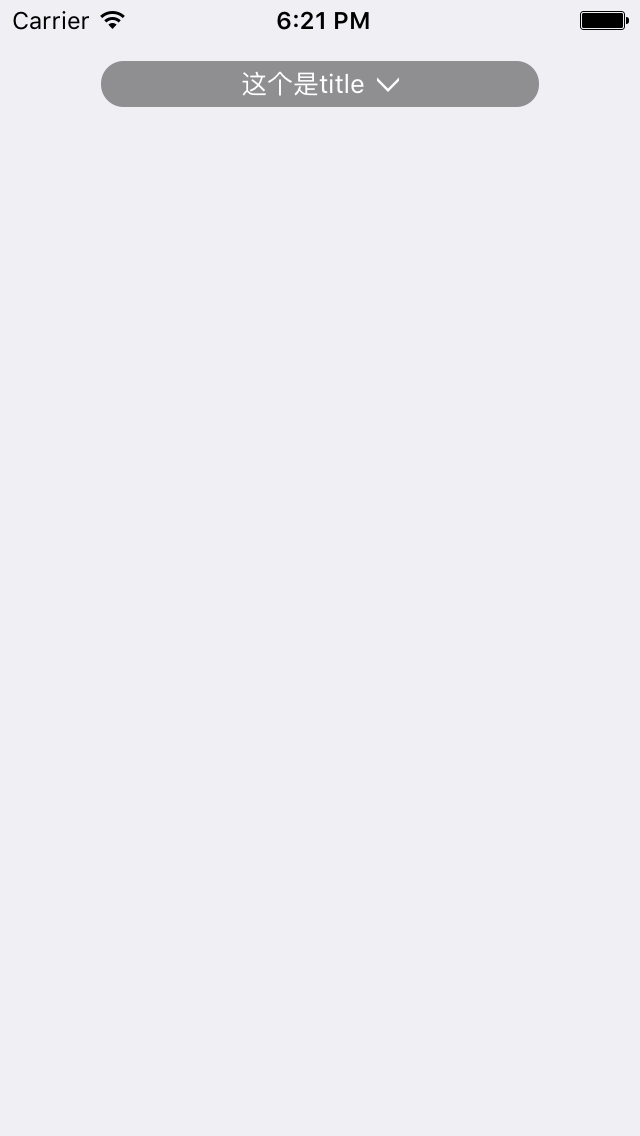
@end实现的效果是这样的,背景完全透明
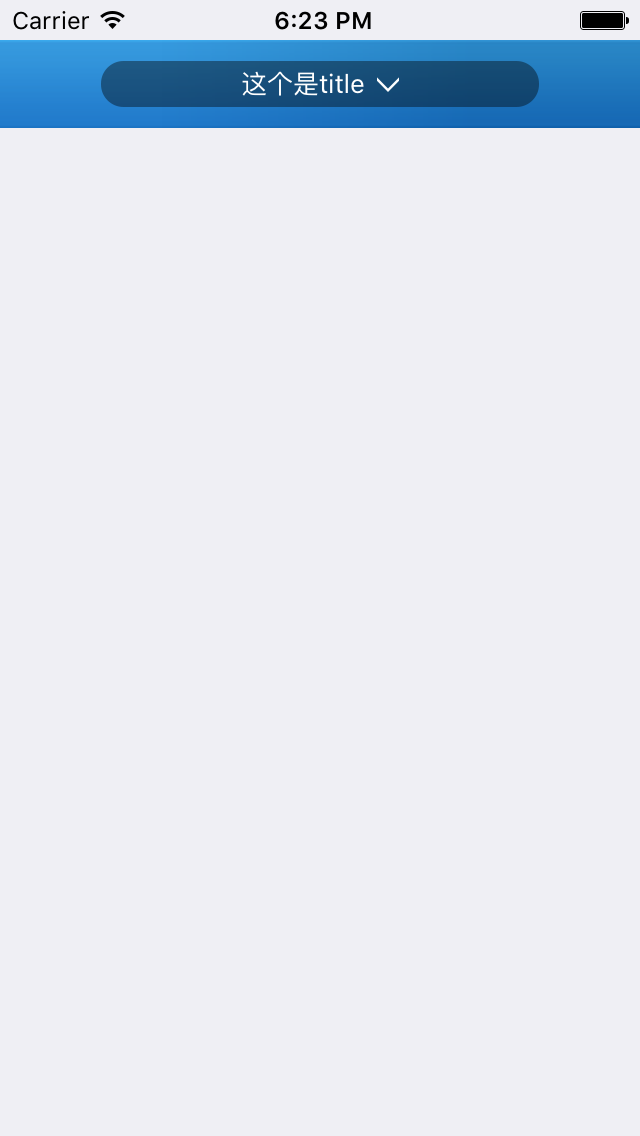
拖拉scrollView后,根据偏移量控制透明度

完全显示
通过setNavititle可以修改这个title,根据项目需求而定


 3473
3473

 被折叠的 条评论
为什么被折叠?
被折叠的 条评论
为什么被折叠?
 到【灌水乐园】发言


