


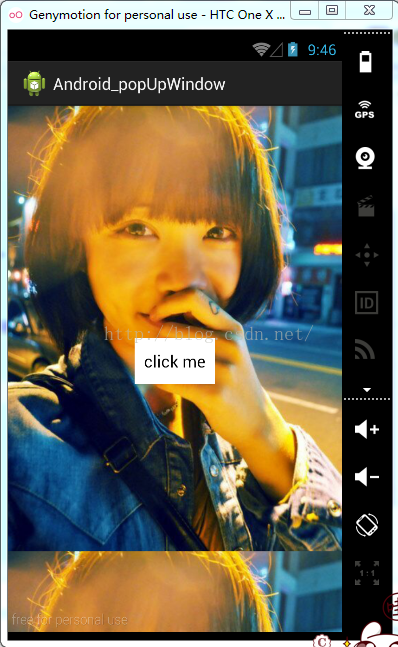
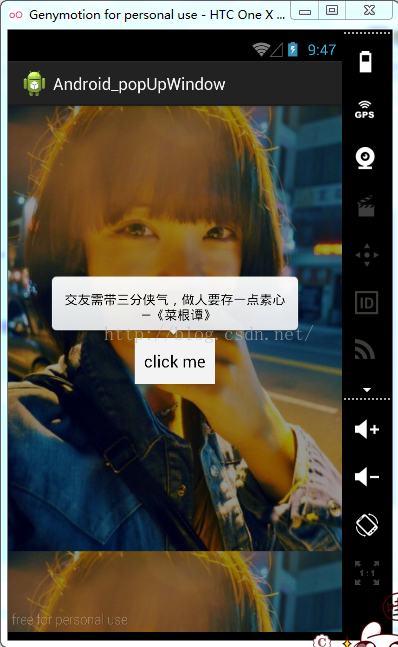
今天项目中有用到点九图,就是背景同一张图片,不同情况拉伸时,背景图片均不会变形,类似于微信聊天的背景,先看看成品图
好了,首先制作一张点九图片,顺序即图片(我用eclipse软件敲代码)
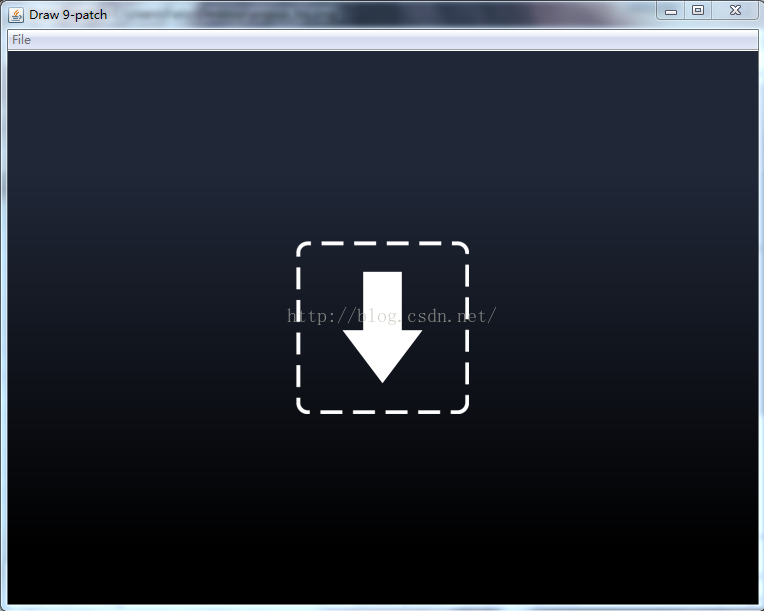
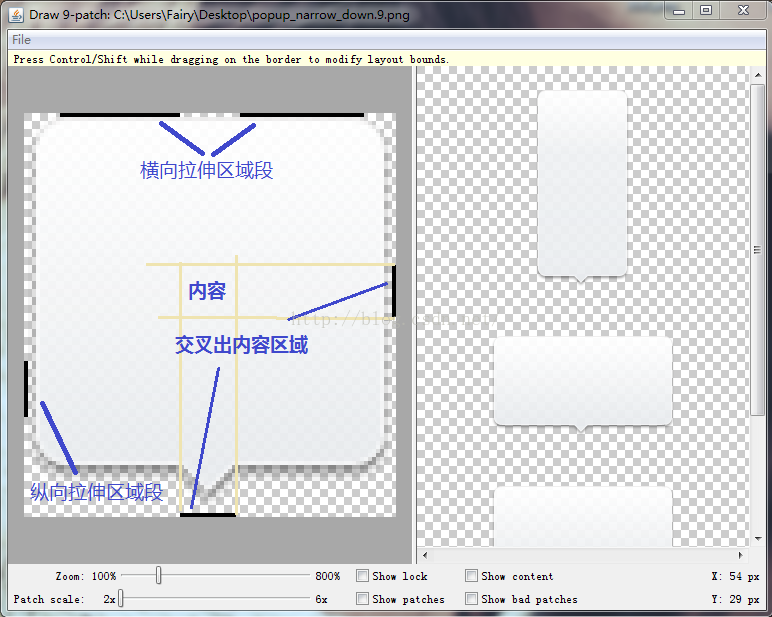
第一步:打开SDK文件夹下的tools文件夹,里面有一个draw9patch.bat,双击运行,出现如下界面;
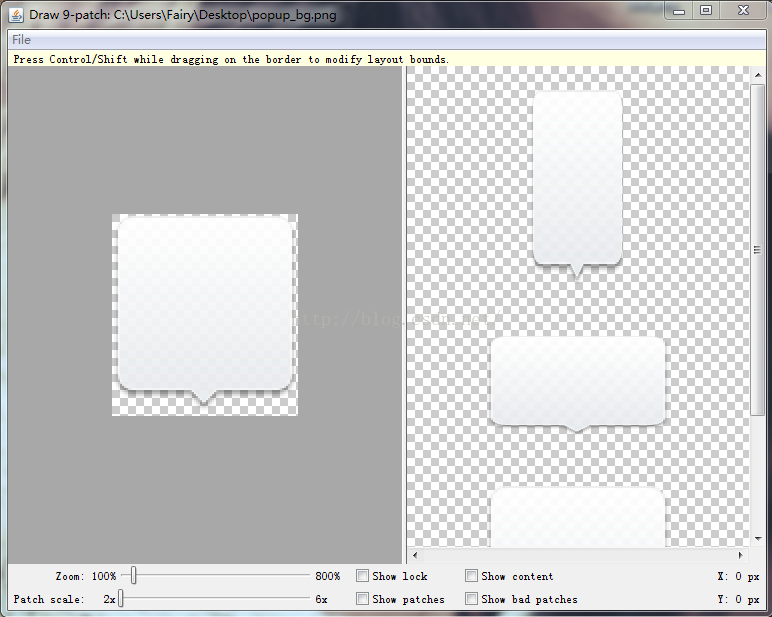
第二部:将普通图片拖至箭头框内,通过拖动图片边缘的黑色线条以获得预期效果
注意:
1、横向和纵向拉伸区域由上左侧线条确定,应尽量避免非平行线段,比如尖角
2、内容区域有下右侧线条确定,居中为佳
好了,点九图制作完毕,现在该使用了,案例参照之前的popupWindow弹出框,代码如下:
<LinearLayout xmlns:android="http://schemas.android.com/apk/res/android"
    xmlns:tools="http://schemas.android.com/tools"
    android:layout_width="wrap_content"
    android:layout_height="wrap_content"
    android:orientation="vertical"
    tools:context="com.example.adf.MainActivity" >

    <RelativeLayout
        android:layout_width="wrap_content"
        android:layout_height="wrap_content" >
        <TextView
            android:id="@+id/caigen"
            android:layout_width="wrap_content"
            android:layout_height="wrap_content"
            android:background="@drawable/popup_narrow_down"
            android:gravity="center"
            android:padding="15dip"
            android:text="交友需带三分侠气,做人要存一点素心\n  —《菜根谭》"
            android:textColor="#000" />
        <Button
            android:layout_width="wrap_content"
            android:layout_height="50dip"
            android:layout_centerHorizontal="true"
            android:layout_below="@+id/caigen"
            android:padding="10dip"
            android:text="click me"
            android:background="#f3f3f3"/>
    </RelativeLayout>

</LinearLayout>1、relativeLayout中文件水平、垂直、父元素内居中,试试 android:layout_centerVertical/centerHorizontal/centerInParent="true"
2、发现点九图箭头没有居中,试试调整相应方向的两条拉伸黑线,偏左,箭头左侧线条长一点,反之则右侧线条长一点
好了,关电脑回家吃饭饭去~


 3363
3363

 被折叠的 条评论
为什么被折叠?
被折叠的 条评论
为什么被折叠?
 到【灌水乐园】发言


