


在.netcore 3.1 中应用 Swagger
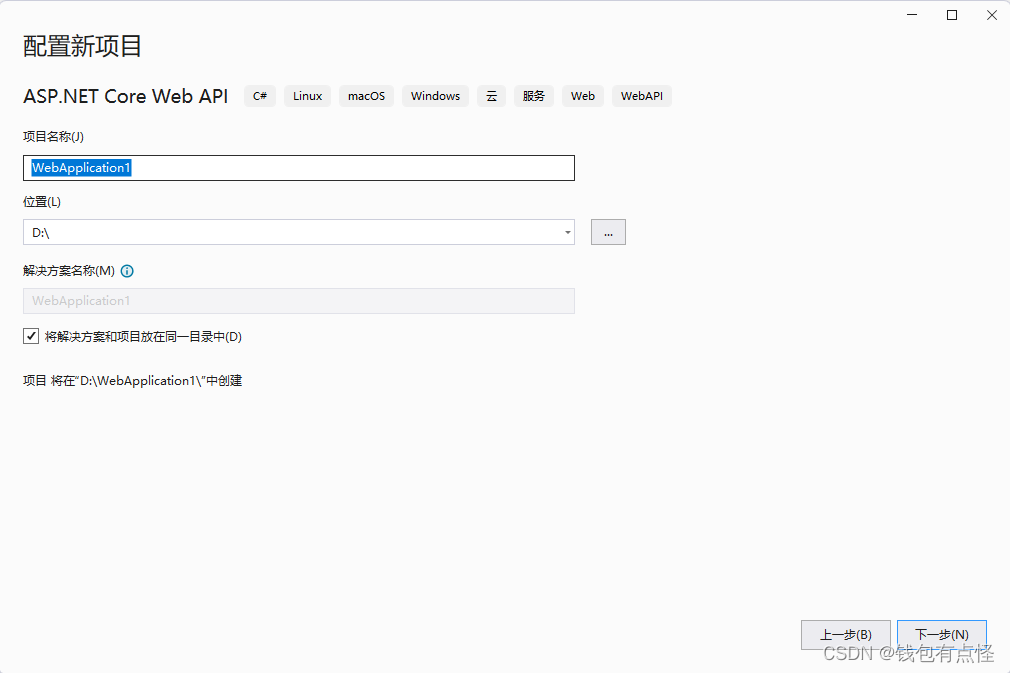
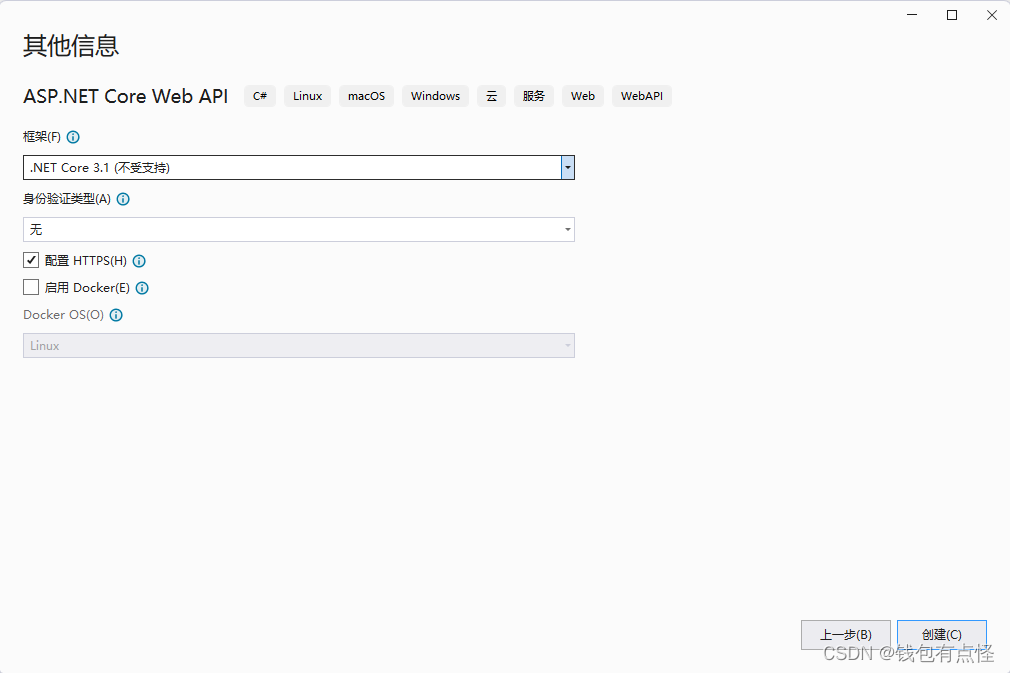
1.新建netcore web api项目
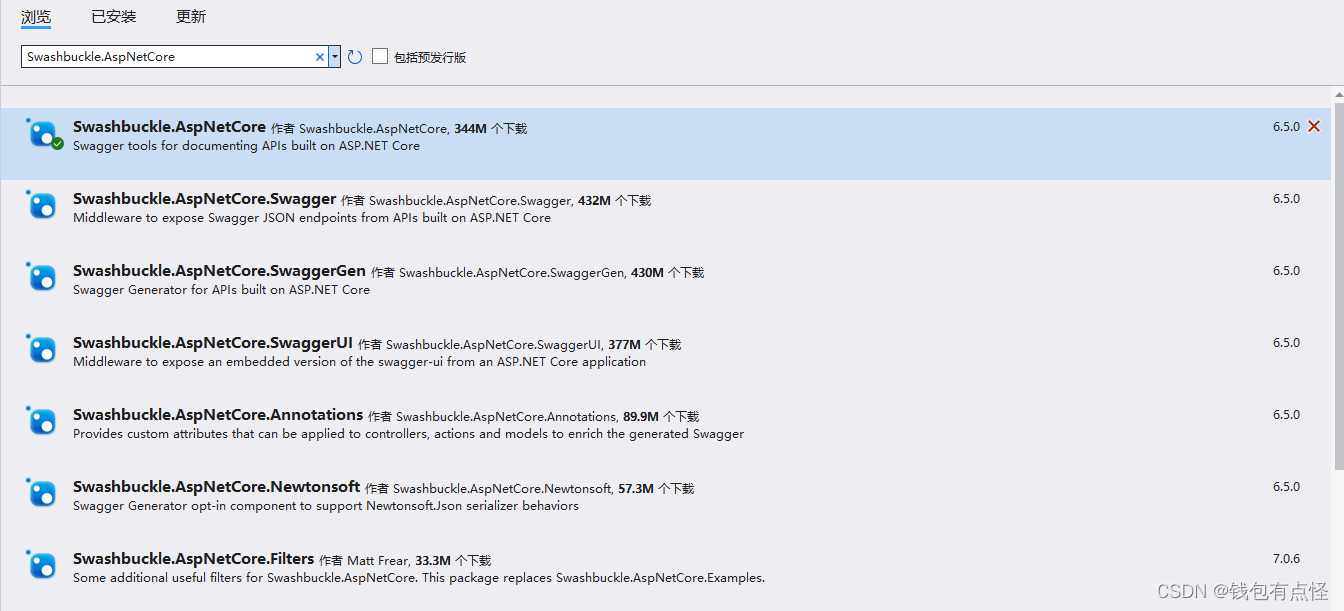
2.安装NuGet包 Swashbuckle.AspNetCore(最新稳定版)
3.在startup.cs添加服务
在ConfigureServices方法里用AddSwaggerGen添加服务
在Configure里加上UseSwagger和UseSwaggerUI
public class Startup
    {
        public Startup(IConfiguration configuration)
        {
            Configuration = configuration;
        }

        public IConfiguration Configuration { get; }

        readonly string MyAllowSpecificOrigins = "_myAllowSpecificOrigins";//名字随便起

        // This method gets called by the runtime. Use this method to add services to the container.
        public void ConfigureServices(IServiceCollection services)
        {
            services.AddSwaggerGen(c =>
            {
                c.SwaggerDoc("V1", new OpenApiInfo
                {
                    Version = "V1",
                    Title = "Epitomize.WebApi",
                    Description = "项目框架Api服务"
                });
                //获取xml文件名
                string xmlFile = $"{Assembly.GetExecutingAssembly().GetName().Name}.xml";
                //获取xml文件路径
                string xmlPath = Path.Combine(AppContext.BaseDirectory, xmlFile);
                //此路径要与项目属性中 设置的输出xml路径保持一致
                //是否显示注释
                c.IncludeXmlComments(xmlPath);
            });
            services.AddControllers();
        }

        // This method gets called by the runtime. Use this method to configure the HTTP request pipeline.
        public void Configure(IApplicationBuilder app, IWebHostEnvironment env)
        {
            if (env.IsDevelopment())
            {
                app.UseDeveloperExceptionPage();

                app.UseSwagger();
                app.UseSwaggerUI(c =>
                {
                    //标题
                    c.DocumentTitle = "Epitomize.WebApi";
                    c.SwaggerEndpoint("Swagger/V1/Swagger.json", "Epitomize.WebApi");
                    //默认启动swagger页面
                    c.RoutePrefix = string.Empty;
                });
            }
            else
            {
                app.UseExceptionHandler("/Error");
                // The default HSTS value is 30 days. You may want to change this for production scenarios, see https://aka.ms/aspnetcore-hsts.
                app.UseHsts();
            }

            app.UseHttpsRedirection();
            app.UseStaticFiles();

            app.UseRouting();

            app.UseAuthorization();

            app.UseEndpoints(endpoints =>
            {
                endpoints.MapRazorPages();
            });
        }
    }
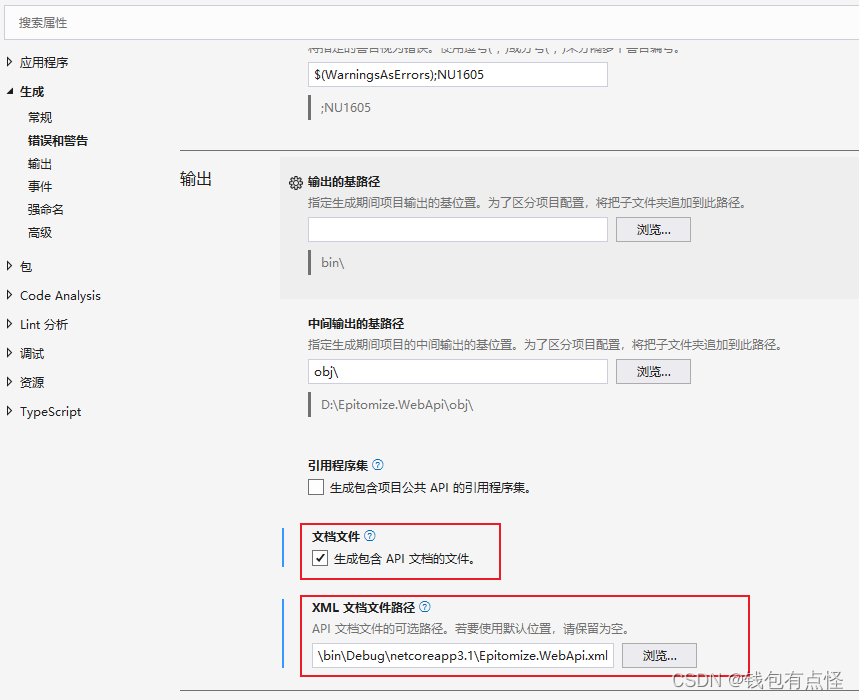
4.添加xml文件生成路径
打开项目属性,在输出=>xml文档文件位置写上相对路径(此路径和代码c.IncludeXmlComments(xmlPath)里的xmlPath要保持一致)
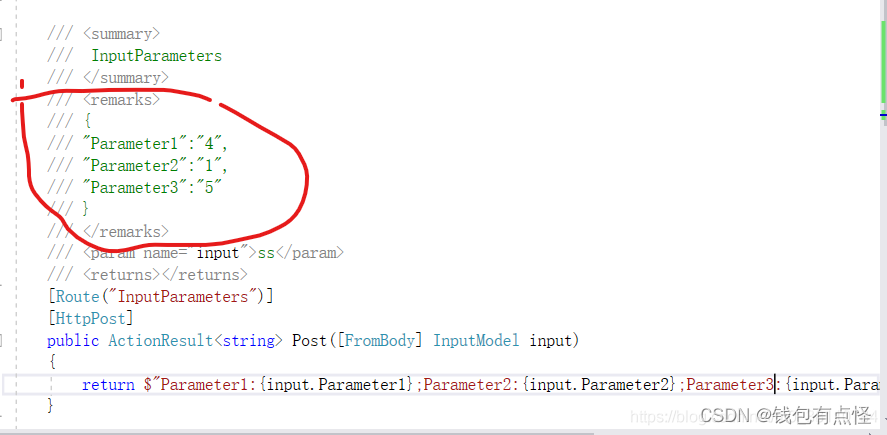
5.可以在里输入示例的json,也会显示在swagger ui中
原文地址:
[1]: https://blog.csdn.net/m0_38110784/article/details/106984521


 481
481


 被折叠的 条评论
为什么被折叠?
被折叠的 条评论
为什么被折叠?
 到【灌水乐园】发言


