


前言
当使用flask编写了后台程序跑在服务器端的时候,有时候虽然后台中显示在运行,但是页面无法访问,出现这个情况可以使用如下方法修改代码,进而防止假死,另外记录下flask下证书的添加。经过测试和代码的各种调试,如果出现假死多半是因为如下问题“
- 为单线程处理,如果访问中出现中断,会导致服务器收不到响应而陷入阻塞,如果没有设置超时,则会造成假死,无法处理响应
- 代码中存在死循环或者sleep等造成阻塞的函数,无法处理前端请求
所以假死是阻塞造成的,根本原因是单进程和单线程问题,需要设置多线程和多进程可解决该问题
假死处理
出现进程存在,无法访问,端口开放的情况是因为flask默认为单线程,如果出现一个请求出现错误,会默认等待进而阻碍了其他访问的处理,因此需要修改为多线程且设置超时。
首先我们需要将flask修改为多线程运行,不需要多进程,启动代码修改如下即可:
app.run(host='0.0.0.0', port=443, ssl_context=ssl_context, threaded=True)添加 threaded=Tru 即可,默认为False
然后需要添加超时处理:
app = Flask(__name__)
app.config['TEMPLATES_AUTO_RELOAD'] = 30
然后使用nohub启动即可:
nohup python3.11 main.py &测试后还是会出现假死,可以选择使用uWSGI还是Gunicorn来作为WSGI 服务器,防止假死,我这边因为服务器功能并不复杂使用Gunicorn:
首先安装Gunicorn:
pip3 install gunicorn
pip3 install eventlet
pip3 install gevent
由于我的是https,需要将对于的配置添加到gunicorn中启动:
其中需要注意 时间设置不要太高 不然如果出现阻塞会假死 设置为10即可,另外需要将运行模式改为gevent 不要使用默认的sync,使用异步更加靠谱 然后添加多线程和多进程
nohup gunicorn --certfile=configure/online.pem --keyfile=configure/online.key --bind 0.0.0.0:443 -k gevent main:app -w 4 --threads 2 --timeout 10 &这里设置成了多线程,可以设置成多进程-w,但是多进程写文件等操作的时候需要注意。
启动方便可以写成服务:
首先执行命令:
vi /etc/systemd/system/gunicorn.service写入如下内容:
[Unit]
# 描述
Description=gunicorn for python flask
# 在网络服务启动后再启动
After=network.target

[Service]
User=root
# 项目文件目录
WorkingDirectory=/home/BackGround
# gunicorn启动命令
ExecStart=/usr/bin/sudo /usr/local/bin/gunicorn --certfile=configure/online.pem --keyfile=configure/online.key --bind 0.0.0.0:443 -k gevent main:app -w 4 --threads 2 --timeout 10
# 错误重启
Restart=on-failure
StandardOutput=append:/home/BackGround/log/gunicorn.out
StandardError=append:/home/BackGround/log/gunicorn.err

[Install]
WantedBy=multi-user.target
我这里使用了root,但是最好新建个用户,不要使用root用户
然后执行如下命令启动:
systemctl start gunicorn.service另外最好写一个检测bash脚本如下,如果访问失败则重启服务:
#!/bin/bash

# 设置要测试的网站地址
website="https://www.test.online/"

# 发送 HTTP 请求并检查状态码
response=$(curl -s -o /dev/null -w "%{http_code}" $website)

# 检查状态码
if [ $response -ne 200 ]; then
  echo "Website ($website) is not accessible. Restarting gunicorn.service..."
  systemctl restart gunicorn.service
else
  echo "Website ($website) is accessible."
fi
执行crontab -e 写入计划任务:
*/5 * * * * /bin/bash /path/to/script.shhttps证书:
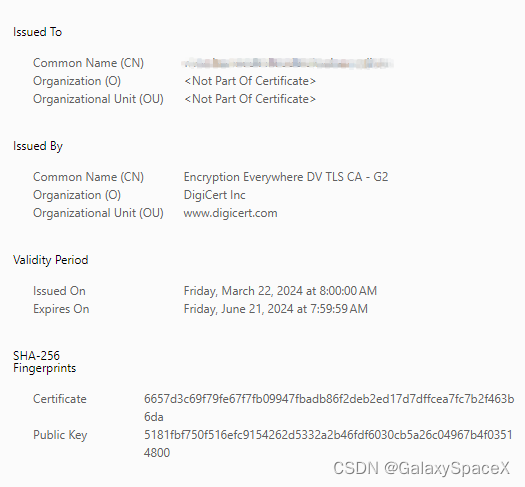
关于证书,首先我们可以去阿里云申请免费的证书,下载其他证书,下载下来为pem和key后缀文件

添加如下代码即可加载证书进行https访问:
ssl_context  = ('configure/online.pem', 'configure/online.key')
app.run(host='0.0.0.0', port=443, ssl_context=ssl_context, threaded=True)
访问网址可以看到证书已经正常加载
另外如果需要仅允许网址访问,不允许ip访问,可以添加如下代码:
@app.before_request
def limit_domain():
    if request.headers.get('Host') != 'www.myurl.com':
        return 'Forbidden', 403


 787
787


 被折叠的 条评论
为什么被折叠?
被折叠的 条评论
为什么被折叠?
 到【灌水乐园】发言


