


1.导入资源
导入前端文件:
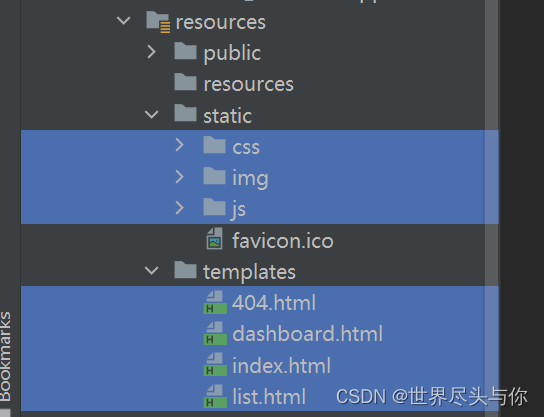
将下载的前端文件导入到SpringBoot资源目录:
导入Maven依赖:(本项目用到的所有Maven依赖)
<?xml version="1.0" encoding="UTF-8"?>
<project xmlns="http://maven.apache.org/POM/4.0.0" xmlns:xsi="http://www.w3.org/2001/XMLSchema-instance"
         xsi:schemaLocation="http://maven.apache.org/POM/4.0.0 https://maven.apache.org/xsd/maven-4.0.0.xsd">
    <modelVersion>4.0.0</modelVersion>
    <parent>
        <groupId>org.springframework.boot</groupId>
        <artifactId>spring-boot-starter-parent</artifactId>
        <version>3.0.0</version>
        <relativePath/> <!-- lookup parent from repository -->
    </parent>
    <groupId>com.klza</groupId>
    <artifactId>Test-Boot</artifactId>
    <version>0.0.1-SNAPSHOT</version>
    <name>Test-Boot</name>
    <description>Test-Boot</description>
    <properties>
        <java.version>17</java.version>
    </properties>
    <dependencies>
        <dependency>
            <groupId>org.springframework.boot</groupId>
            <artifactId>spring-boot-starter-web</artifactId>
        </dependency>

        <dependency>
            <groupId>org.springframework.boot</groupId>
            <artifactId>spring-boot-starter-test</artifactId>
            <scope>test</scope>
        </dependency>

        <!-- https://mvnrepository.com/artifact/org.projectlombok/lombok -->
        <dependency>
            <groupId>org.projectlombok</groupId>
            <artifactId>lombok</artifactId>
            <version>1.18.24</version>
            <scope>provided</scope>
        </dependency>

        <dependency>
            <groupId>org.springframework.boot</groupId>
            <artifactId>spring-boot-starter-validation</artifactId>
        </dependency>

        <!-- https://mvnrepository.com/artifact/org.springframework.boot/spring-boot-starter-thymeleaf -->
        <dependency>
            <groupId>org.springframework.boot</groupId>
            <artifactId>spring-boot-starter-thymeleaf</artifactId>
            <version>3.0.0</version>
        </dependency>

    </dependencies>

    <build>
        <plugins>
            <plugin>
                <groupId>org.springframework.boot</groupId>
                <artifactId>spring-boot-maven-plugin</artifactId>
            </plugin>
        </plugins>
    </build>

</project>
2.编写pojo层
部门表:
/**
 * 部门表
 */
@Data
@AllArgsConstructor
@NoArgsConstructor
public class Department {
    private int id;  // 部门id
    private String departmentName;  // 部门名字
}
员工表:
/**
 * 员工表
 */
@Data
@NoArgsConstructor
public class Employee {

    private Integer id;
    private String lastName;
    private String email;
    private Integer gender; // 性别 0 女, 1,男
    private Department department;
    private Date birth;

    public Employee(Integer id, String lastName, String email, Integer gender, Department department) {
        this.id = id;
        this.lastName = lastName;
        this.email = email;
        this.gender = gender;
        this.department = department;
        // 直接获取当前的时间添加
        this.birth = new Date();
    }
}
3.编写dao层
这里我们使用测试数据来模拟数据库
部门Dao:
/**
 * 部门dao,使用模拟数据库
 */
@Repository
public class DepartmentDao {

    /**
     * 模拟数据库中的数据
     */
    private static Map<Integer, Department> departments = null;

    static {
        departments = new HashMap<Integer, Department>(); // 创建一个部门表

        departments.put(101,new Department(101,"教学部"));
        departments.put(102,new Department(102,"市场部"));
        departments.put(103,new Department(103,"教研部"));
        departments.put(104,new Department(104,"运营部"));
        departments.put(105,new Department(105,"后勤部"));
    }

    /**
     * 获取所有的部门信息
     * @return 所有的部门信息
     */
    public Collection<Department> getDepartments(){
        return departments.values();
    }

    /**
     * 通过id得到部门信息
     * @param id 部门的ID
     * @return 部门的信息
     */
    public Department getDepartmentById(Integer id){
        return departments.get(id);
    }
}
员工Dao:
/**
 * 员工dao,使用模拟数据库
 */
@Repository
public class EmployeeDao {

    /**
     * 模拟数据库中的数据
     */
    private static Map<Integer, Employee> employees = null;
    // 员工所属的部门
    @Autowired
    private DepartmentDao departmentDao;

    static {
        employees = new HashMap<Integer, Employee>(); // 创建一个部门表

        employees.put(1001, new Employee(1001, "dahe", "111@qq.com", 1, new Department(101, "教学部")));
        employees.put(1002, new Employee(1002, "bibi", "222@qq.com", 0, new Department(102, "市场部")));
        employees.put(1003, new Employee(1003, "xiaoqian", "333@qq.com", 1, new Department(103, "教研部")));
        employees.put(1004, new Employee(1004, "tom", "444@qq.com", 0, new Department(104, "运营部")));
        employees.put(1005, new Employee(1005, "weiwei", "555@qq.com", 1, new Department(105, "后勤部")));
    }

    // 主键自增的设置
    private static Integer ininId = 1006;

    /**
     * 增加一个员工
     *
     * @param employee 员工
     */
    public void save(Employee employee) {
        if (employee.getId() == null) {
            employee.setId(ininId++);
        }
        employee.setDepartment(departmentDao.getDepartmentById(employee.getDepartment().getId()));
        employees.put(employee.getId(), employee);
    }

    /**
     * 查询全部的员工
     *
     * @return 员工列表
     */
    public Collection<Employee> getALL() {
        return employees.values();
    }

    /**
     * 通过id查询员工
     *
     * @param id 员工ID
     * @return 员工信息
     */
    public Employee getEmployeeById(Integer id) {
        return employees.get(id);
    }

    /**
     * 通过id删除一个员工
     */
    public void delete(Integer id) {
        employees.remove(id);
    }
}
4.首页实现
具体的实现思路是:添加一个视图解析器,实现视图控制的功能:
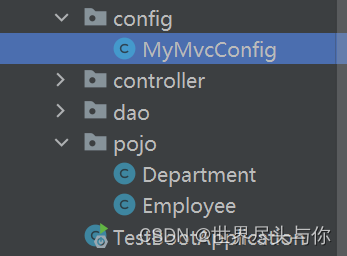
在config包中添加一个自定义的SpringMVC扩展配置类:MyMvcConfig
添加一个主页的视图解析器:
@Configuration
public class MyMvcConfig implements WebMvcConfigurer {
    @Override
    public void addViewControllers(ViewControllerRegistry registry) {
        registry.addViewController("/").setViewName("index");
        registry.addViewController("/index.html").setViewName("index");
    }
}
此时测试一下,访问路径:http://localhost:8080/
成功跳转首页,就是静态文件没有加载:
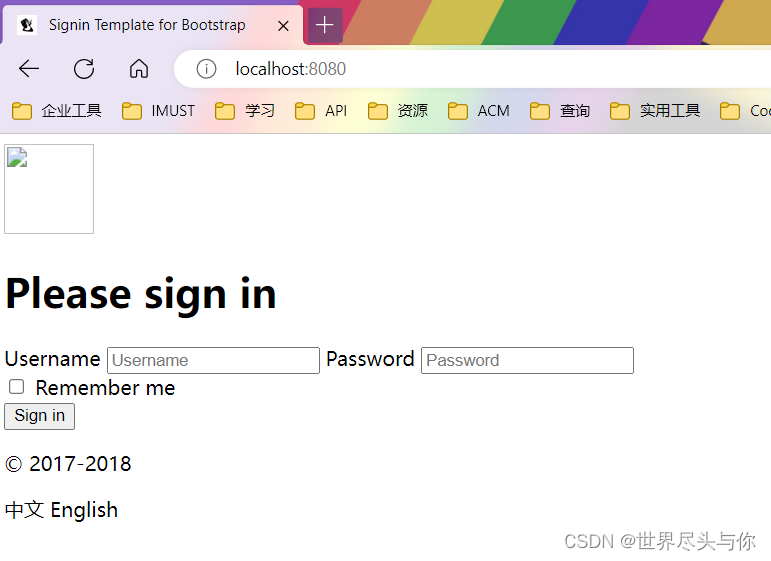
现在来解决一下静态资源的配置问题:
关闭thymeleaf模板引擎的缓存:(2022年之后的新SpringBoot版本可无需执行此操作!)
SpringBoot yaml配置文件中:
spring:
  thymeleaf:
    cache: false
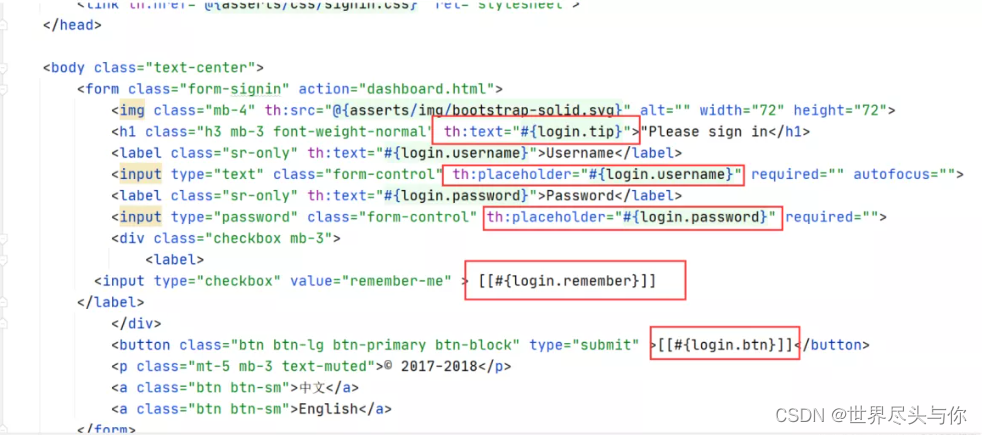
按照thymeleaf的语法,修改index.html文件头:
<html lang="en" xmlns:th="http://www.thymeleaf.org">
静态资源路径使用href接管:(使用@包裹)
<!-- Bootstrap core CSS -->
<link th:href="@{/css/bootstrap.min.css}" rel="stylesheet">
<!-- Custom styles for this template -->
<link th:href="@{/css/signin.css}" rel="stylesheet">
下面的img标签同理:
<img class="mb-4" th:src="@{/img/bootstrap-solid.svg}" alt="" width="72" height="72">
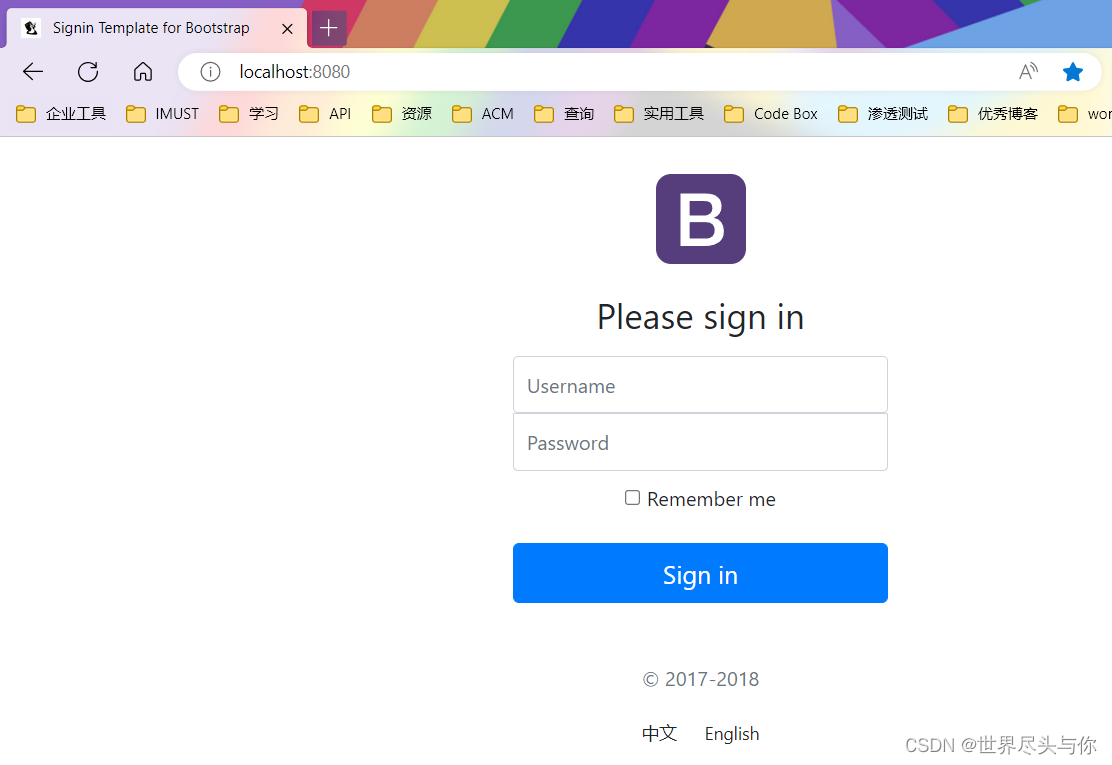
其他页面同理,都需要做修改,修改完成后,现在测试没有什么大问题了:
5.页面国际化
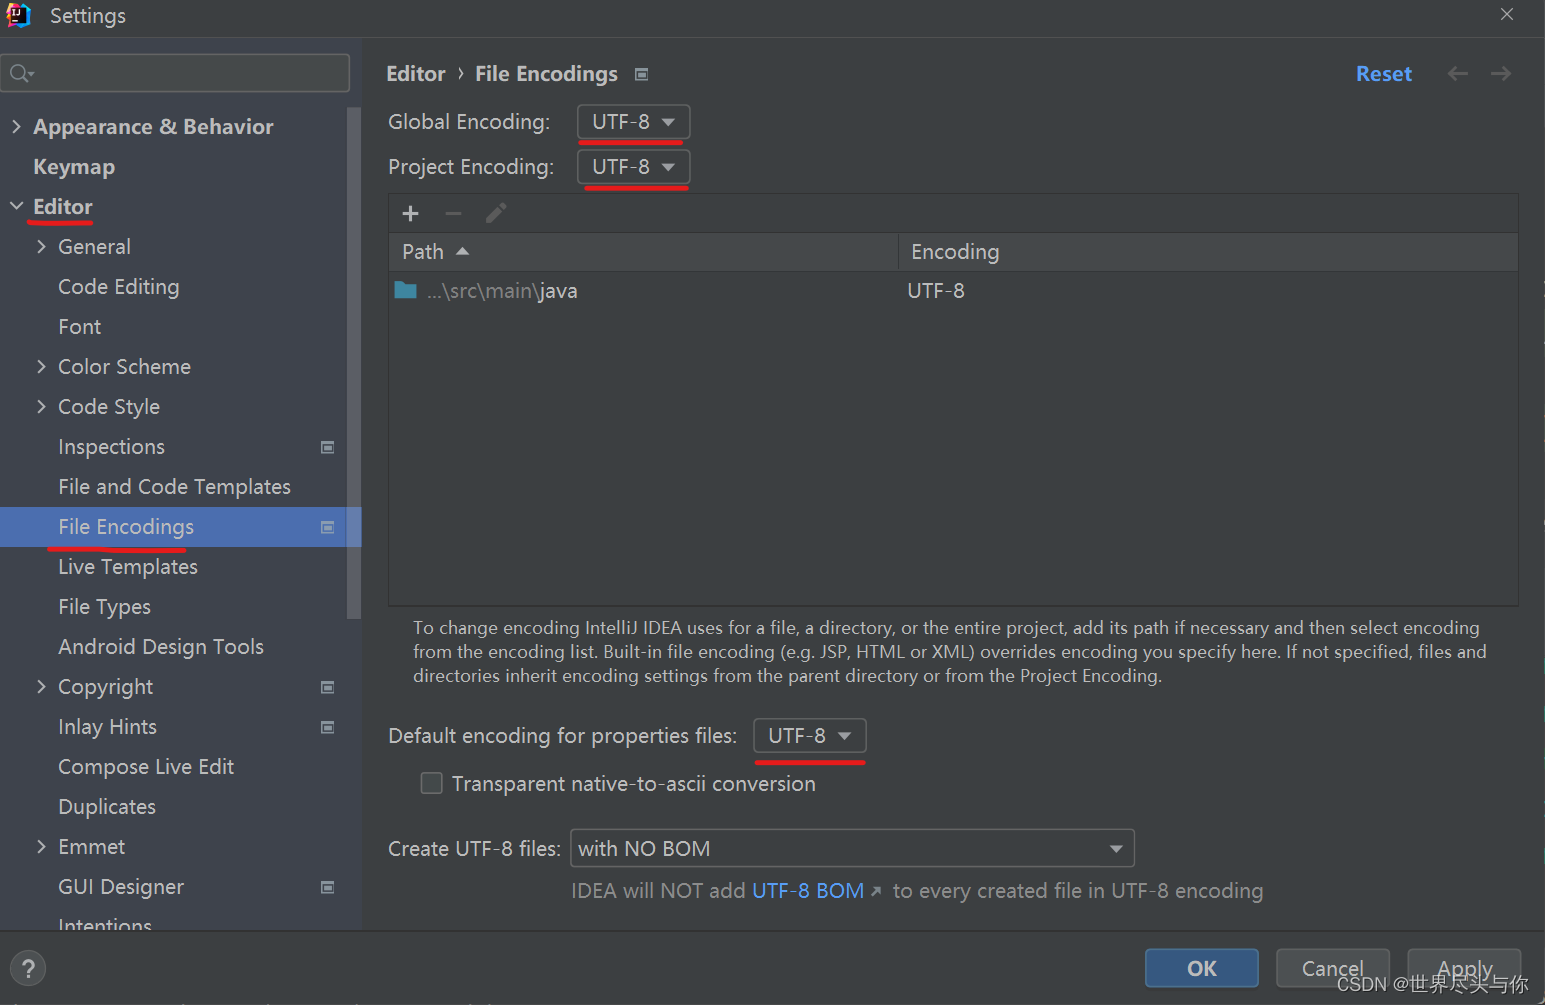
先配置一下编码,防止页面中文乱码(重要!!!)将全局和项目的编码都设置为UTF-8:
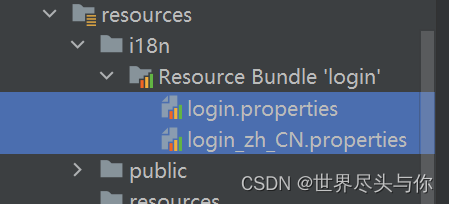
我们在resources资源文件下新建一个i18n目录,存放国际化配置文件
建立一个login.properties文件,还有一个login_zh_CN.properties;发现IDEA自动识别了我们要做国际化操作;文件夹变了:
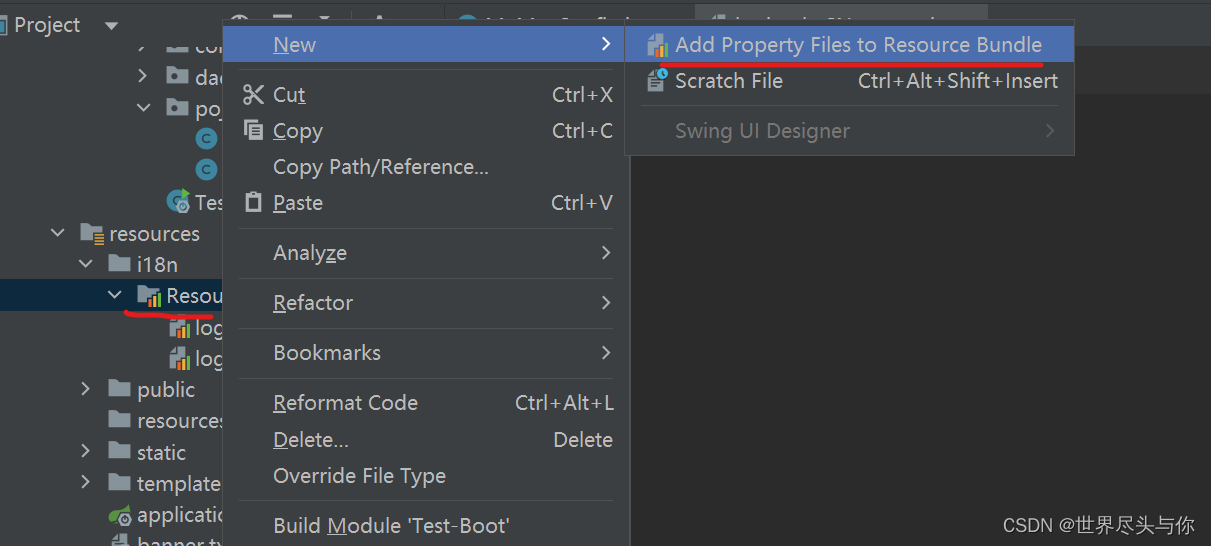
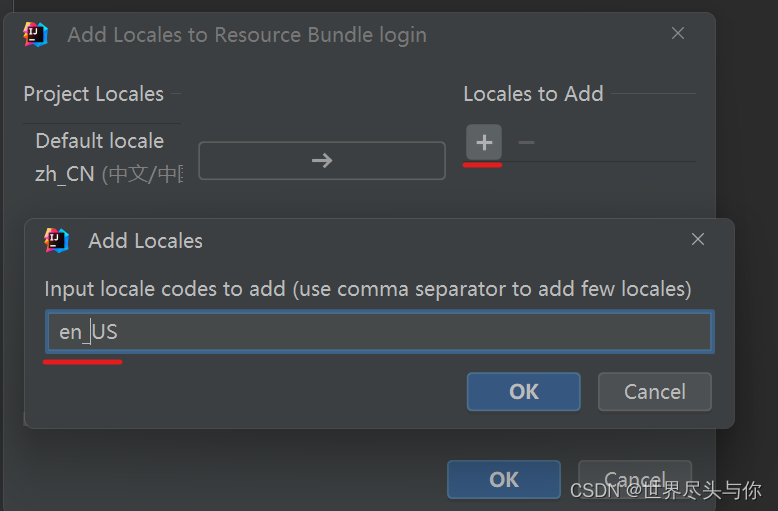
右键创建一个英文的支持:
接下来我们可以开始配置页面的国际化了,打开配置文件,点击右下角的:(没有这个的下载插件)
新建一个国际化关键字:login.tip
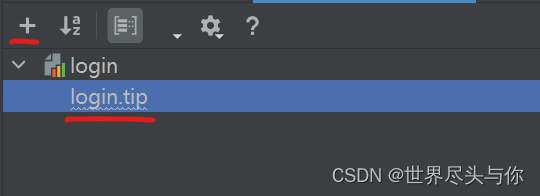
配置中英互译的参数:
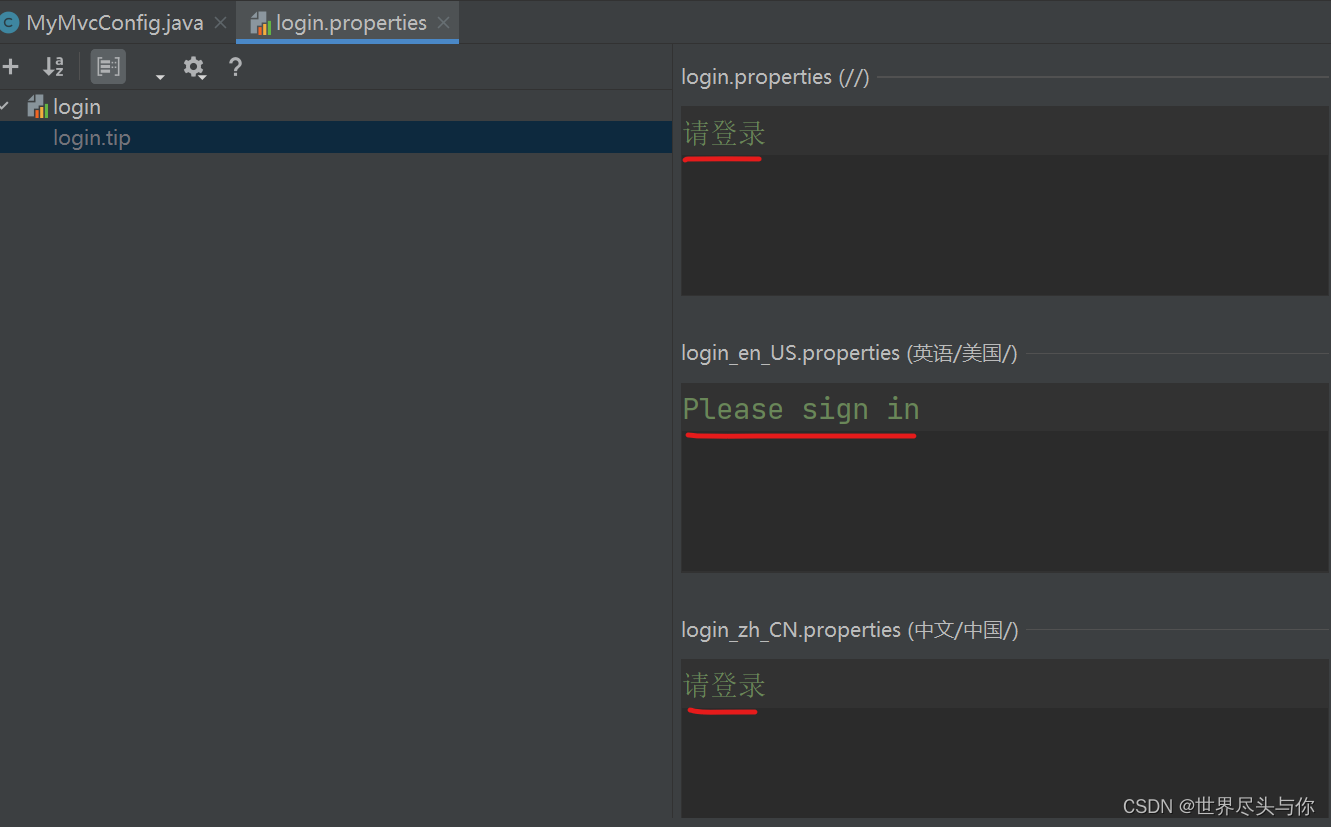
继续配置:
默认和中文:
login.btn=登录
login.password=密码
login.remember=记住我
login.tip=请登录
login.username=用户名
英文:
login.btn=Sign in
login.password=Password
login.remember=Remember me
login.tip=Please sign in
login.username=Username
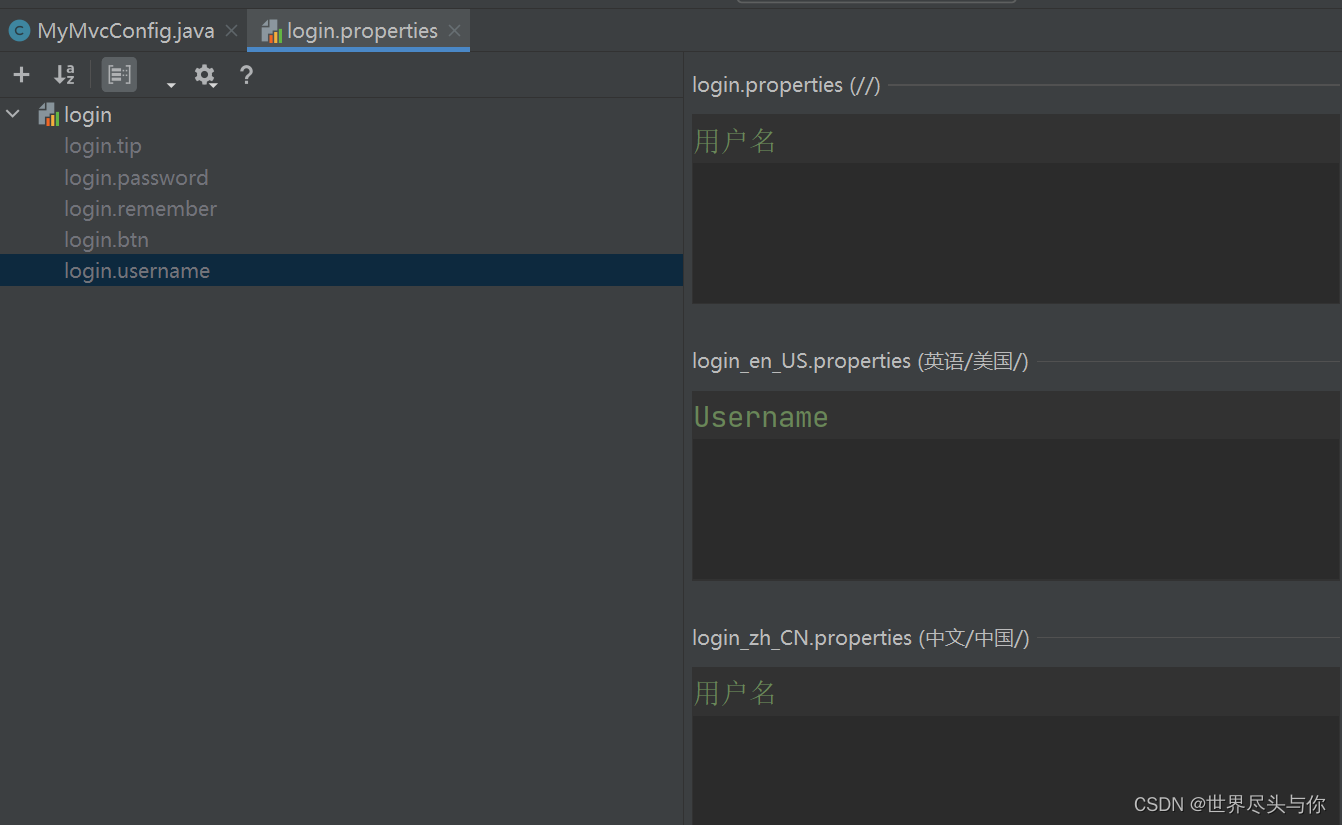
OK,配置文件步骤搞定! 🪳
接下来,配置messages(国际化的支持)的路径:
在SpringBoot yaml配置文件中添加如下:
spring:
  messages:
    basename: i18n.login
去页面获取国际化的值,查看Thymeleaf的文档,找到message取值操作为:#{…}。我们去页面测试下:
我们可以去启动项目,访问一下,发现已经自动识别为中文的了!
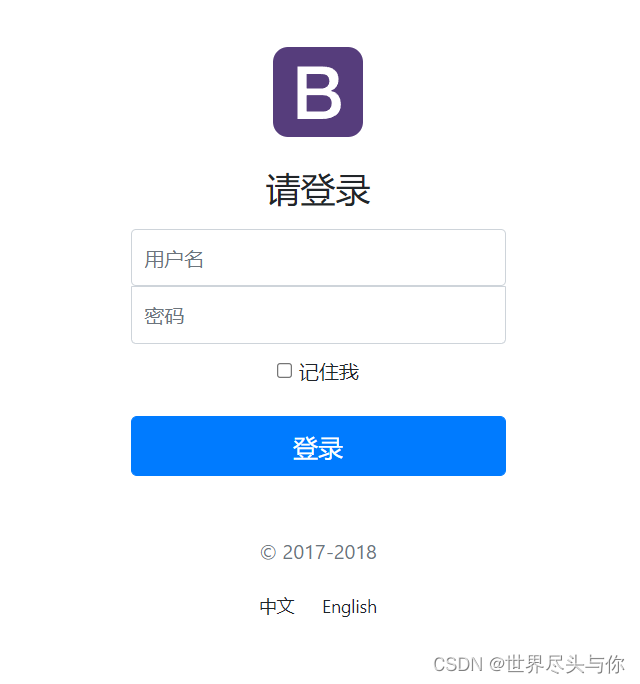
但是我们想要更好!可以根据按钮自动切换中文英文!
在Spring中有一个国际化的Locale (区域信息对象);里面有一个叫做LocaleResolver (获取区域信息对象)的解析器!想要实现上述功能,就需要利用到这个解析器
修改一下前端页面的跳转连接:
<a class="btn btn-sm" th:href="@{/index.html(l='zh_CN')}">中文</a>
<a class="btn btn-sm" th:href="@{/index.html(l='en_US')}">English</a>
接着去写一个处理的组件类:(需要继承LocaleResolver接口,实现它的方法)
public class MyLocaleResolver implements LocaleResolver {
    @Override
    public Locale resolveLocale(HttpServletRequest request) {
        String language = request.getParameter("l");
        Locale locale = Locale.getDefault(); // 如果没有获取到就使用系统默认的
        // 如果请求链接不为空
        if (!StringUtils.isEmpty(language)) {
            // 分割请求参数
            String[] split = language.split("_");
            // 国家,地区
            locale = new Locale(split[0], split[1]);
        }
        return locale;
    }

    @Override
    public void setLocale(HttpServletRequest request, HttpServletResponse response, Locale locale) {

    }
}
为了让我们的区域化信息能够生效,我们需要再配置一下这个组件!在我们自己的MyMvcConfig配置类中下添加bean:
/**
 * 国际化支持类注册
 * @return
 */
@Bean
public LocaleResolver localeResolver(){
    return new MyLocaleResolver();
}
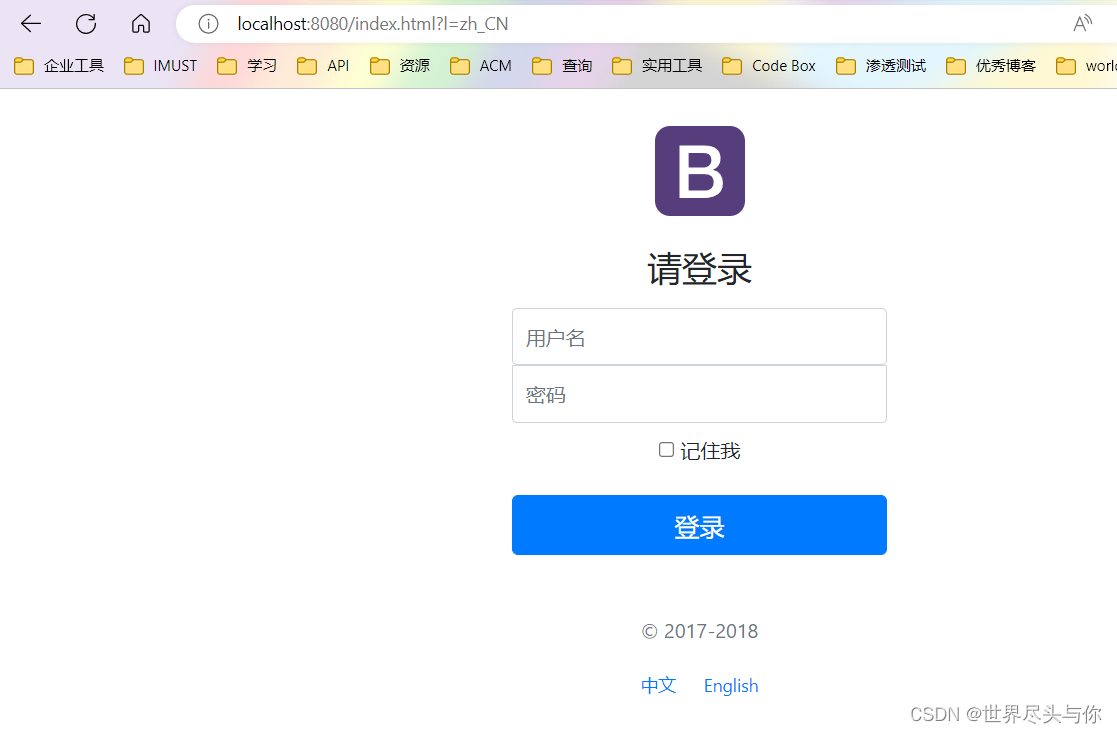
现在可以进行测试了:
中文状态:
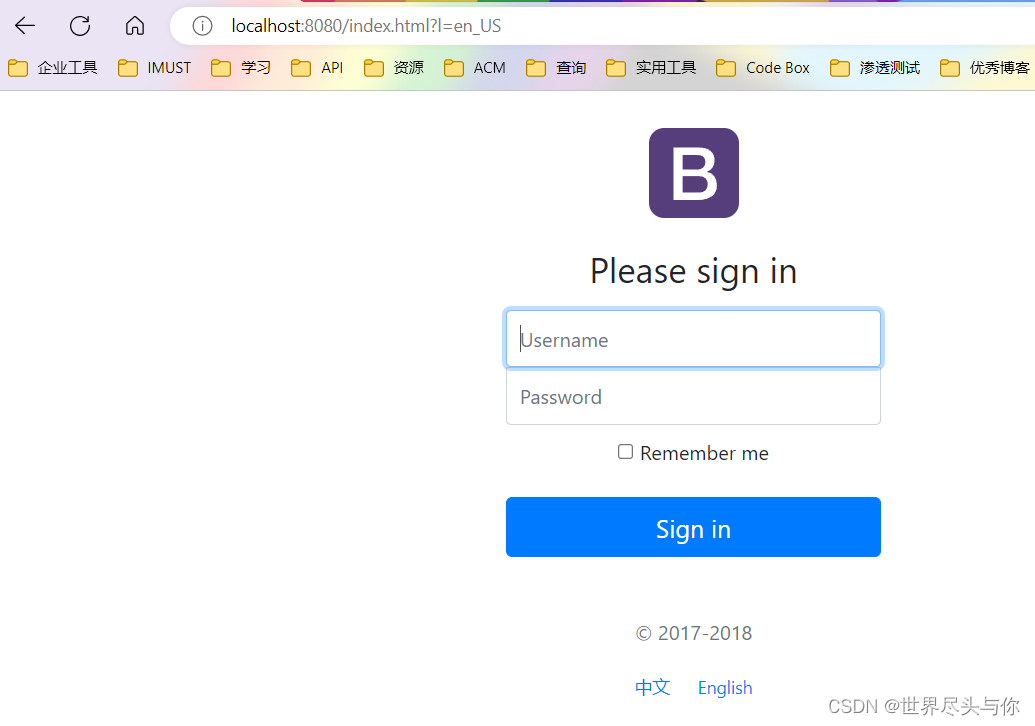
切换为英文试试:


 1367
1367


 被折叠的 条评论
为什么被折叠?
被折叠的 条评论
为什么被折叠?
 到【灌水乐园】发言


