


作为一名混迹互联网多年的老鸟,今天我要给各位想学爬虫的萌新们带来一份超详细的Python爬虫成长指南。看完这篇,保证你能从"Hello World"水平直接晋级到能写分布式爬虫的大佬级别!
目录
一、爬虫基础认知:互联网的"合法收割机"
首先明确一点:爬虫不是黑客工具!它只是自动化收集公开数据的程序,就像一只勤劳的小蜜蜂在花丛中采集花粉(数据)一样。
1.1 爬虫能做什么?
-
商品价格监控(比如比价软件)
-
舆情分析(抓取新闻、社交媒体)
-
搜索引擎数据收集(Google的核心技术之一)
-
学术研究数据采集
1.2 法律红线(必看!)
-
禁止爬取个人隐私数据
-
遵守robots.txt协议(网站的"使用说明书")
-
设置合理爬取间隔(别把人家服务器搞崩了)
-
不要绕过付费墙(尊重知识产权)
1.3 爬虫网络请求
请求过程: 客户端,指web浏览器向服务器发送请求
请求分为四部分:
-
请求网址 --request url
-
请求方法 --request methods
-
请求头 – request header
-
请求体 – request body
1.4 爬虫基本流程
- 确认目标:目标url:www.baidu.com
- 发送请求: 发送网络请求,获取到特定的服务端给你的响应
- 提取数据:从响应中提取特定的数据jsonpath/xpath/re
- 保存数据:本地(html、json、txt)、数据库
二、新手村任务:第一个爬虫程序
2.1 爬取一张图片
让我们用requests实现最简单的爬虫:
import requests
#导入requests库,用于发送各种HTTP请求

url = "http://contentcms-bj.cdn.bcebos.com/cmspic/e5029eaba144ba126277bf8a425163e2.jpeg?x-bce-process=image/crop,x_88,y_0,w_863,h_579"

#定义目标URL

response = requests.get(url)
#返回的响应对象存储在response变量中

with open("01.png","wb") as f1:
    f1.write(response.content)

#将响应内容写入文件
这里我们在有了地址后使用requests获取了一张图片,并保存到了本地
这里open()中的“wb”不同的参数有不同的结果:
"r" 以读方式打开,只能读文件 , 如果文件不存在,会发生异常
"w" 以写方式打开,只能写文件, 如果文件不存在,创建该文件;如果文件已存在,先清空,再打开文件
"rb" 以二进制读方式打开,只能读文件 , 如果文件不存在,会发生异常
"wb" 以二进制写方式打开,只能写文件, 如果文件不存在,创建该文件;如果文件已存在,先清空,再打开文件
2.2 User-Agent(用户代理)的设置
User Agent中文名为用户代理,简称 UA,它是一个特殊字符串头,使得服务器能够识别客户使用的操作系统及版本、CPU 类型、浏览器及版本、浏览器渲染引擎、浏览器语言、浏览器插件等。
简单来说,UA是浏览器的身份证,让服务器知道你是谁?服务器通过识别UA,来响应适合你电脑、手机...的网络页面。

那我们使用爬虫为什么要用User-Agent呢?(⊙_⊙)?
我们python在爬取网页时,UA(身份证)是自带的,网站看到我们的UA(身份证)后会禁止我们爬取数据,不利于后面工作的开展。
我们可以用这串代码来查看python自带的UA
import urllib.request

request=urllib.request.Request('http://www.baidu.com')
response=urllib.request.urlopen(request)
html=response.read().decode('utf-8')
print(request.get_header('User-agent'))
输出:Python-urllib/3.12
因此,我们需要伪装成浏览器去访问网页,这时,UA代理(借身份证)就出来了!
常用的User-Agent可以参考最全常用User-Agent-腾讯云开发者社区-腾讯云
以下是User-Agent的应用实例:
import random
import requests
url = "https://tieba.baidu.com/"
user_agent = ["Mozilla/5.0 (Windows NT 6.1; WOW64) AppleWebKit/537.36 (KHTML, like Gecko) Chrome/30.0.1599.101 Safari/537.36",
              "Mozilla/5.0 (Windows NT 6.1; WOW64) AppleWebKit/537.36 (KHTML, like Gecko) Chrome/38.0.2125.122 UBrowser/4.0.3214.0 Safari/537.36",
              "Mozilla/5.0 (Windows NT 10.0; Win64; x64) AppleWebKit/537.36 (KHTML, like Gecko) Chrome/93.0.4577.63 Safari/537.36 Edg/93.0.961.47"]
#我们可以将多个User-Agent放进python列表中,取出不同的User-Agent使用


def http(url):
    index = random.randint(0,len(user_agent)-1)#使用随机数使用不同的User-Agent
    print(index)
    headers = {"user-agent":user_agent[index]}
    #使用headers作为requests.get的参数
    response = requests.get(url,headers=headers,verify=False)
    #verify=False 表示跳过 SSL 证书验证。
    #当访问 HTTPS 网站时,Requests 会默认验证服务器的 SSL 证书是否有效、是否由受信任的机构签发。
    #如果证书有问题(如自签名证书、过期证书等),不加这个参数会直接报错:
    return response.content.decode(response.apparent_encoding)#自动调整编码

def save_html(filename,content):
    with open(filename,"w",encoding="utf-8") as f:
        f.write(content)

save_html("new.html",http(url))
# print(http(url))
三、进阶技能:爬取网站内容
3.1 网页源代码
我们在使用简单爬虫的时候,如果目标URL是一个网页,那么我们将会爬取网页的源代码而非文本或其他内容。
爬取百度贴吧页面:
import requests
url = "https://tieba.baidu.com/"
response = requests.get(url)
# print(response.content.decode(response.apparent_encoding))
with open("tieba.txt","w",encoding=response.apparent_encoding) as f:
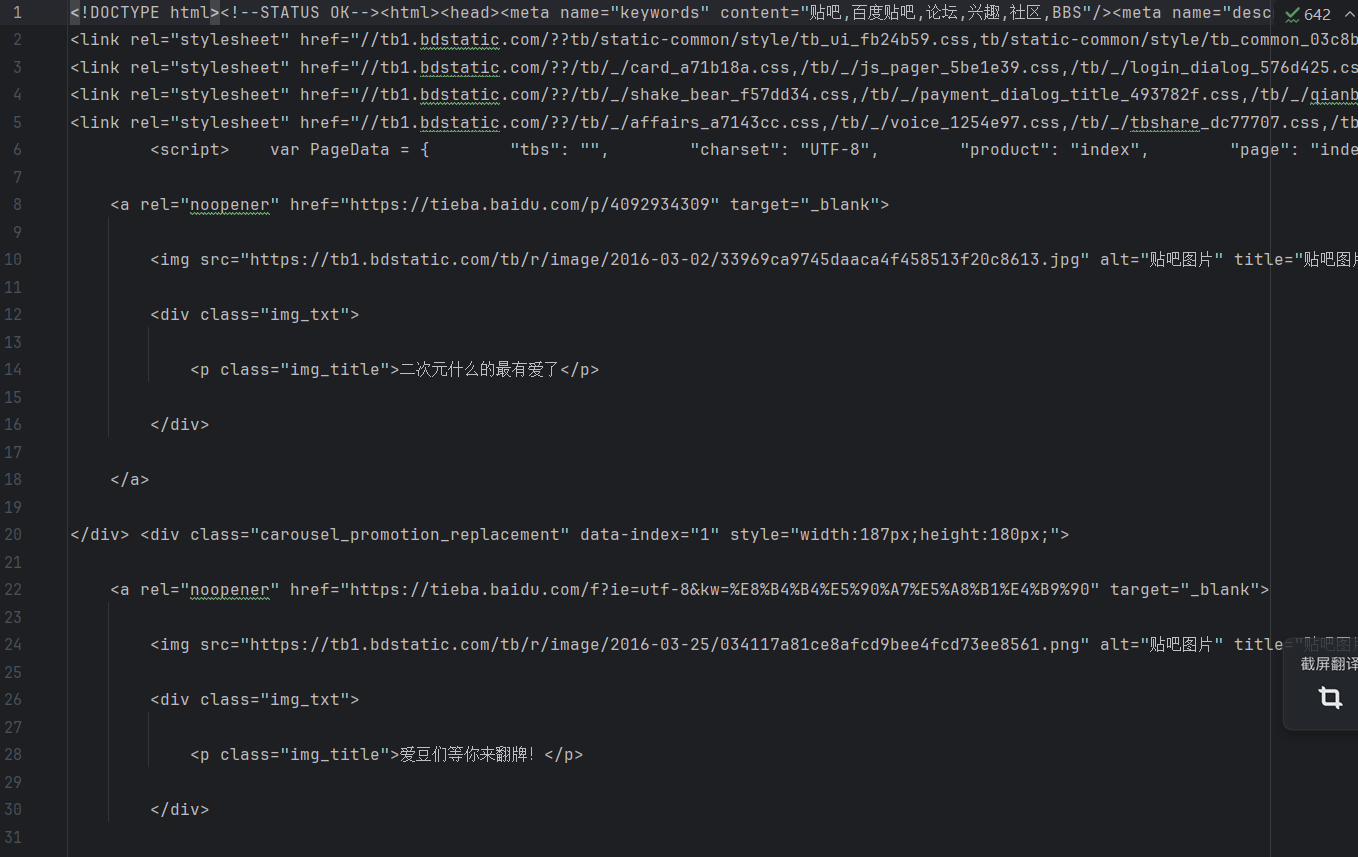
f.write(response.content.decode(response.apparent_encoding))得到的内容为网页的HTML语言:
3.2 网页内容爬取
既然直接爬取网页无法获取网页内容,那么如何才能获取呢(◎﹏◎)
我们可以使用python中的etree()模块将刚刚转换的字符串格式的HTML文档解析为Element对象。
XPath Helper 是一款专用于 Chrome 内核浏览器的实用型爬虫网页解析工具。它可以帮助用户轻松获取网页数据的 XPath,以便进行批量爬取。具体安装与使用可以参考:Xpath Helper(xpath辅助插件)-CSDN博客
下面是一个简单的XPath使用:
from lxml import etree

user_agent = "Mozilla/5.0 (Windows NT 6.1; WOW64) AppleWebKit/537.36 (KHTML, like Gecko) Chrome/30.0.1599.101 Safari/537.36"
def http(url):
    headers = {"user-agent":"Mozilla/5.0 (Windows NT 6.1; WOW64) AppleWebKit/537.36 (KHTML, like Gecko) Chrome/30.0.1599.101 Safari/"}
    response = requests.get(url,headers=headers)
    return response.content.decode(response.apparent_encoding)

url = "https://www.shicimingjv.com/bookview/1392.html"

text = http(url)

html = etree.HTML(text)
# print(type(html))

aaa = html.xpath("//h1//text()")
#xpath里的参数可以使用XPath插件获取,选中内容后选择复制XPath即可

with open("1.txt","w",encoding="utf-8") as f:
    i = 0
    while i<len(aaa):#内容数目未知,所以要遍历
        f.write(aaa[i])
        i += 1
由此我们便可以获取某个网页的全部html内容。这里获取了三国演义的标题与正文
from lxml import etree
import requests

url = "https://sanguo.5000yan.com/965.html"

user_agent = "Mozilla/5.0 (Windows NT 6.1; WOW64) AppleWebKit/537.36 (KHTML, like Gecko) Chrome/30.0.1599.101 Safari/537.36"
def http(url):
    headers = {"user-agent":"Mozilla/5.0 (Windows NT 6.1; WOW64) AppleWebKit/537.36 (KHTML, like Gecko) Chrome/30.0.1599.101 Safari/"}
    response = requests.get(url,headers=headers)
    return response.content.decode(response.apparent_encoding)

text = http(url)

html = etree.HTML(text)
# print(type(html))

title = html.xpath("//h5[@class='py-3 lh-base text-center']//text()")
# print(title)

content = html.xpath("//div[@class='grap']//text()")
# print(content)
with open("三国演义.txt","w",encoding="utf-8") as f:
    i = 0
    while i<len(content):
        f.write(content[i])
        i += 1
四、出师任务设计:多页内容爬取
既然能够获取三国演义的某一回的内容,那么我们能不能获取全本的内容呢,没座!( ̄︶ ̄)↗ 可以!
4.1 整体思路分析
这个爬虫的核心任务:
-
遍历新闻列表页(分页处理)
-
提取每条新闻的详情链接
-
进入详情页抓取标题和正文
-
保存到本地文件
就像你刷微博:
-
先翻列表页(第1页、第2页...)
-
点开每条微博看详情
-
把内容复制到记事本
4.2 代码逐行解析(庖丁解牛版)
4.2.1 准备工作(导入工具箱)
python
from lxml import etree  # 解析HTML的神器(比剪刀还利索)
from urllib.parse import urljoin  # URL拼接小助手(防止链接拼错)
import requests  # 网络请求库(相当于你的网络小手)
4.2.2 伪装成浏览器(重要!)
user_agent = "Mozilla/5.0..." # 这是Chrome浏览器的身份证4.2.3 核心函数:网页下载器
def http(url):
    headers = {"user-agent": user_agent}  # 戴上浏览器面具
    response = requests.get(url, headers=headers)  # 发送GET请求
    return response.content.decode(response.apparent_encoding)  # 自动识别编码
4.2.4 分页处理逻辑(重点!)
while True:  # 循环直到最后一页
    if page_num == 1:
        url = base_url  # 第一页特殊处理
    else:
        url = f"https://.../{page_num}.htm"  # 拼接分页URL
观察到的URL规律:
-
第1页:
/index/zhxw.htm -
最后一页:
/index/zhxw/1.htm -
倒数第二页:
/index/zhxw/2.htm
4.2.5 防翻车机制(老司机经验)
if content is None or not isinstance(content, str):
    print(f"获取页面 {url} 失败,跳过该页。")
    continue  # 跳过当前页继续下一页
网络请求可能会失败,这种异常处理就像开车系安全带——平时用不上,出事能保命!
4.2.6 XPath定位技巧(核心技能)
urls = html.xpath('//ul[contains(@class, "l2-q")]/li/a/@href')这个XPath的意思是:
-
找到class包含
l2-q的<ul>标签 -
取其中所有
<li>里的<a>标签的href属性
相当于告诉程序:"在网页的这个位置找新闻链接!"
4.2.7 URL拼接的坑(新手必踩)
baseurl = urljoin(site, url) # 智能拼接绝对路径有些链接是/news/123.html这样的相对路径,需要用urljoin拼接成https://www.zut.edu.cn/news/123.html
4.2.8 正文提取技巧
content = news_html.xpath("//div[@class='v_news_content']//text()")
content = "".join(content).strip()  # 合并文本并去除空白
4.3 完整代码流程
开始
↓
设置初始页码为1
↓
打开本地文件准备写入
↓
进入循环:
1. 构建当前页URL → 下载页面 → 检查有效性
2. 解析新闻链接 → 逐个访问详情页
3. 提取标题正文 → 写入文件
4. 检查是否有下一页 → 有则继续,无则退出
↓
关闭文件
结束
from lxml import etree
from urllib.parse import urljoin
import requests
user_agent = "Mozilla/5.0 (Windows NT 6.1; WOW64) AppleWebKit/537.36 (KHTML, like Gecko) Chrome/30.0.1599.101 Safari/537.36"
def http(url):
    headers = {"user-agent":"Mozilla/5.0 (Windows NT 6.1; WOW64) AppleWebKit/537.36 (KHTML, like Gecko) Chrome/30.0.1599.101 Safari/"}
    response = requests.get(url,headers=headers)
    return response.content.decode(response.apparent_encoding)

base_url = "https://www.zut.edu.cn/index/zhxw.htm"
page_num = 1

site = "https://www.zut.edu.cn"
with open("综合新闻.txt",'w',encoding="utf-8") as f:
    while True:
        if page_num == 1:
            url = base_url
        else:
            url = f"https://www.zut.edu.cn/index/zhxw/{page_num}.htm"

        # 判断是否已经完爬取每一页的内容
        content = http(url)
        if content is None or not isinstance(content, str):
            print(f"获取页面 {url} 失败,跳过该页。")
            page_num += 1
            continue
        text = content  # 网页源代码
        html = etree.HTML(text)  # html 用于xpath解析的对象

        # 检查是否为最后一页
        next_page_class = html.xpath('//span[@class="p_next"]/@class')
        if next_page_class and 'p_fun_d' in next_page_class[0]:
            print("已到达最后一页,停止爬取。")
            break
            # 解析所有的 url
        urls = html.xpath('//ul[contains(@class, "l2-q") and contains(@class, "l2-3-q")]/li/a/@href')

        for url in urls:
            # 使用 urljoin 函数正确拼接 URL
            baseurl = urljoin(site, url)
            news_content = http(baseurl)
            #在使用 etree.HTML 解析之前,要对 text 是否为字符串进行检查,如果不是字符串,就跳过当前页面。
            if news_content is None or not isinstance(news_content, str):
                print(f"获取新闻 {baseurl} 失败,跳过该新闻。")
                page_num += 1
                continue
            news_html = etree.HTML(news_content)
            # 获取新闻标题
            title = news_html.xpath("//div[@class='top']/h1/text()")[0]
            content = news_html.xpath("//div[@class='v_news_content']//text()")
            content = "".join(content).strip()
            print("正在下载:" + title)
            f.write(title + "\n" + content + "\n\n")
            print("下载完成:" + title)
        page_num+=1
        # 处理完当前页所有新闻后,更新页码
五、给爬虫初学者的建议
-
先模仿再创新:就像学画画先临摹,运行通这段代码后再修改
-
小步快跑:每次只修改一个小功能,测试通过后再继续
-
多看报错:Python的错误信息其实很友好,红字不是骂你而是帮你
-
善用print调试:在关键位置打印变量值,就像给程序做X光检查
这个爬虫虽然只有50行代码,但包含了真实项目中的核心逻辑。建议大家可以尝试:
-
修改为爬取其他栏目(比如通知公告)
-
添加异常处理(比如网络超时重试)
-
改成多线程爬取(提升速度)
(当年我写第一个爬虫时,因为没加User-Agent被封IP,蹲在机房门口蹭网调试的经历至今难忘...大家且学且珍惜啊!)


 被折叠的 条评论
为什么被折叠?
被折叠的 条评论
为什么被折叠?
 到【灌水乐园】发言


