1.处理数据
"""
time:2017/9/22
version:0.1
"""
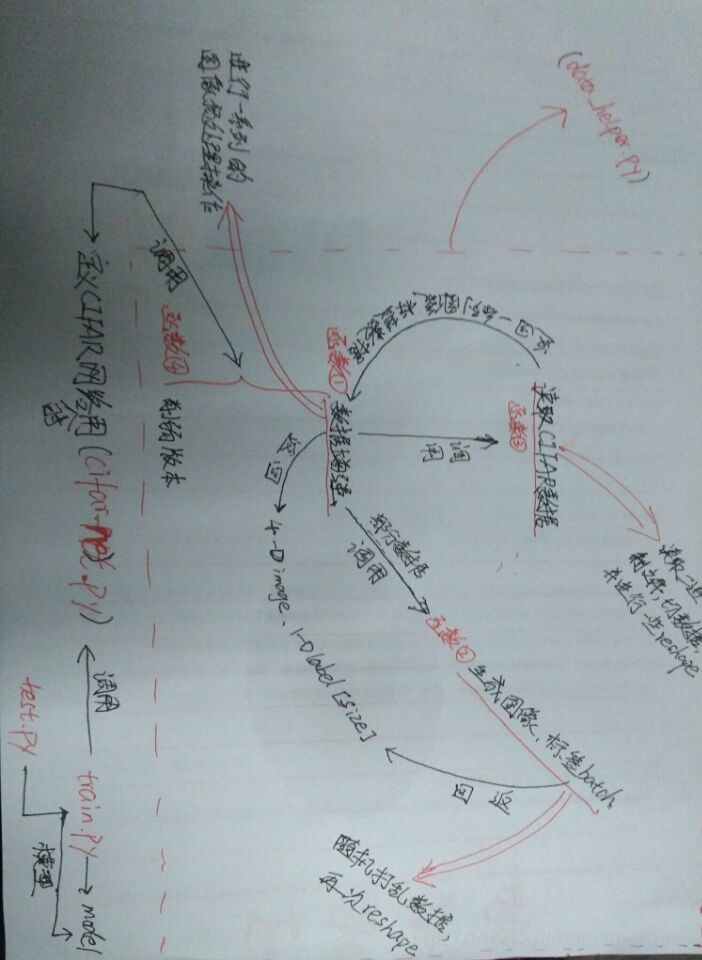
"""此脚本处理并加载CIFAR_10的数据:以下是函数之间调用关系:
distorted_inputs函数:调用read_cifar_bindata;
_generate_image_and_label_batch函数:调用distorted_inputs;
给外部调用的方法是:
distorted_inputs()和inputs()
"""
import os
import tensorflow as tf
HEIGHT_SIZE = 24
WIDTH_SIZE = 24
NUM_EXAMPLES_PER_EPOCH_FOR_TRAIN = 50000
NUM_EXAMPLES_PER_EPOCH_FOR_TEST = 10000
NUM_CLASSES = 10
def read_cifar_bindata(filename_queue):
""" 读取并解析cifar的数据文件
参数:要读取的文件队列的文件名(String)
返回:
图像的height、width、depth值
文件队列的key
label:一维张量
uint8imgmat:uint8类型的[height, width, depth]的矩阵
"""
class read_cifar10(object):
pass
result = read_cifar10()
label_bytes = 1
result.height = 32
result.width = 32
result.depth = 3
image_bytes = result.height * result.width * result.depth
record_bytes = label_bytes + image_bytes
reader = tf.FixedLengthRecordReader(record_bytes=record_bytes)
result.key, value_str = reader.read(filename_queue)
tensor_bytes = tf.decode_raw(bytes=value_str, out_type=tf.uint8)
result.label = tf.cast(tf.strided_slice(tensor_bytes, [0], [label_bytes]), tf.int32)
slice_data_mat = tf.reshape(
tf.strided_slice(tensor_bytes, [label_bytes],
[label_bytes + image_bytes]),
[result.depth, result.height, result.width])
result.uint8imgmat = tf.transpose(slice_data_mat, [1, 2, 0])
return result
def _generate_image_and_label_batch(image, label, min_queue_examples,
batch_size, shuffle):
""" 生成图像batch和标签batch
参数:
image: 3-D Tensor of [height, width, 3] of type.float32.
label: 1-D Tensor of type.int32
min_queue_examples: int32, 要在提供的batches中保留的最小样本数
batch_size:略
shuffle: 布尔类型 true——使用shuffle打乱队列,false则不适用
返回:
images: Images. 4D tensor of [batch_size, height, width, 3] size.
labels: Labels. 1D tensor of [batch_size] size.
"""
"""
tf.train.shuffle_batch():
随机地打乱队列中的tensors来创建batches(也即每次可以读取多个data文件中的
样例构成一个batch)。
* capacity参数:用于控制打乱queue的最大长度;
* min_after_dequeue参数:进行一次dequeue操作后队列中剩余tensorflow的最小数量
(这样就可以确保batch中元素的随机性);
* num_threads参数:用于指定多少个threads负责压tensors到队列;
tf.train.batch():
与前者类似,只不过顺序地出队列(也即每次只能从一个data文件中读取batch),少了随机性。
"""
if shuffle:
images, label_batch = tf.train.shuffle_batch(
[image, label],
batch_size=batch_size,
num_threads=6,
capacity=min_queue_examples + 3 * batch_size,
min_after_dequeue=min_queue_examples)
else:
images, label_batch = tf.train.batch(
[image, label],
batch_size=batch_size,
num_threads=6,
capacity=min_queue_examples + 3 * batch_size)
<


 本文详细介绍了如何使用TensorFlow处理CIFAR-10数据集,构建深度学习模型,并进行模型训练。通过3个主要步骤:数据预处理、模型搭建和模型训练,展示了整个流程。同时,还提供了TensorBoard的可视化截图,以便更好地理解模型的训练过程。
 最低0.47元/天 解锁文章


 1万+
1万+

 被折叠的 条评论
为什么被折叠?
被折叠的 条评论
为什么被折叠?
 到【灌水乐园】发言


