


一、IP基础知识
1、iPv4
IPv4 是互联网协议(Internet Protocol,IP)第四版,构成现今互联网技术的基础的协议。
IPv4 地址可以分为网络地址和主机地址两部分。
网络地址可以使用如下形式描述:172.25.0.10/255.255.255.0
ip地址:172.25.0.10
子网掩码:255.255.255.0
子网掩码255位对应的ip位为网络位
子网掩码0对应的ip位为主机位
2、DNS
DNS (Domain Name System, 域名系统 ),因特网上作为域名和 IP 地址相互映射的一个分布式数据库,能够使用户更方便的访问互联网,而不用去记住能够被机器直接读取的 IP。
二、IP配置
1、图形化
1)图形界面
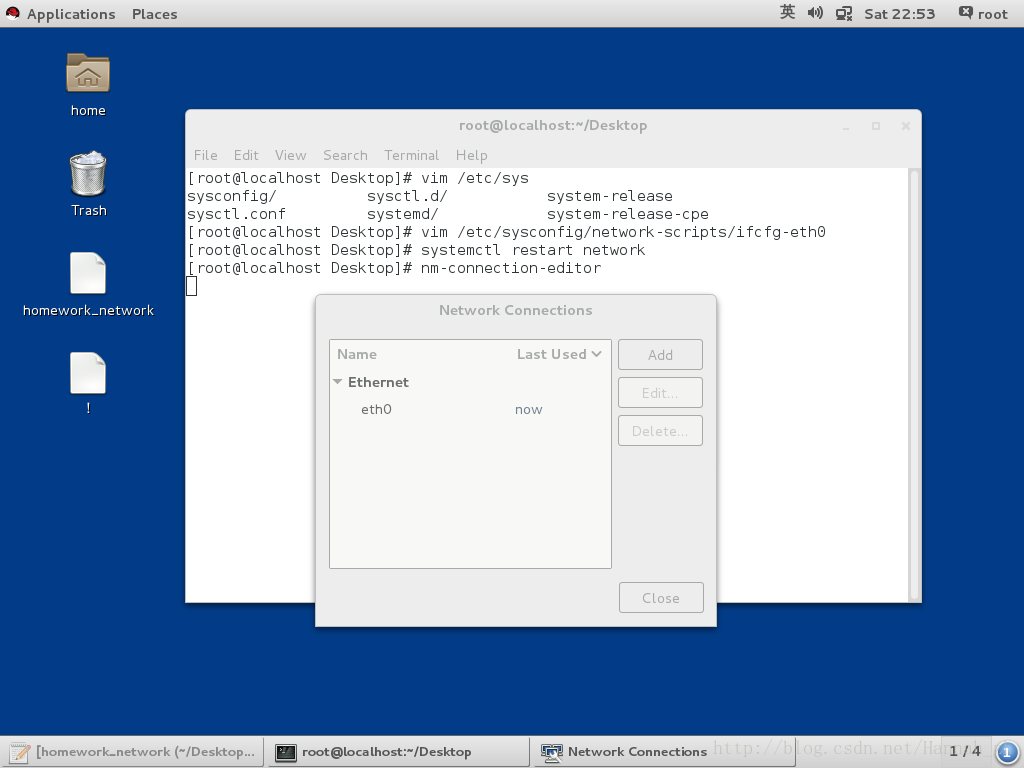
nm-connection-editor
2)文本化图形
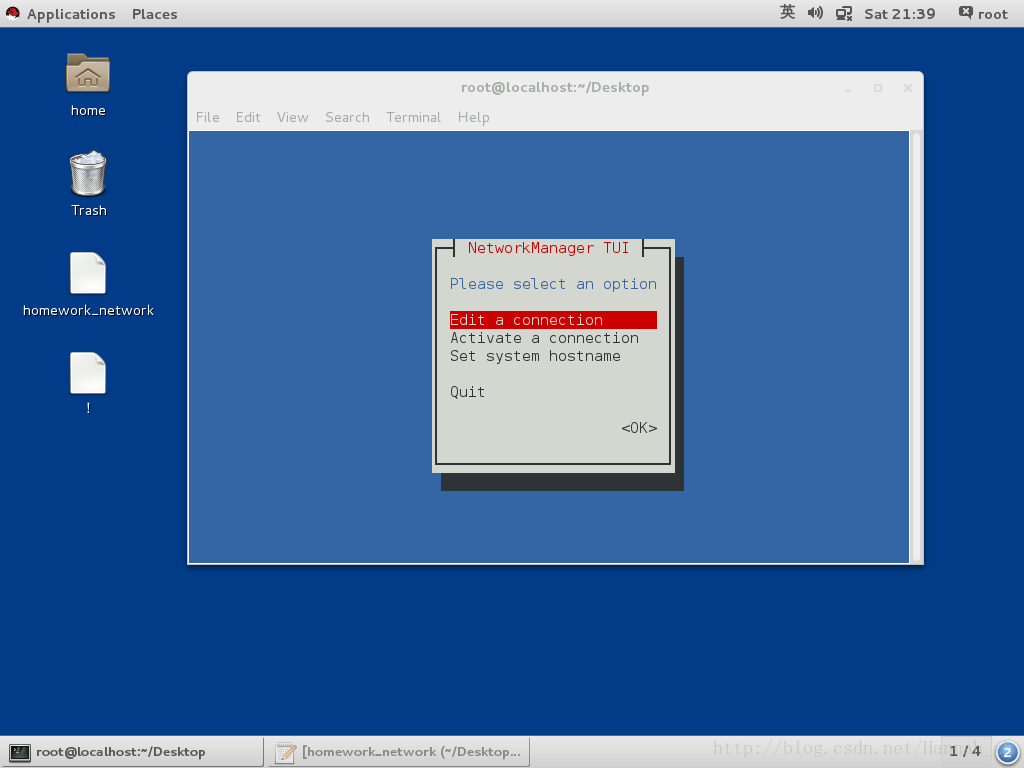
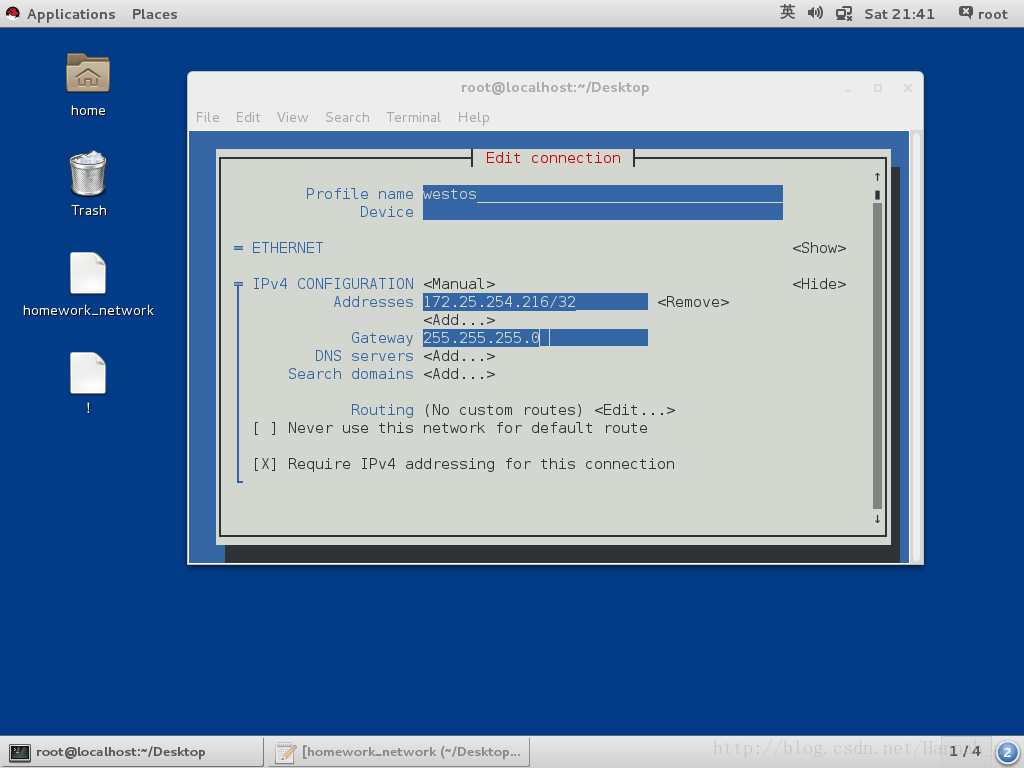
nmtui
2、命令
1)临时设定网卡的IP(reboot后,临时设置的ip改变)
ifconfig 网卡 ip netmask
实验代码:
[root@localhost Desktop]# ifconfig eth0 172.25.254.116 netmask 255.255.255.0
[root@localhost Desktop]# ifconfig eth0                         ##临时设置的ip
eth0: flags=4163<UP,BROADCAST,RU1NNING,MULTICAST>  mtu 1500
        inet 172.25.254.116  netmask 255.255.255.0  broadcast 172.25.254.255
        inet6 fe80::5054:ff:fe00:100a  prefixlen 64  scopeid 0x20<link>
        ether 52:54:00:00:10:0a  txqueuelen 1000  (Ethernet)
        RX packets 445  bytes 35361 (34.5 KiB)
        RX errors 0  dropped 0  overruns 0  frame 0
        TX packets 166  bytes 12058 (11.7 KiB)
        TX errors 0  dropped 0 overruns 0  carrier 0  collisions 0
2)nmcli命令添加网络
nmcli connection add type ethernet con-name westos ifname eth0 ip4 ip/24       ##添加静态网络
nmcli connection add type ethernet con-name westos ifname eth0 autoconnect yes ##添加dhcp网络
3)其他网络命令
nmcli connection add type ethernet con-name westos ifname eth0 autoconnect yes #添加dhcp网络
nmcli connection add type ethernet con-name westos ifname eth0 ip4 ip/24       #添加静态网络
nmcli connection delete westos                               #删除westos链接
nmcli connection show                                        #显示所有网络链接
nmcli connection down westos                                 #关闭指定链接
nmcli connection up westos                                   #开启指定链接
nmcli connection modify "westos" ipv4.addresses newip/24     #改变wetos的ip
nmcli connection modify "westos" ipv4.method <auto|manual>   #改变westos的工作方式为动态或者静态
nmcli device connect eth0                                    #开启设备
nmcli device disconnect eth0                                 #关闭设备
nmcli device show                                            #显示设备信息
nmcli device status                                          #显示设备状态
3、文件
1)动态获取dhcp
前提:动态获取前首先删除静态网络
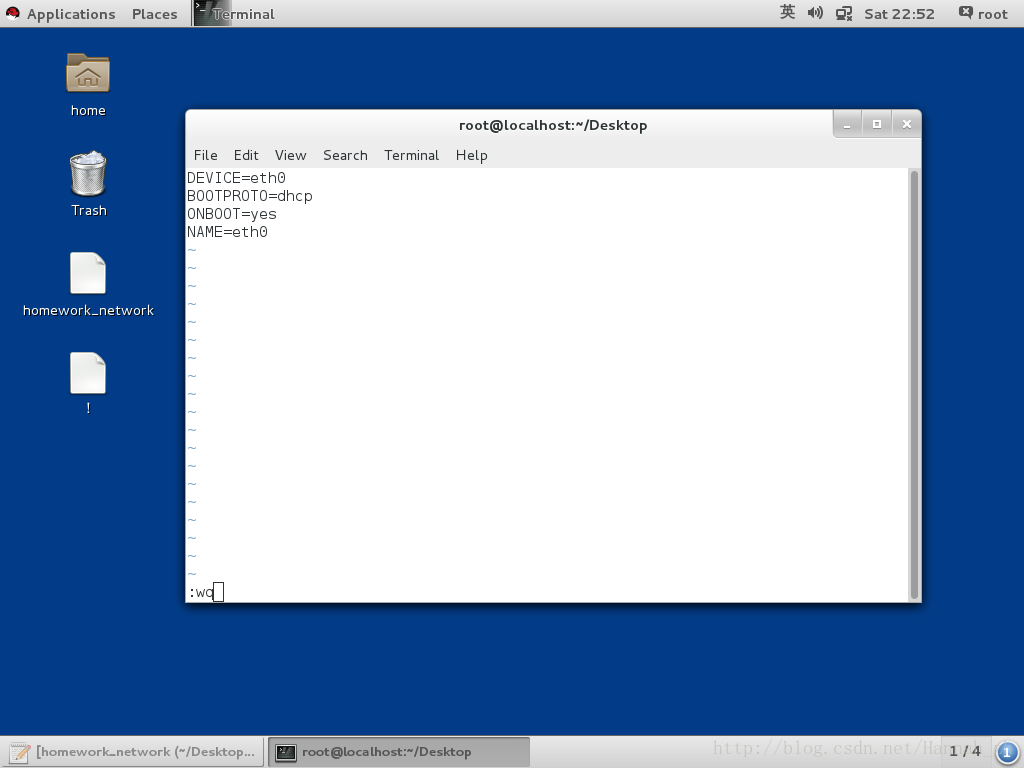
vim /etc/sysconfig/network-scripts/ifcfg-eth0
DEVICE=eth0     ##接口使用设备
BOOTPROTO=dhcp  ##网卡工作模式
ONBOOT=yes      ##网络服务开启时自动激活
NAME=eth0       ##网络接口名称
systemctl restart network ##重新启动网络
2)静态网络
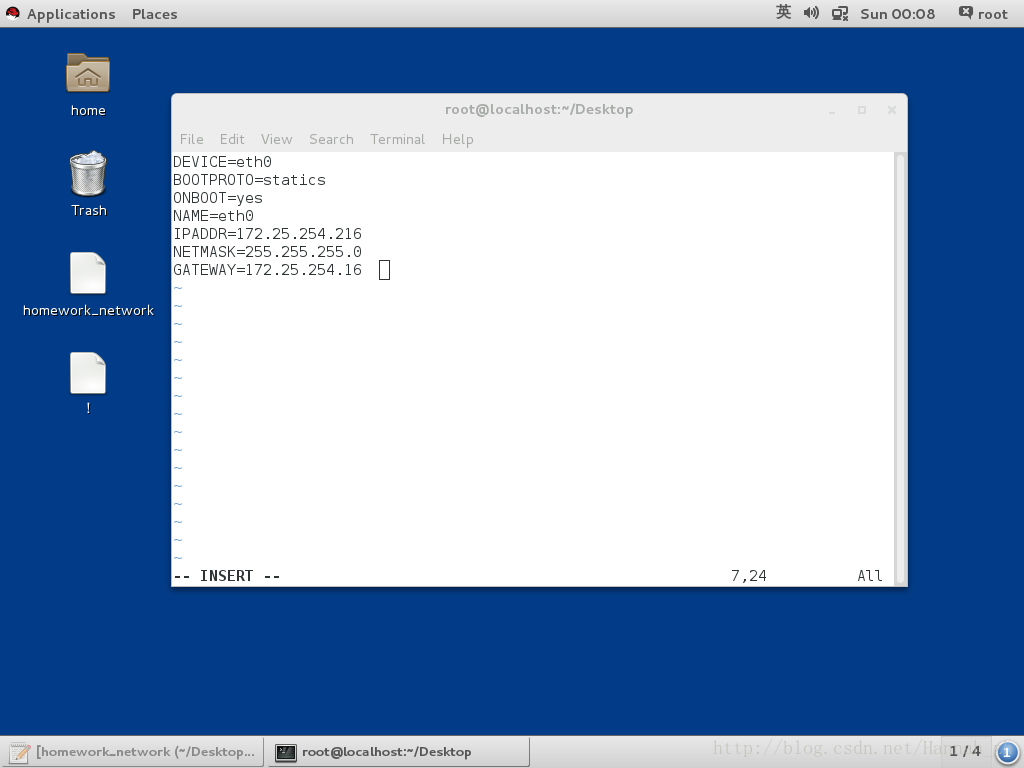
vim /etc/sysconfig/network-scripts/ifcfg-eth0
DEVICE=eth0            ##设备
BOOTPROTO=static|none  ##设备工作方式
ONBOOT=yes             ##开启网络服务激活设备
NAME=eth0              ##网络接口名称
IPADDR=172.25.0.100    ##IP
NETMASK=255.255.255.0 | PREFIX=24   ##子网掩码
三、网关gateway
1、路由器
主要功能是用来作nat的
dnat 目的地地址转换
snat 源地址转换
2、网关
网关在网络层以上实现网络互连,是最复杂的网络互连设备,仅用于两个高层协议不同的网络互连。
路由器上和自己处在同一个网段的那个ip,即为网关。
命令:
route -n                    ##查询网关
ip add show                 ##查看ip(常用,可查看一个网卡上的多个IP)
3、设定网关
1)全局网关的配置
systemctl stop NetwrokManager
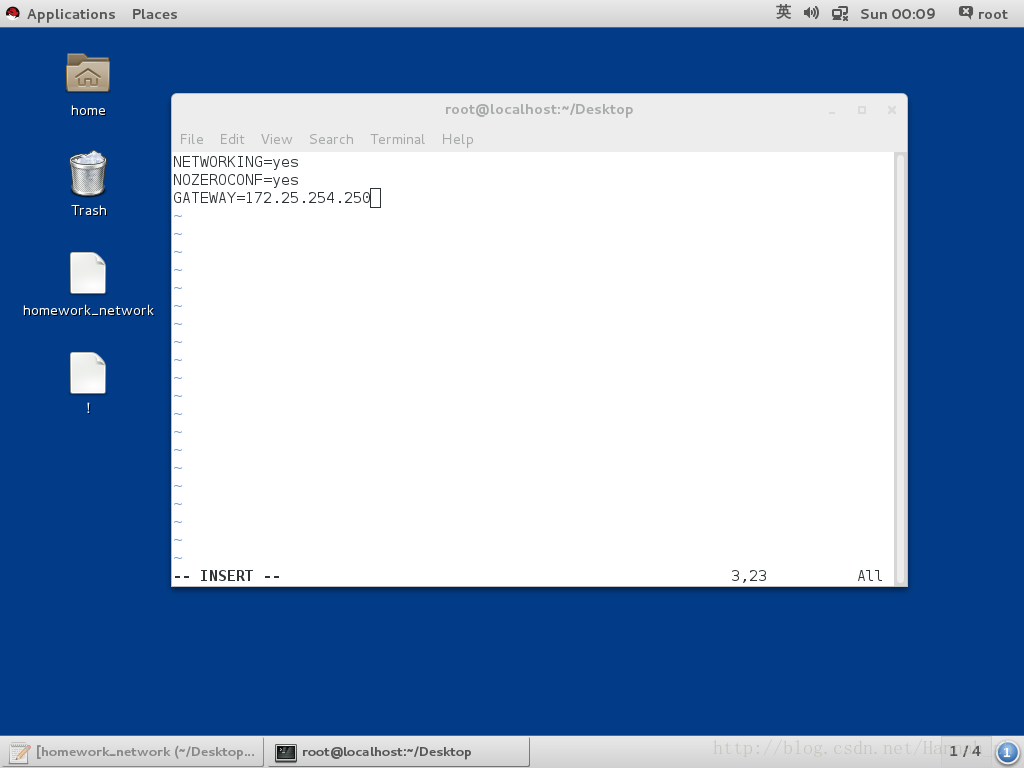
vim /etc/sysconfig/network
GATEWAY=网关ip
systemctl restart network
route -n ##查看网关
2)网卡接口网关的配置
/etc/sysconfig/network-scripts/ifcfg-网卡配置文件
GATEWAY=网关ip

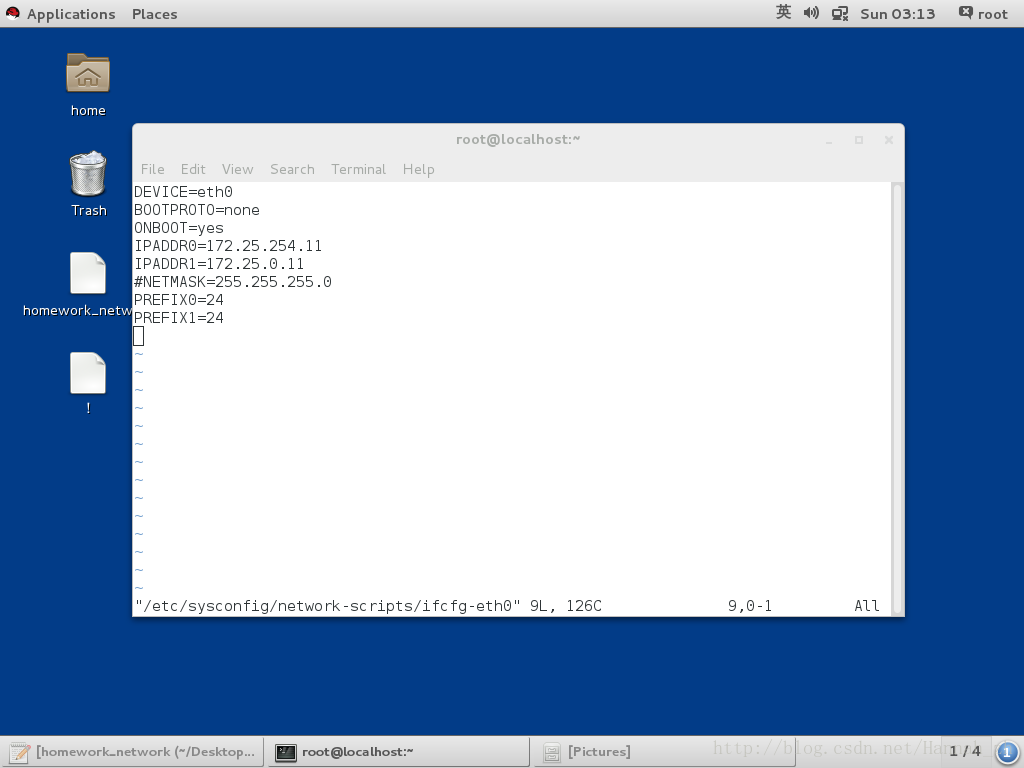
<1>配置多个IP
[root@localhost ~]# vim /etc/sysconfig/network-scripts/ifcfg-eth0
[root@localhost ~]# systemctl restart network
[root@localhost ~]# ip add show
1: lo: <LOOPBACK,UP,LOWER_UP> mtu 65536 qdisc noqueue state UNKNOWN
    link/loopback 00:00:00:00:00:00 brd 00:00:00:00:00:00
    inet 127.0.0.1/8 scope host lo
       valid_lft forever preferred_lft forever
    inet6 ::1/128 scope host
       valid_lft forever preferred_lft forever
2: eth0: <BROADCAST,MULTICAST,UP,LOWER_UP> mtu 1500 qdisc pfifo_fast state UP qlen 1000
    link/ether 52:54:00:00:10:0a brd ff:ff:ff:ff:ff:ff
    inet 172.25.254.11/24 brd 172.25.254.255 scope global eth0
       valid_lft forever preferred_lft forever
    inet 172.25.0.11/24 brd 172.25.0.255 scope global eth0
       valid_lft forever preferred_lft forever
    inet6 fe80::5054:ff:fe00:100a/64 scope link
       valid_lft forever preferred_lft forever
示图:配置文件内容
3)网关优先级
默认情况下,网卡接口网关优先级高于全局网关。
只有在未配置网卡接口网关的情况下,全局网关才生效。
四、DNS
1、dns
dns是一台服务器
这台服务器提供了回答客户主机名和ip对应关系的功能
2、设定dns
vim /etc/resolv.conf
nameserver dns服务器ip

vim /etc/sysconfig/network-scripts/ifcfg-网卡配置文件
DNS1=dns服务器ip
3、本地解析文件
vim /etc/hosts
ip  主机名称
4、本地解析文件和dns读取的优先级调整
默认情况下,本机DNS优先级高。但可通过修改配置文件,修改优先级。
命令:
/etc/nsswitch.conf              ##配置文件
38 #hosts:     db files nisplus nis dns
39 hosts:      files dns        ##files代表本地解析文件,dns代表dns服务器,那个在前面那个优先
实验代码:
[root@server10 Desktop]# vim /etc/sysconfig/network-scripts/ifcfg-eth0
示图:配置文件内容
[root@server10 Desktop]# vim /etc/hosts
[root@server10 Desktop]# ping www.baidu.com
PING www.baidu.com (172.25.254.116) 56(84) bytes of data.
64 bytes from www.baidu.com (172.25.254.116): icmp_seq=1 ttl=64 time=0.017 ms
64 bytes from www.baidu.com (172.25.254.116): icmp_seq=2 ttl=64 time=0.029 ms
配置文件:172.25.254.116 www.baidu.com(本机的IP,由其告诉)
示图:配置文件内容

[root@server10 Desktop]# vim /etc/nsswitch.conf
39 hosts: dns files #####更改优先级

[root@server10 Desktop]# vim /etc/resolv.conf
示图:错误电信DNS
结果:
[root@server10 Desktop]# ping www.baidu.com      ###由电信网告诉
PING www.a.shifen.com (220.181.112.244) 56(84) bytes of data.
64 bytes from 220.181.112.244: icmp_seq=1 ttl=53 time=30.2 ms
64 bytes from 220.181.112.244: icmp_seq=2 ttl=53 time=88.9 ms
64 bytes from 220.181.112.244: icmp_seq=3 ttl=53 time=95.1 ms
--- www.a.shifen.com ping statistics ---
4 packets transmitted, 4 received, 0% packet loss, time 3004ms
rtt min/avg/max/mdev = 27.564/60.470/95.113/31.651 ms
[root@server10 Desktop]# vim /etc/resolv.conf
[root@server10 Desktop]# ping www.baidu.com      ###更改优先级后,由本地主机ip告诉
PING www.baidu.com (172.25.254.116) 56(84) bytes of data.
64 bytes from www.baidu.com (172.25.254.116): icmp_seq=1 ttl=64 time=0.021 ms
64 bytes from www.baidu.com (172.25.254.116): icmp_seq=2 ttl=64 time=0.046 ms
64 bytes from www.baidu.com (172.25.254.116): icmp_seq=3 ttl=64 time=0.022 ms
64 bytes from www.baidu.com (172.25.254.116): icmp_seq=4 ttl=64 time=0.026 ms
^C64 bytes from 172.25.254.116: icmp_seq=5 ttl=64 time=0.026 ms
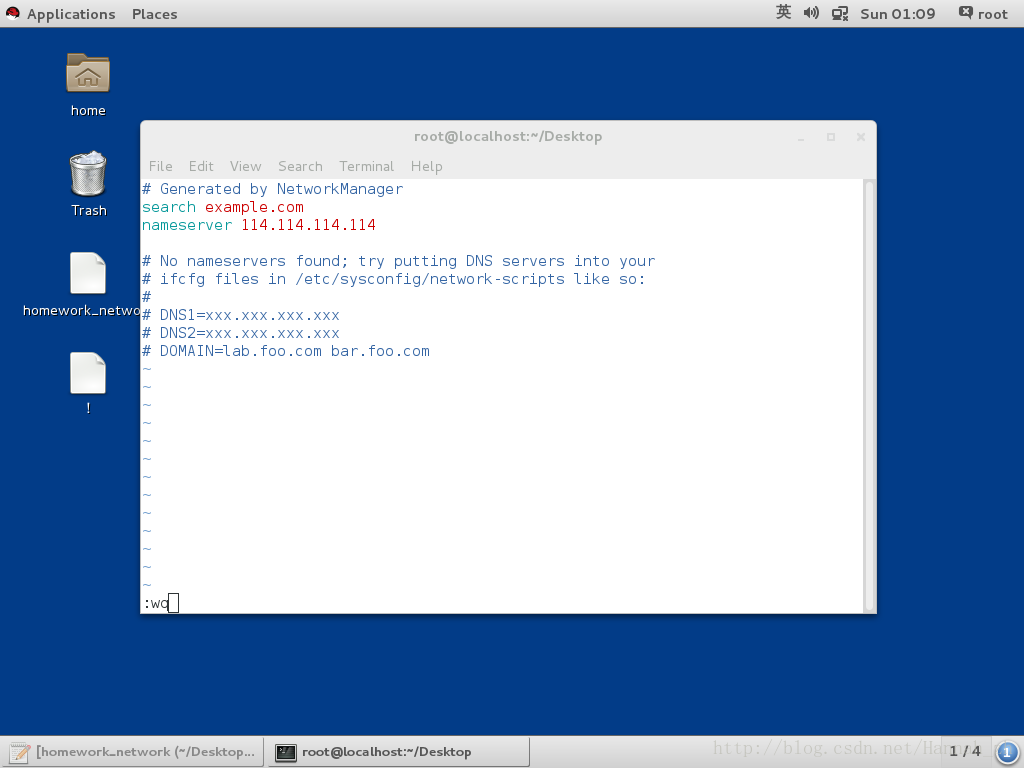
配置文件 /etc/resolv.conf
示图:正确DNS
5、dhcp服务的配置
实验:设置网卡不控制DNS
[root@server10 Desktop]# vim /etc/resolv.conf
nameserver 114.114.114.114
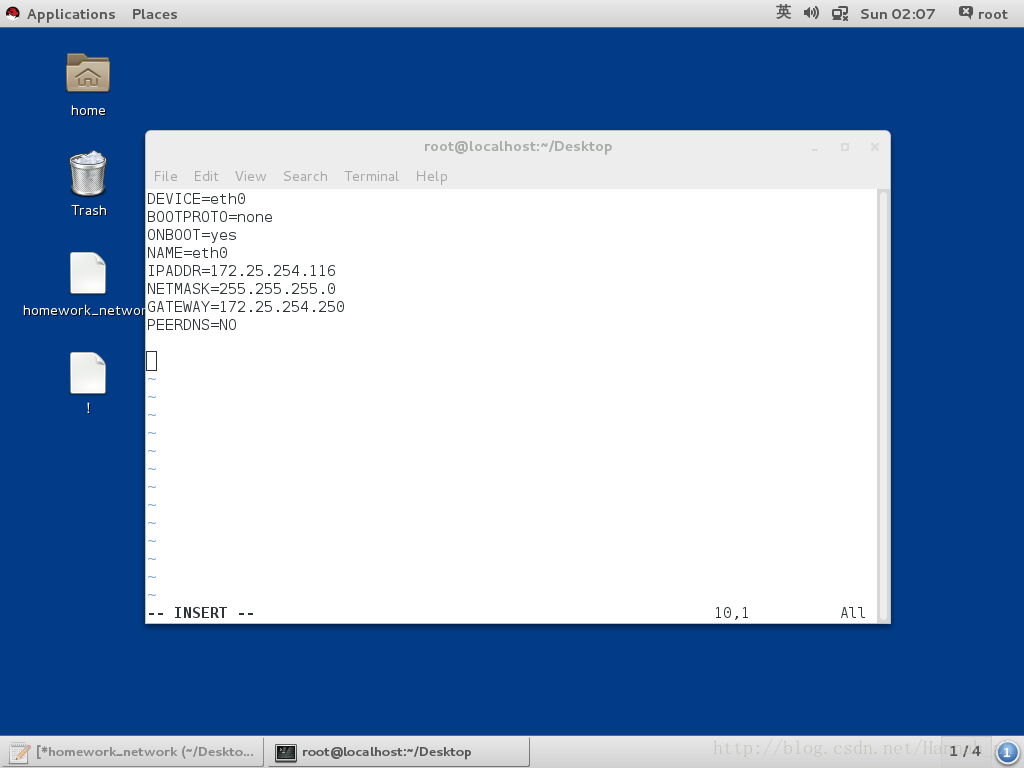
[root@server10 Desktop]# vim /etc/sysconfig/network-scripts/ifcfg-eth0
DEVICE=eth0
BOOTPROTO=dhcp ##dhcp自动获取ip
ONBOOT=yes
REFIX=24
GATEWAY=172.25.254.250
PEERDNS=NO ##网卡不控制DNS
[root@server10 Desktop]# systemctl restart network


 1286
1286

 被折叠的 条评论
为什么被折叠?
被折叠的 条评论
为什么被折叠?
 到【灌水乐园】发言


