


Vue自定义拖拽表单(自定义组件及菜单)
引用
今天我们学习一个非常厉害的组件,没错就是自定义拖拽表单formCreateDesigner
- 首先我们肯定要先npm下载引用啥的, 这里就不细说了链接: 官方文档
- 当我们配置好main.js这些东西,我们就可以在vue里引用了
<template>
<div class="video-wrapper">
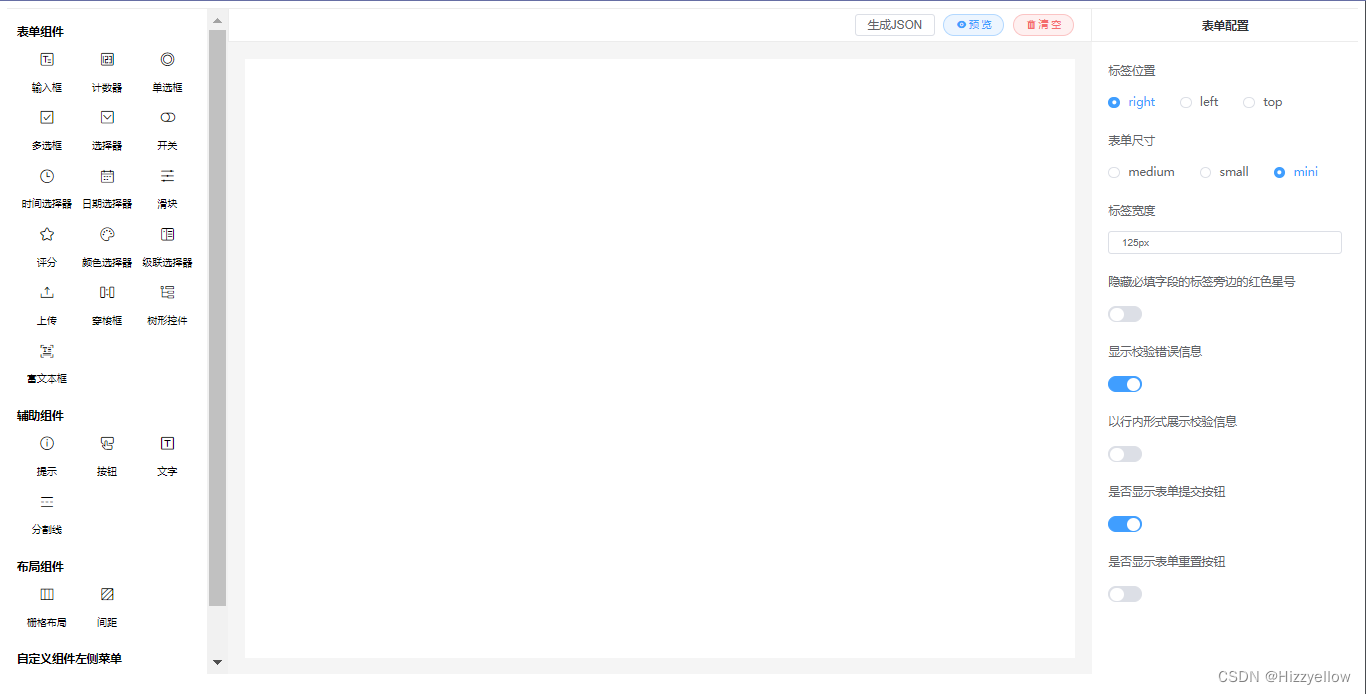
<fc-designer ref="designer" height="800px" id="designer">
<template slot="handle">
<ElButton @click="getJson">生成JSON</ElButton>
</template>
</fc-designer>
</div>
</template>
- 这样页面就会有置顶图片效果
自定义
首先我们要知道自定义组件,其实就是自定义一个js文件,好了,目标很明确,先写好一个js文件,然后在vue里面引用,然后再用form-create-desniger自带的方法直接add进去就可以了(ok,开搞)
- 首先我们先写js文件,例如需要注意的是js我们的作用要导出东西,我们可以参考一下源码里面的组件js文件,记得下面要写成export default的格式
//文件名字为checkbox.js
import FcDesigner from '@form-create/designer';

const label = '我自定义组件';
const name = 'checkbox';
let i = 1;
const uniqueId = ()=>`uni${i++}`; // 唯一field ID

export default {
    //拖拽组件的图标
    icon: 'icon-checkbox',
    //拖拽组件的名称
    label,
    //拖拽组件的 key
    name,
    //拖拽组件的生成规则
    rule() {
        //如果在 props 方法中需要修改 rule 的属性,需要提前在 rule 上定义对应的属性
        return {
            //生成组件的名称
            type: name,
            //field 自定不能重复,所以这里每次都会生成一个新的
            field: uniqueId(),
            title: label,
            info: '',
            effect: {
                fetch: ''
            },
            //这里设置组件的默认props配置项, 在下面的 props 方法里面设置无效
            props: {},
            options: [
                {value: '1', label: '选项1'},
                {value: '2', label: '选项2'},
                {value: '3', label: '选项3'},
                {value: '4', label: '选项4'},
            ]
        };
    },
    //拖拽组件配置项(props)的生成规则
    props() {
        return [
            //生成`checkbox`组件的`options`配置规则
            FcDesigner.makeOptionsRule('options'),
            {
                type: 'switch',
                field: 'type',
                title: '按钮类型',
                props: {activeValue: 'button', inactiveValue: 'default'}
            }, {type: 'switch', field: 'disabled', title: '是否禁用'}, {
                type: 'inputNumber',
                field: 'min',
                title: '可被勾选的 checkbox 的最小数量'
            }, {type: 'inputNumber', field: 'max', title: '可被勾选的 checkbox 的最大数量'}, {
                type: 'input',
                field: 'textColor',
                title: '按钮形式的 Checkbox 激活时的文本颜色'
            }, {type: 'input', field: 'fill', title: '按钮形式的 Checkbox 激活时的填充色和边框色'}];
    }
};
- 第二步就是在我们的vue文件里面引用该js
import checkbox from '../js/checkbox.js'; // 先是要引用一个js文件
- 添加到左侧指定的菜单内,官方给了三个指定的菜单,
main,aide,layout,我们这里添加到layout记得要写自定义规则(addComponent)
created(){
    this.$nextTick(() => {
      this.$refs.designer.addComponent(checkbox); // 添加生成规则 一定要有这一个,就是js的rule()
      this.$refs.designer.appendMenuItem('layout', { // 添加自定义组件至指定的三个列表内 main/aide/layout
        icon: checkbox.icon,
        name: checkbox.name,
        label: checkbox.label
      })
    })
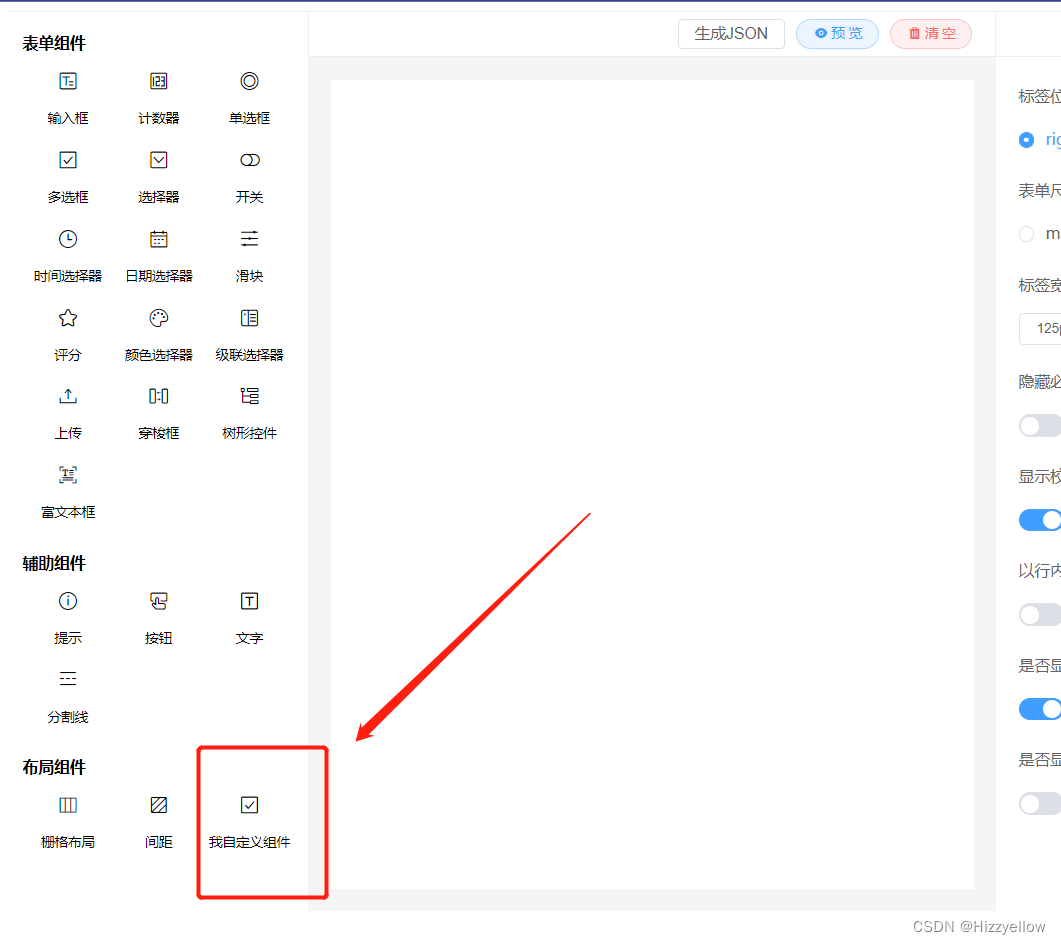
4. 自定义组件添加到左侧的自定义菜单记得写addComponent
created(){
   this.$nextTick(() => {
      this.$refs.designer.addComponent(checkbox); // 添加生成规则 一定要有这一个,就是js的rule()
      this.$refs.designer.addMenu({ // 自定义左侧菜单
      title: "自定义组件左侧菜单",
      name: "custom",
      list: [{
              icon: checkbox.icon,
              name: checkbox.name,
              label: checkbox.label
            }]
      });
    })
}


 219
219


 被折叠的 条评论
为什么被折叠?
被折叠的 条评论
为什么被折叠?
 到【灌水乐园】发言


