


文章目录
1. SpringConfig服务端
1.1 如何使用
1.导入依赖
<dependency>
    <groupId>org.springframework.cloud</groupId>
    <artifactId>spring-cloud-config-server</artifactId>
</dependency>
2.主启动类
@SpringBootApplication
@EnableConfigServer
public class ConfigCenter3344 {
    public static void main(String[] args) {
        SpringApplication.run(ConfigCenter3344.class, args);
    }
}
3.配置yml
spring:
  application:
    name: cloud-config-center
  cloud:
    config:
      server:
        git:
          uri: git@github.com:Wang-QingLong/Springcloud-config.git
          search-paths:  #搜索路径,也就是你的仓库名字
            - Springcloud-config
      label: master   #分支
浏览器可以访问: http://localhost:3344/master/config-prod.yml

1.2 格式


2. SpringConfig客户端
第一步导入依赖
<dependency>
    <groupId>org.springframework.cloud</groupId>
    <artifactId>spring-cloud-starter-config</artifactId>
</dependency>
第二步,主启动类上
@SpringBootApplication
@EnableEurekaClient
public class configClient3355Application {
    public static void main(String[] args) {
        SpringApplication.run(configClient3355Application.class, args);
    }
}
第三步,客户端需要使用 bootstrap.yml

server:
  port: 3355

spring:
  application:
    name: config-client
  cloud:
    config: #客户端配置
      label: master   #分支名称
      name: config    #配置文件名称
      profile: dev    #读取后缀名称
      #上述综合: http://localhost:3344/master/config-dev
      uri: http://localhost:3344
eureka:
  client:
    service-url:
      defaultZone: http://admin:1234@eureka7001.com:7001/eureka/
测试
@RestController
public class ConfigClientController {

    @Value("${config.info}")   // config.info 为github上的
    private String configInfo;

    @GetMapping("/configInfo")
    public String getConfigInfo(){
        return configInfo;
    }
}

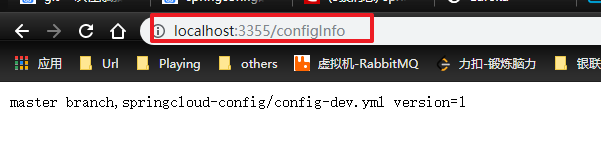
理论: 3355不会作为config的客户端不会去找github,而是去找服务端,通过服务端连接github

3. bootstrap.yml是什么
- applicaiton.yml是用户级的资源配置项
- bootstrap.yml是系统级的,优先级更加高
Spring Cloud会创建一个“Bootstrap Context”,作为Spring应用的Application Context的父上下文。
初始化的时候,Bootstrap Context负责从外部源加载配置属性并解析配置。这两个上下文共享一个从外部获取的Environment。
Bootstrap属性有高优先级,默认情况下,它们不会被本地配置覆盖。
Bootstrap context和Application Context有看不同的约定,所以新增了一个bootstrap.yml文件,保证Bootstrap Context和Application Context 配置的分离。
要将Client模块下的application.ym文件改为bootstrap.yml,这是很关键的,因为bootstrap.yml是比application.yml先加载的。bootstrap.yml优先级高于application.yml
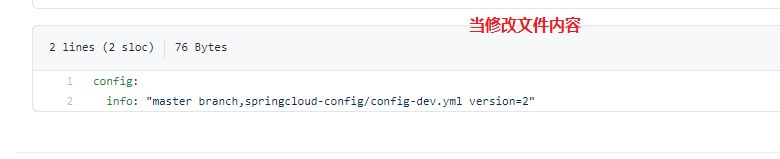
4. 手动刷新github配置
1.当修改了github上的数据时,config的服务端,比如3344自动会刷新的,因为他直连github,
但是客户端不会,他需要手动刷新,因为需要注意以下几点:
1.依赖当中必须要有,说白了以后除了gateway网关,其他都给他加上
  <dependency>
    <groupId>org.springframework.boot</groupId>
    <artifactId>spring-boot-starter-actuator</artifactId>
</dependency>
2.控制层需要加上刷新配置注解 @RefreshScope
@RefreshScope
@RestController
public class ConfigClientController {

    @Value("${config.info}")
    private String configInfo;

    @GetMapping("/configInfo")
    public String getConfigInfo(){
        return configInfo;
    }
}
3.bootstrap.yml 添加暴露接口
server:
  port: 3355

spring:
  application:
    name: config-client
  cloud:
    config: #客户端配置
      label: master   #分支名称
      name: config    #配置文件名称
      profile: dev    #读取后缀名称
      #上述综合: http://localhost:3344/master/config-dev
      uri: http://localhost:3344
eureka:
  client:
    service-url:
      defaultZone: http://admin:1234@eureka7001.com:7001/eureka/

management:
  endpoints:
    web:
      exposure:
        include: "*"
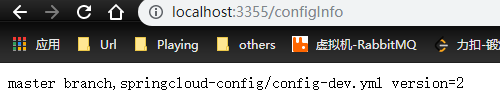
必须手动发送Post请求刷新: curl -X POST “http://localhost:3355/actuator/refresh”

然后再访问 就可以看到最新数据:
5. 额外话题: curl的使用
curl(CommandLine Uniform Resource Locator),即在命令行中利用URL进行数据或者文件传输。
地址
这是curl的官网。
可以从上面的官网地址下载最新的curl版本。
同时可以在官网看出curl支持的各种协议(如HTTP, HTTPS, IMAP, IMAPS, LDAP, LDAPS, POP3, POP3S等)
通过curl -h我们可以获取到所有curl的命令以及其用法描述。
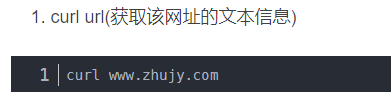
常用的几种命令:
1. curl url 获取该url的网址的文本信息
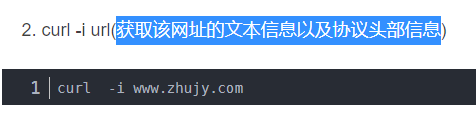
2.curl -i url 获取该网址的文本信息以及协议头部信息
3. curl -v www.baidu.com 显示一次HTTP请求的通信过程
4.Curl执行GET/POST/PUT/DELETE操作 hou -X后跟指定的命令参数去执行
curl -X PUT www.baidu.com
curl -X DELETE www.baidu.com
curl -X POST www.baidu.com
curl -X GET www.baidu.com
比如:post请求
curl -X POST --header “Content-Type:application/json” --data ‘{}’ 127.0.0.1:8088/user/getAllUserInfo


 719
719


 被折叠的 条评论
为什么被折叠?
被折叠的 条评论
为什么被折叠?
 到【灌水乐园】发言


