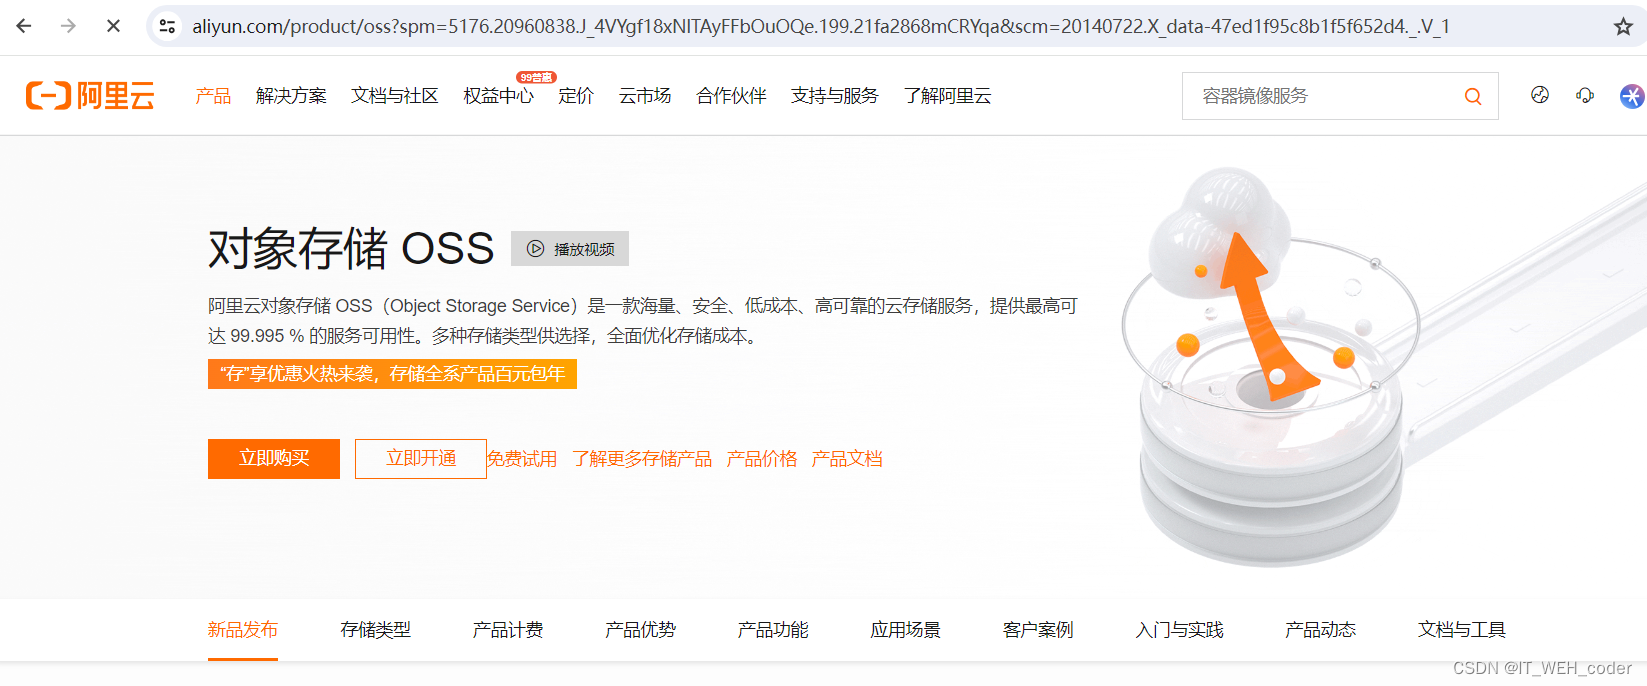
这是一个使用Spring Boot框架整合OSS对象存储服务的项目开发示例。我们将使用阿里云的OSS服务作为示例对象存储服务。
首先,确保你已经在阿里云上创建了一个OSS实例,并获得了访问密钥(Access Key ID和Access Key Secret)。(若想获取阿里云访问密钥,可以查看阿里云官网的相关资料)
对象存储 OSS

1 创建一个Spring Boot项目,并添加以下依赖:
<dependency>
    <groupId>org.springframework.boot</groupId>
    <artifactId>spring-boot-starter-web</artifactId>
</dependency>

<dependency>
    <groupId>com.aliyun.oss</groupId>
    <artifactId>aliyun-sdk-oss</artifactId>
    <version>3.10.2</version>
</dependency>
2 配置OSS相关参数
在application.yml文件中添加OSS连接配置:
oss:
 endpoint: your-oss-endpoint
 accessKeyId: your-access-key-id
 accessKeySecret: your-access-key-secret
 bucketName: your_bucket_name
 fileBasePath: your_file_base_path
3 创建一个OSS配置类(OSSConfig.java),用于配置OSS客户端的连接信息:
import com.aliyun.oss.OSS;
import com.aliyun.oss.OSSClientBuilder;
import org.springframework.beans.factory.annotation.Value;
import org.springframework.context.annotation.Bean;
import org.springframework.context.annotation.Configuration;

@Configuration
public class OSSConfig {

    @Value("${oss.endpoint}")
    private String endpoint;

    @Value("${oss.accessKeyId}")
    private String accessKeyId;

    @Value("${oss.accessKeySecret}")
    private String accessKeySecret;

    @Bean
    public OSS ossClient() {
        return new OSSClientBuilder().build(endpoint, accessKeyId, accessKeySecret);
    }
}
4 创建OSS服务类(OSSService.java)
import com.aliyun.oss.OSS;
import com.aliyun.oss.model.ObjectMetadata;
import com.aliyun.oss.model.PutObjectRequest;
import org.springframework.beans.factory.annotation.Autowired;
import org.springframework.beans.factory.annotation.Value;
import org.springframework.stereotype.Service;
import org.springframework.web.multipart.MultipartFile;

import java.io.IOException;
import java.util.UUID;

@Service
public class OSSService {

    @Autowired
    private OSS ossClient;

    @Value("${oss.bucketName}")
    private String bucketName;

    @Value("${oss.fileBasePath}")
    private String fileBasePath;

    public String upload(MultipartFile file) throws IOException {
        String originalFilename = file.getOriginalFilename();
        String extension = originalFilename.substring(originalFilename.lastIndexOf("."));
        String fileName = UUID.randomUUID().toString() + extension;
        String filePath = fileBasePath + fileName;

        ObjectMetadata metadata = new ObjectMetadata();
        metadata.setContentLength(file.getSize());
        metadata.setContentType(file.getContentType());

        PutObjectRequest request = new PutObjectRequest(bucketName, filePath, file.getInputStream(), metadata);
        ossClient.putObject(request);

        return filePath;
    }
}
5 创建文件上传接口(FileUploadController.java)
现在我们可以开始编写业务代码。假设我们要实现一个文件上传的接口,用户可以通过此接口上传文件到OSS中。
import org.springframework.beans.factory.annotation.Autowired;
import org.springframework.http.ResponseEntity;
import org.springframework.web.bind.annotation.PostMapping;
import org.springframework.web.bind.annotation.RequestParam;
import org.springframework.web.bind.annotation.RestController;
import org.springframework.web.multipart.MultipartFile;

import java.io.IOException;

@RestController
public class FileUploadController {

    @Autowired
    private OSSService ossService;

    @PostMapping("/upload")
    public ResponseEntity<String> uploadFile(@RequestParam("file") MultipartFile file) {
        try {
            String filePath = ossService.upload(file);
            return ResponseEntity.ok().body(filePath);
        } catch (IOException e) {
            e.printStackTrace();
            return ResponseEntity.badRequest().body("File upload failed");
        }
    }
}
这个接口接受一个文件参数,并将文件上传到OSS中。在实际应用中,你可能需要更多的逻辑来处理文件上传,例如生成唯一的文件名、保存文件信息到数据库等。
最后,启动Spring Boot应用程序,访问上传接口并测试文件上传功能。
以上代码示例使用了阿里云OSS作为对象存储服务,你需要替换相应的配置参数为你自己的OSS参数。另外,代码中使用了UUID来生成文件名,并保存在指定的文件路径下,你也可以根据实际需求进行修改。


 本文详细介绍了如何使用SpringBoot框架与阿里云OSS服务集成,包括添加依赖、配置连接参数、创建OSS客户端和文件上传接口。通过示例代码展示了如何实现在SpringBoot应用中上传文件到OSS存储并处理异常情况。


 9961
9961


 被折叠的 条评论
为什么被折叠?


