


从https://www.elastic.co/cn/网站下载elasticsearch的安装包,笔者下载的安装包为elasticsearch-7.1.0的版本。elasticsearch在7版本之后已经自带JDK,但是这里建议使用自己系统安装的JDK。安装JDK可以参考笔者的博文:CentOS7安装JDK8
笔者打算将elasticsearch安装在/usr/local目录下,因而将安装包使用xftp工具上传到该目录下。
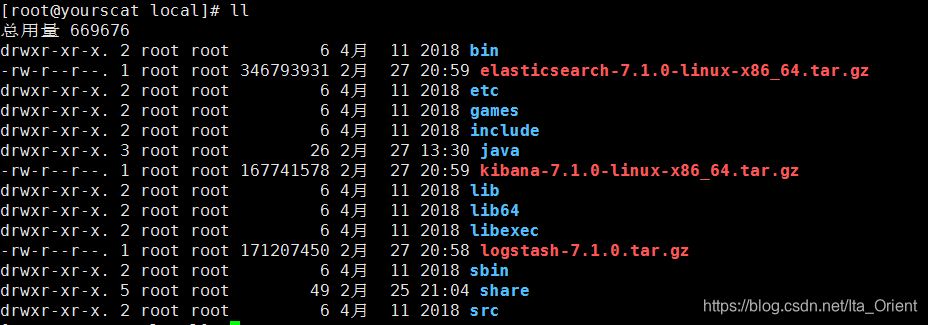
使用tar -zxvf elasticsearch-7.1.0-linux-x86_64.tar.gz命令解压elasticsearch-7.1.0的安装包,解压完成后如图所示,会多出一个elasticsearch-7.1.0的文件夹:

可以使用 rm -rf elasticsearch-7.1.0-linux-x86_64.tar.gz命令将安装包删除。然后我们进入到elasticsearch的文件夹内,看看elasticsearch的目录结构。

bin          //主要存放的是elasticsearch相关的脚本文件
config       // 存放的是elasticsearch的配置文件
jdk         //elasticsearch自带的jdk
logs        //elasticsearch存放日志
modules     //elasticsearch的功能模块
plugins     //elasticsearch的插件,我们安装的插件存放在此目录
在这里我们需要对elasticsearch进行相关的配置,编辑config目录下的elasticsearch.yml文件,重点关注以下7个配置项:
# ======================== Elasticsearch Configuration =========================
#
# NOTE: Elasticsearch comes with reasonable defaults for most settings.
#       Before you set out to tweak and tune the configuration, make sure you
#       understand what are you trying to accomplish and the consequences.
#
# The primary way of configuring a node is via this file. This template lists
# the most important settings you may want to configure for a production cluster.
#
# Please consult the documentation for further information on configuration options:
# https://www.elastic.co/guide/en/elasticsearch/reference/index.html
#
# ---------------------------------- Cluster -----------------------------------
#
# Use a descriptive name for your cluster:
#
cluster.name: yourscat-es-cluster   //-------------(1)---------------------
#
# ------------------------------------ Node ------------------------------------
#
# Use a descriptive name for the node:
#
node
最低0.47元/天 解锁文章


 1439
1439


 被折叠的 条评论
为什么被折叠?
被折叠的 条评论
为什么被折叠?
 到【灌水乐园】发言


