


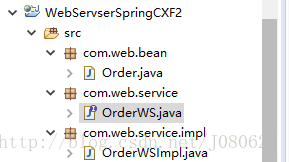
【1】编写服务端代码
① 项目结构
② service
package com.web.service;

import javax.jws.WebMethod;
import javax.jws.WebService;

import com.web.bean.Order;
//通过注解@WebService申明为webservice接口
@WebService
public interface OrderWS {
    //@WebMethod 接口的方法
    //@WebParam给参数命名,提高可代码可读性,此项可选
    @WebMethod
    public Order getOrderById(@WebParam(name="id") int id);
}
③ impl
package com.web.service.impl;

import javax.jws.WebService;

import com.web.bean.Order;
import com.web.service.OrderWS;

@WebService
public class OrderWSImpl implements OrderWS{

    public OrderWSImpl() {
        // TODO Auto-generated constructor stub
        System.out.println("OrderWSImpl is inited ...");
    }

    @Override
    public Order getOrderById(int id) {
        System.out.println("server getOrderById"+id);
        return new Order(id, "tom", 12.02);
    }

}
④ bean-order
package com.web.bean;

public class Order {

    private int id;
    private String name;
    private double price;
    public int getId() {
        return id;
    }
    public void setId(int id) {
        this.id = id;
    }
    public String getName() {
        return name;
    }
    public void setName(String name) {
        this.name = name;
    }
    public double getPrice() {
        return price;
    }
    public void setPrice(double price) {
        this.price = price;
    }
    public Order(int id, String name, double price) {
        super();
        this.id = id;
        this.name = name;
        this.price = price;
    }
    public Order() {
        super();
        // TODO Auto-generated constructor stub
    }
    @Override
    public String toString() {
        return "Order [id=" + id + ", name=" + name + ", price=" + price + "]";
    }


}
【2】配置beans.xml
<?xml version="1.0" encoding="UTF-8"?>
<beans xmlns="http://www.springframework.org/schema/beans"
   xmlns:xsi="http://www.w3.org/2001/XMLSchema-instance"
   xmlns:jaxws="http://cxf.apache.org/jaxws"
   xsi:schemaLocation="http://www.springframework.org/schema/beans http://www.springframework.org/schema/beans/spring-beans.xsd
        http://cxf.apache.org/jaxws http://cxf.apache.org/jaxws">


  <!-- 引cxf的一些核心配置 3.X系列不用引入后面两个 -->
   <import resource="classpath:META-INF/cxf/cxf.xml" />
   <import resource="classpath:META-INF/cxf/cxf-extension-soap.xml" />
   <import resource="classpath:META-INF/cxf/cxf-servlet.xml" />

   <!-- 下面这个配置接口实现类与address,不要急,看下面wsdl -->
   <jaxws:endpoint
     id="orderWS"
     implementor="com.web.service.impl.OrderWSImpl"
     address="/orderws">
    </jaxws:endpoint>

</beans>
【3】配置web.xml
<?xml version="1.0" encoding="UTF-8"?>
<web-app xmlns:xsi="http://www.w3.org/2001/XMLSchema-instance" xmlns="http://java.sun.com/xml/ns/javaee" xsi:schemaLocation="http://java.sun.com/xml/ns/javaee http://java.sun.com/xml/ns/javaee/web-app_2_5.xsd" id="WebApp_ID" version="2.5">
  <welcome-file-list>
    <welcome-file>index.html</welcome-file>
    <welcome-file>index.htm</welcome-file>
    <welcome-file>index.jsp</welcome-file>
    <welcome-file>default.html</welcome-file>
    <welcome-file>default.htm</welcome-file>
    <welcome-file>default.jsp</welcome-file>
  </welcome-file-list>

  <!-- 配置beans.xml -->
  <context-param>
      <param-name>contextConfigLocation</param-name>
      <param-value>classpath:beans.xml</param-value>
   </context-param>

   <!--
        应用启动的一个监听器
    -->
   <listener>
      <listener-class>
         org.springframework.web.context.ContextLoaderListener
      </listener-class>
   </listener>

   <!--
        所有请求都会先经过cxf框架
    -->
   <servlet>
      <servlet-name>CXFServlet</servlet-name>
      <servlet-class>
         org.apache.cxf.transport.servlet.CXFServlet
      </servlet-class>
      <load-on-startup>1</load-on-startup>
   </servlet>
   <servlet-mapping>
      <servlet-name>CXFServlet</servlet-name>
      <url-pattern>/*</url-pattern>
    </servlet-mapping>
</web-app>
【4】发布到tomcat
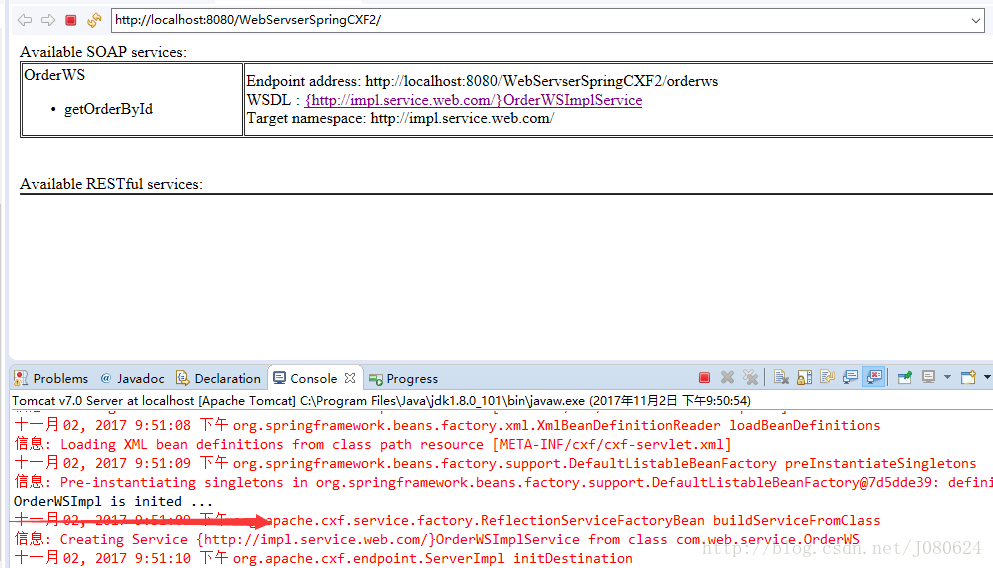
访问WSDL:
http://localhost:8080/WebServserSpringCXF2/orderws?wsdl

// /orderws前面的好理解,"/orderws"就是endpoint中定义的,"?wsdl"就不多说了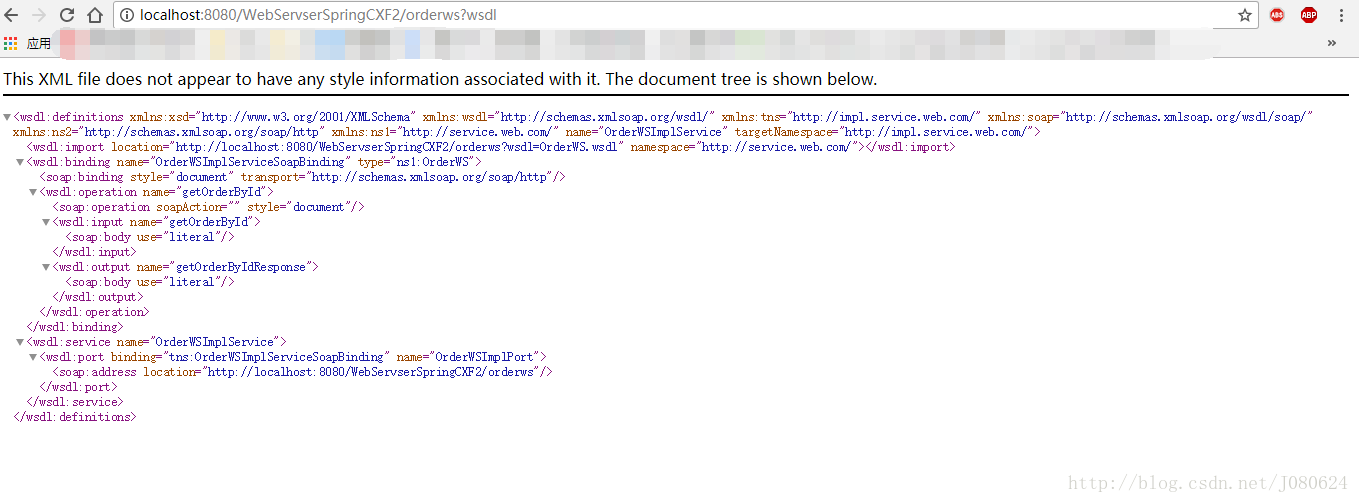
WSDL文件如下:
<?xml version='1.0' encoding='UTF-8'?><wsdl:definitions xmlns:xsd="http://www.w3.org/2001/XMLSchema" xmlns:wsdl="http://schemas.xmlsoap.org/wsdl/" xmlns:tns="http://impl.service.web.com/" xmlns:soap="http://schemas.xmlsoap.org/wsdl/soap/" xmlns:ns2="http://schemas.xmlsoap.org/soap/http" xmlns:ns1="http://service.web.com/" name="OrderWSImplService" targetNamespace="http://impl.service.web.com/">
  <wsdl:import location="http://localhost:8080/WebServserSpringCXF2/orderws?wsdl=OrderWS.wsdl" namespace="http://service.web.com/">
    </wsdl:import>
  <wsdl:binding name="OrderWSImplServiceSoapBinding" type="ns1:OrderWS">
    <soap:binding style="document" transport="http://schemas.xmlsoap.org/soap/http"/>
    <wsdl:operation name="getOrderById">
      <soap:operation soapAction="" style="document"/>
      <wsdl:input name="getOrderById">
        <soap:body use="literal"/>
      </wsdl:input>
      <wsdl:output name="getOrderByIdResponse">
        <soap:body use="literal"/>
      </wsdl:output>
    </wsdl:operation>
  </wsdl:binding>
  <wsdl:service name="OrderWSImplService">
    <wsdl:port binding="tns:OrderWSImplServiceSoapBinding" name="OrderWSImplPort">
      <soap:address location="http://localhost:8080/WebServserSpringCXF2/orderws"/>
    </wsdl:port>
  </wsdl:service>
</wsdl:definitions>
【5】新建客户端项目 ,进行客户端编写与调试
① 新建客户端项目,根据wsdl生成Stub
过程参考:使用JDK(jetty)生成Stub进行webservice开发
② 配置client-beans.xml
<?xml version="1.0" encoding="UTF-8"?>
<beans xmlns="http://www.springframework.org/schema/beans"
   xmlns:xsi="http://www.w3.org/2001/XMLSchema-instance"
   xmlns:jaxws="http://cxf.apache.org/jaxws"
   xsi:schemaLocation="http://www.springframework.org/schema/beans
    http://www.springframework.org/schema/beans/spring-beans.xsd
    http://cxf.apache.org/jaxws http://cxf.apache.org/jaxws">

    <!-- 客户端配置 -->
    <jaxws:client id="orderClient"
        serviceClass= "com.web.service.OrderWS"
        address= "http://localhost:8080/WebServserSpringCXF2/orderws">
    </jaxws:client>
</beans>
③ 编写客户端测试类
package com.web.Client;

import org.springframework.context.support.ClassPathXmlApplicationContext;

import com.web.service.Order;
import com.web.service.OrderWS;

public class ClientTest {

    public static void main(String[] args) {
        ClassPathXmlApplicationContext context = new ClassPathXmlApplicationContext("client-beans.xml");
        OrderWS orderWS = (OrderWS) context.getBean("orderClient");
        Order orderById = orderWS.getOrderById(1);
        System.out.println("Client "+orderById);
    }
}
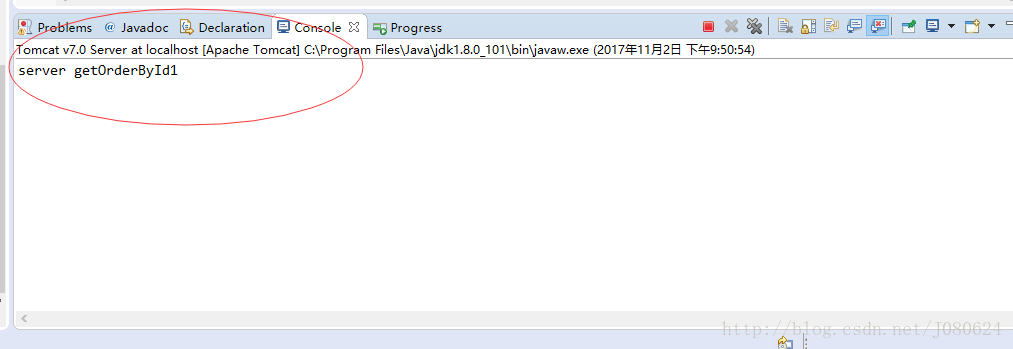
运行并查看客户端输出结果:

查看服务端输出结果:
项目源码及jar下载:http://download.csdn.net/download/j080624/10051110
CXF+Spring+MyBatis+Maven源码下载 :


 3442
3442


 被折叠的 条评论
为什么被折叠?
被折叠的 条评论
为什么被折叠?
 到【灌水乐园】发言


