


背景
现如今,人人有手机,手机皆为苹果安卓等智能手机;
现如今,人人爱网购,网购皆为淘宝京东等电商平台。
喜欢网购的你是否发现,下载好淘宝京东,只要你时不时的用一下它,就不用登录了。
这是为什么呢?
从技术的角度而言,当用户在一定的时间内使用过该平台就可以不用再次登录,但一定要注意的是首次肯定得登录,如果用户超过一定的时间没有使用,就必须得重新登录,这种方式我们将它称之为双token。
流程示意图

具体说明如下:
- 1.根据需要下载软件,完成注册账户
- 2.登录账户,后端返回 两个token信息,分别为 access_token 以及 refresh_token,access_token称之为短token,refresh_token称之为长token
- 3.短token也就是access_token未过期,所有的请求一切都正常,用户需要什么数据就返回什么数据
- 4.access_token 过期,服务端返回一个状态码给客户端,客户端接收到该状态码之后,使用refresh_token重新获取一次新的 access_token 和 refresh_token,相当于重置token
- 5.如果在refresh_token有效期中没有使用过该软件,意味着refresh_token过期,使用它获取新的 access_token 和 refresh_token 时会返回新的一个状态码,提示用户必须登录
有的人可能会有这样的疑问:为什么在使用 refresh_token 时要返回新的access_token 和 refresh_token,而不是延长 原来的 refresh_token 有效期?
- 为了安全,如果一旦 refresh_token 被黑客等人员截获到,他们就一直可以非法使用你的账号
- 即使一旦被截获,只要用户这边刷新就会重新获取到新的 refresh_token,那么以前的 被截获的 refresh_token 就会失效
token的时间设置
token的时间设置需要看需求进行划分区别设置:
PC网络应用
对于网络应用程序而言,由于token可以直接直观地获取到,因此不管是accessToken还是refreshToken为了安全起见,其过期时间都不应该设置得很长,且需要不停地更换token,因此PC网络应用的accessToken一般设置为2h过期,而refreshToken设置为1天到2天比较好,不足1天也是可以的,如果设置的时间比较短就在活跃期间时常刷新freshToken就好了,如果设置的时间比较长,就只需要设置一个阈值(比如7day的refreshToken设置一个6day阈值),在refreshToken小于等于这个阈值的时候就进行刷新refreshToken就好了。
手机应用
对于手机APP应用而言,登录操作一般只做一次,因此token的过期时间必是无限,即不会过期,不过为了安全起见(比如防止你丢手机),token应该以某种程度上对用户可见(比如在安全中心里检验了身份之后可以让你看到哪些设备有token,即哪些设备会被允许登录)并可让用户对其进行一定程度上的操作(比如你手机丢了,然后登录安全中心移除那个手机的token,也就是移除那个手机的登陆权限,从而使那个手机的应用上的你的帐号强制下线)
无效的Token的处理
对于频繁更换的Token,如何处理旧的未过期的而又无效的Token,以下提供了几个思路:
1) 简单地从浏览器中移除token就好了
显然,这种方式对于服务器方面的安全而言并没有什么卵用,但它能通过移除存在的token来阻止攻击者(比如,攻击者必须在用户下线之前窃取到token)
2) 制作一张token黑/白名单
在移除了浏览器存储的token后如果还想要再严格点,就只能在服务器上制作一张已经无效但是没过期的token的黑/白名单了,在每次请求中都操作数据库进行token的匹配,并以某种方式进行维护(不管是黑名单的定期删除维护也好,白名单的无效时删除也好),不过显然这种方式还是违背了token无状态的初衷,但是除此之外也没别的办法。
存储可以按照userId—token的方式存储在数据库中(当然也可以按你喜欢添加其他字段标明其他信息,比如说mac地址啦,是手机还是电脑啦,设备型号啦,巴拉巴拉巴拉····),白名单的话直接存储有效的token,在需要token无效的逻辑中删除指定token即可(比如刷新token的时候把旧的无效的但未过期的删掉)。而如果是黑名单的话就需要你定期去删除其中已经过期的token了。
而验证的话除了要去数据库名单里匹配之外还需要验证token本身的有效性。
3)只需要将token的过期时间设置的足够短就行了
如何刷新Token(引用自github)
static refreshToken = (token): string => {
    let optionKeys = ['iat', 'exp', 'iss', 'sub'];
    let newToken;
    let obj = {};

    let now = Math.floor(Date.now()/1000);
    let timeToExpire = (token['exp'] - now);

    if (timeToExpire < (60 * 60)) { //1h
        for (let key in token) {
            if (optionKeys.indexOf(key) === -1) {
                obj[key] = token[key];
            }
        }

        let options = {
            expiresIn: '7 days',
            issuer: 'moi',
            subject: token.sub,
            algorithm: 'HS256'
        };

        newToken = JWT.sign(obj, Config.get('/jwtSecret'), options);
    }
    else {
        newToken = '';  //no need to refresh, do what you want here.
    }

    return newToken;
}
刷新refresh Token的另一种思路(官网)
/**
 * Example to refresh tokens using https://github.com/auth0/node-jsonwebtoken
 * It was requested to be introduced at as part of the jsonwebtoken library,
 * since we feel it does not add too much value but it will add code to mantain
 * we won't include it.
 *
 * I create this gist just to help those who want to auto-refresh JWTs.
 */const jwt = require('jsonwebtoken');

function TokenGenerator (secretOrPrivateKey, secretOrPublicKey, options) {
  this.secretOrPrivateKey = secretOrPrivateKey;
  this.secretOrPublicKey = secretOrPublicKey;
  this.options = options; //algorithm + keyid + noTimestamp + expiresIn + notBefore
}

TokenGenerator.prototype.sign = function(payload, signOptions) {
  const jwtSignOptions = Object.assign({}, signOptions, this.options);
  return jwt.sign(payload, this.secretOrPrivateKey, jwtSignOptions);
}

// refreshOptions.verify = options you would use with verify function
// refreshOptions.jwtid = contains the id for the new token
TokenGenerator.prototype.refresh = function(token, refreshOptions) {
  const payload = jwt.verify(token, this.secretOrPublicKey, refreshOptions.verify);
  delete payload.iat;
  delete payload.exp;
  delete payload.nbf;
  delete payload.jti; //We are generating a new token, if you are using jwtid during signing, pass it in refreshOptions
  const jwtSignOptions = Object.assign({ }, this.options, { jwtid: refreshOptions.jwtid });
  // The first signing converted all needed options into claims, they are already in the payload
  return jwt.sign(payload, this.secretOrPrivateKey, jwtSignOptions);
}

module.exports = TokenGenerator;
测试模块:
/**
 * Just few lines to test the behavior.
 */

const TokenGenerator = require('./token-generator');
const jwt = require('jsonwebtoken');

const tokenGenerator = new TokenGenerator('a', 'a', { algorithm: 'HS256', keyid: '1', noTimestamp: false, expiresIn: '2m', notBefore: '2s' })
token = tokenGenerator.sign({ myclaim: 'something' }, { audience: 'myaud', issuer: 'myissuer', jwtid: '1', subject: 'user' })
setTimeout(function () {
  token2 = tokenGenerator.refresh(token, { verify: { audience: 'myaud', issuer: 'myissuer' }, jwtid: '2' })
  console.log(jwt.decode(token, { complete: true }))
  console.log(jwt.decode(token2, { complete: true }))
}, 3000)
关于Python技术储备
学好 Python 不论是就业还是做副业赚钱都不错,但要学会 Python 还是要有一个学习规划。最后大家分享一份全套的 Python 学习资料,给那些想学习 Python 的小伙伴们一点帮助!
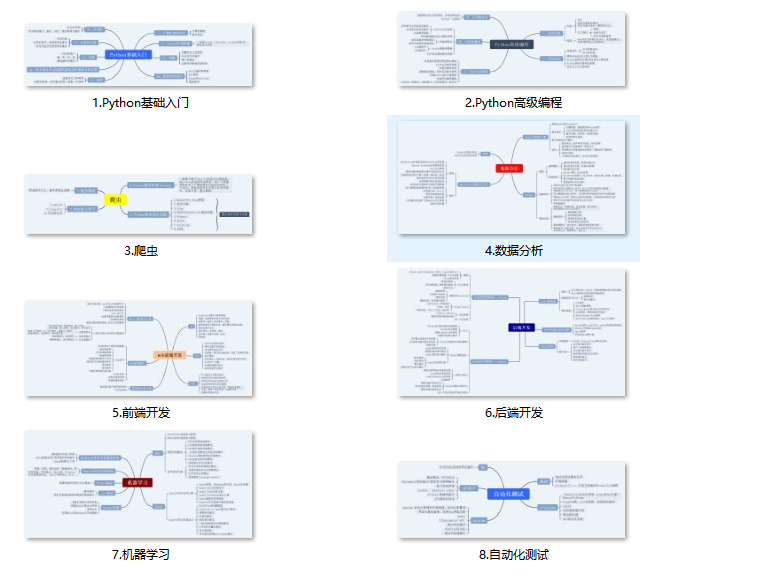
一、Python所有方向的学习路线
Python所有方向路线就是把Python常用的技术点做整理,形成各个领域的知识点汇总,它的用处就在于,你可以按照上面的知识点去找对应的学习资源,保证自己学得较为全面。
二、学习软件
工欲善其事必先利其器。学习Python常用的开发软件都在这里了,给大家节省了很多时间。

三、入门学习视频
我们在看视频学习的时候,不能光动眼动脑不动手,比较科学的学习方法是在理解之后运用它们,这时候练手项目就很适合了。

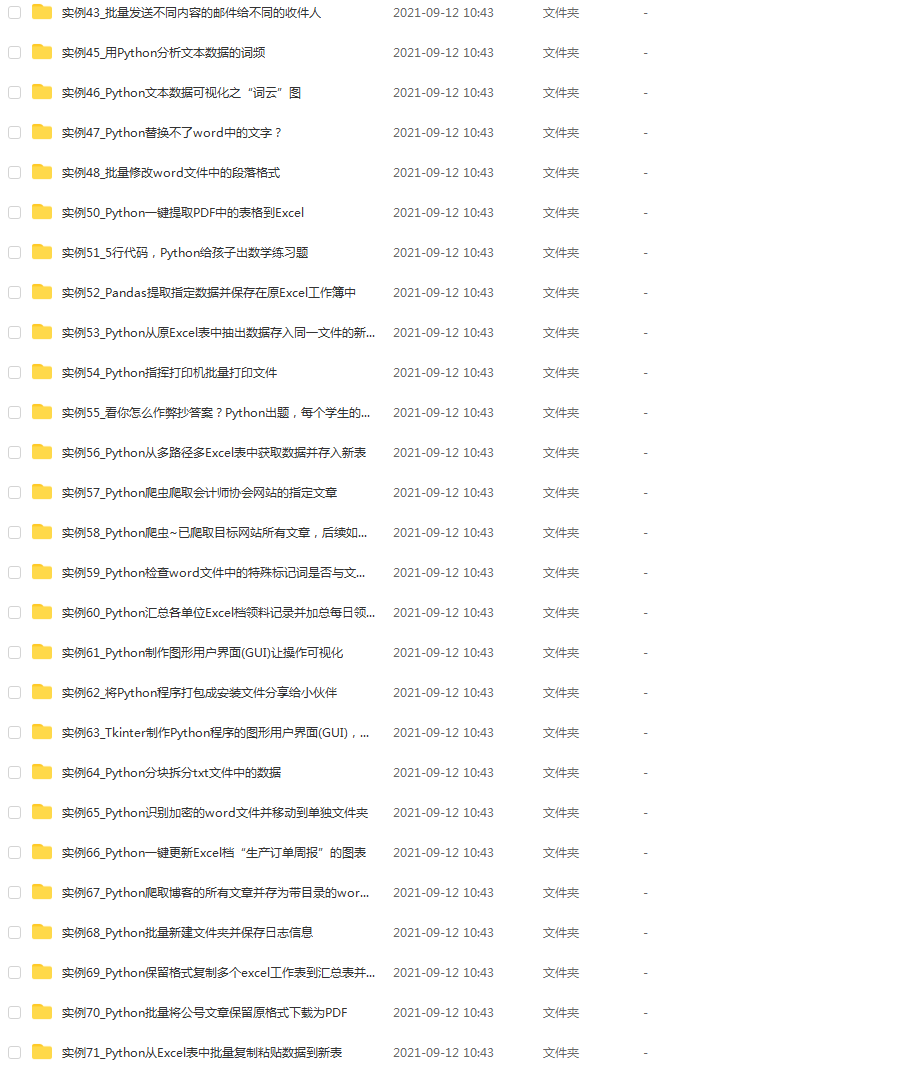
四、实战案例
光学理论是没用的,要学会跟着一起敲,要动手实操,才能将自己的所学运用到实际当中去,这时候可以搞点实战案例来学习。
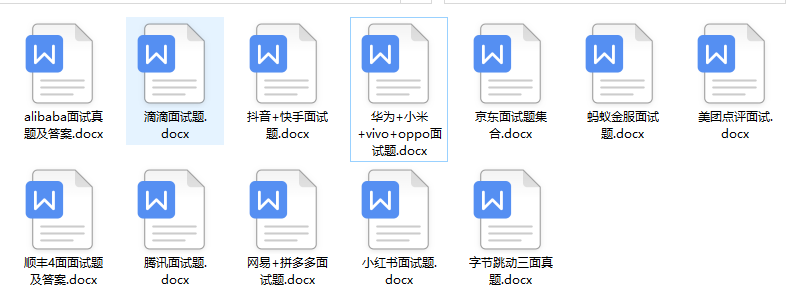
五、面试资料
我们学习Python必然是为了找到高薪的工作,下面这些面试题是来自阿里、腾讯、字节等一线互联网大厂最新的面试资料,并且有阿里大佬给出了权威的解答,刷完这一套面试资料相信大家都能找到满意的工作。

这份完整版的Python全套学习资料已经上传CSDN,朋友们如果需要可以微信扫描下方CSDN官方认证二维码免费领取【保证100%免费】


 3883
3883

 被折叠的 条评论
为什么被折叠?
被折叠的 条评论
为什么被折叠?
 到【灌水乐园】发言


