


目录
一、处理图片资源
在 Webpack4 时,处理图片资源需通过 file-loader 和 url-loader 进行处理
Webpack5 已经将两个 Loader 功能内置到 Webpack 里了,只需要简单配置即可处理图片资源
1.1 配置
webpack.config.js 添加配置
      {
        test: /\.(png|jpe?g|gif|svg|webp)$/,
        type: "asset",
        parser: {
          dataUrlCondition: {
            // 小于20kb的图片转换化为base64
            // 优点:减少请求数量;缺点:体积会更大
            maxSize: 20 * 1024, // // 小于20kb的图片会被base64处理
          },
        },
      },
1.2 添加图片资源并使用
(1)src/images 下添加图片资源

(2)在index.less中引入图片资源
@maincolor: red;
.box2 {
  width: 100px;
  height: 100px;
  // background-color: @maincolor;
  background-image: url("../images/1.png");
  background-size: cover;
}
(3)在index.scss中引入图片资源
.box3 {
  width: 100px;
  height: 100px;
  background-image: url("../images/2.JPG");
  background-size: cover;
}
(4)在index.sass中引入图片资源
.box4
    width:100px
    height:100px
    background-image: url("../images/3.JPG")
    background-size: cover
(4)终端运行打包指令:
npx webpack打包完后,对应的图片会进行一个hash命名加密出现在dist目录中

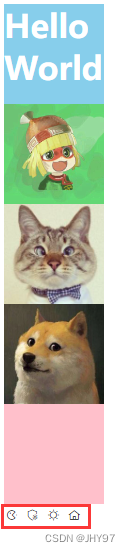
打开index.html后图片可以正常显示出来

二、修改输出文件目录
(1)webpack.config.js 配置文件
// Node.js的核心模块,专门用来处理路径问题
const path = require("path");

module.exports = {
  // 入口
  entry: "./src/main.js", // 相对路径和绝对路径都行
  // 输出
  output: {
    //   文件输出路径
    // __dirname:nodejs的变量,代表当前文件的文件夹目录
    path: path.resolve(__dirname, "dist"), // 绝对路径
    // 文件名
    filename: "static/js/main.js", // 将 js 文件输出到 static/js 目录中
  },
  // 加载器
  module: {
    rules: [
      // loader的配置
...
      {
        test: /\.(png|jpe?g|gif|svg|webp|JPG)$/,
        type: "asset",
        parser: {
          dataUrlCondition: {
            maxSize: 20 * 1024,
          },
        },
        generator: {
          // 将图片文件输出到 static/images 目录中
          // 将图片文件命名 [hash:10][ext][query]
          // [hash:10]: hash值取10位
          // [ext]: 使用之前的文件扩展名
          // [query]: 添加之前的query参数
          filename: "static/images/[hash:10][ext][query]",
        },
      },
    ],
  },
  //   插件
  plugins: [
    // plugins的配置
  ],
  //   模式
  mode: "development",
};- 将图片文件命名 [hash:10][ext][query]
- [hash:10]: hash值取10位
- [ext]: 使用之前的文件扩展名
- [query]: 添加之前的query参数
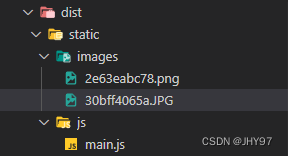
(2)终端运行打包指令:
npx webpack打开dist目录可以看到不同资源文件放入了对应文件中
三、自动删除上次打包内容
webpack.config.js配置文件
// Node.js的核心模块,专门用来处理路径问题
const path = require("path");

module.exports = {
  // 入口
  entry: "./src/main.js", // 相对路径和绝对路径都行
  // 输出
  output: {
    path: path.resolve(__dirname, "dist"),
    filename: "static/js/main.js",
    // 自动清空上次打包结果
    clean: true,
  },
  // 加载器
  module: {
    rules: [
      // loader的配置
      ...
  },
  //   插件
  plugins: [
    // plugins的配置
  ],
  //   模式
  mode: "development",
};
四、字体图标资源
4.1 添加字体图标资源并使用
字体图标资源下载
(1)添加字体图标资源,下载解压后直接将对应文件移入即可
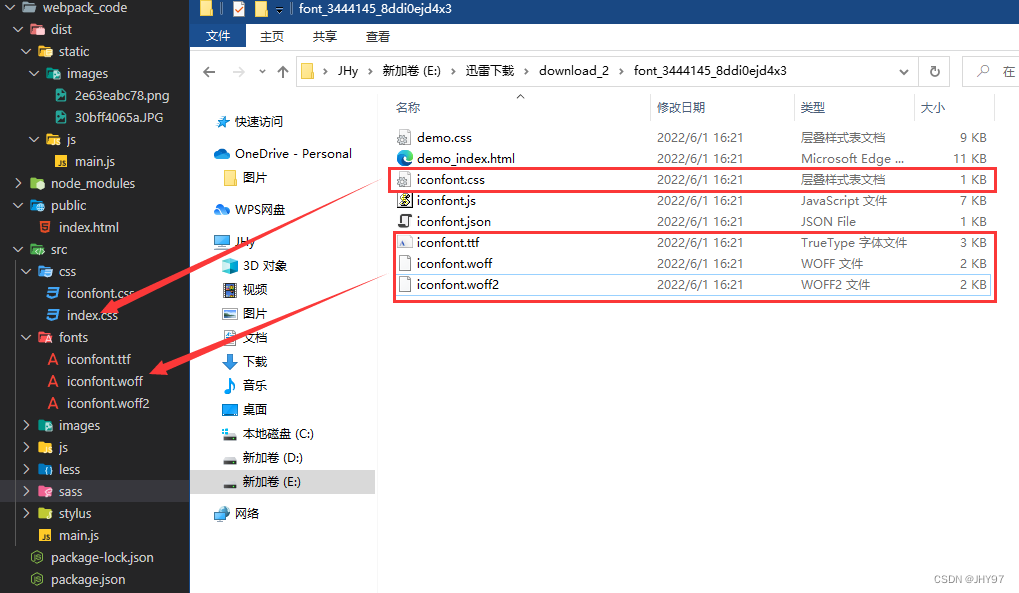
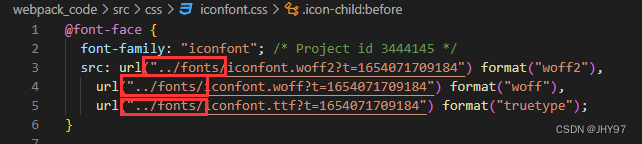
- 注意 iconfont.css 中字体文件路径需要修改
(2)在main.js中引入字体图标资源
import "./css/iconfont.css";(3)在 public/index.html 中使用字体图标资源
    <span class="iconfont icon-child"></span>
    <span class="iconfont icon-bluray"></span>
    <span class="iconfont icon-brightness"></span>
    <span class="iconfont icon-home"></span>
4.2 配置
webpack.config.js配置
{
test: /\.(ttf|woff2?)$/,
type: "asset/resource",
generator: {
filename: "static/fonts/[hash:8][ext][query]",
},
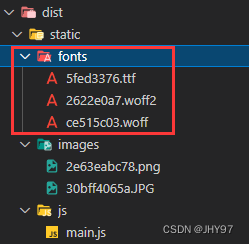
},终端运行打包指令:
npx webpack可以看到dist目录中,字体图标资源已经被打包好了
打开index.html后字体图标可以正常显示出来
五、处理其他资源
同一通过配置文件 type: "asset/resource", 处理即可
举例说明:
const path = require("path");

module.exports = {
  entry: "./src/main.js",
  output: {
    path: path.resolve(__dirname, "dist"),
    filename: "static/js/main.js",
    clean: true,
  },
  module: {
    rules: [
      // loader的配置
      // 统一处理其他资源
      {
        test: /\.(ttf|woff2?|mp3|mp4|avi)$/,
        type: "asset/resource",
        generator: {
          filename: "static/media/[hash:8][ext][query]",
        },
      },
    ],
  },
  //   模式
  mode: "development",
};


 1770
1770


 被折叠的 条评论
为什么被折叠?
被折叠的 条评论
为什么被折叠?
 到【灌水乐园】发言


