


插入数据成功之后我们就要将数据展示出来

页面样式设计
<div class="layuimini-container layuimini-page-anim">
    <div class="layuimini-main">
        <script type="text/html" id="toolbarDemo">
            <div class="layui-btn-container">
                <button class="layui-btn layui-btn-normal layui-btn-sm data-add-btn" lay-event="add"> 我要打卡 </button>
            </div>
        </script>
        <table class="layui-hide" id="currentTableId" lay-filter="currentTableFilter"></table>
    </div>
</div>
<script>
    layui.use(['form', 'table','miniPage','element'], function () {
        var $ = layui.jquery,
            form = layui.form,
            table = layui.table,
            miniPage = layui.miniPage;
        window.reload=function(){
            table.reload('currentTableId');
        }
        table.render({
            elem: '#currentTableId',
            url: 'health/queryAllHealth',//查询所有请假信息
            toolbar: '#toolbarDemo',
            defaultToolbar: ['filter', 'exports', 'print', {
                title: '提示',
                layEvent: 'LAYTABLE_TIPS',
                icon: 'layui-icon-tips'
            }],
            cols: [[
                {type: "checkbox", width: 50},
                // {field: 'id', width: 80, title: 'ID', sort: true},
                {templet:'<div>{{ d.user.username}}</div>', width: 90, title: '学生'},
                {templet:'<div>{{ d.user.tel}}</div>', width: 110, title: '联系方式'},
                {templet:"<div>{{ layui.util.toDateString(d.pushTime,'yyyy-MM-dd HH:mm:ss')}}</div>", width: 160, title: '打卡时间'},
                {field: 'iso', width: 90, title: '是否隔离'},
                {field: 'cough', width: 120, title: '是否咳嗽'},
                {field: 'fever',width: 120, title: '是否发烧'},
                {field: 'trip', width: 200, algin:'center', title: '行程码',templet : '#img_trip'},
                {field: 'health', width: 200, algin:'center', title: '健康码',templet: '#img_health'},
                {field: 'location', width: 100, title: '打卡位置'},
                {title: '操作', minWidth: 150, toolbar: '#currentTableBar', align: "center"}
            ]],
            limits: [10, 15, 20, 25, 50, 100],
            limit: 15,
            page: true,
            skin: 'line'
        });

        /**
         * toolbar事件监听
         */
        table.on('toolbar(currentTableFilter)', function (obj) {
            if (obj.event === 'add') {   // 监听添加操作
                var content = miniPage.getHrefContent('page/health/add.html');
                var openWH = miniPage.getOpenWidthHeight();
                var index = layer.open({
                    title: '我要打卡',
                    type: 1,
                    shade: 0.2,
                    maxmin:true,
                    shadeClose: true,
                    area: ['60%', '60%'],
                    content: content,
                });
                $(window).on("resize", function () {
                    layer.full(index);
                });
            }
        });
</script>
<script type="text/html" id="img_trip">
    <img src="{{d.trip}}" width="200" height="250" alt="">
</script>
<script type="text/html" id="img_health">
    <img src="{{d.health}}" width="200" height="250" alt="">
</script>
向后端请求查询数据库数据并展示
table.render({
            elem: '#currentTableId',
            url: 'health/queryAllHealth',//查询所有请假信息
            toolbar: '#toolbarDemo',
            defaultToolbar: ['filter', 'exports', 'print', {
                title: '提示',
                layEvent: 'LAYTABLE_TIPS',
                icon: 'layui-icon-tips'
            }],
            cols: [[
                {type: "checkbox", width: 50},
                // {field: 'id', width: 80, title: 'ID', sort: true},
                {templet:'<div>{{ d.user.username}}</div>', width: 90, title: '学生'},
                {templet:'<div>{{ d.user.tel}}</div>', width: 110, title: '联系方式'},
                {templet:"<div>{{ layui.util.toDateString(d.pushTime,'yyyy-MM-dd HH:mm:ss')}}</div>", width: 160, title: '打卡时间'},
                {field: 'iso', width: 90, title: '是否隔离'},
                {field: 'cough', width: 120, title: '是否咳嗽'},
                {field: 'fever',width: 120, title: '是否发烧'},
                {field: 'trip', width: 200, algin:'center', title: '行程码',templet : '#img_trip'},
                {field: 'health', width: 200, algin:'center', title: '健康码',templet: '#img_health'},
                {field: 'location', width: 100, title: '打卡位置'},
                {title: '操作', minWidth: 150, toolbar: '#currentTableBar', align: "center"}
            ]],
            limits: [10, 15, 20, 25, 50, 100],
            limit: 15,
            page: true,
            skin: 'line'
        });
注意:因为要展示图片所以必须在图片的那一列加上templet : ‘#id’
{field: 'trip', width: 200, algin:'center', title: '行程码',templet : '#img_trip'},
显示图片对应的js
<script type="text/html" id="img_trip">
    <img src="{{d.trip}}" width="200" height="250" alt="">
</script>
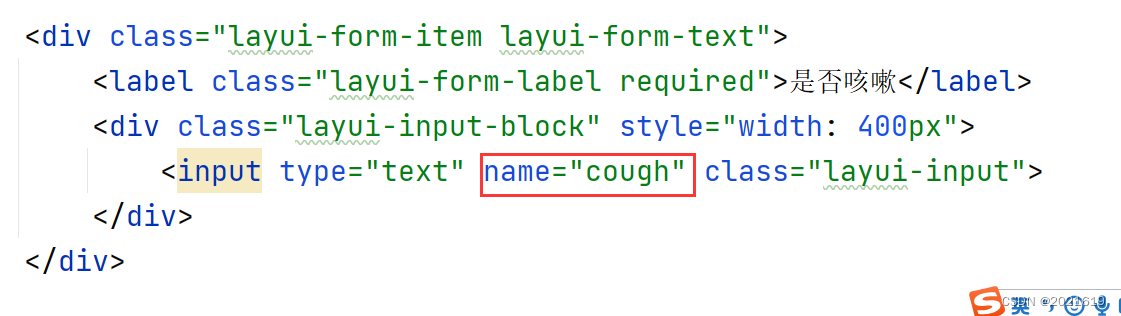
突然想起
在前面写的一篇关于前端的时候,提交的表单中的每个字段的name值都要对应entity中的属性,千万不能错,不然插入数据的时候插入不进去。
查询所有打卡信息的后端接口
@RequestMapping("/queryAllHealth")
    public JsonObject queryAllHealth(@RequestParam(defaultValue = "1") Integer page,
                                     @RequestParam(defaultValue = "15")Integer limit,
                                     Health health, HttpSession session){
        JsonObject jsonObject=new JsonObject();
        User user= (User) session.getAttribute("user");
        //System.out.println(user.getId()+user.getUsername());
        if(user.getRoleName().equals("学生")){
            health.setUserId(user.getId());
            //System.out.println(health.getUserId());
        }
        PageInfo<Health> pageInfo = healthService.queryPageHealth(page, limit, health);
        jsonObject.setMsg("ok");
        jsonObject.setCode(0);
        jsonObject.setCount(pageInfo.getTotal());
        jsonObject.setData(pageInfo.getList());
        return  jsonObject;
    }


 307
307


 被折叠的 条评论
为什么被折叠?
被折叠的 条评论
为什么被折叠?
 到【灌水乐园】发言


