前沿:
上传是我们开发中必不可少的,我们在使用vue上传时,大部分都会用element UI组件去上传,但是组件也是原生编写而来的,我们在使用的时候,也渐渐忘记了本心,此次就给大家介绍一下在vue中如何实现简单的上传
注:此次就是简单的功能,没有校校验上传格式、大小及时间,拖拽上传。
- 我们实现上传首页就是我们的input标签的type=file
- 这里我们选择将上传写成一个组件,在组件调用来使用
页面实现
我们先以上传视频为例

在写上传前我们先了解几个知识点
-
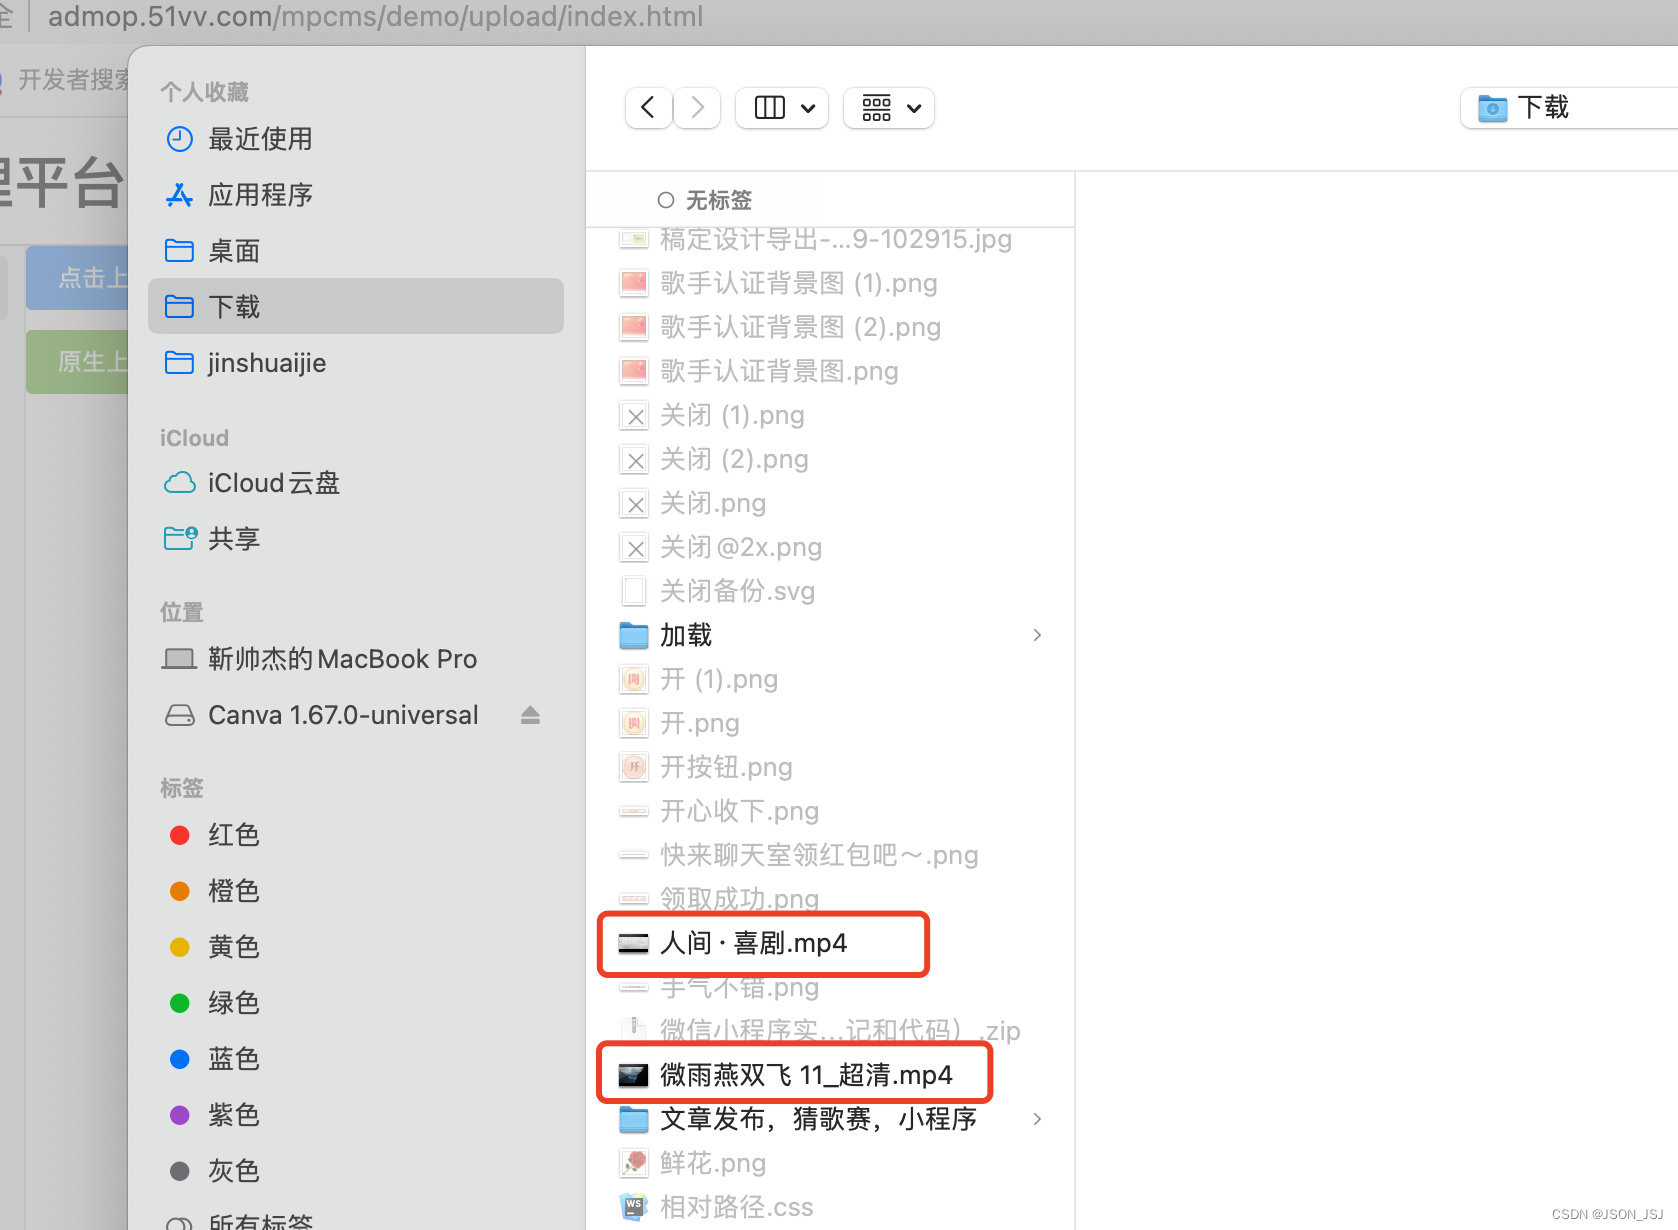
通过input标签的type属性设置为file,可以创建一个文件上传控件。控件常用的属性
-
accept:文件类型限制,即让用户只能选择特定类型的文件进行上传。
eg:accept=".mp4"只能上传mp4格式的。多个文件类型使用逗号隔开,
eg:accept=".mp4,.mov"。 -
multiple:设置是否允许同时选择多个文件进行上传。如果设置了multiple属性,用户在使用Ctrl或Shift键的同时点击多个文件,就可以一次性上传多个文件。
-
capture:设置选择文件时使用设备摄像头或麦克风录音。可选值为"camera"或"microphone"。这个属性目前只有移动端浏览器支持。
-
disabled:设置文件上传控件是否处于不可用状态。
-
name:设置文件上传控件的名称。
-
required:设置文件上传控件是否为必填项,如果用户未选择文件进行上传,则无法提交表单。需要注意的是,该属性不能代替服务器端对文件的非空校验。(这里暂时用不到)
-
onchange:当文件选择发生变化时,触发此事件处理程序。
-
value:设置默认文件名
-
把文件转换成base64地址
window.webkitURL.createObjectURL(file) 方法,将正在上传的文件转换成了可访问的 URL 对象,然后直接在浏览器中播放视频。
-
格式化文件大小
我们在上传过程中,会需要文件大小渲染的问题,如何正确的计算也是不可缺少的
  // 格式化文件大小
//方法一:
        formatSize ( bytes ) {
            if ( bytes == 0 ) {
                return '0B';
            }
            const k = 1024;
            const sizes = [
                'B',
                'KB',
                'MB',
                'GB',
                'TB',
                'PB',
                'EB',
                'ZB',
                'YB',
            ];
            const i = Math.floor( Math.log( bytes ) / Math.log( k ) );
            return ( bytes / Math.pow( k, i ) ).toFixed( 1 ) + sizes[i];
        },

//方法二
        formatSize ( bytes ) {
            if ( bytes < 1024 ) {
                return bytes + 'B';
            }
            if ( bytes < 1024 * 1024 ) {
                return ( bytes / 1024 ).toFixed( 1 ) + 'KB';
            }
            if ( bytes < 1024 * 1024 * 1024 ) {
                return ( bytes / ( 1024 * 1024 ) ).toFixed( 1 ) + 'MB';
            }
            return ( bytes / ( 1024 * 1024 * 1024 ) ).toFixed( 1 ) + 'GB';
        },
了解完上面的,接下来我们进去正式上传实现
一、 上传组件
<input accept=".mp4" type="file">

下面是我们上传的文件数据格式

因为上传样式多样化,我们需要自定义,所以我们将input通过display:none隐藏;
我们在父盒子,调用通过点击事件调用input事件实现上传;上传过程分为:上传前、上传状态改变(我这里没有写,上传前==上传状态改变)、上传进度、上传失败、上传成功;
<template>
	<div @click="uploadClick">
		<input
			:name="name"
			:accept="accept"
			type="file"
			style="display: none;"
			ref="uploadInput"
			@change="uploadFileChange">
		<!-- 插槽用来插入自定义上传布局 -->
		<slot></slot>
	</div>
</template>

<script>
export default {
    data () {
        return {
            file: null,
            files: [],
        };
    },
    props: {
        // 上传地址
        action: {
            type: String,
            default: '',
        },
        // 上传文件名
        name: {
            type: String,
            default: 'mFile',
        },
        // 是否在选取文件后立即进行上传
        autoUpload: {
            type: Boolean,
            default: true,
        },
        // 文件上传的类型
        accept: {
            type: String,
            default: '',
        },
        // 上传文件前
        beforeUpload: {
            type: Function,
            default: () => Function,
        },
        // 上传文件时的钩子
        onProgress: {
            type: Function,
            default: () => Function,
        },
        onSuccess: {
            type: Function,
            default: () => Function,
        },
        onError: {
            type: Function,
            default: () => Function,
        },
    },
    methods: {
        // 上传文件
        uploadClick () {
            this.$refs.uploadInput.value = '';
            this.$refs.uploadInput.click();
        },
        // 文件改变时
        uploadFileChange ( e ) {
            console.log( '文件改变时');
            this.file =  e.target.files[0];
            this.uploadFile();
        },
        // 上传文件
        uploadFile () {
            let beforeUploadbool = true;
            beforeUploadbool = this.beforeUpload && this.beforeUpload( this.file );
            // beforeUpload返回的值。 beforeUploadbool为false,终止上传
            if ( !beforeUploadbool ) {
                return;
            }
            this.submit();
        },
        submit () {
            const xhr = new XMLHttpRequest();// 1. 创建对象
            const form = new FormData();// 创建一个空表单数据对象
            form.append( this.name, this.file );
            xhr.open( 'POST', this.action, true );// 2. 与服务器建立连接
            xhr.upload.onprogress = ( e ) => { // 监听文件传输进度
                this.onProgress && this.onProgress( e );
            };
            xhr.onload = ( e ) => { // 监听文件传输进度
                console.log( '上传onload');
                if ( e.target.readyState && e.target.status ) {//4 && 200
                    this.onSuccess && this.onSuccess( JSON.parse( e.target.response ), this.file );
                }
            };
            xhr.onerror = ( error ) => {
                this.onError && this.onError( error, this.file );
            };
            xhr.send( form );// 3. 发送请求;
        },
    },

};
</script>

<style>

</style>
2. 使用组件
<template>
	<div>
		<common-upload
			:name="name"
			:action="'http://admop.51vv.com/mpcms/space/test_big_fileUpload'"
			:before-upload="beforeAvatarUpload"
			:on-success="uploadSuccess"
			:on-error="uploadError"
			:on-progress="onProgress"
		>
			<el-button  class="upload-btn" size="small" type="success">
				原生上传
			</el-button>
		</common-upload>
		<div v-show="uploadbool">
			<div><label>文件名:</label>{{file.name ? file.name : ''}}<span class="mb">{{file.size ? formatSize(file.size) : '0b'}}</span></div>
			<div><label>已上传</label><span class="jindu">{{percent}}%</span></div> </div>
		<video
			v-show="uploadbool"
			class="video"
			id="video"
			:src="videoUrl"
			crossorigin="anonymous"
			autoplay="autoplay"
			loop="loop"></video>
	</div>
</template>
<script>
import commonupload from './upload.vue';
export default {
    components: {
        'common-upload': commonupload,
    },
    data () {
        return {
            percent: 0, // 进度
            videoUrl: '',
            file: {},
            uploadbool: false,
        };
    },
    methods: {
        beforeAvatarUpload ( file ) {
            console.log( '上传之前', file );
            //我们可以通过file里的信息上传前判断文件的大小、格式、时长
            this.file = file;
            this.videoUrl = this.getFullPath( file );
            this.uploadbool = true;
            return true;
        },
        onProgress ( e ) {
        //e.loaded 已上传的,e.total总共
            this.percent = parseInt( ( e.loaded / e.total ).toFixed( 2 ) * 100 );
        },
        uploadSuccess ( res, file ) {
            console.log( '上传成功', res, file );
        },
        uploadError ( err, file ) {
            console.log( '上传失败', err, file );
        },
        // 把文件转换成base64地址
        //window.webkitURL.createObjectURL(file) 方法,将正在上传的文件转换成了可访问的 URL 对象,然后直接在浏览器中播放视频。
        getFullPath ( file ) {
            return window.webkitURL.createObjectURL( file );
        },
        formatSize ( bytes ) {
            if ( bytes < 1024 ) {
                return bytes + 'B';
            }
            if ( bytes < 1024 * 1024 ) {
                return ( bytes / 1024 ).toFixed( 1 ) + 'KB';
            }
            if ( bytes < 1024 * 1024 * 1024 ) {
                return ( bytes / ( 1024 * 1024 ) ).toFixed( 1 ) + 'MB';
            }
            return ( bytes / ( 1024 * 1024 * 1024 ) ).toFixed( 1 ) + 'GB';
        },
    },
};
</script>

<style>
label{
    font-weight: bold;
     font-size: 16px;
}
.upload-btn{
    margin-top: 10px;
}
.jindu{
    margin-left: 4px;
    color: #4A90E2;
    font-weight: bold;
    font-size: 16px;
}
.video{
    background: black;
    width: 450px;
    height: 600px;
}
.mb{
    color: #999;
    font-size: 15px;
    margin: 0 20px 0 10px;
}
</style>
觉的有用,希望点个赞支持


 268
268

 被折叠的 条评论
为什么被折叠?


