


方法1:修改.csproj文件
修改节点,Project=》ItemGroup下的相应文件节点,在文件节点(如None\Compile)下添加<DependentUpon>XXX文件名</DependentUpon>;
修改前:
  <ItemGroup>
    <Compile Include="Program.cs" />
    <Compile Include="Properties\AssemblyInfo.cs" />
  </ItemGroup>
  <ItemGroup>
    <None Include="App.config"/>
  </ItemGroup>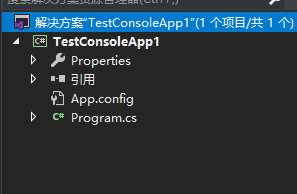
修改后(这里修改了None节点的App.config,None节点与Compile节点是一样修改方式):
  <ItemGroup>
    <Compile Include="Program.cs" />
    <Compile Include="Properties\AssemblyInfo.cs" />
  </ItemGroup>
  <ItemGroup>
    <None Include="App.config">
      <DependentUpon>Program.cs</DependentUpon>
    </None>
  </ItemGroup>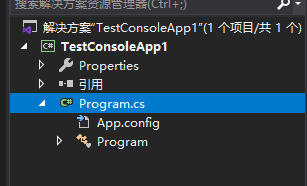
方法2:安装VS插件 - NestIn
(目前只支持到Visual Studio 2010, 2012, 2013)
安装方式如下:
1.直接到VS的官网上下载安装:https://marketplace.visualstudio.com/items?itemName=JoseRomaniello.NestIn;
2.在VS中,在工具->管理扩展->联机库 搜索安装。
方法3:安装VS插件 - File Nesting
(目前支持Visual Studio 2015, 2017, 2019)
安装方式如下:
1.直接到VS的官网上下载安装:https://marketplace.visualstudio.com/items?itemName=MadsKristensen.FileNesting;
2.在VS中,在工具->管理扩展->联机库 搜索安装。
1)使用前:
2)选中app.config,右击,选择File Nesting,点击Nest item;

3)选择父项,这里选择Program.cs;

4)最终结果;


 514
514


 被折叠的 条评论
为什么被折叠?
被折叠的 条评论
为什么被折叠?
 到【灌水乐园】发言


