


一、Swagger诞生
- Swagger号称世界上最流行的API框架
- Restful Api 文档在线自动生成器 => API 文档 与API 定义同步更新
- 直接运行,在线测试API
- 支持多种语言 (如:Java,PHP等)
- 官网:https://swagger.io/
二、如何解决访问swagger-ui.html出现404的问题
朋友们能点进这篇文章,肯定是因为引入了Swagger3.0,导致访问之前的默认路径(swagger-ui.html) 出现了404,然后在各种博客上都没有找到解决方案,那咱就废话少说,,直接上货!
1.首先,把依赖替换为下面这个官方建议的方式
<dependency>
    <groupId>io.springfox</groupId>
    <artifactId>springfox-boot-starter</artifactId>
    <version>3.0.0</version>
</dependency>
2.注意!swagger3.0之后已经删除了@EnableSwagger2注解了,所以我们需要重新配置下配置类,代码如下
@Configuration
public class SwaggerConfig {
    @Bean
    public Docket docket() {
        return new Docket(DocumentationType.SWAGGER_2)
                .apiInfo(apiInfo())
                .enable(true)
                //通过.select()方法,去配置扫描接口
                .select()
                .apis(RequestHandlerSelectors.basePackage("com.*"))
                // 配置如何通过path过滤
                .paths(PathSelectors.any())
                .build();
    }
    Contact contact = new Contact("xx","xxx","xxxxxx");

    //配置Swagger 信息 = ApiInfo
    private ApiInfo apiInfo() {
        return new ApiInfo("Api文档",
                "备注",
                "1.0",
                "123",
                contact,
                "Apache 2.0",
                "http://www.apache.org/licenses/LICENSE-2.0",
                new ArrayList<>());
    }
}
3.验证
重启项目
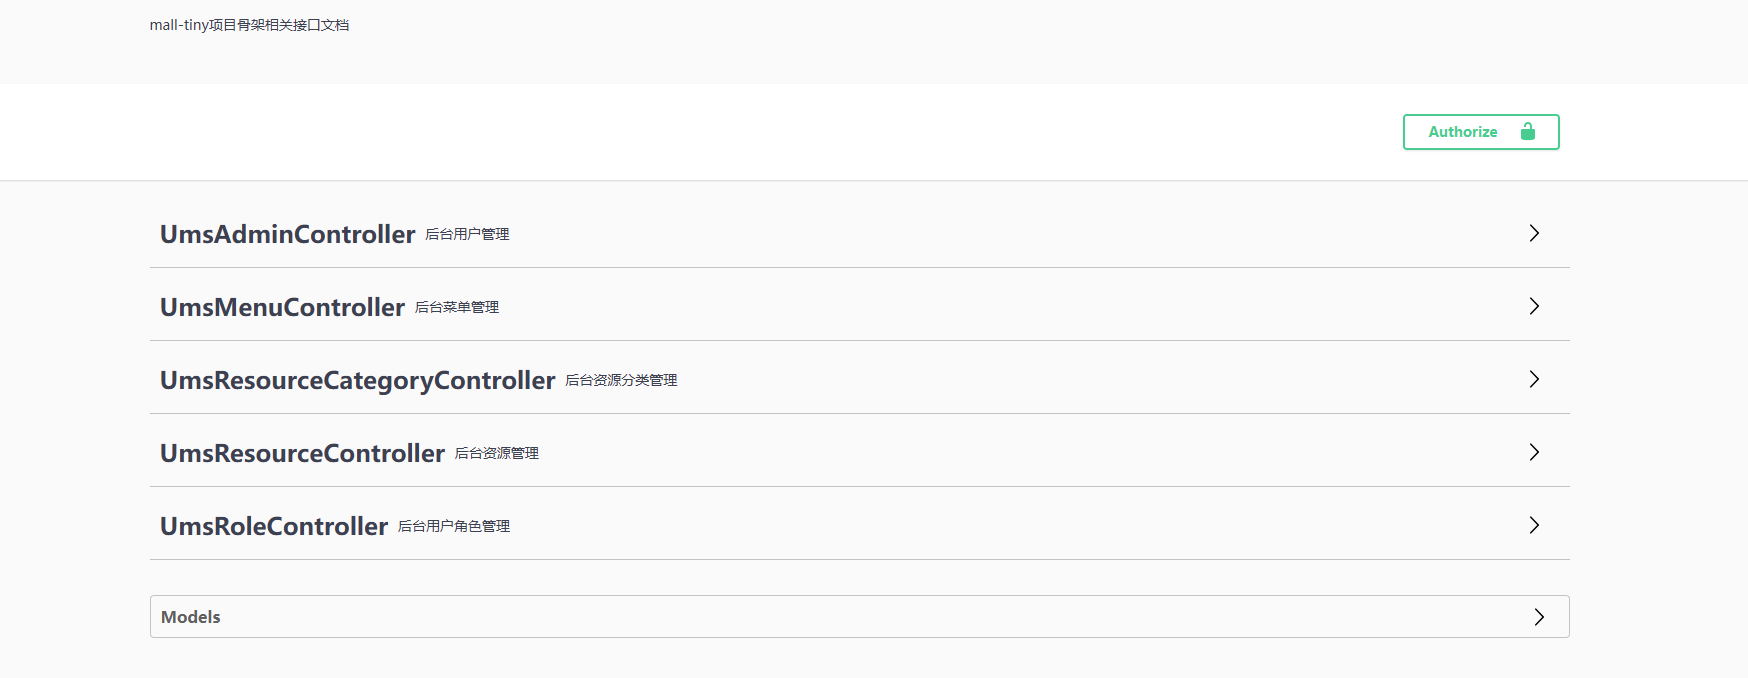
访问:http://localhost:8080/swagger-ui/index.html
搞定
当你再返回这个页面的时候,是不是已经解决这个问题了呢?
其实最重要的是,Swagger3.0,默认地址由swagger-ui.html变为了swagger-ui/index.html


 2531
2531

 被折叠的 条评论
为什么被折叠?
被折叠的 条评论
为什么被折叠?
 到【灌水乐园】发言


