


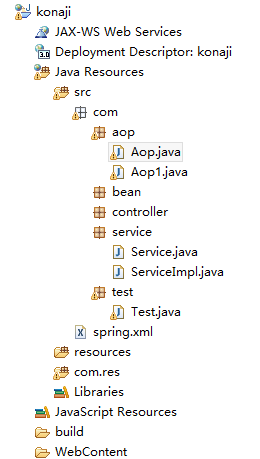
首先查看一下项目结构
下面是Service接口与实现类
public interface Service {
    /**
     * 添加方法
     */
    public void add ();
}
public class ServiceImpl implements Service{
/**
* 添加方法
*/
@Override
public void add (){
System.out.println("Service调用add()方法,插入数据库数据。");
}
}配置通知类
/**
 * 切面
 * @author dou
 *
 */
public class Aop implements MethodBeforeAdvice,AfterReturningAdvice{

    @Override
    public void afterReturning(Object arg0, Method arg1, Object[] arg2,
            Object arg3) throws Throwable {
        System.out.println("AOP----结束事务,close。");
    }

    @Override
    public void before(Method arg0, Object[] arg1, Object arg2)
            throws Throwable {
        System.out.println("AOP----开启事务,准备进行CRUD。");

    }
}
XML文件配置
    <!-- 注入切面 -->
    <bean id="aopDemo" class="com.aop.Aop"></bean>

    <!-- 注入Service -->
    <bean id="serviceDemo" class="com.service.ServiceImpl"></bean>

    <bean id="proxyFactoryBean" class="org.springframework.aop.framework.ProxyFactoryBean">
        <!-- 代理接口 -->
        <property name="proxyInterfaces">
            <value>com.service.Service</value>
            <!-- <value></value> -->
        </property>

        <!-- 指定拦截器(通知) -->
        <property name="interceptorNames">
            <list>
                <value>aopDemo</value>
            </list>
        </property>

        <!-- 配置被代理对象 -->
        <property name="target" ref="serviceDemo"></property>
    </bean>
Test测试类
    public static void main(String[] args) {
        ApplicationContext context =
                new ClassPathXmlApplicationContext("spring.xml");
        Service service = (Service) context.getBean("proxyFactoryBean");
        service.add();
    }


 700
700

 被折叠的 条评论
为什么被折叠?
被折叠的 条评论
为什么被折叠?
 到【灌水乐园】发言


