


该文章主要为完成实训任务,详细实现过程及结果见【http://t.csdn.cn/pG623】
文章目录
一、Spring Boot单元测试概述
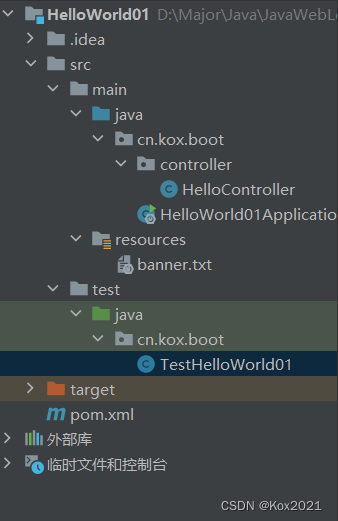
1.1 对项目HelloWorld01进行单元测试
1. 添加测试依赖启动器和单元测试
- 修改pom.xml文件,添加依赖

        <dependency>
            <groupId>org.springframework.boot</groupId>
            <artifactId>spring-boot-starter-test</artifactId>
            <scope>test</scope>
        </dependency>
        <dependency>
            <groupId>junit</groupId>
            <artifactId>junit</artifactId>
            <scope>test</scope>
        </dependency>
- 刷新项目依赖

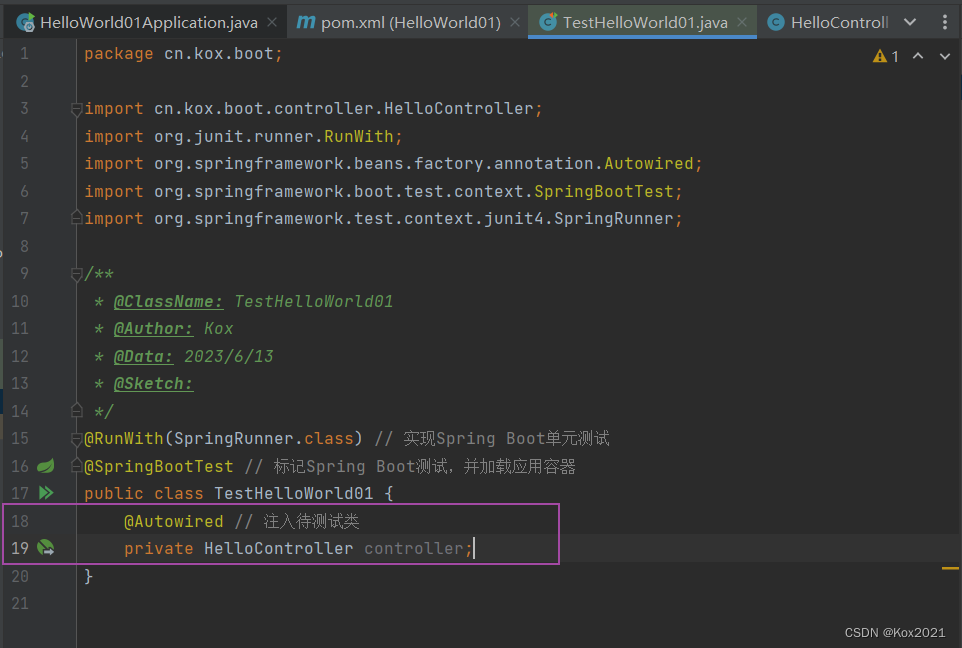
2. 创建测试类与测试方法
- 在
src/test/java里创建cn.kox.boot包,创建测试类TestHelloWorld01
- 给测试类添加测试启动器注解与Spring Boot单元测试注解
package cn.kox.boot;

import org.junit.runner.RunWith;
import org.springframework.boot.test.context.SpringBootTest;
import org.springframework.test.context.junit4.SpringRunner;

/**
 * @ClassName: TestHelloWorld01
 * @Author: Kox
 * @Data: 2023/6/13
 * @Sketch:
 */
@RunWith(SpringRunner.class) // 实现Spring Boot单元测试
@SpringBootTest // 标记Spring Boot测试,并加载应用容器
public class TestHelloWorld01 {
}
- 注入待测试类HelloController
- 创建测试方法
testHello(),测试待测试类实例的hello()方法
    @Test
    public void testHello(){
        // 获取控制器hello()方法的返回值
        String hello = controller.hello();
        // 在控制台输出hello()方法的返回值
        System.out.println("hello()方法的返回值:" + hello);
    }
- 运行测试方法testHello()

1.2 对项目HelloWorld02进行单元测试
1. 添加单元测试依赖
- 在
pom.xml文件里,添加单元测试依赖
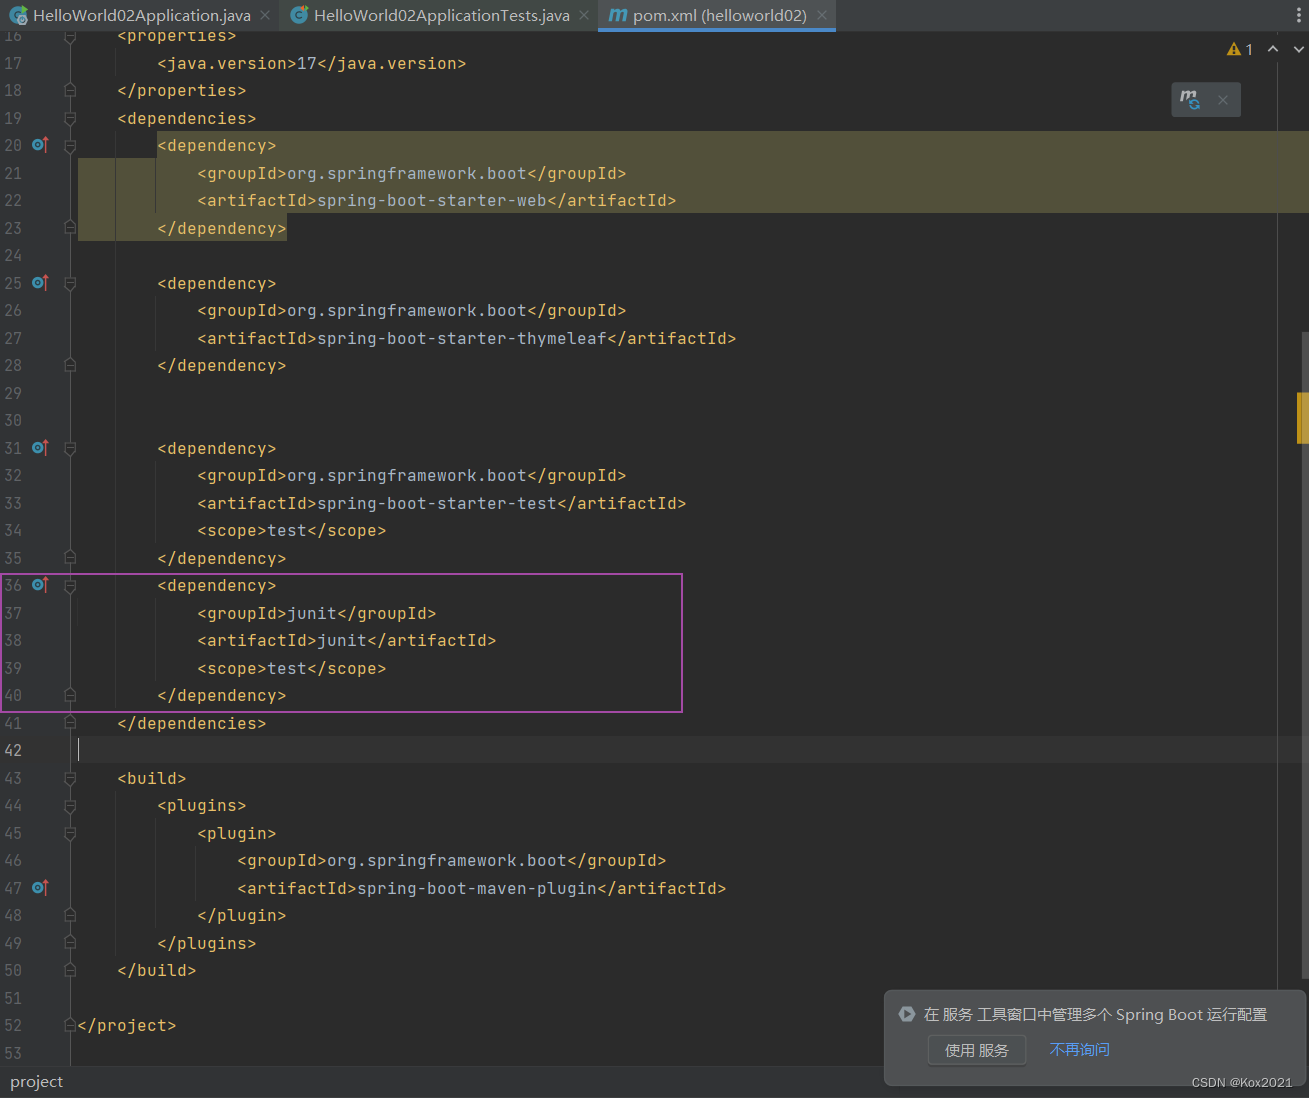
- 更新项目依赖

2. 进行单元测试
- 在默认的应用测试类里,注入待测试类,创建testHello()测试方法
package cn.kox.boot.helloworld02;

import cn.kox.boot.controller.HelloController;
import org.junit.Assert;
import org.junit.jupiter.api.Test;
import org.springframework.beans.factory.annotation.Autowired;
import org.springframework.boot.test.context.SpringBootTest;

@SpringBootTest
class HelloWorld02ApplicationTests {

    @Autowired // 注入待测试类
    private HelloController controller;

    @Test
    public void testHello() {
        String hello = controller.hello();
        Assert.assertSame("<h1 style='color: red; text-align: center'>你好,Spring Boot世界~</h1>", hello);
    }

}
- 运行测试方法testHello(),查看结果

二、Spring Boot热部署
2.1 对项目HelloWorld01进行热部署
1. 添加开发工具依赖
- 在pom.xml文件里添加开发工具依赖

        <dependency>
            <groupId>org.springframework.boot</groupId>
            <artifactId>spring-boot-devtools</artifactId>
        </dependency>
2. 热部署配置

3. 热部署测试
- 运行入口类
HelloWorld01Application

- 在浏览器里访问
http://localhost:8080/kox/hello


 342
342


 被折叠的 条评论
为什么被折叠?
被折叠的 条评论
为什么被折叠?
 到【灌水乐园】发言


