


该文章主要为完成实训任务,详细实现过程及结果见【http://t.csdn.cn/Z2viP】
一、Application.properites配置文件
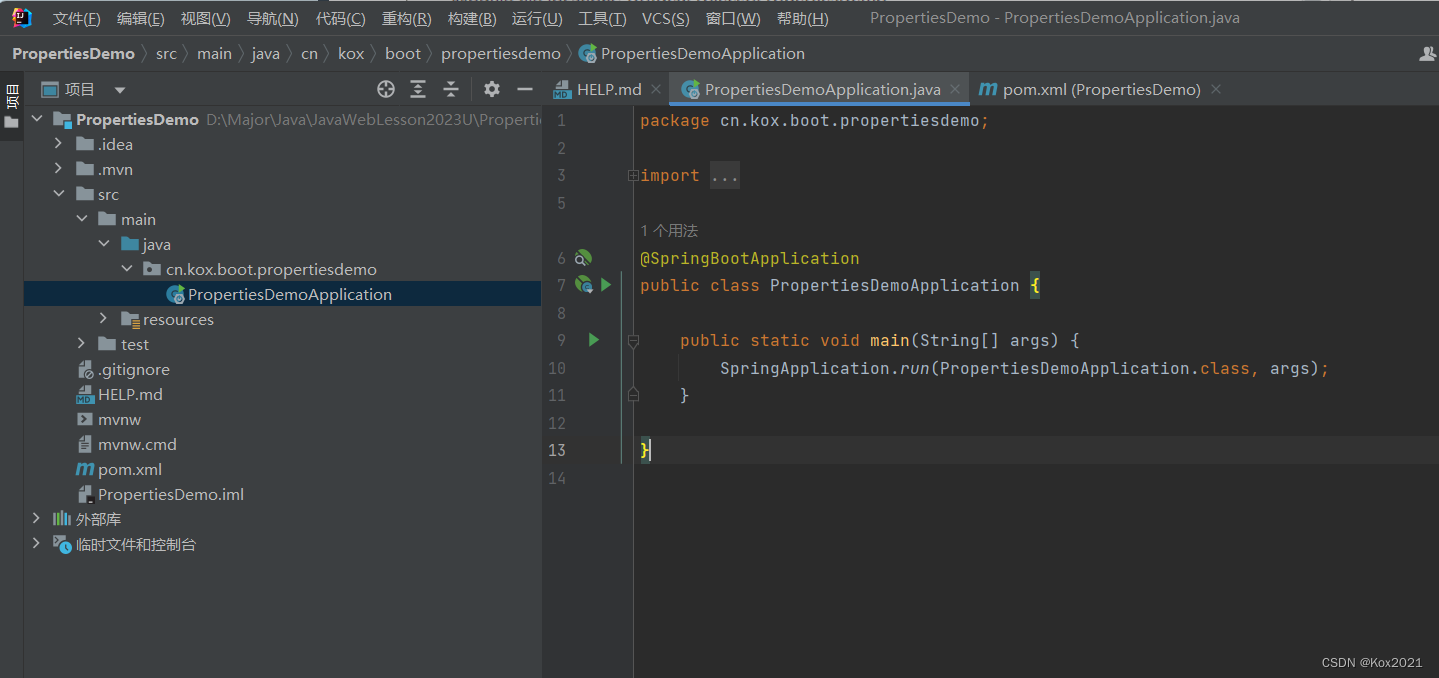
1.1 创建Spring Boot的Web项目ProperitesDemo
- 利用
Spring Initializr方式创建项目
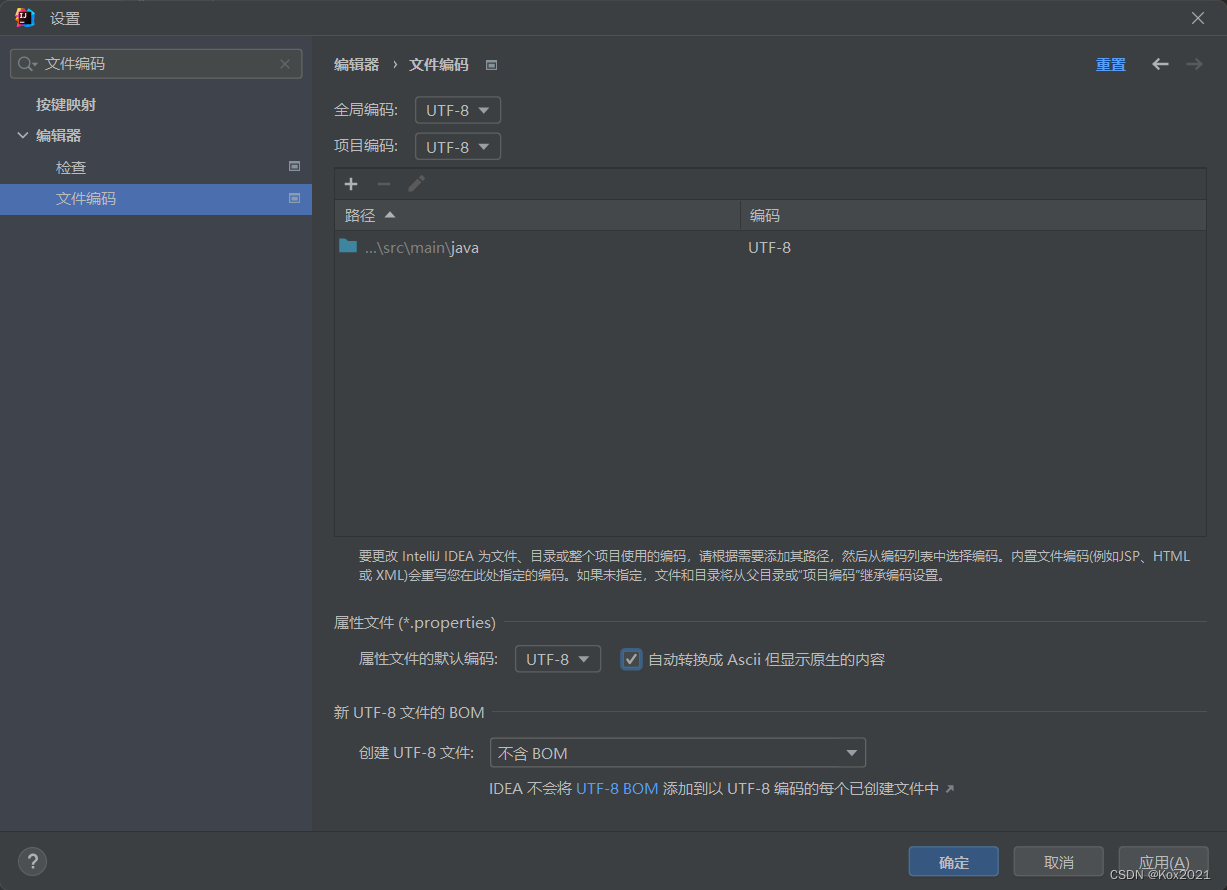
- 设置项目编码为utf8(尤其注意复选框)
1.2 在应用属性文件里添加相关配置
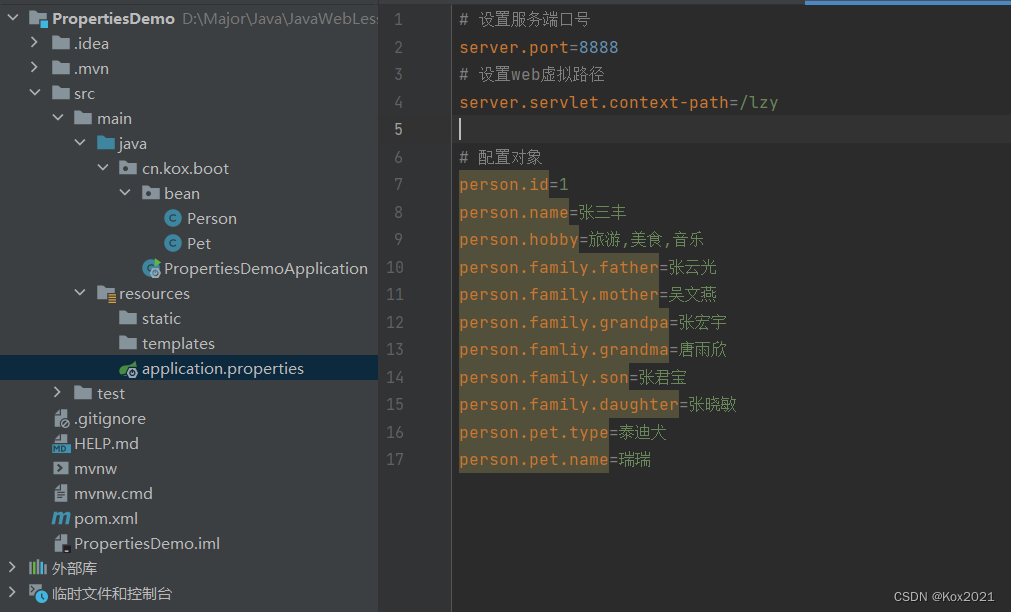
1. 配置服务器端口号和web虚拟路径
- 在
application.properties文件里配置

# 设置服务端口号
server.port=8888
# 设置web虚拟路径
server.servlet.context-path=/lzy
2. 对象类型的配置与使用
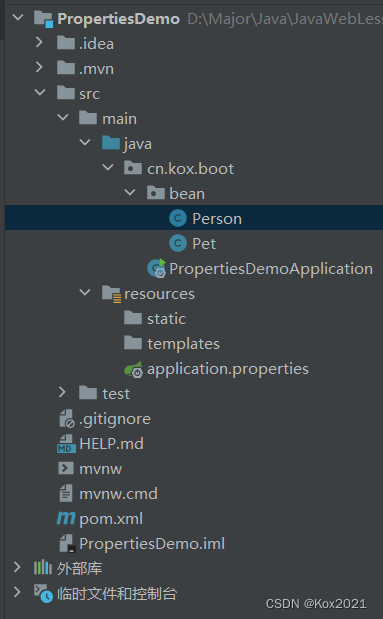
(1)创建Pet类
- 在
cn.kox.boot里创建bean子包,在子包里创建Pet类

package cn.kox.boot.bean;

/**
 * @ClassName: Pet
 * @Author: Kox
 * @Data: 2023/6/13
 * @Sketch:
 */
public class Pet {
    private String type; // 类型
    private String name; // 名字

    public String getType() {
        return type;
    }

    public void setType(String type) {
        this.type = type;
    }

    public String getName() {
        return name;
    }

    public void setName(String name) {
        this.name = name;
    }

    @Override
    public String toString() {
        return "Pet{" +
                "type='" + type + '\'' +
                ", name='" + name + '\'' +
                '}';
    }
}
(2)创建Person类
- 在
cn.kox.boot.bean包里创建Person类
package cn.kox.boot.bean;

import java.util.List;
import java.util.Map;

/**
 * @ClassName: Person
 * @Author: Kox
 * @Data: 2023/6/13
 * @Sketch:
 */
public class Person {
    private int id; // 编号
    private String name; // 姓名
    private List<String> hobby; // 爱好;
    private Map<String, String> family; // 家庭成员
    private Pet pet; // 宠物

    public int getId() {
        return id;
    }

    public void setId(int id) {
        this.id = id;
    }

    public String getName() {
        return name;
    }

    public void setName(String name) {
        this.name = name;
    }

    public List<String> getHobby() {
        return hobby;
    }

    public void setHobby(List<String> hobby) {
        this.hobby = hobby;
    }

    public Map<String, String> getFamily() {
        return family;
    }

    public void setFamily(Map<String, String> family) {
        this.family = family;
    }

    public Pet getPet() {
        return pet;
    }

    public void setPet(Pet pet) {
        this.pet = pet;
    }

    @Override
    public String toString() {
        return "Person{" +
                "id=" + id +
                ", name='" + name + '\'' +
                ", hobby=" + hobby +
                ", family=" + family +
                ", pet=" + pet +
                '}';
    }
}
(3)在应用属性文件里配置对象
# 配置对象
person.id=1
person.name=张三丰
person.hobby=旅游,美食,音乐
person.family.father=张云光
person.family.mother=吴文燕
person.family.grandpa=张宏宇
person.famliy.grandma=唐雨欣
person.family.son=张君宝
person.family.daughter=张晓敏
person.pet.type=泰迪犬
person.pet.name=瑞瑞
- 配置Person对象属性
(4)给Person类添加注解
- 添加注解
@Component,交给Spring去管理
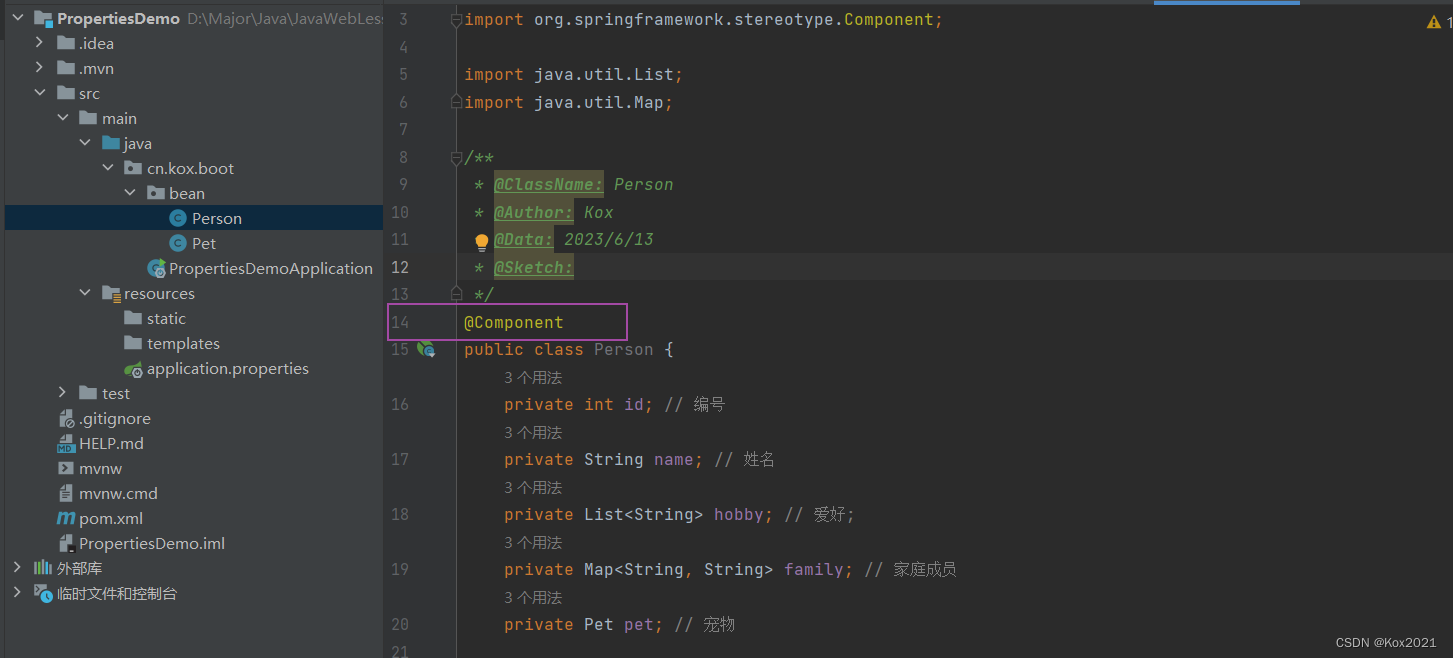
- 添加注解
@ConfigurationProperties(prefix = "person")
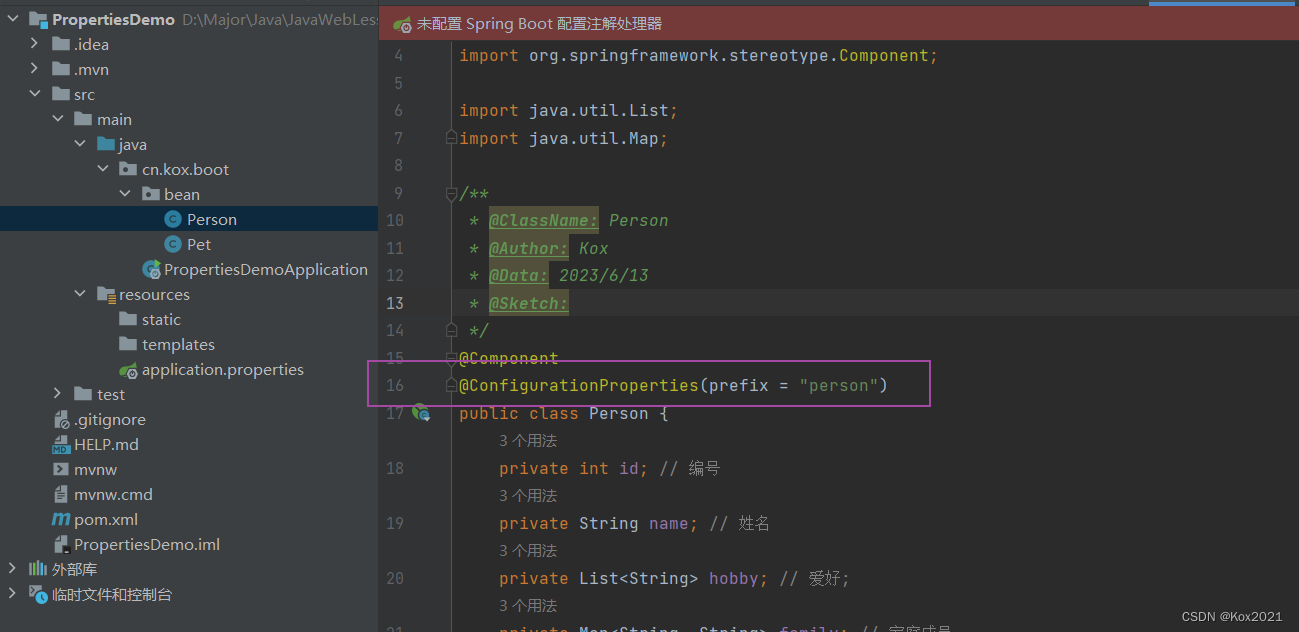
- 配置Spring Boot注解处理器,去掉红色光条里的提示信息

<dependency>
    <groupId>org.springframework.boot</groupId>
    <artifactId>spring-boot-configuration-processor</artifactId>
    <optional>true</optional>
</dependency>
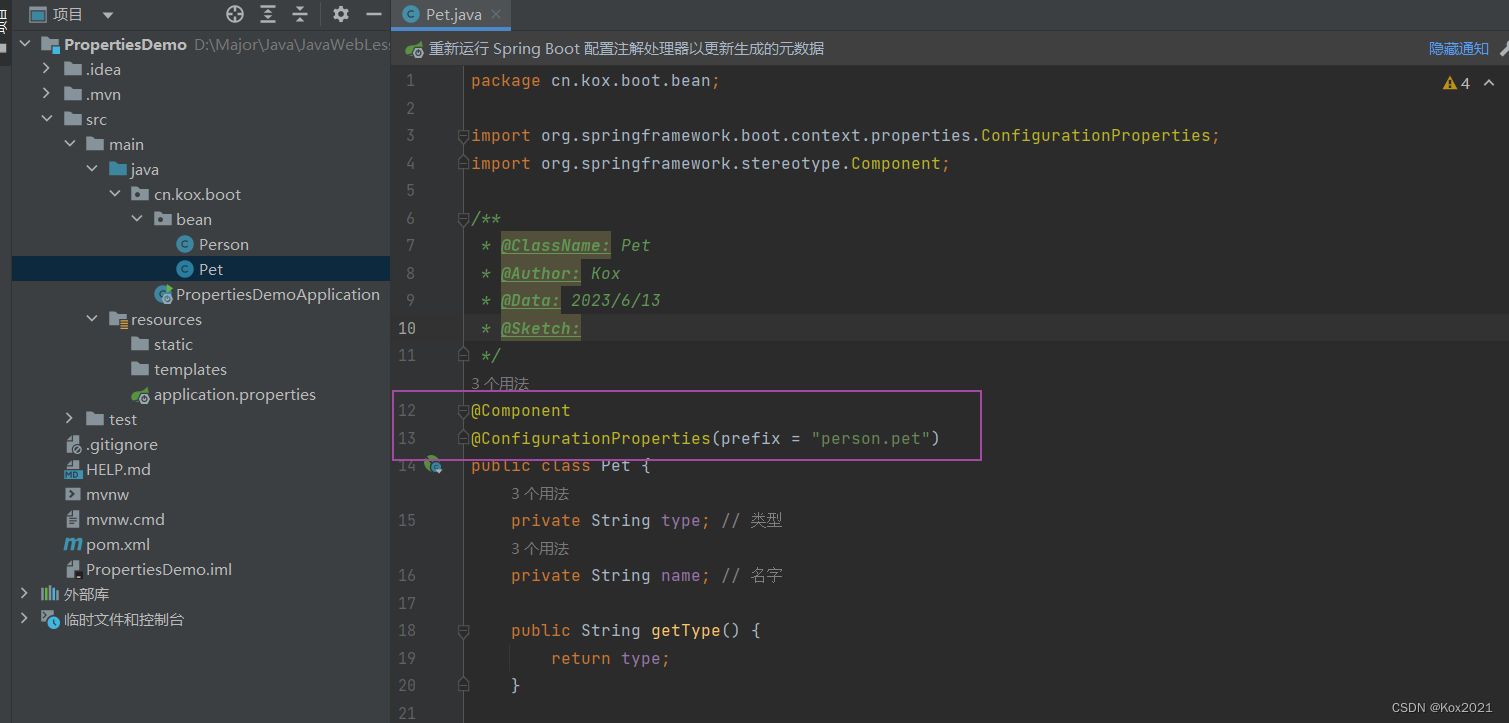
(5)给Pet类添加注解
- 添加注解
@Component,交给Spring去管理 - 添加注解
@ConfigurationProperties(prefix = "person.pet")- 可以不用添加
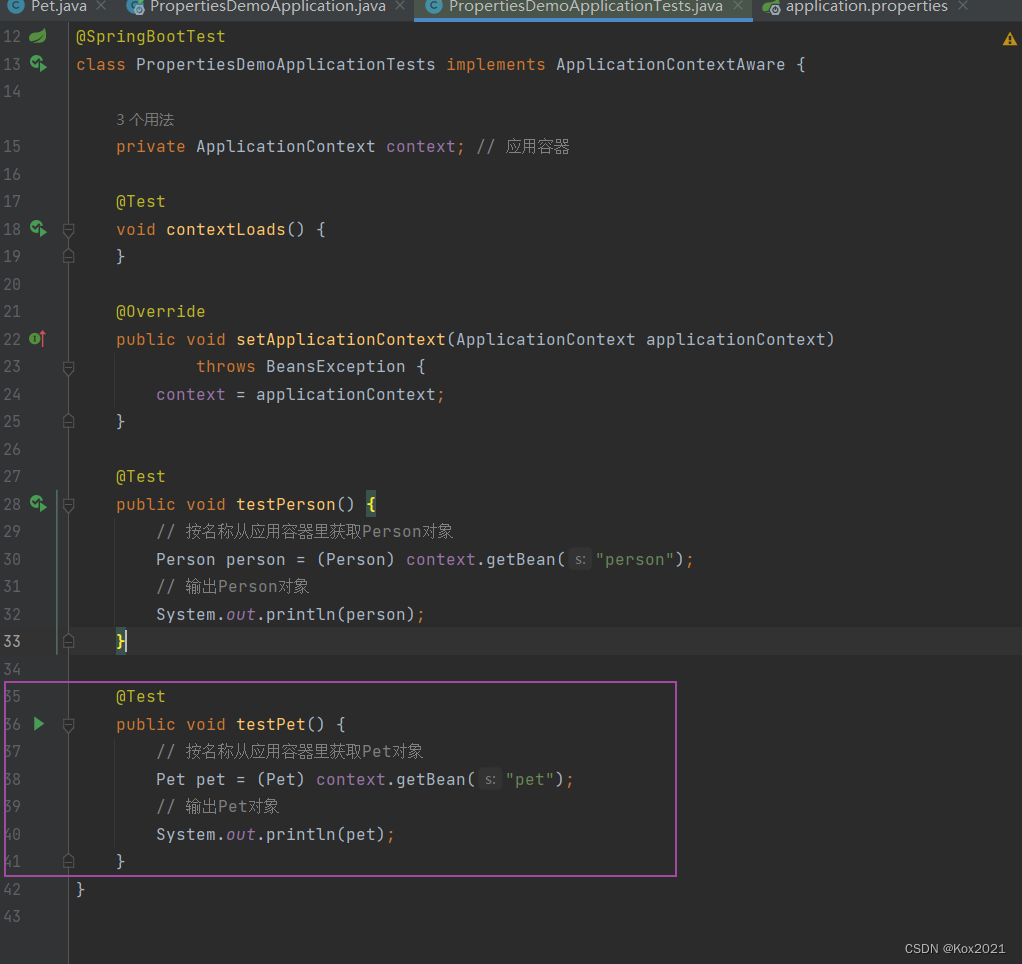
(6)从Spring容器里获取Person类的实例并输出
package cn.kox.boot;

import cn.kox.boot.bean.Person;
import org.junit.jupiter.api.Test;
import org.springframework.beans.BeansException;
import org.springframework.boot.test.context.SpringBootTest;
import org.springframework.context.ApplicationContext;
import org.springframework.context.ApplicationContextAware;

@SpringBootTest
class PropertiesDemoApplicationTests implements ApplicationContextAware {

    private ApplicationContext context; // 应用容器

    @Test
    void contextLoads() {
    }

    @Override
    public void setApplicationContext(ApplicationContext applicationContext)
            throws BeansException {
        context = applicationContext;
    }

    @Test
    public void testPerson() {
        // 按名称从应用容器里获取Person对象
        Person person = (Person) context.getBean("person");
        // 输出Person对象
        System.out.println(person);
    }
}

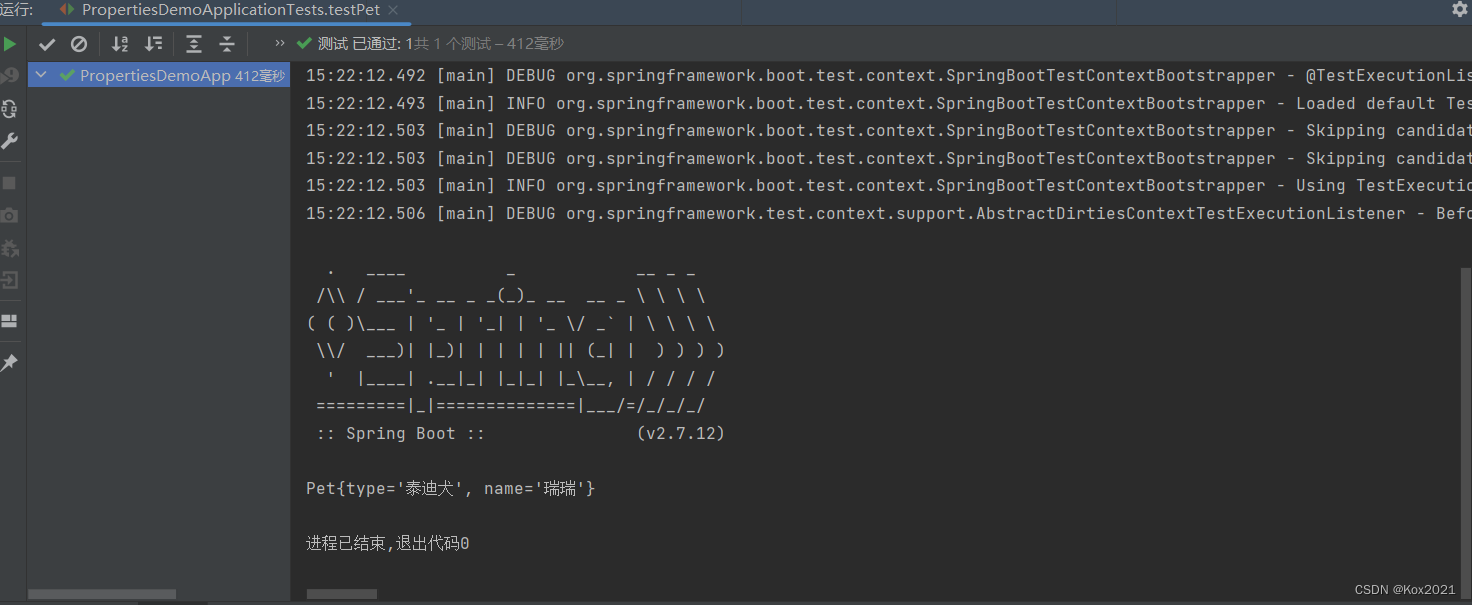
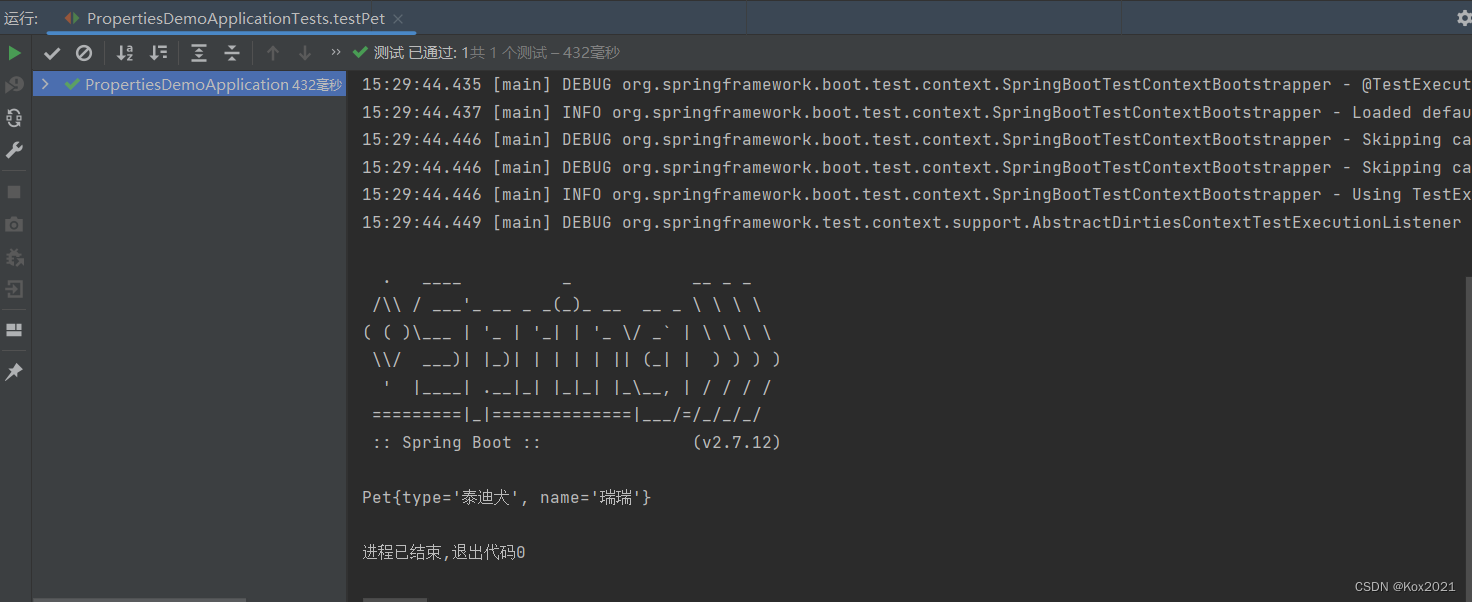
(7)从Spring容器里获取Pet类的实例并输出
- 在测试类里添加测试方法testPet()
- 运行测试方法testPet(),查看结果
二、Application.yaml配置文件
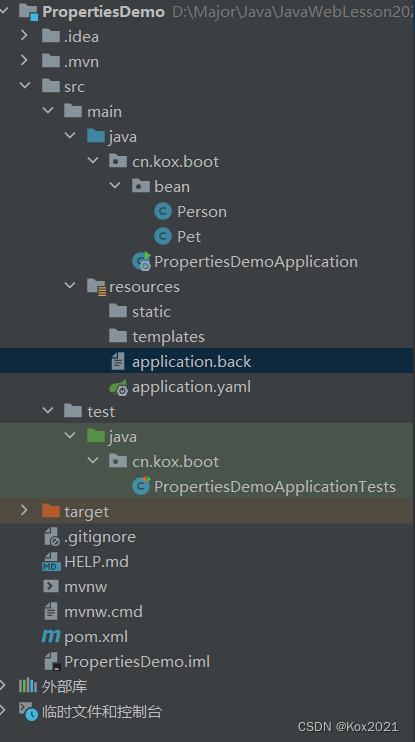
2.1 备份application.properties文件
- 文件更名为
application.back,即让此文件不起作用
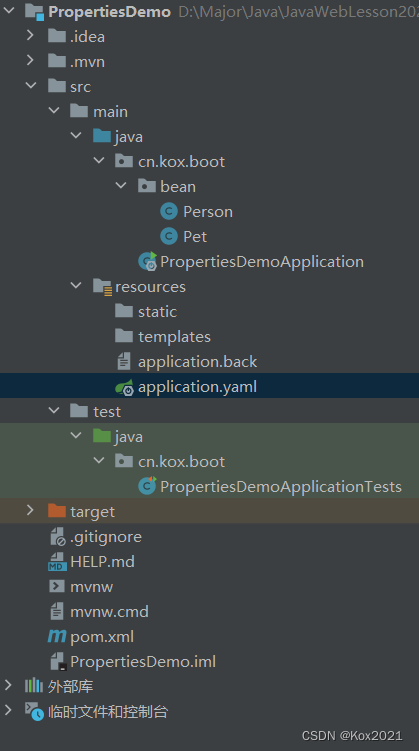
2.2 创建application.yaml文件
- 在
resoures目录里创建application.yaml文件
# 配置服务器
server:
  port: 8888 # 配置端口号
  servlet:
    context-path: /lzy # 配置虚拟路径

# 配置person对象
person:
  id: 1
  name: 张三丰
  hobby:
    旅游,
    美食,
    音乐
  family: {
    father: 张云光,
    mother: 吴文燕,
    grandpa: 张宏宇,
    grandma: 唐雨欣,
    son: 张君宝,
    daughter: 张晓敏
  }
  pet:
    type: 泰迪犬
    name: 瑞瑞

# 配置pet对象
pet:
  type: 泰迪犬
  name: 瑞瑞
logging:
  level:
    root: OFF
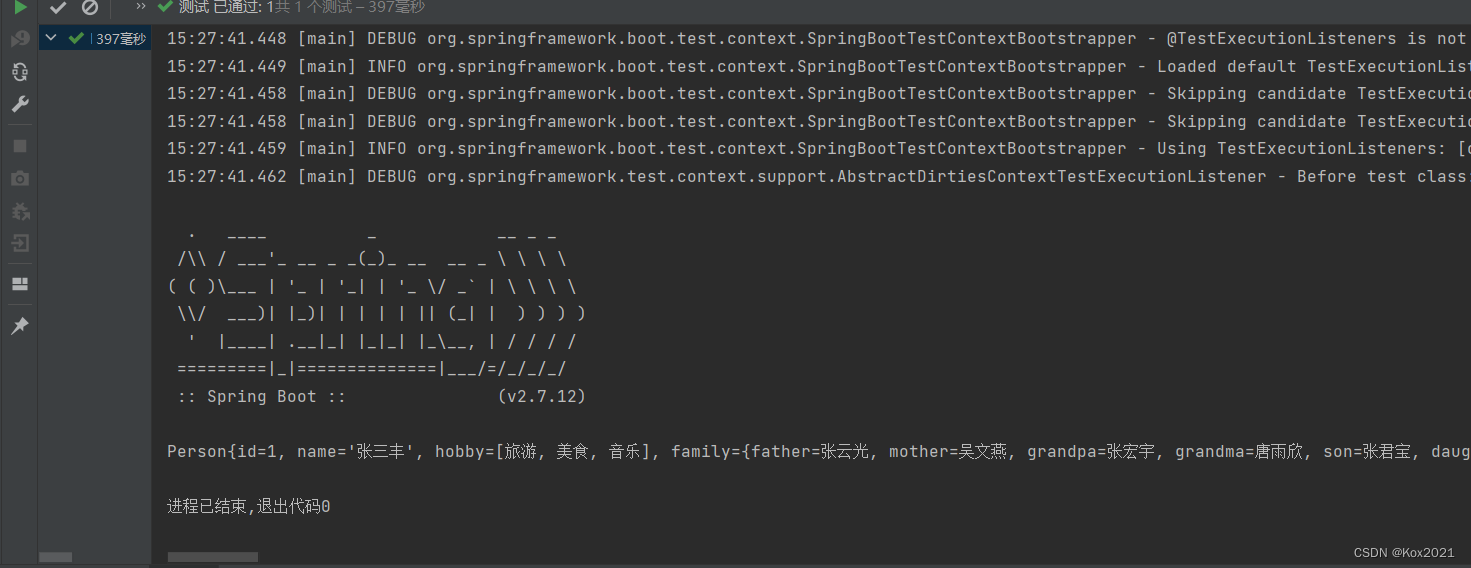
2.3 运行测试方法,查看结果
- 运行
testPerson()方法
- 运行测试方法
testPet()


 718
718


 被折叠的 条评论
为什么被折叠?
被折叠的 条评论
为什么被折叠?
 到【灌水乐园】发言


