


提示:反正我行,不知道你行不行
前言
Spring Cloud是一系列框架的有序集合。它利用Spring Boot的开发便利性巧妙地简化了分布式系统基础设施的开发,如服务发现注册、配置中心、消息总线、负载均衡、断路器、数据监控等,都可以用Spring Boot的开发风格做到一键启动和部署。
一、创建项目并导入依赖
创建项目只留一个pom.xml文件,然后导入下方依赖
<?xml version="1.0" encoding="UTF-8"?>
<project xmlns="http://maven.apache.org/POM/4.0.0" xmlns:xsi="http://www.w3.org/2001/XMLSchema-instance"
         xsi:schemaLocation="http://maven.apache.org/POM/4.0.0 https://maven.apache.org/xsd/maven-4.0.0.xsd">
    <modelVersion>4.0.0</modelVersion>
    <parent>
        <groupId>org.springframework.boot</groupId>
        <artifactId>spring-boot-starter-parent</artifactId>
        <version>2.1.3.RELEASE</version>
        <relativePath/> <!-- lookup parent from repository -->
    </parent>
    <groupId>com.example</groupId>
    <artifactId>SpringCloud_Alibaba</artifactId>
    <version>0.0.1-SNAPSHOT</version>
    <name>SpringCloud_Alibaba</name>
    <description>SpringCloud_Alibaba</description>
    <packaging>pom</packaging>
    <properties>
        <project.build.sourceEncoding>UTF-8</project.build.sourceEncoding>
    </properties>
    <dependencyManagement>
        <dependencies>
            <!--SpringBoot的父版本信息-->
            <dependency>
                <groupId>org.springframework.boot</groupId>
                <artifactId>spring-boot-dependencies</artifactId>
                <version>2.1.3.RELEASE</version>
                <type>pom</type>
                <scope>import</scope>
            </dependency>
            <!--SpringCloud的父版本信息-->
            <dependency>
                <groupId>org.springframework.cloud</groupId>
                <artifactId>spring-cloud-dependencies</artifactId>
                <version>Greenwich.SR1</version>
                <type>pom</type>
                <scope>import</scope>
            </dependency>
            <!--SpringCloudAlibaba的版本信息-->
            <dependency>
                <groupId>com.alibaba.cloud</groupId>
                <artifactId>spring-cloud-alibaba-dependencies</artifactId>
                <version>2.1.0.RELEASE</version>
                <type>pom</type>
                <scope>import</scope>
            </dependency>
        </dependencies>
    </dependencyManagement>

</project>
(导入成功时候maven里不会显示依赖项是正常的)
二、创建业务模块
1.根据业务需求创建新的模块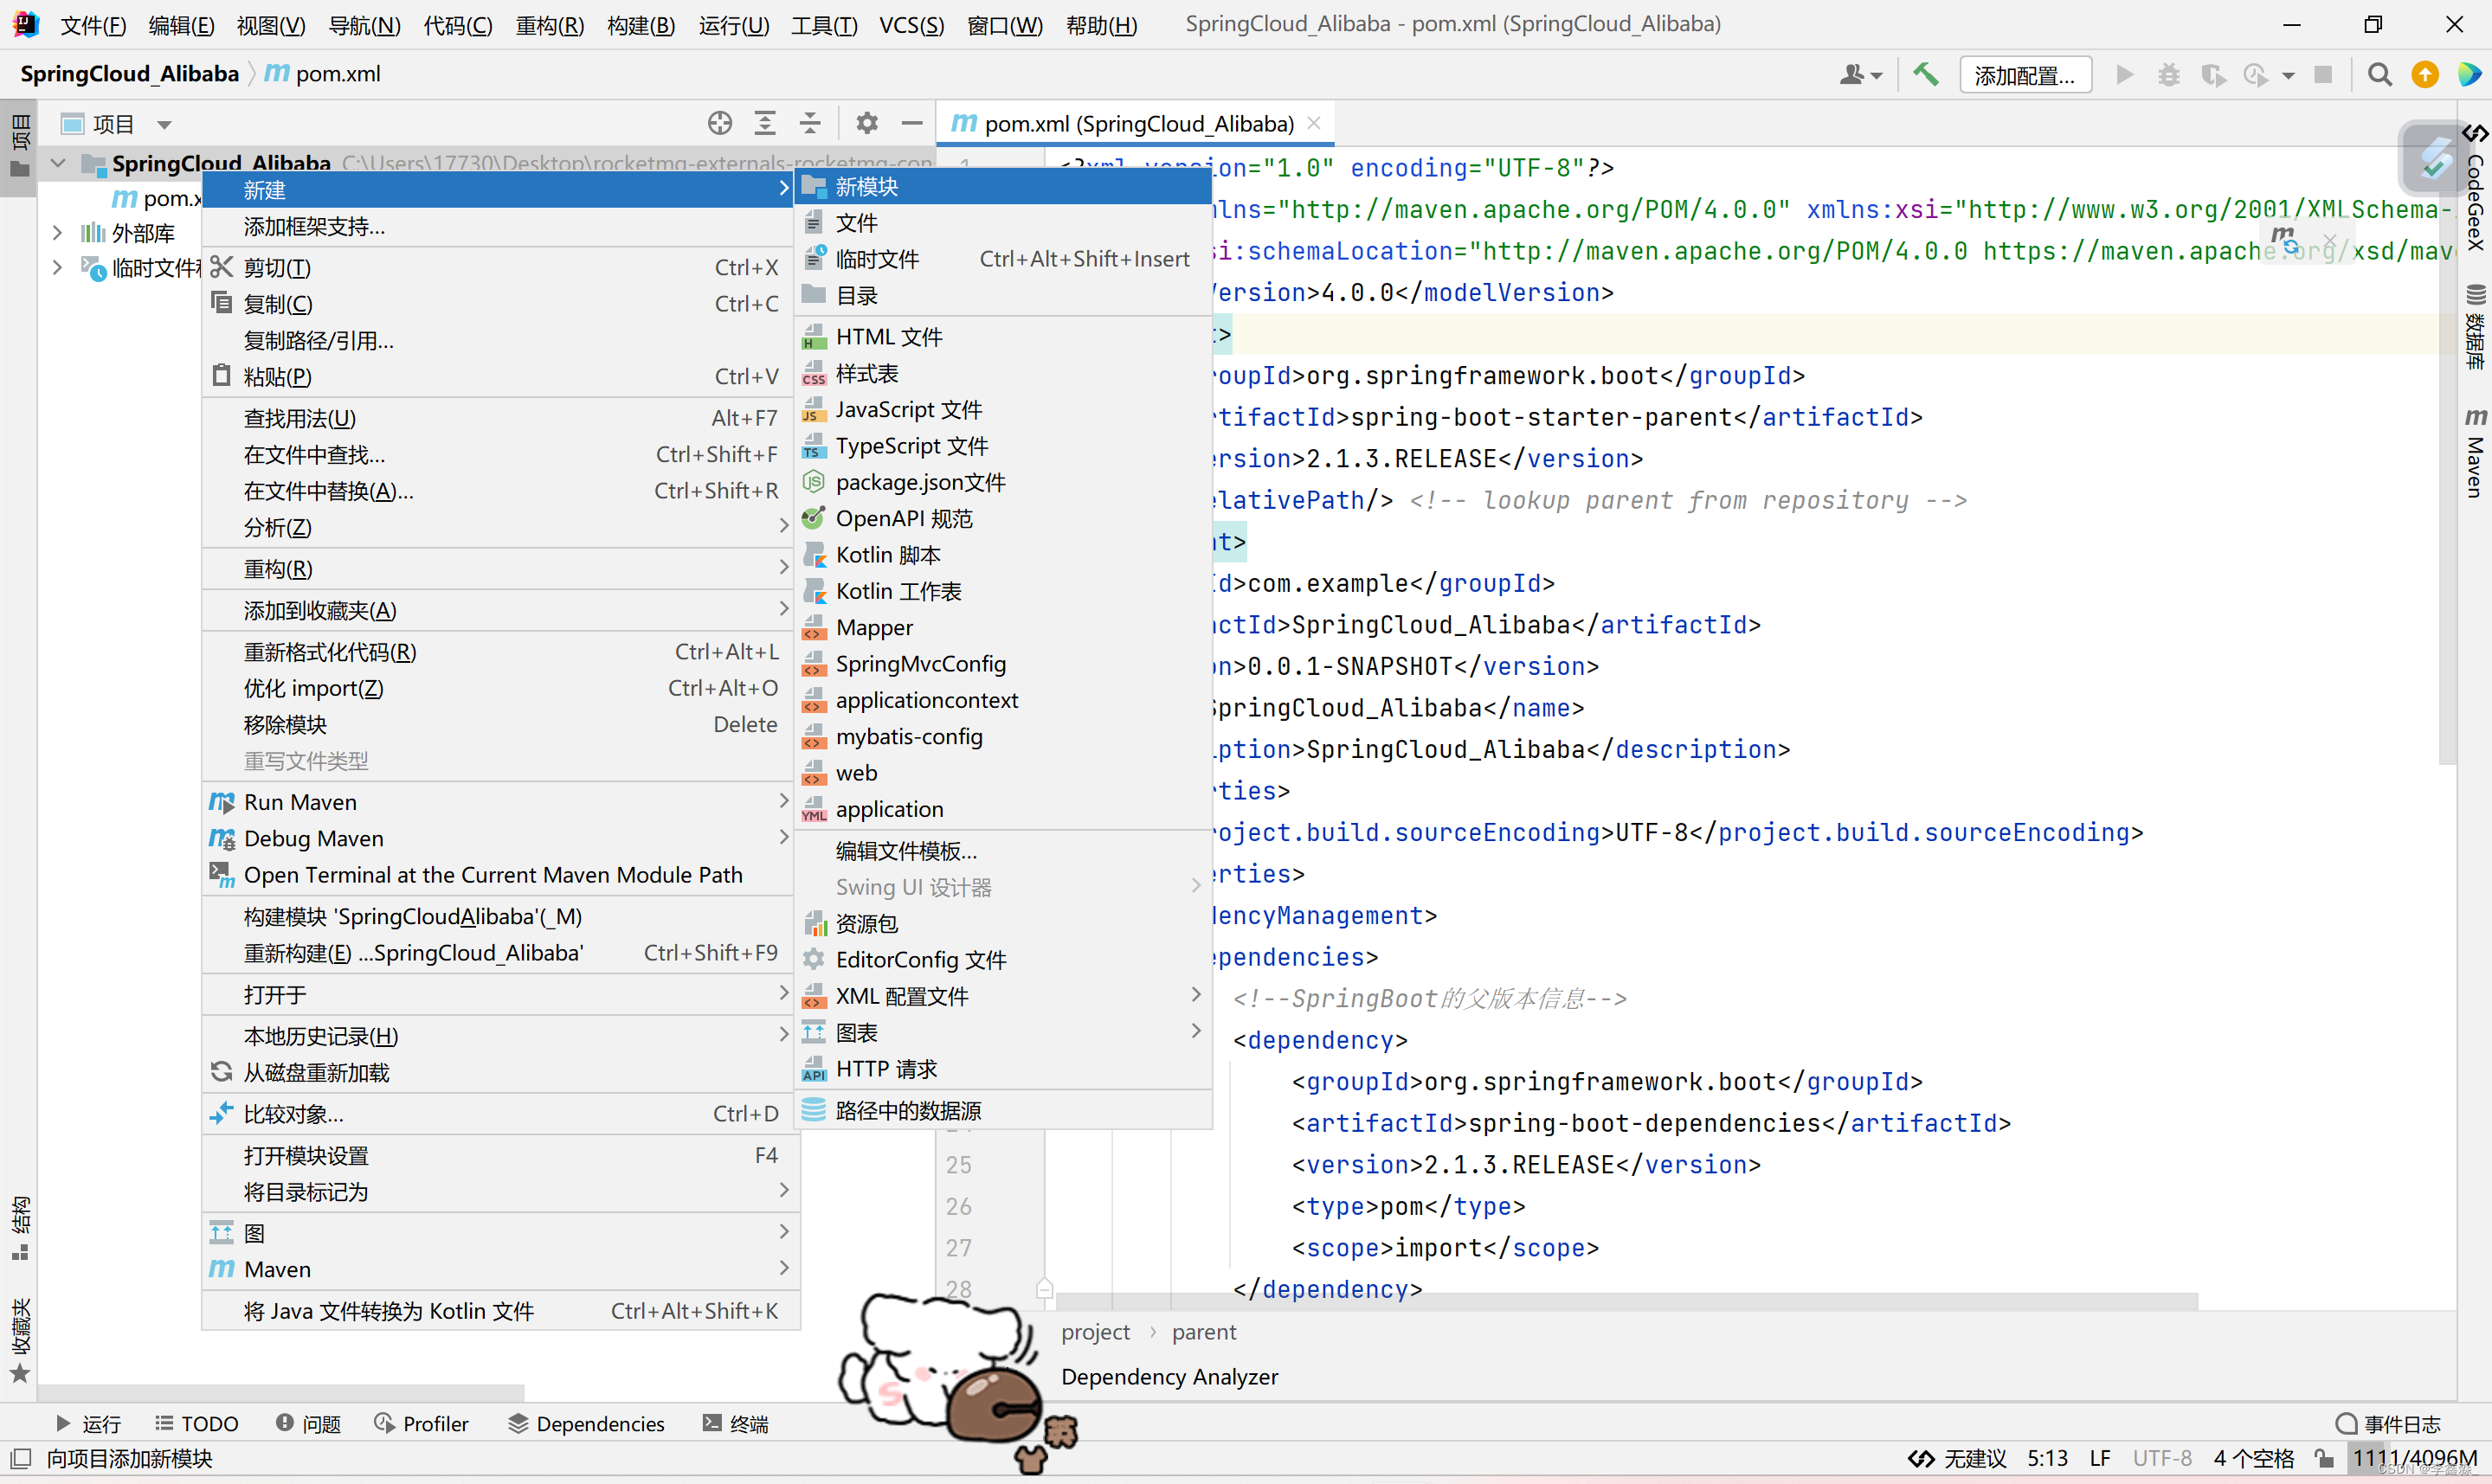
2.导入依赖
<?xml version="1.0" encoding="UTF-8"?>
<project xmlns="http://maven.apache.org/POM/4.0.0" xmlns:xsi="http://www.w3.org/2001/XMLSchema-instance"
         xsi:schemaLocation="http://maven.apache.org/POM/4.0.0 https://maven.apache.org/xsd/maven-4.0.0.xsd">
    <modelVersion>4.0.0</modelVersion>
    <parent>
        <groupId>com.example</groupId>
        <artifactId>SpringCloud_Alibaba</artifactId>
        <version>0.0.1-SNAPSHOT</version>
    </parent>
    <groupId>com.example</groupId>
    <artifactId>dingdan_center</artifactId>
    <version>0.0.1-SNAPSHOT</version>
    <name>dingdan_center</name>
    <description>dingdan_center</description>

    <dependencies>
        <!-- 添加Spring-Boot-Web依赖 -->
        <dependency>
            <groupId>org.springframework.boot</groupId>
            <artifactId>spring-boot-starter-web</artifactId>
        </dependency>
        <!-- 添加MySQL依赖 -->
        <dependency>
            <groupId>mysql</groupId>
            <artifactId>mysql-connector-java</artifactId>
        </dependency>
        <!-- 添加MyBatis-Spring-Boot依赖 -->
        <dependency>
            <groupId>org.mybatis.spring.boot</groupId>
            <artifactId>mybatis-spring-boot-starter</artifactId>
            <version>2.0.1</version>
        </dependency>
        <!-- 添加Lombok依赖 -->
        <dependency>
            <groupId>org.projectlombok</groupId>
            <artifactId>lombok</artifactId>
        </dependency>
    </dependencies>

    <!--SprigBoot打包插件-->
    <build>
        <plugins>
            <plugin>
                <groupId>org.springframework.boot</groupId>
                <artifactId>spring-boot-maven-plugin</artifactId>
                <configuration>
                    <excludes>
                        <exclude>
                            <groupId>org.projectlombok</groupId>
                            <artifactId>lombok</artifactId>
                        </exclude>
                    </excludes>
                </configuration>
            </plugin>
        </plugins>
        <resources>
            <resource>
                <directory>src/main/java</directory>
                <includes>
                    <include>**/*.xml</include>
                </includes>
                <filtering>false</filtering>
            </resource>
        </resources>
    </build>

</project>
3.为该模块添加配置
server:
  port: 8080  # 服务器端口号
# Spring配置
spring:
  datasource:
    driver-class-name: com.mysql.cj.jdbc.Driver
    url: jdbc:mysql:///数据库名?charsetEncoding=UTF-8&serverTimezone=Asia/Shanghai
    username: 用户名
    password: 数据库密码
  application:
    name: dingdan-center
  jpa:
    show-sql: true  # 开启SQL语句打印
# MyBatis配置
mybatis:
  mapperLocations: classpath:/mapper/*.xml  # MyBatis XML映射文件位置
  configuration:
    map-underscore-to-camel-case: true  # 开启驼峰命名转换功能
4.根据需求编写业务逻辑代码
5.在父工程的pom文件里添加一下代码
<modules>
    <module>微服务名称</module>
    <module>微服务名称</module>
</modules>
三、整合nacos注册中心
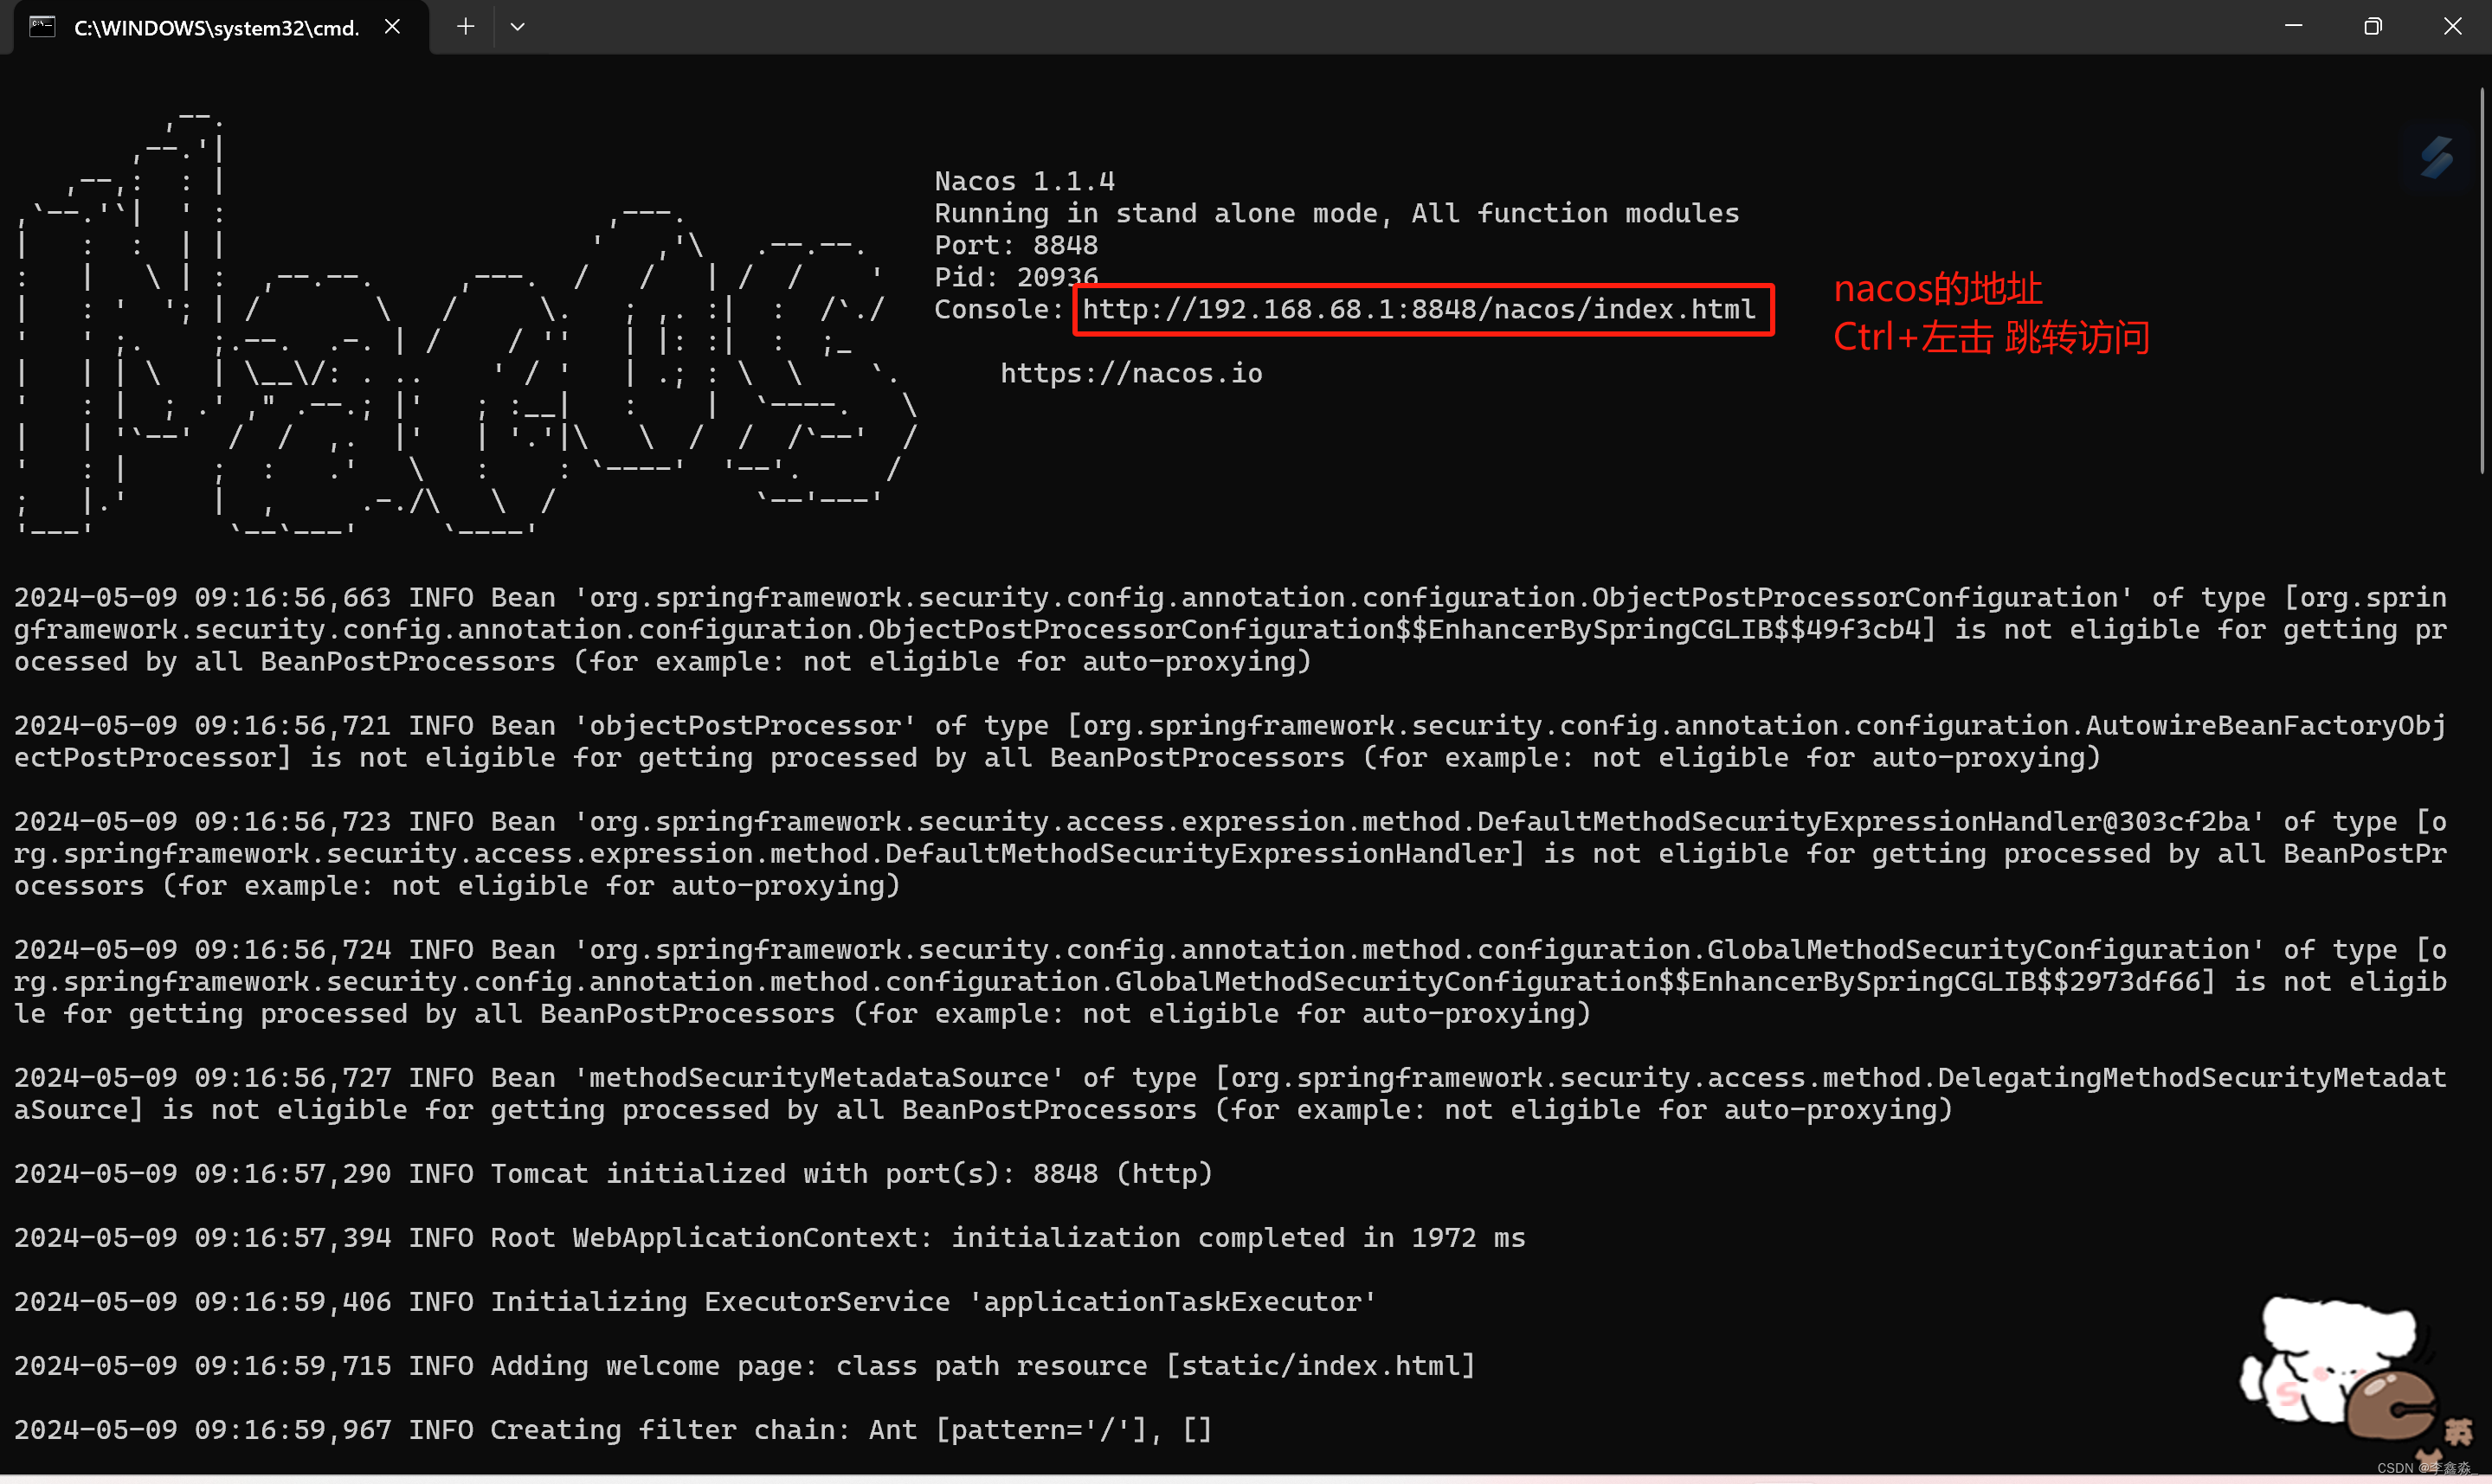
1.提前安装好nacos(下载安装包+解压到非中文目录下+双击bin目录下的startup.cmd)
2.添加nacos的依赖
<!--Nacos注册中心-->
<dependency>
    <groupId>com.alibaba.cloud</groupId>
    <artifactId>spring-cloud-starter-alibaba-nacos-discovery</artifactId>
</dependency>
3.在yml文件里添加配置
spring:
cloud:
nacos:
discovery:
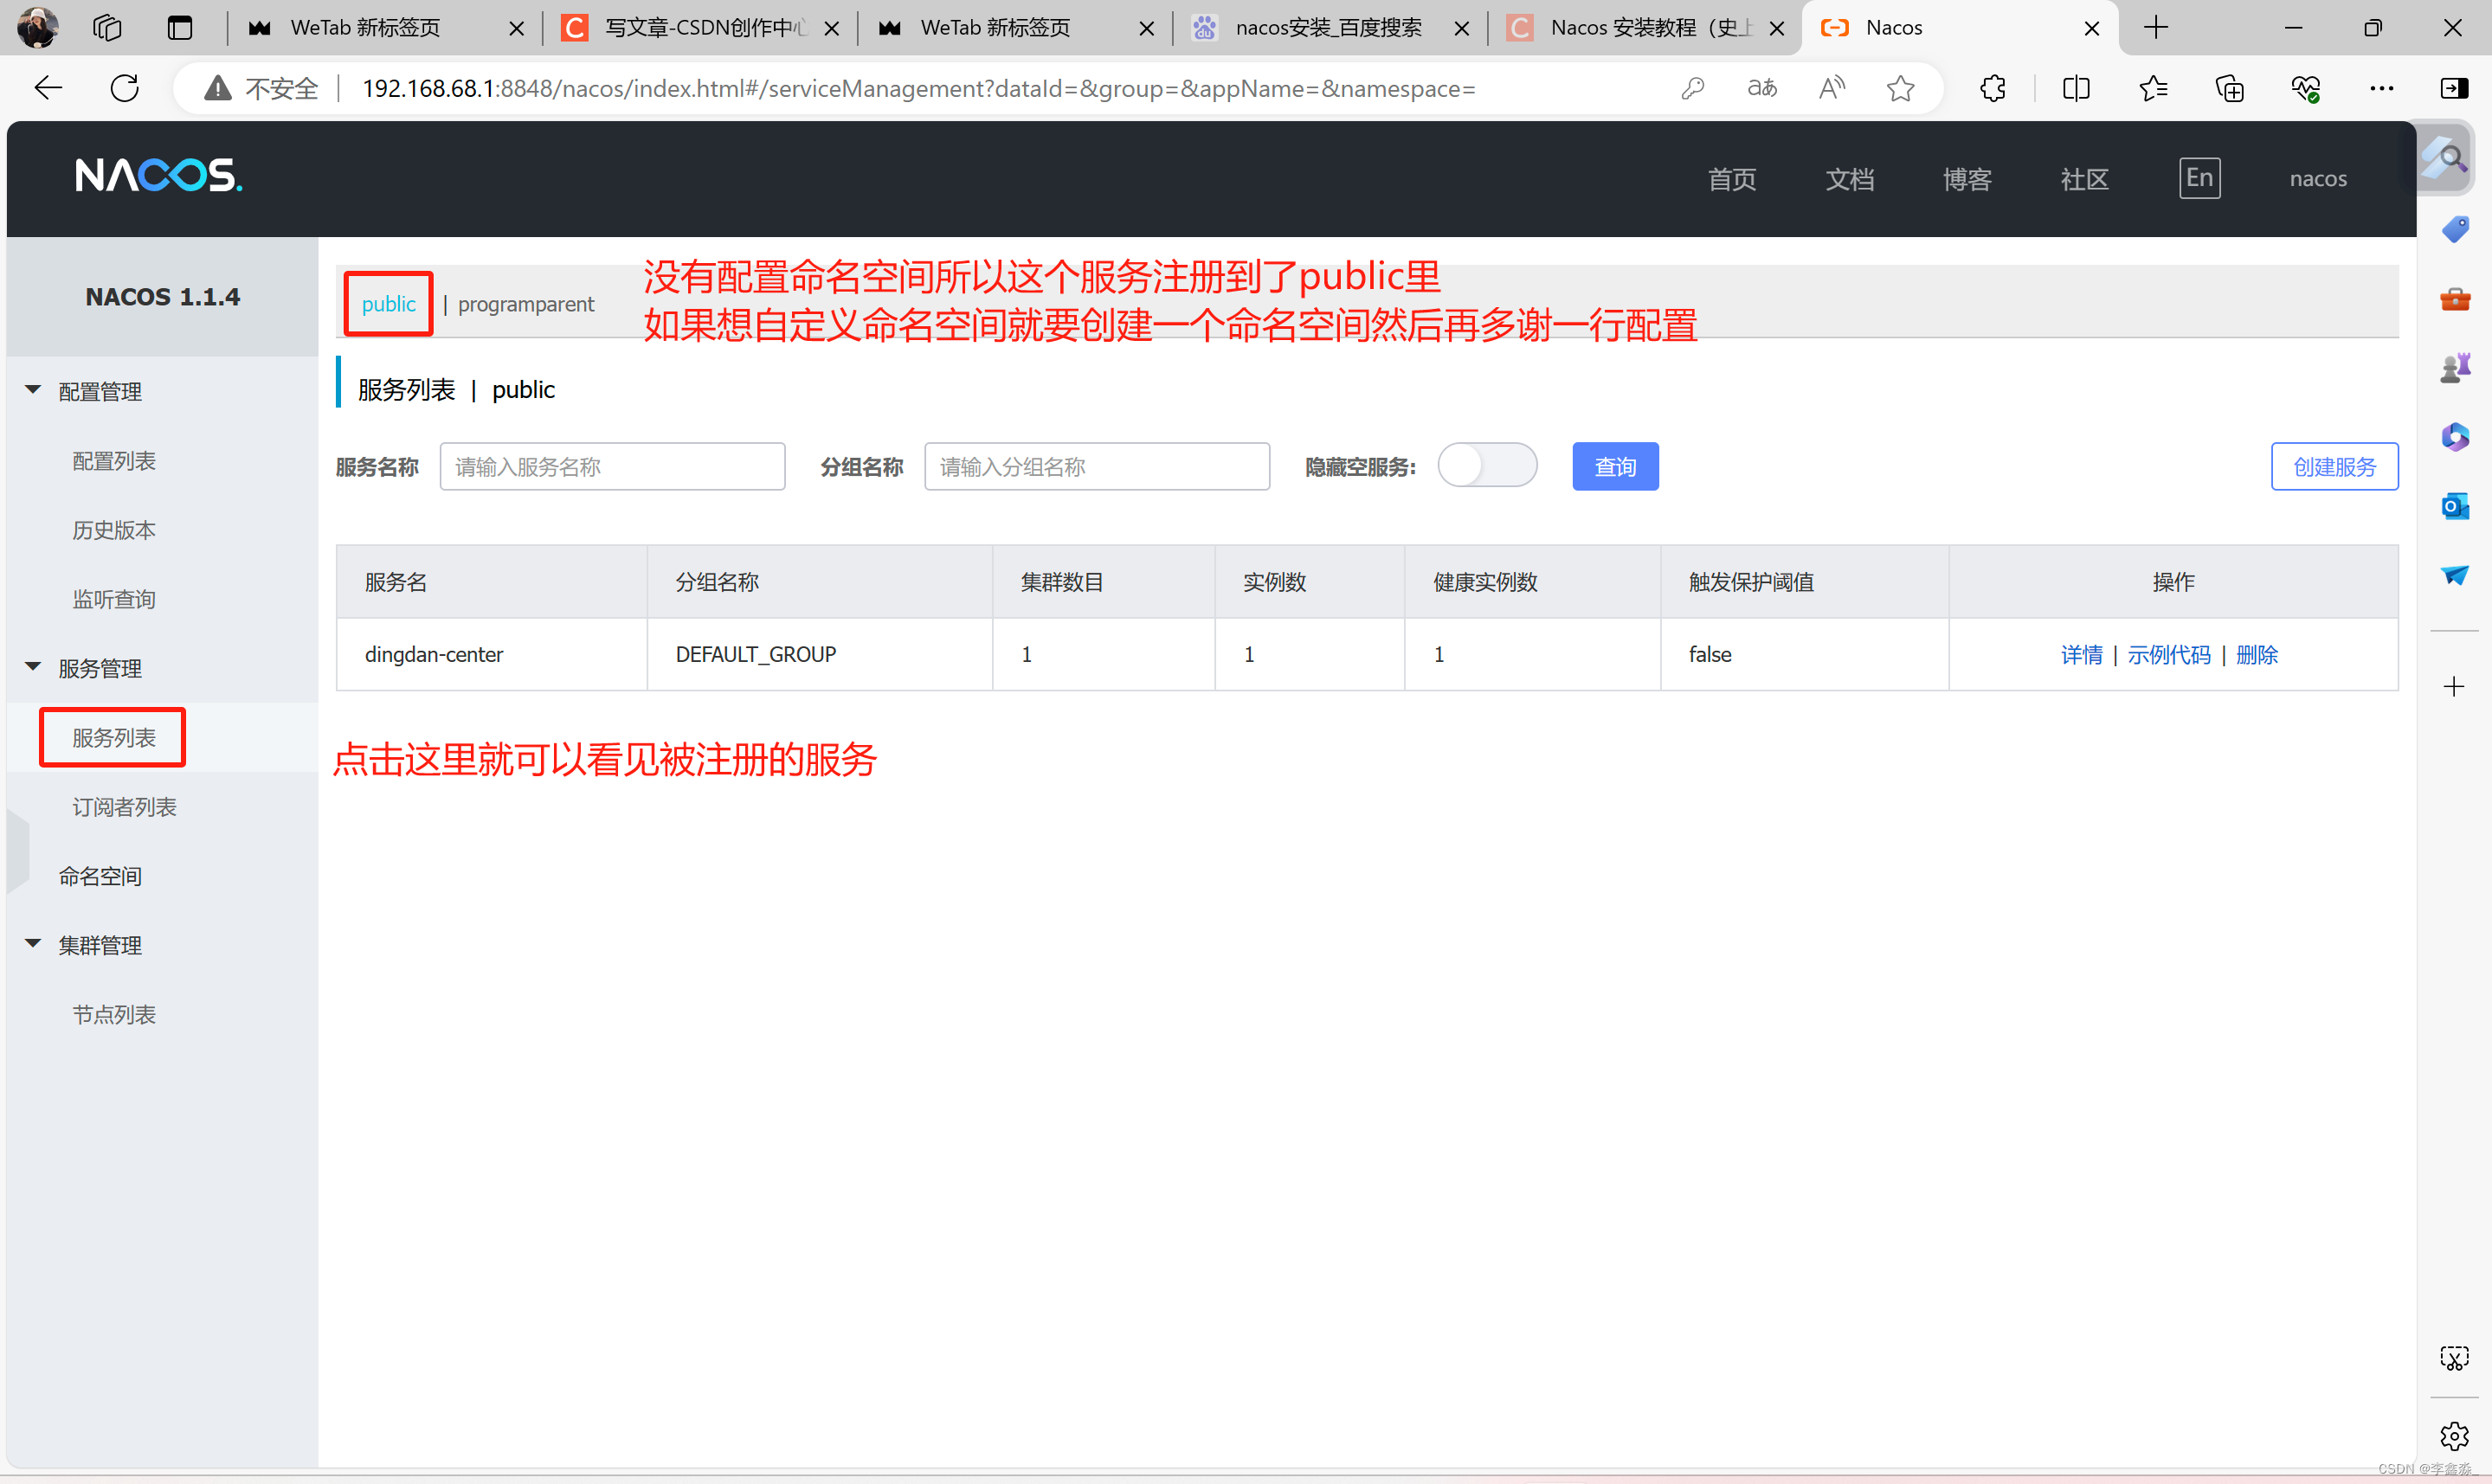
server-addr: localhost:8848 # Nacos服务注册与发现地址4.访问nacos网址就可以看到服务被注册上去了
效果:
四、整合Openfeign远程调用
1.创建一个Openfeign微服务并添加依赖
<?xml version="1.0" encoding="UTF-8"?>
<project xmlns="http://maven.apache.org/POM/4.0.0" xmlns:xsi="http://www.w3.org/2001/XMLSchema-instance"
         xsi:schemaLocation="http://maven.apache.org/POM/4.0.0 https://maven.apache.org/xsd/maven-4.0.0.xsd">
    <modelVersion>4.0.0</modelVersion>
    <parent>
        <groupId>com.example</groupId>
        <artifactId>SpringCloud_Alibaba</artifactId>
        <version>0.0.1-SNAPSHOT</version>
    </parent>
    <groupId>com.example</groupId>
    <artifactId>openfeign</artifactId>
    <version>0.0.1-SNAPSHOT</version>
    <name>openfeign</name>
    <description>openfeign</description>
    <dependencies>
        <dependency>
            <groupId>org.projectlombok</groupId>
            <artifactId>lombok</artifactId>
        </dependency>
        <!--open feign-->
        <dependency>
            <groupId>org.springframework.cloud</groupId>
            <artifactId>spring-cloud-starter-openfeign</artifactId>
        </dependency>
    </dependencies>
</project>
2.在父工程的modules标签里再添加一个module
3.在openfeign微服务的启动类上加上下面这个注解
@EnableFeignClients //启用OpenFeign3.把要被远程调用的接口的返回值在openfeign微服务里在复制一份
4.编写openfeign客户端
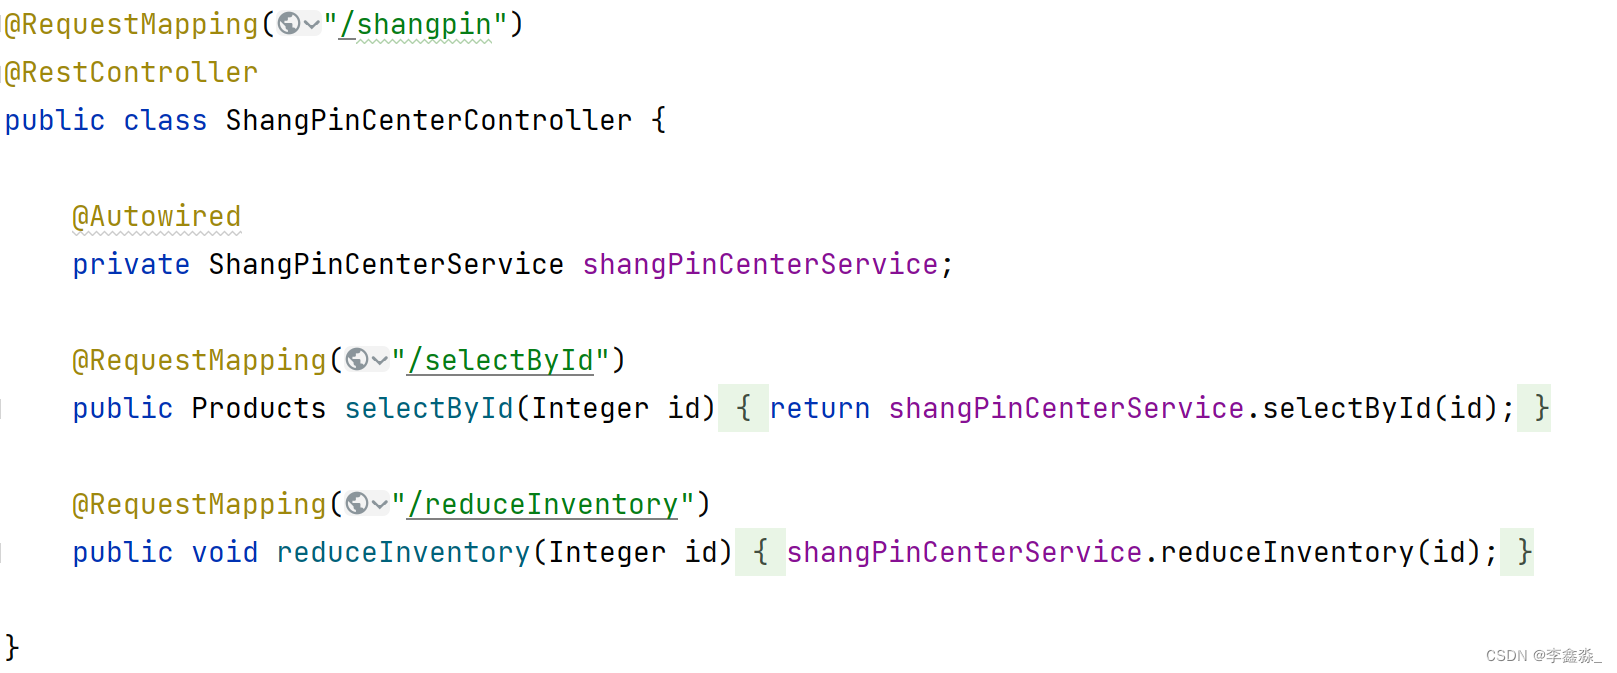
客户端的接口要和远程调用的接口对应上,下面是被远程调用的控制层和openfeign客户端。
控制层:
客户端:
@FeignClient(value = "被远程调用的微服务名称")
public interface ShangPinCenterClientApi {

    @GetMapping("/shangpin/selectById")
    public Products selectById(@RequestParam("id")Integer id);

    @GetMapping("/shangpin/reduceInventory")
    public void reduceInventory(@RequestParam("id")Integer id);

}
一定要写@RequestParam注解不然调用客户端接口会报空指针异常!!!
5.在需要用到的远程调用的微服务里把刚刚写的openfeign微服务当成依赖引入到pom文件里
6..在需要用到的远程调用的微服务的启动类里加上这个注解
@EnableFeignClients(basePackages = "指向openfeign编写客户端的包")总结
先写到这儿,后续可能会把网关加上。。。


 1934
1934

 被折叠的 条评论
为什么被折叠?
被折叠的 条评论
为什么被折叠?
 到【灌水乐园】发言


