


一.下载并安装Python
官网下载,点击前往
网盘下载,点击前往
提取码:ahsf
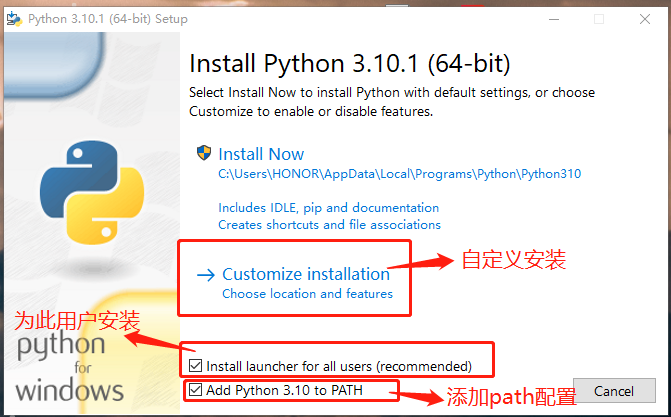
双击运行exe程序,选择第二个自定义安装,勾选两个选项
不勾选第二个选项,则需要自己配置环境变量
点击Install Now 会安装在程序的默认位置,即Install Now底下的位置
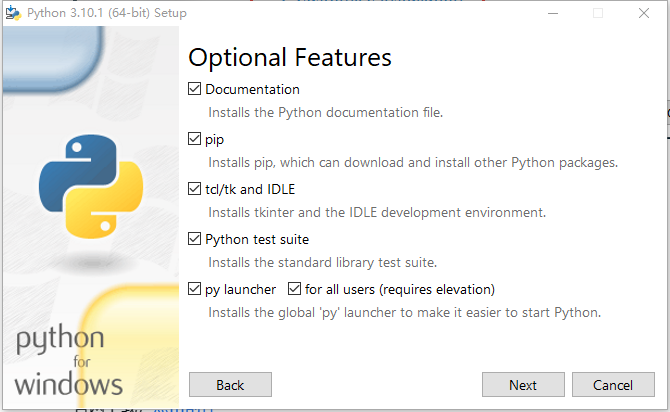
点击Next进入下一步
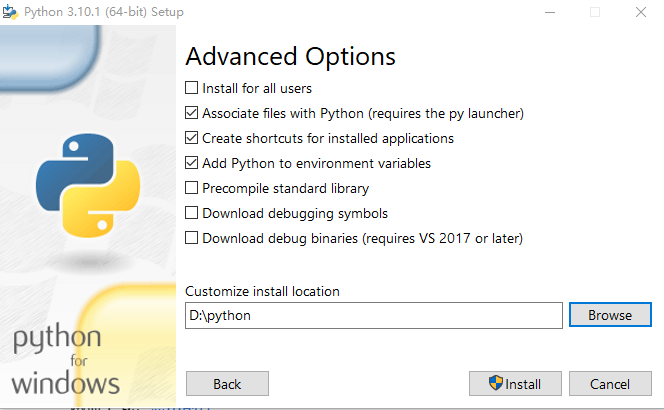
选择安装位置,点击Install进行安装
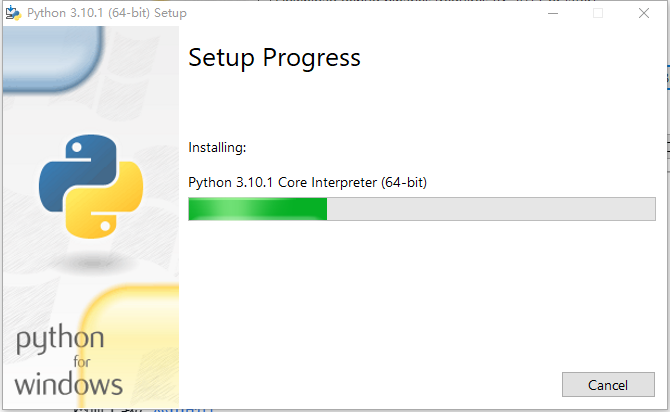
等待安装完成
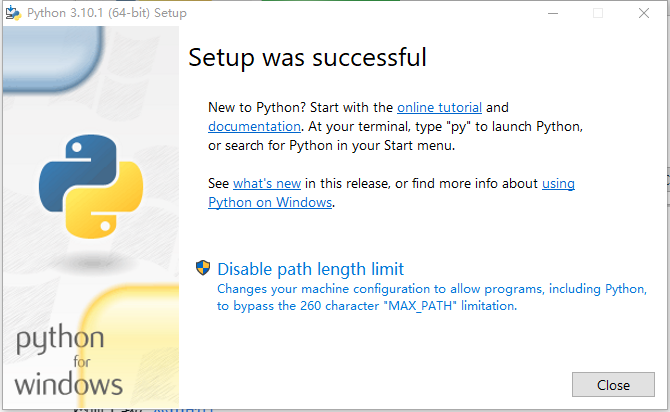
点击Close即可
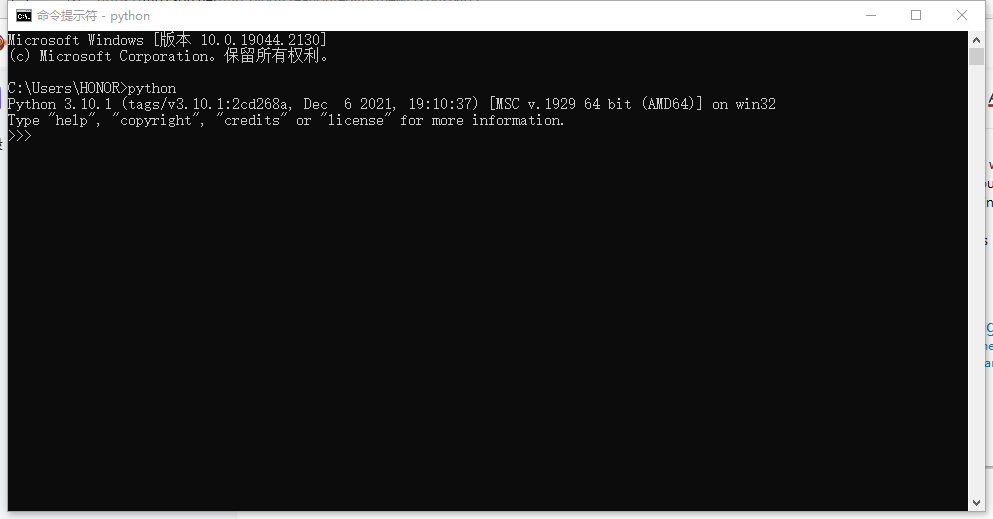
打开cmd,输入python,出现如上图即安装成功
CTRL+Z,然后回车即可退出python
二.下载并安装PyCharm
官网下载,点击前往
网盘下载,点击前往
提取码:odh8
双击exe程序运行pycharm
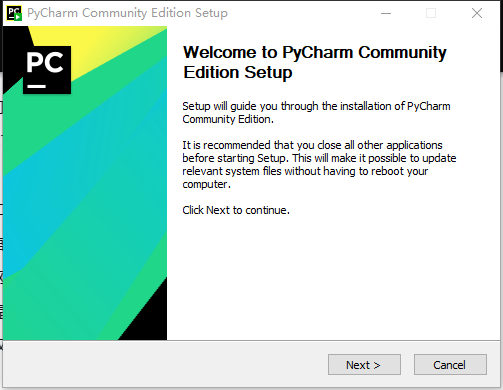
点击Next进入下一步
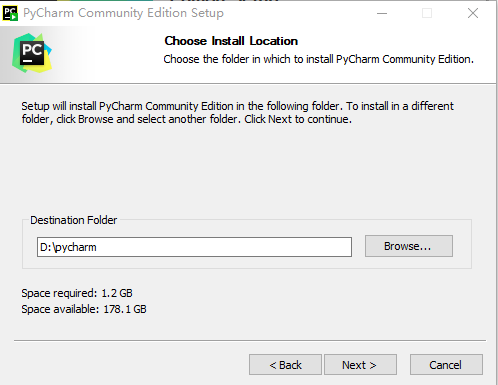
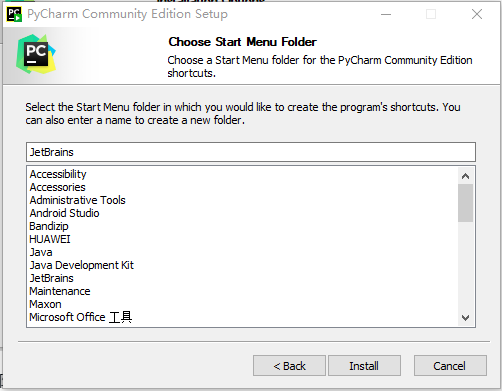
选择安装位置
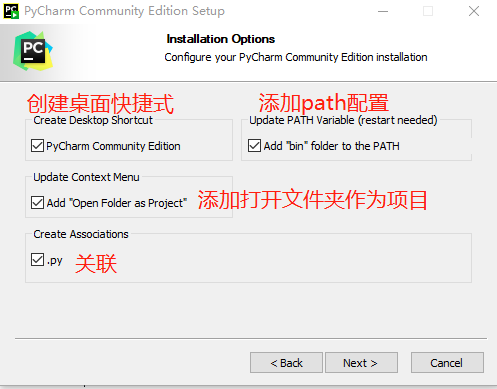
都选上就行
点击Install进行安装
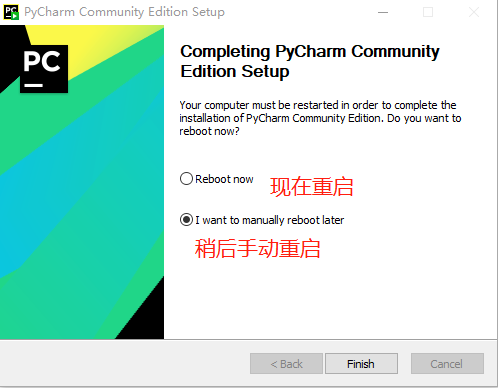
点击Finish完成
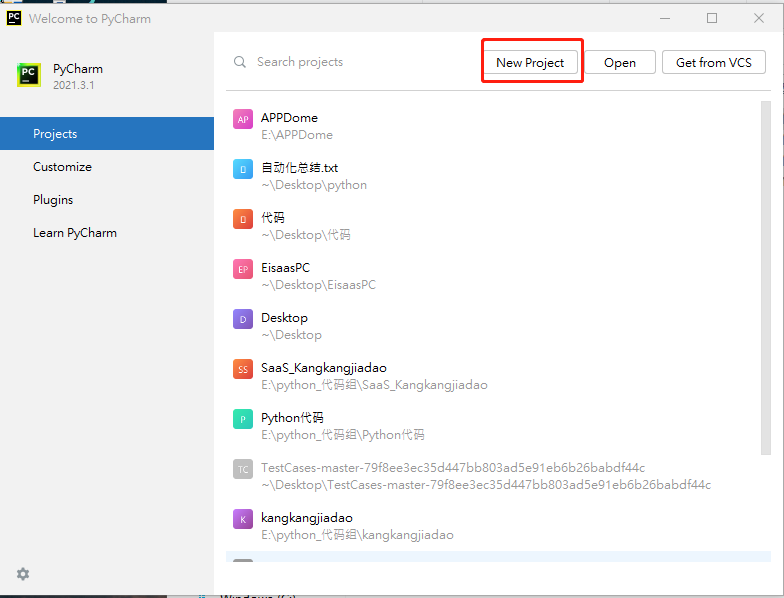
打开pycharm,点击New project创建一个新项目
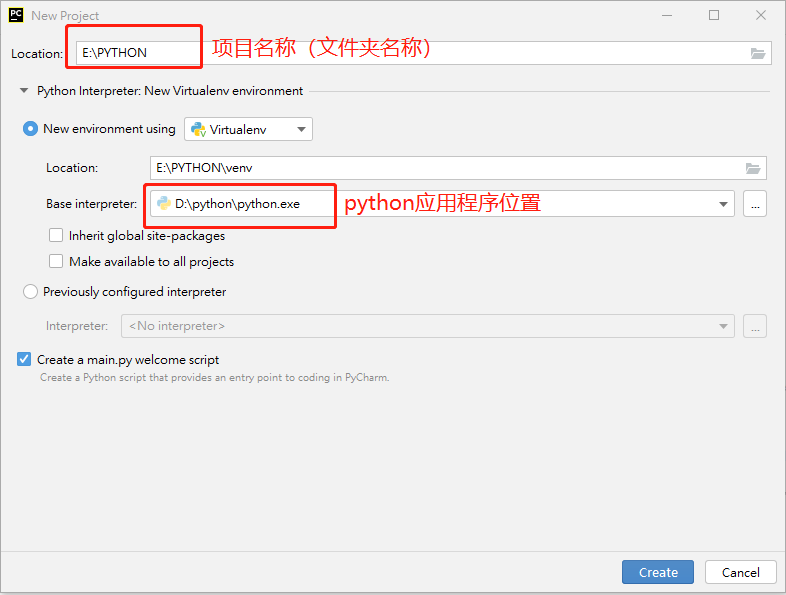
选择项目放置的位置并输入名称,然后点击Create
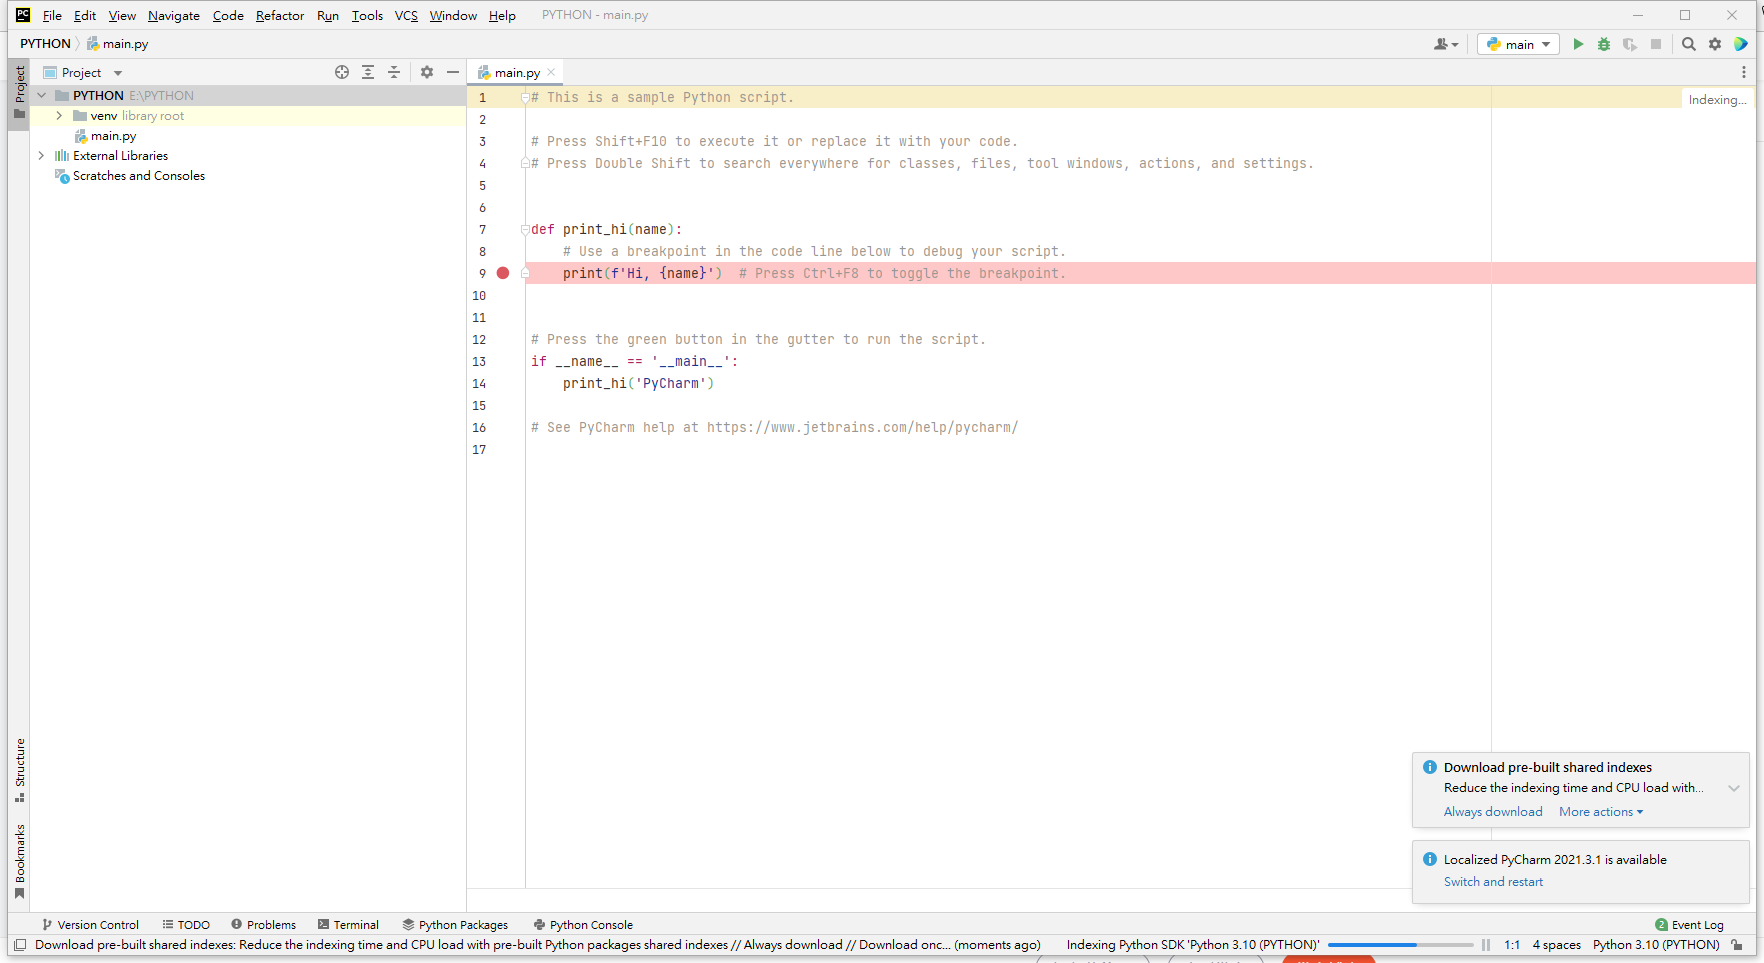
出现这个界面就可以了


 171
171


 被折叠的 条评论
为什么被折叠?
被折叠的 条评论
为什么被折叠?
 到【灌水乐园】发言


