1、在工程中引入spring-amqp的依赖
<!--AMQP依赖,包含RabbitMQ-->
<dependency>
    <groupId>org.springframework.boot</groupId>
    <artifactId>spring-boot-starter-amqp</artifactId>
</dependency>
2、消息发送
2.1 首先配置MQ地址,在发送消息模块中的application.yml中添加配置:
spring:
  rabbitmq:
    host: 192.168.150.101 # 主机名
    port: 5672 # 端口
    virtual-host: / # 虚拟主机
    username: itcast # 用户名
    password: 123321 # 密码
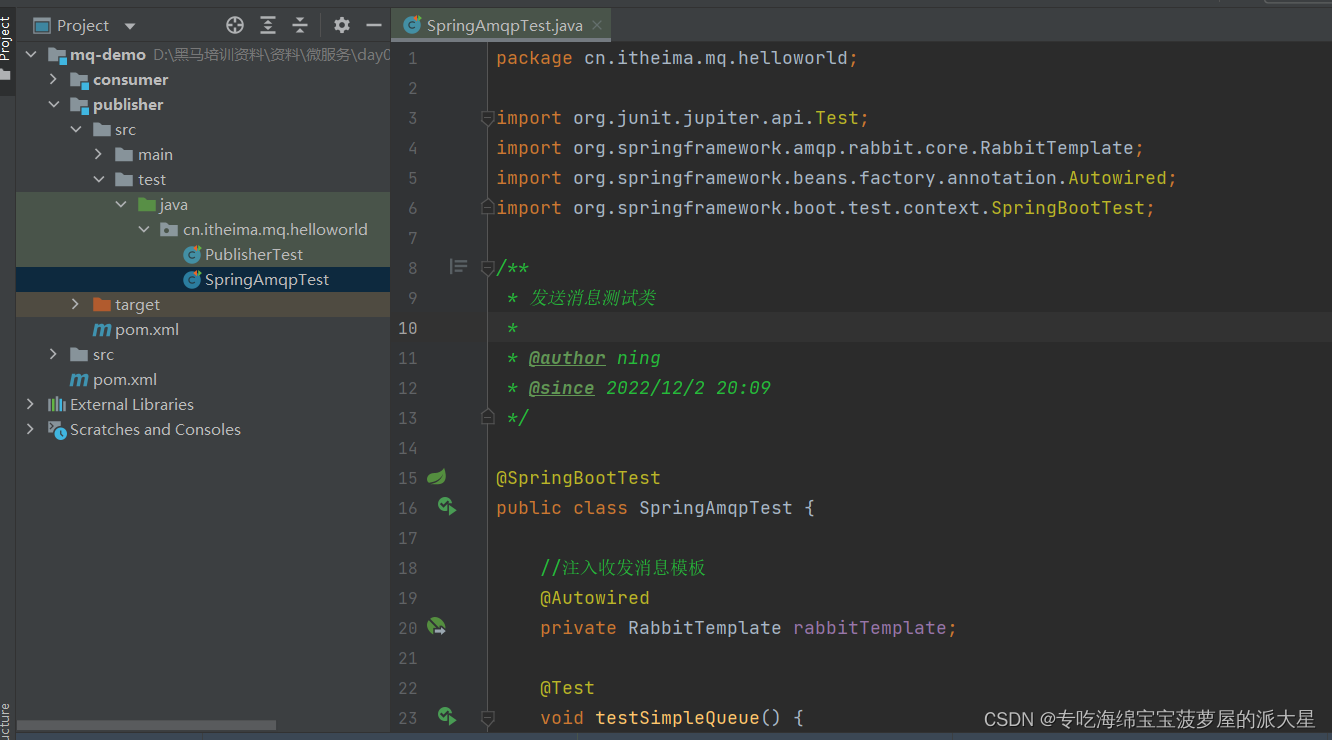
2.2 然后在发送消息模块中编写测试类SpringAmqpTest,并利用RabbitTemplate实现消息发送:
package cn.itheima.mq.helloworld;

import org.junit.jupiter.api.Test;
import org.springframework.amqp.rabbit.core.RabbitTemplate;
import org.springframework.beans.factory.annotation.Autowired;
import org.springframework.boot.test.context.SpringBootTest;

/**
 * 发送消息测试类
 *
 * @author ning
 * @since 2022/12/2 20:09
 */

@SpringBootTest
public class SpringAmqpTest {

    //注入收发消息模板
    @Autowired
    private RabbitTemplate rabbitTemplate;

    @Test
    void testSimpleQueue() {
        //消息
        String msg = "hello, spring amqp!";
        //队列名称
        //需要先有一个消息队列
        //创建队列
        //String queueName = "simple.queue";
        //channel.queueDeclare(queueName, false, false, false, null);
        String queueName = "simple.queue";
        //发送消息,转成字节数组发送
        rabbitTemplate.convertAndSend(queueName,msg);

        System.out.println("消息发送完毕");
    }
}

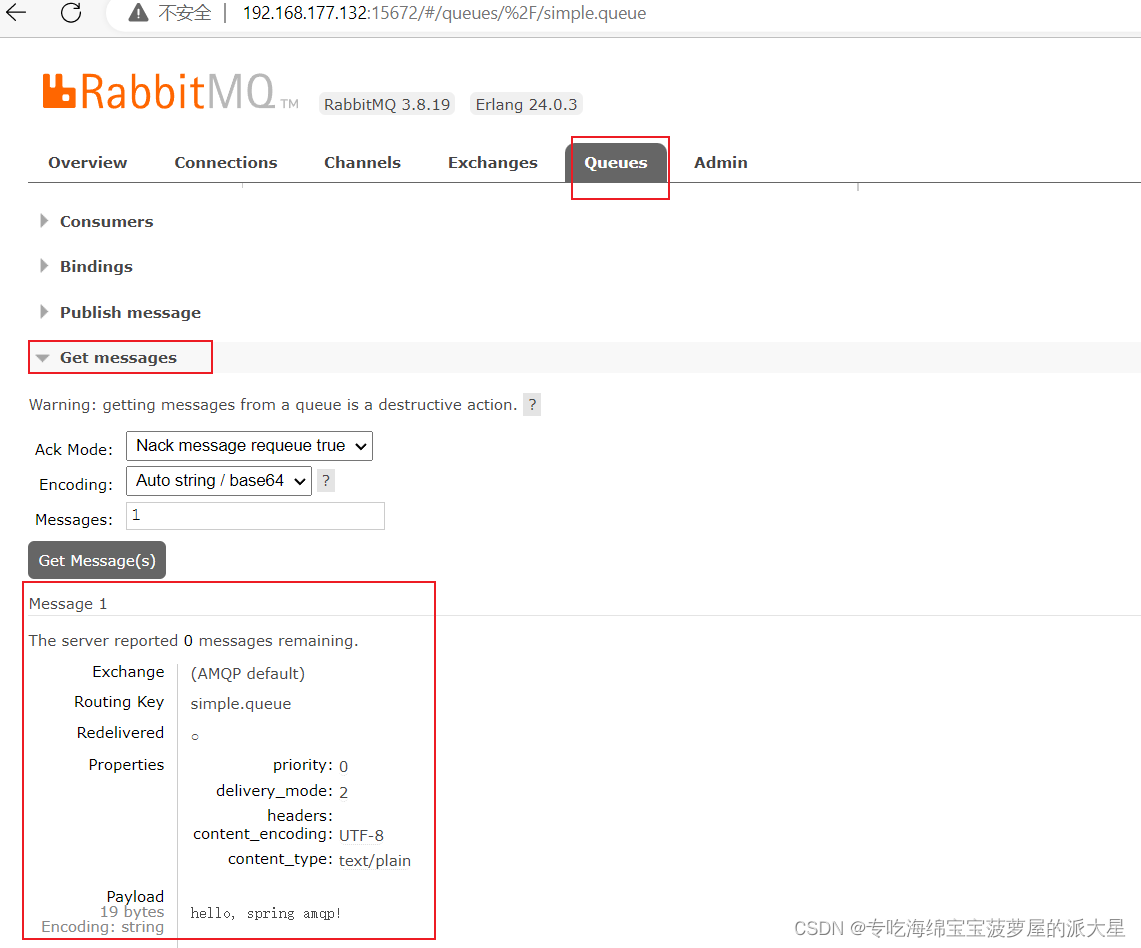
此时,在消息队列中就有一条消息了

3、接受消息(消费方/监听器)
3.1 首先配置MQ地址,在接受消息模块中的application.yml中添加配置:
spring:
  rabbitmq:
    host: 192.168.150.101 # 主机名
    port: 5672 # 端口
    virtual-host: / # 虚拟主机
    username: itcast # 用户名
    password: 123321 # 密码
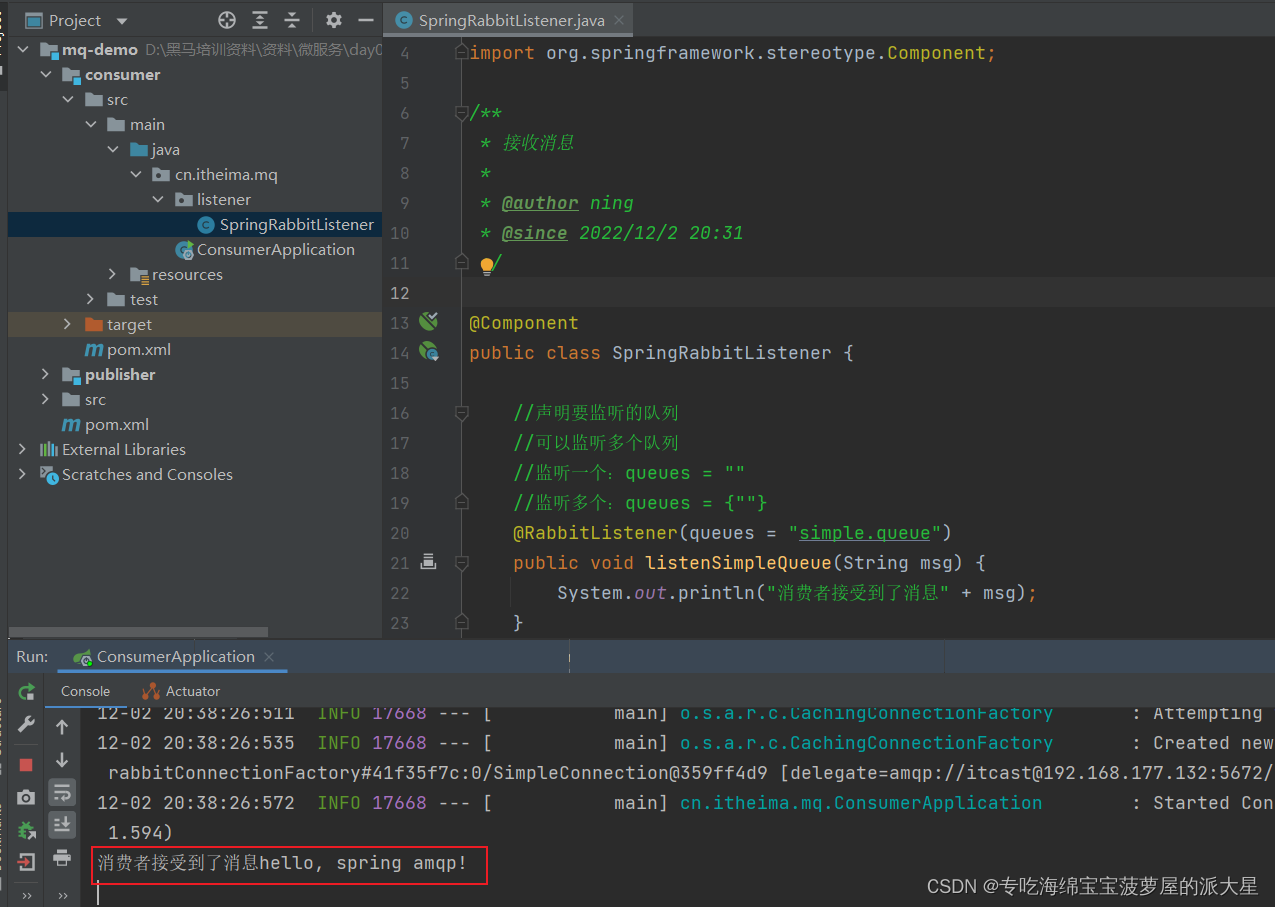
3.2 然后在接受消息模块的listener包中新建一个类SpringRabbitListener,代码如下:
package cn.itheima.mq.listener;

import org.springframework.amqp.rabbit.annotation.RabbitListener;
import org.springframework.stereotype.Component;

/**
 * 接收消息
 *
 * @author ning
 * @since 2022/12/2 20:31
 */

//把这个类交由spring管理
@Component
public class SpringRabbitListener {

    //声明要监听的队列
    //可以监听多个队列
    //监听一个:queues = ""
    //监听多个:queues = {""}
    @RabbitListener(queues = "simple.queue")
    public void listenSimpleQueue(String msg) {
        System.out.println("消费者接受到了消息" + msg);
    }
}

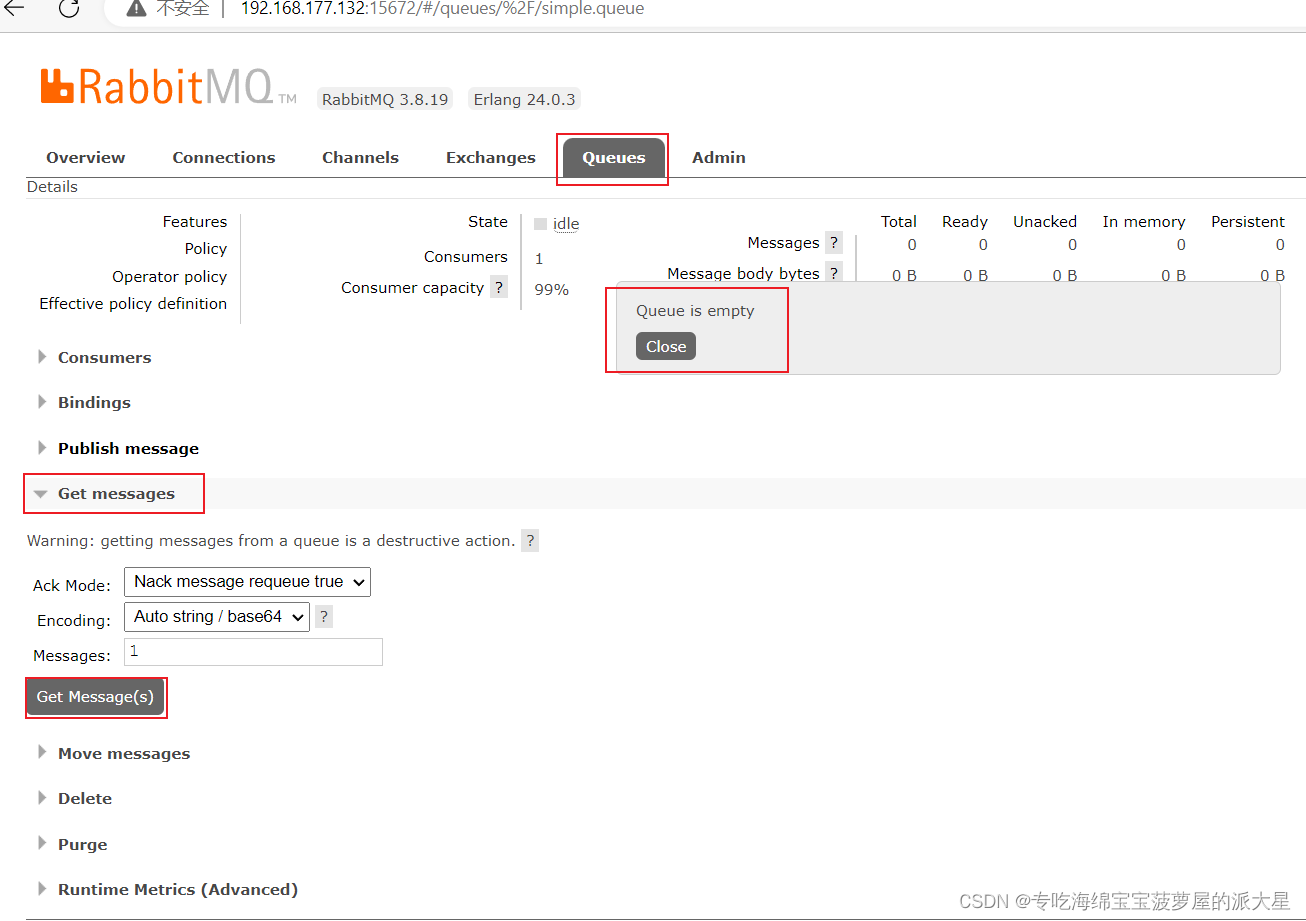
此时,消息队列中的消息就被删除了


 本文介绍如何使用 Spring AMQP 和 RabbitMQ 实现消息发送与接收。主要内容包括:在项目中引入 spring-amqp 的依赖;配置 RabbitMQ 地址;通过 RabbitTemplate 发送消息;定义监听器接收消息。


 963
963

 被折叠的 条评论
为什么被折叠?


