


 本文介绍了在SpringBoot项目中集成Elasticsearch的过程,包括环境配置、项目创建、依赖管理、代码组织以及实际的数据增删查改操作。通过使用可视化插件elasticsearch-head辅助观察数据,展示了如何进行简单的搜索测试。
实验环境
- ES版本:5.3.0
- spring bt版本:1.5.9
首先当然需要安装好elastic search环境,最好再安装上可视化插件 elasticsearch-head来便于我们直观地查看数据。
Spring工程创建
这部分没有特殊要交代的,但有几个注意点一定要当心
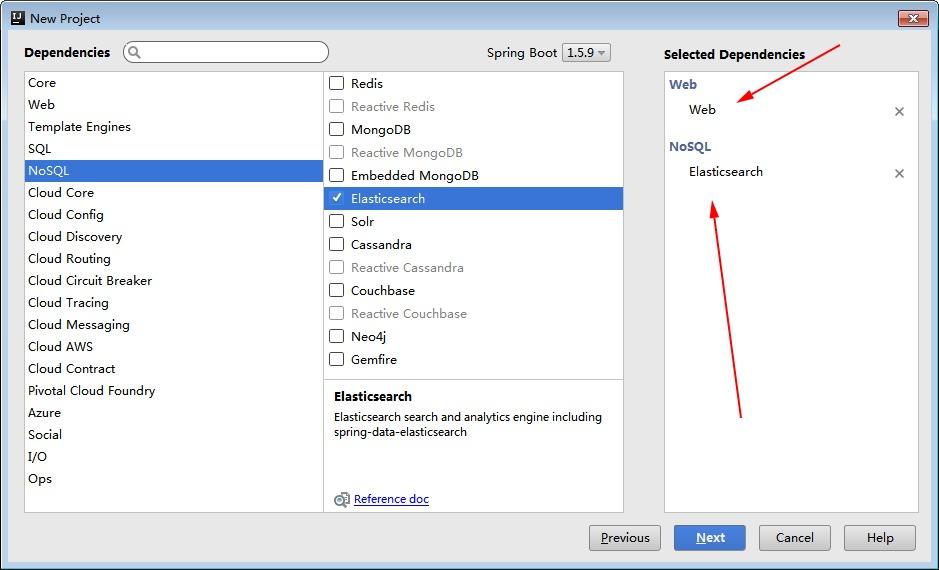
- 注意在新建项目时记得勾选web和NoSQL中的Elasticsearch依赖,来张图说明一下吧:
项目自动生成以后pom.xml中会自动添加spring-boot-starter-data-elasticsearch的依赖:
        <dependency>
            <groupId>org.springframework.boot</groupId>
            <artifactId>spring-boot-starter-data-elasticsearch</artifactId>
</dependency>1234- 本项目中我们使用开源的基于restful的es java客户端
jest,所以还需要在pom.xml中添加jest依赖:
        <dependency>
            <groupId>io.searchbox</groupId>
            <artifactId>jest</artifactId>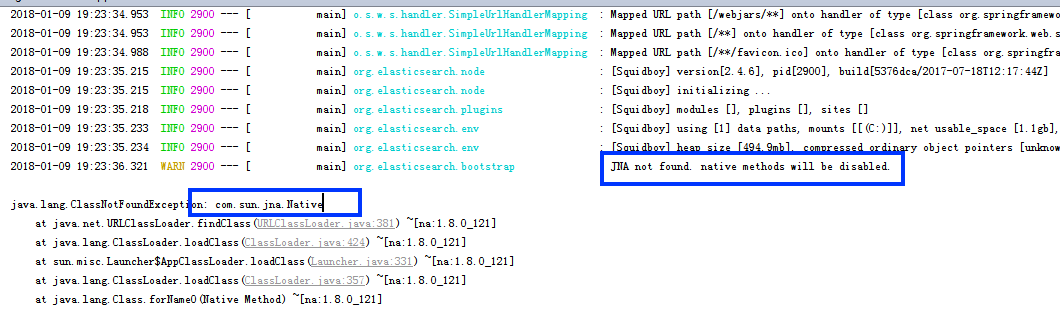
</dependency>1234- 除此之外还必须添加
jna的依赖:
        <dependency>
            <groupId>net.java.dev.jna</groupId>
            <artifactId>jna</artifactId>
</dependency>1234否则启动spring项目的时候会报JNA not found. native methods will be disabled.的错误:
- 项目的配置文件application.yml中需要把es服务器地址配置对
server:
  port: 6325

spring:
  elasticsearch:
    jest:
      uris:
      - http://113.209.119.170:9200  # ES服务器的地址!
      read-timeout: 5000123456789
代码组织
我的项目代码组织如下:
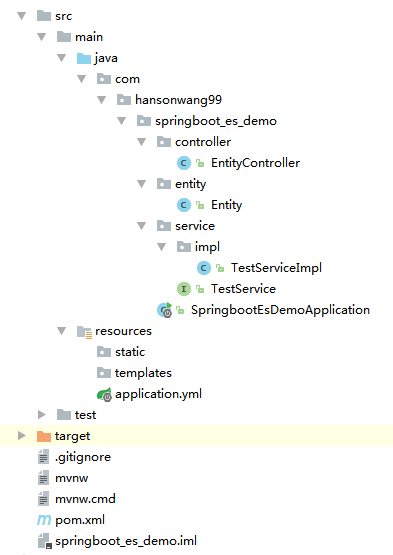
各部分代码详解如下,注释都有:
- Entity.java
package com.hansonwang99.springboot_es_demo.entity;
import java.io.Serializable;
import org.springframework.data.elasticsearch.annotations.Document;

public class Entity implements Serializable{


    private static final long serialVersionUID = -763638353551774166L;

    public static final String INDEX_NAME = "index_entity";

    public static final String TYPE = "tstype";

    private Long id;

    private String name;

    public Entity() {

        super();
    }

    public Entity(Long id, String name) {

        this
最低0.47元/天 解锁文章


 1596
1596

 被折叠的 条评论
为什么被折叠?
被折叠的 条评论
为什么被折叠?
 到【灌水乐园】发言


