


创建 OAuth 应用
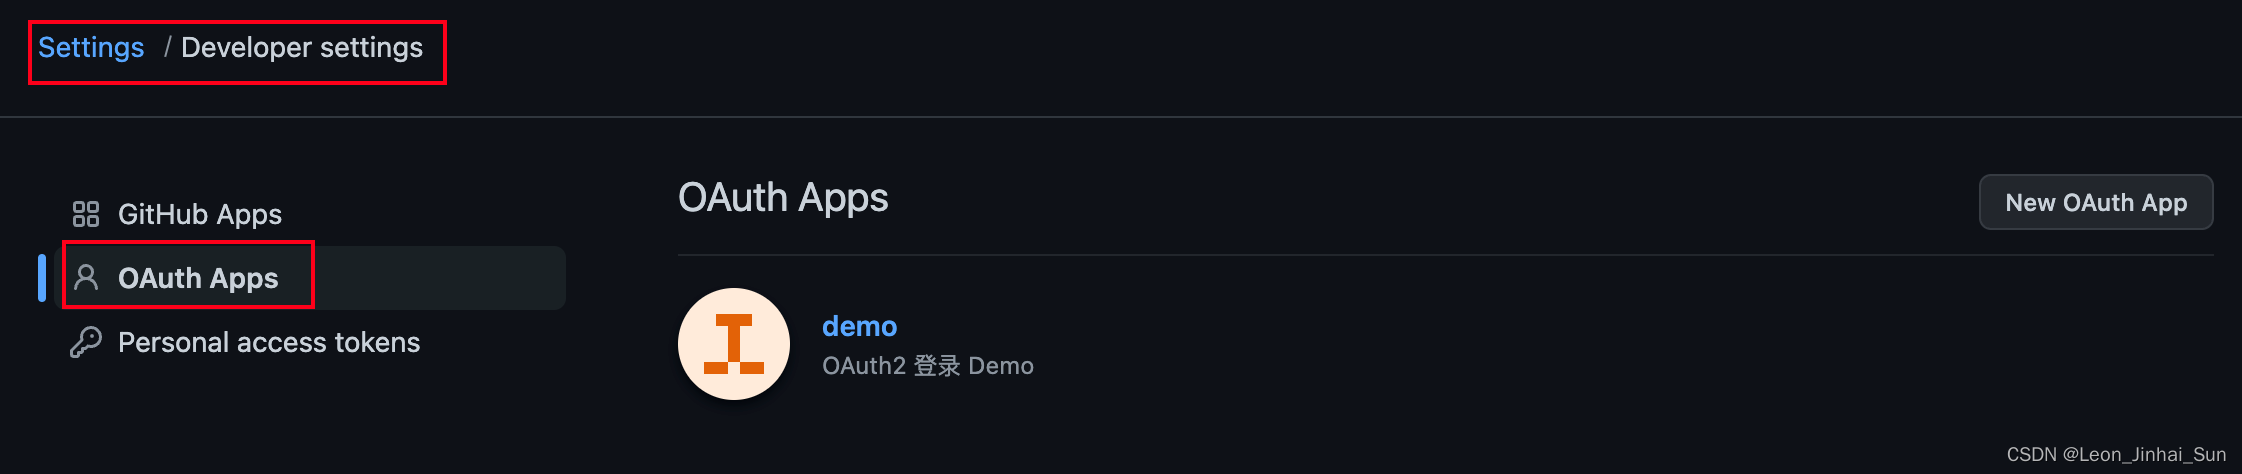
访问 github 并登录,在Sign in to GitHub · GitHub中找到 Developer Settings 选项
创建 OAuth App并输入一下基本信息:

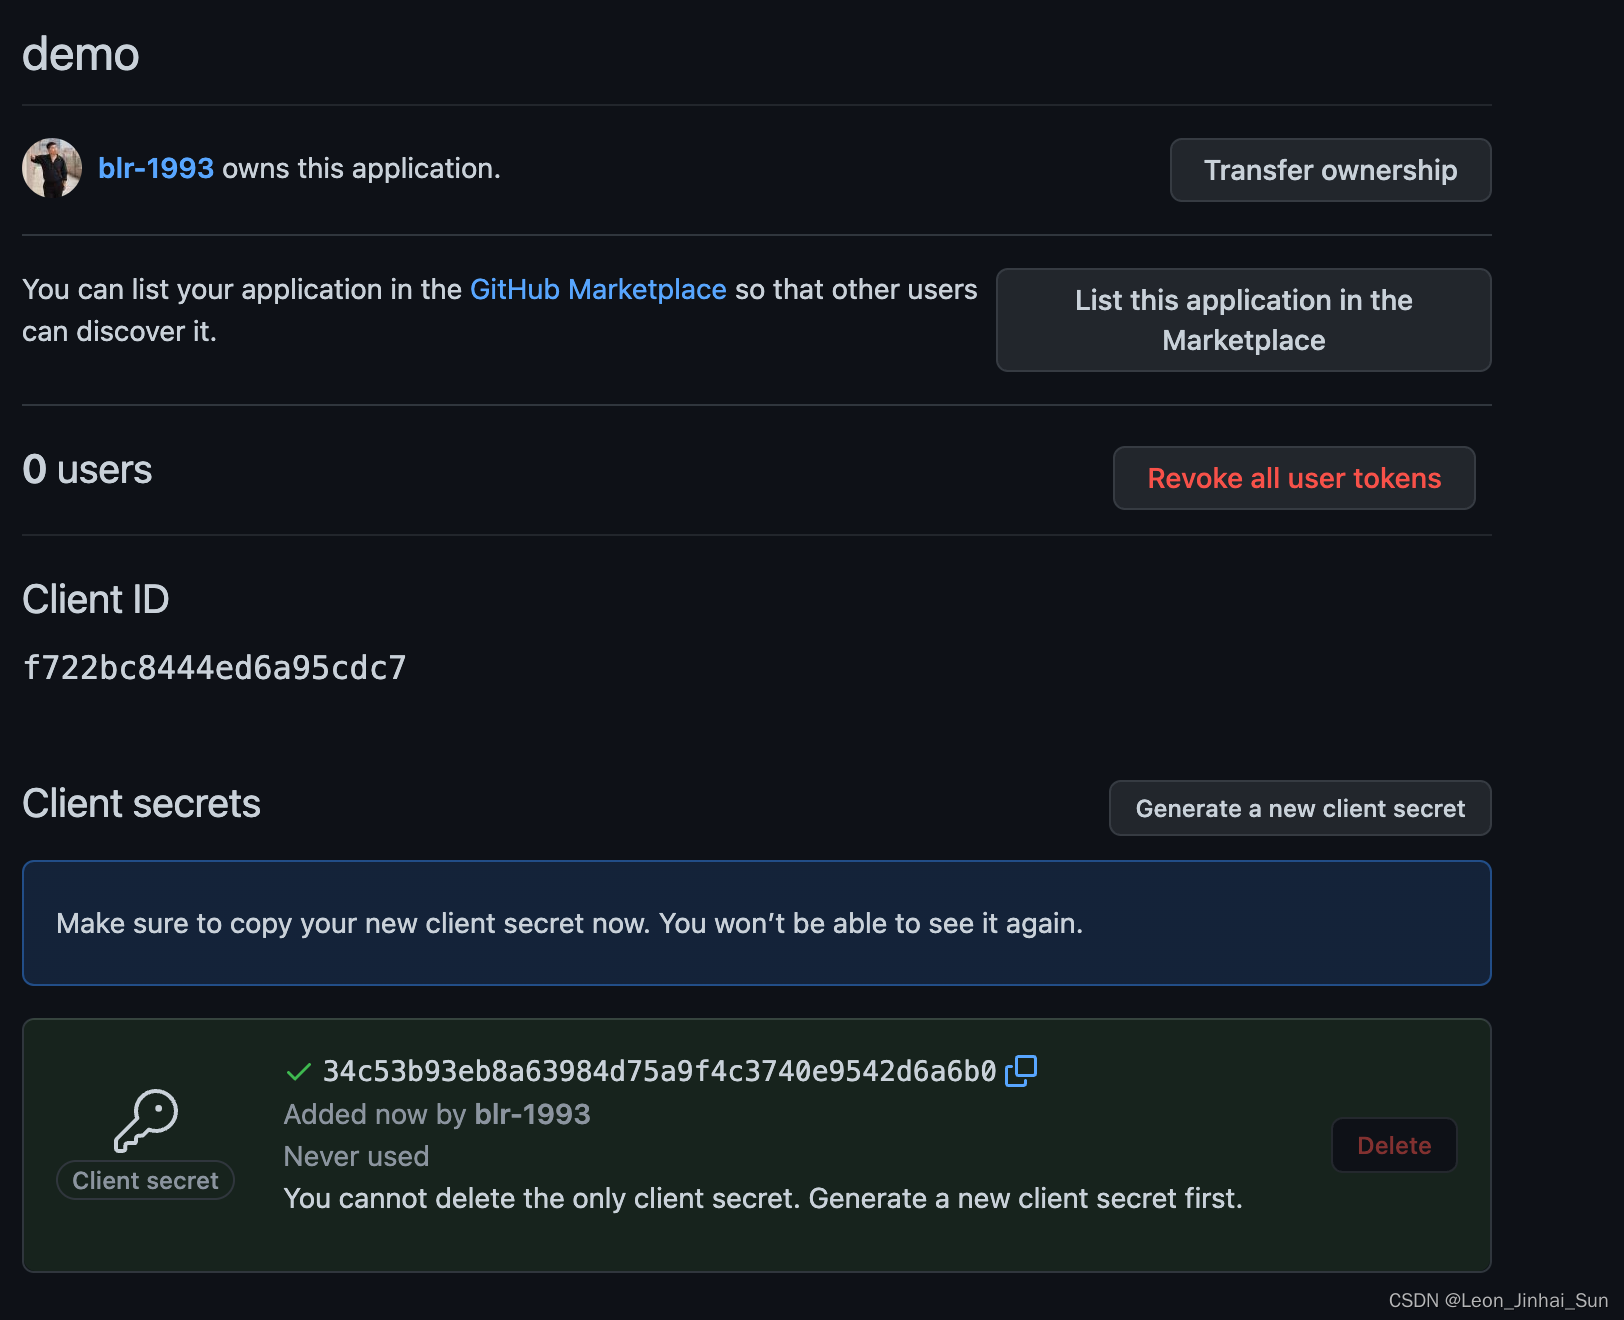
注册成功后会获取到对应的 Client ID 和 Client Secret。
项目开发
-
创建 springboot 应用,并引入依赖
<dependency>
  <groupId>org.springframework.boot</groupId>
  <artifactId>spring-boot-starter-oauth2-client</artifactId>
</dependency>
<dependency>
  <groupId>org.springframework.boot</groupId>
  <artifactId>spring-boot-starter-security</artifactId>
</dependency>
<dependency>
  <groupId>org.springframework.boot</groupId>
  <artifactId>spring-boot-starter-web</artifactId>
</dependency>
创建测试 controller
@RestController
public class HelloController {

    @GetMapping("/hello")
    public DefaultOAuth2User hello(){
        System.out.println("hello ");
        Authentication authentication = SecurityContextHolder.getContext().getAuthentication();
        return (DefaultOAuth2User) authentication.getPrincipal();
    }
}
配置 security
@Configuration
public class SecurityConfig extends WebSecurityConfigurerAdapter {
    @Override
    protected void configure(HttpSecurity http) throws Exception {
        http.authorizeRequests()
                .anyRequest().authenticated()
                .and()
                .oauth2Login();
    }
}
配置配置文件
server.port=8080

spring.security.oauth2.client.registration.github.client-id=d6ea299b9ade3cd3b97d
spring.security.oauth2.client.registration.github.client-secret=aaa44b2675a7b636b1b43371e509e88ee9013816
#  一定要与重定向回调 URL 一致
spring.security.oauth2.client.registration.github.redirect-uri=http://localhost:8080/login/oauth2/code/github
启动测试
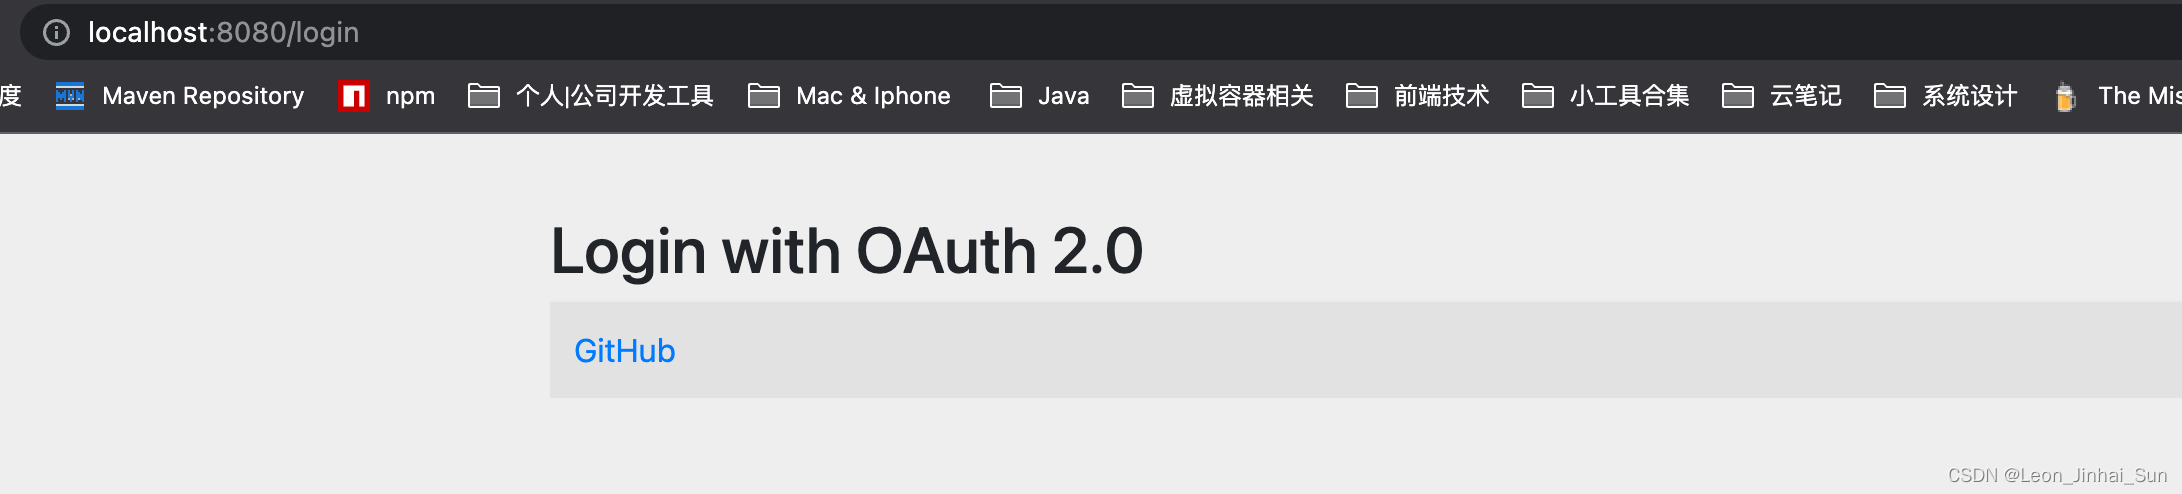
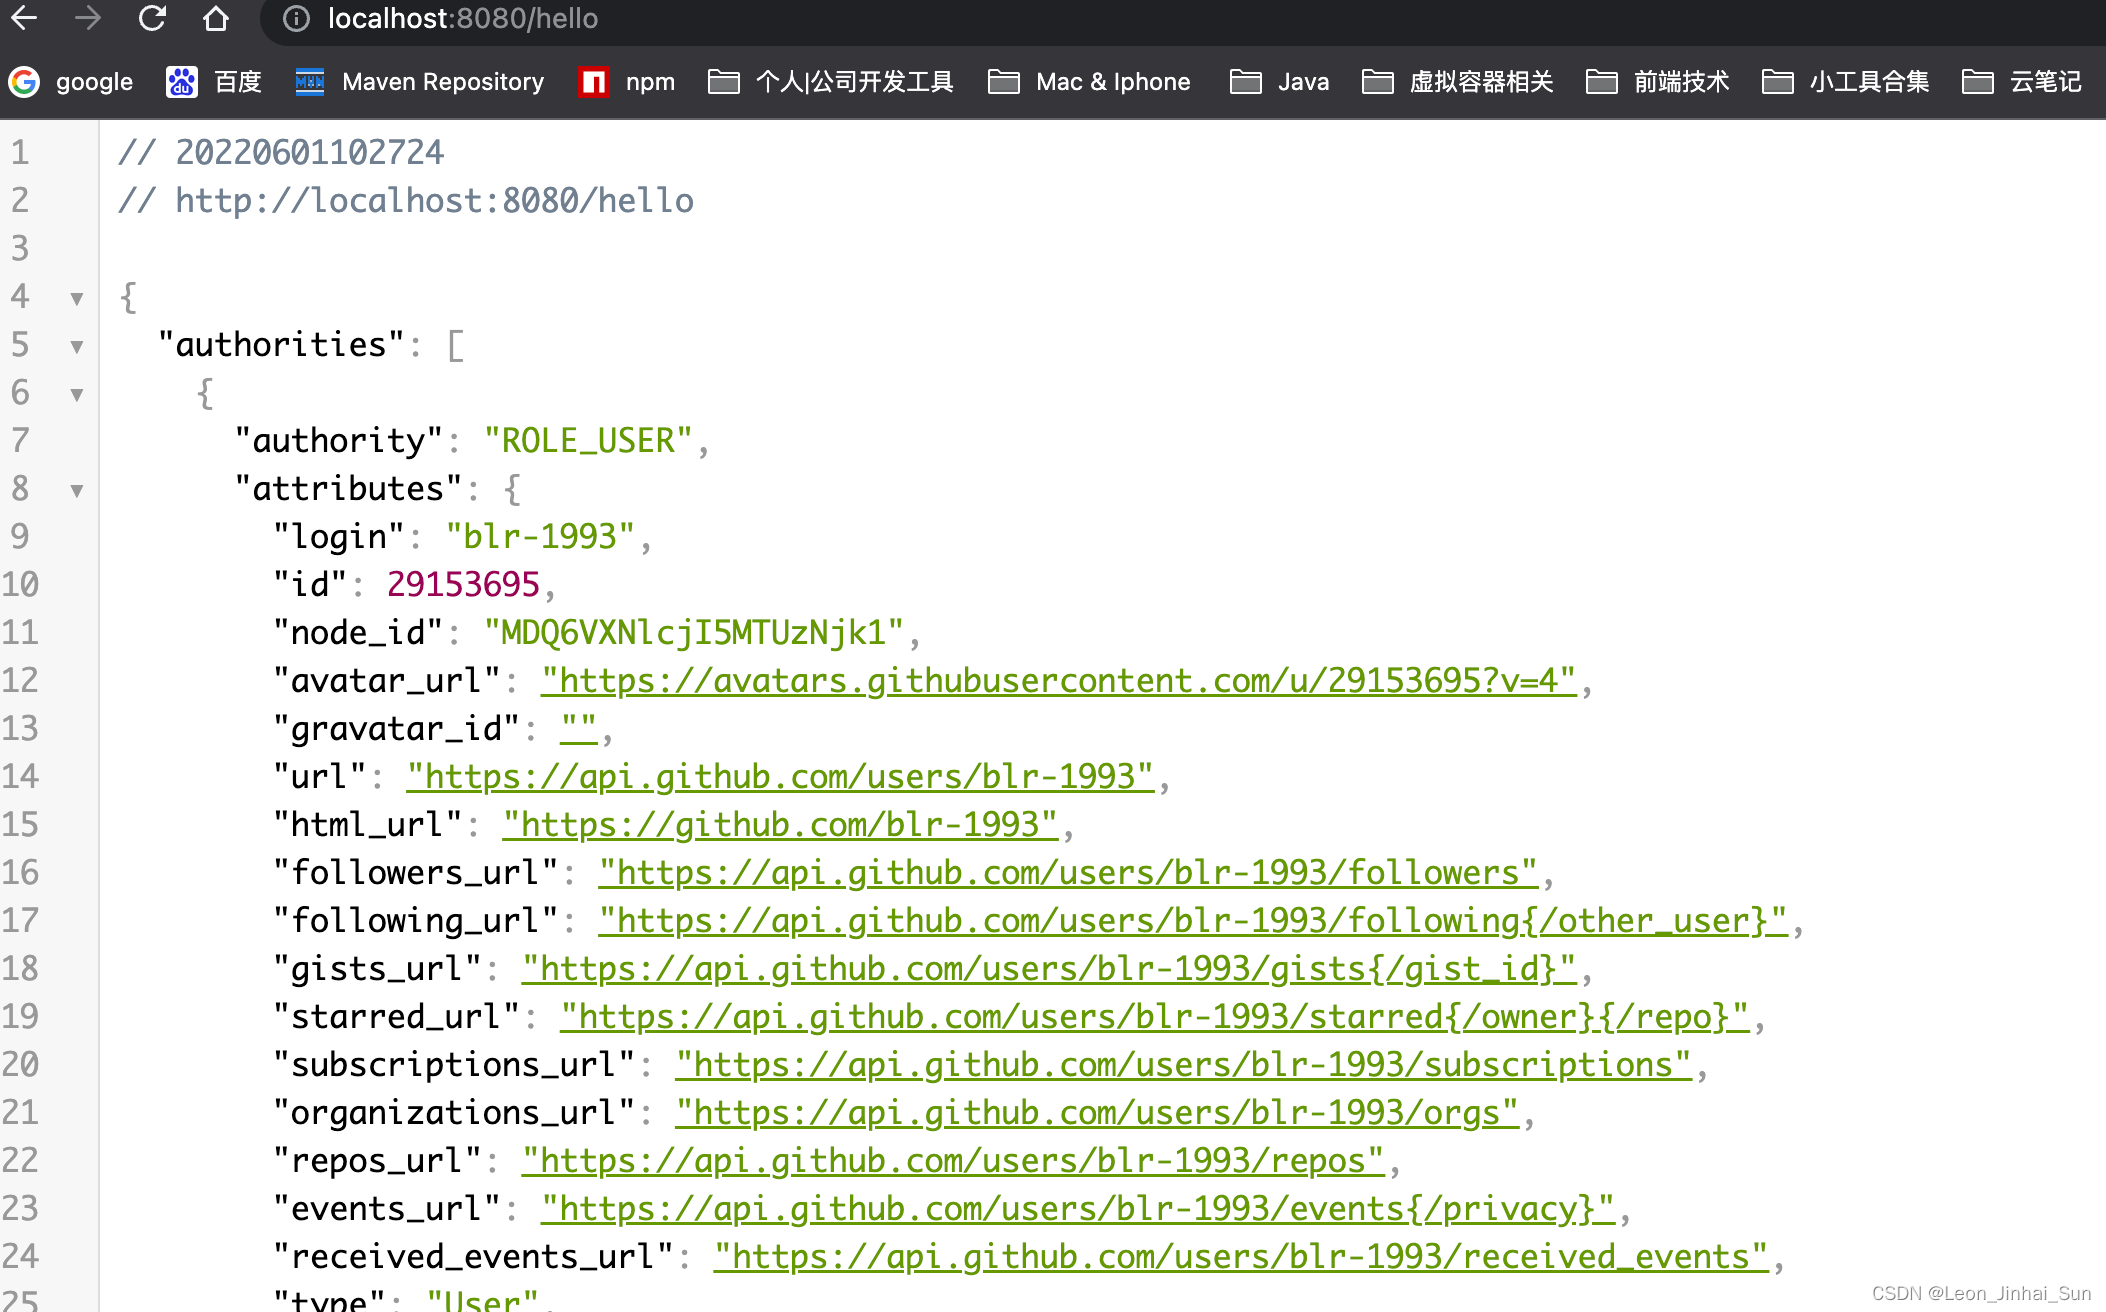
点击 github 登录,点击授权 访问 hello 接口


 2606
2606


 被折叠的 条评论
为什么被折叠?
被折叠的 条评论
为什么被折叠?
 到【灌水乐园】发言


