


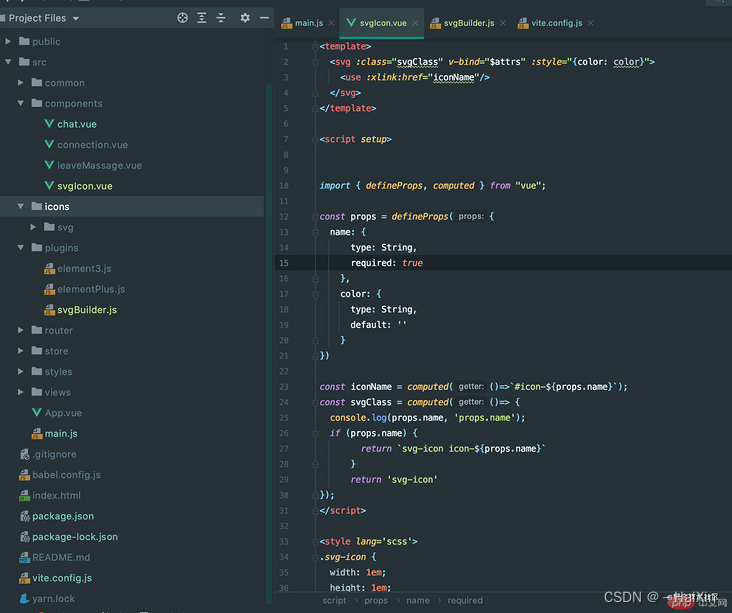
1、文件目录
2、安装 svg-sprite-loader npm install svg-sprite-loader
3、创建svgIcon.vue文件
<template>
  <div
    v-if="external"
    :style="styleExternalIcon"
    v-bind="$attrs"
    class="svg-external-icon svg-icon"
  />
  <!--  v-on="$listeners"-->
  <svg v-else :class="svgClass" v-bind="$attrs" aria-hidden="true">
    <use :href="iconName" />
  </svg>
</template>

<script setup>
  // doc: https://panjiachen.github.io/vue-element-admin-site/feature/component/svg-icon.html#usage
  import { isExternal } from '@/utils/validate';
  import { computed } from 'vue';

  const props = defineProps({
    iconClass: {
      type: String,
      required: false,
      default: 'non-existent',
    },
    className: {
      type: String,
      default: '',
    },
    customClass: {
      type: String,
      default: '',
    },
  });

  const external = computed(() => {
    return isExternal(props.iconClass);
  });
  const iconName = computed(() => {
    return `#icon-${props.iconClass}`;
  });
  const svgClass = computed(() => {
    if (props.className) {
      return 'svg-icon ' + props.className;
    }
    if (props.customClass) {
      return props.customClass;
    }
    return 'svg-icon';
  });
  const styleExternalIcon = computed(() => {
    return {
      mask: `url(${props.iconClass}) no-repeat 50% 50%`,
      '-webkit-mask': `url(${props.iconClass}) no-repeat 50% 50%`,
    };
  });
</script>

<style scoped>
  .svg-icon {
    width: 1em;
    height: 1em;
    vertical-align: -0.15em;
    fill: currentColor;
    overflow: hidden;
  }

  .svg-external-icon {
    background-color: currentColor;
    mask-size: cover !important;
    display: inline-block;
  }
</style>
4、创建icons文件夹,存放svg文件
5、在main.js里面全局注入svg-icon组件
import { createApp } from "vue";
import App from "./App.vue";
import svgIcon from './icons/svgIcon.vue'
createApp(App)
.component('svg-icon', svgIcon)
.mount("#app");6、在plugins文件夹创建svgBuilder.js
import { readFileSync, readdirSync } from 'fs';

let idPerfix = '';
const svgTitle = /<svg([^>+].*?)>/;
const clearHeightWidth = /(width|height)="([^>+].*?)"/g;
const hasViewBox = /(viewBox="[^>+].*?")/g;
const clearReturn = /(\r)|(\n)/g;

// 查找svg文件
function svgFind(e) {
  const arr = [];
  const dirents = readdirSync(e, { withFileTypes: true });
  for (const dirent of dirents) {
    if (dirent.isDirectory()) arr.push(...svgFind(e + dirent.name + '/'));
    else {
      const svg = readFileSync(e + dirent.name)
        .toString()
        .replace(clearReturn, '')
        .replace(svgTitle, ($1, $2) => {
          let width = 0,
            height = 0,
            content = $2.replace(clearHeightWidth, (s1, s2, s3) => {
              if (s2 === 'width') width = s3;
              else if (s2 === 'height') height = s3;
              return '';
            });
          if (!hasViewBox.test($2))
            content += `viewBox="0 0 ${width} ${height}"`;
          return `<symbol id="${idPerfix}-${dirent.name.replace(
            '.svg',
            ''
          )}" ${content}>`;
        })
        .replace('</svg>', '</symbol>');
      arr.push(svg);
    }
  }
  return arr;
}

// 生成svg
export const createSvg = (path, perfix = 'icon') => {
  if (path === '') return;
  idPerfix = perfix;
  const res = svgFind(path);
  return {
    name: 'svg-transform',
    transformIndexHtml(dom) {
      return dom.replace(
        '<body>',
        `<body><svg xmlns="http://www.w3.org/2000/svg" xmlns:xlink="http://www.w3.org/1999/xlink" style="position: absolute; width: 0; height: 0">${res.join(
          ''
        )}</svg>`
      );
    },
  };
};
7、最后在vite.config.js修改配置
import { fileURLToPath, URL } from "node:url";
import { defineConfig } from "vite";
import vue from "@vitejs/plugin-vue";
//这里会报svgIcon.ts不在tsconfig.config.json文件列表中,在tsconfig.config.json的include里加
//"./src/icons/svgIcon.ts"就行,不加对npm run dev没影响
import { createSvg } from './src/icons/svgIcon'
// https://vitejs.dev/config/
export default defineConfig({
plugins: [vue(), createSvg('./src/icons/svg/')],
resolve: {
alias: {
"@": fileURLToPath(new URL("./src", import.meta.url)),
},
},
});8、配置完毕,我们可以用以下方式导入自己的svg图片
<svg-icon icon-class="scene"/>亲测有效!!!


 1989
1989


 被折叠的 条评论
为什么被折叠?
被折叠的 条评论
为什么被折叠?
 到【灌水乐园】发言


