


点击上方 前端Q,关注公众号
回复加群,加入前端Q技术交流群
使用ElementPlus的Table啥都好,就是没有可编辑表格!!!😭
既然UI库不支持,那我们实现一个可编辑表格是很难的事么?😒难么?😢不难么?...
个人觉得如果是业务固定的可编辑表格,使用ElementPlus实现都不难。但是如果需要的是一个通用的可编辑表格,这好像还真说不好。
对于通用的可编辑表格,网上的实现方案也是五花八门,但是看下来多少都有些问题。个人认为一个通用的可编辑表格需要给使用方提供以下能力:
支持新增、删除、编辑、保存
定义可编辑列
定义表单组件,既可以是原生标签,也可以是自定义组件
定义表单校验规则
定义数据展示部分
定义操作区域
几乎无学习成本
实现了以上需求的可编表格,就可以满足基本的生产需求了。
在<el-table>组件的基础上实现可编辑表格,保留<el-table>的使用方式不变,还能提供可编辑功能。同时可编辑功能的配置与<el-table>的使用风格一致,降低学习成本。
放心食用:演示地址[1]
准备数据
const tableData = [
 {
   date: '2016-05-03',
   name: 'Tom',
   address: 'No. 189, Grove St, Los Angeles',
 },
 {
   date: '2016-05-02',
   name: 'Tom',
   address: 'No. 189, Grove St, Los Angeles',
 },
 {
   date: '2016-05-04',
   name: 'Tom',
   address: 'No. 189, Grove St, Los Angeles',
 },
 {
   date: '2016-05-01',
   name: 'Tom',
   address: 'No. 189, Grove St, Los Angeles',
 },
]
基础表格
基础表格的用法与<el-table>几乎没有区别,唯一的不同就是<el-table>中的data,在<EditTable>中被data-source替换。
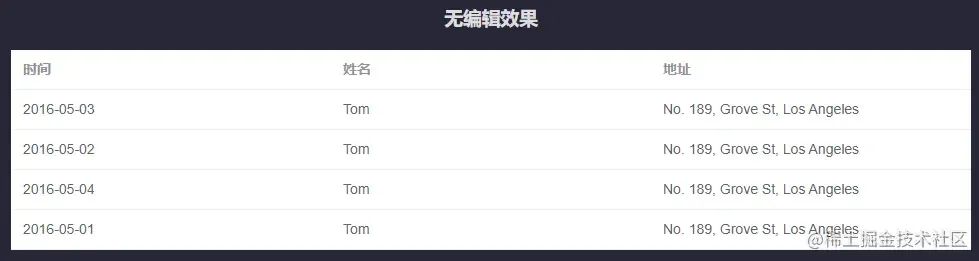
<section>
 <h1>无编辑效果</h1>
 <EditTable class="edit-table" :data-source="tableData">
 <EditTableColumn prop="date" label="时间"> </EditTableColumn>
 <EditTableColumn prop="name" label="姓名"> </EditTableColumn>
 <EditTableColumn prop="address" label="地址"> </EditTableColumn>
 </EditTable>
</section>
可修改表格
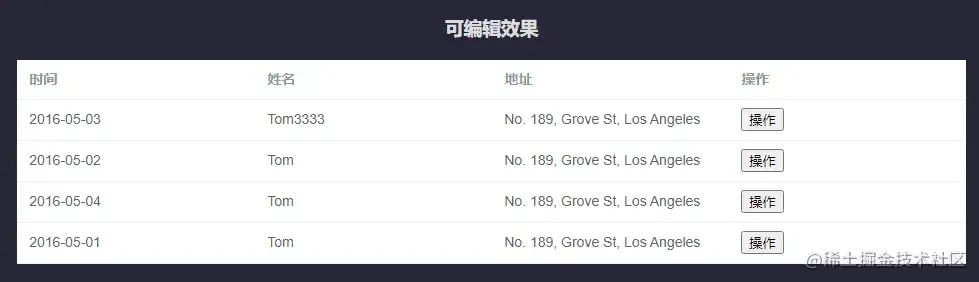
<EditTableColumn>存在一个#default默认插槽和一个#edit具名插槽,默认插槽和具名插槽都提供了row、actions、$index等值。
可修改表格是在基础表格上给<EditTableColumn>添加名为edit的具名插槽<template #edit>。
通过
row可以获取到当前行的数据。插槽中的表单组件可通过v-model="row.*"对编辑值进行双向绑定。通过
actions可以获取编辑表格的能力,通过action.startEditable($index)开启编辑,action.cancelEditable($index)取消编辑,action.saveEditable保存编辑。
<section>
<h1>可编辑效果</h1>
<EditTable class="edit-table" :data-source="tableData">
<EditTableColumn prop="date" label="时间">
<template #edit="{ row }">
<input v-model="row.date" />
</template>
</EditTableColumn>
<EditTableColumn prop="name" label="姓名">
<template #edit="{ row }">
<input v-model="row.name" />
</template>
</EditTableColumn>
<EditTableColumn prop="address" label="地址">
<template #edit="{ row }">
<input v-model="row.address" />
</template>
</EditTableColumn>
<EditTableColumn label="操作">
<template #default="{ actions, $index }">
<button @click="actions.startEditable($index)">操作</button>
</template>
<template #edit="{ actions, $index }">
<button @click="actions.saveEditable($index)">保存</button>
<button @click="actions.cancelEditable($index)">取消</button>
</template>
</EditTableColumn>
</EditTable>
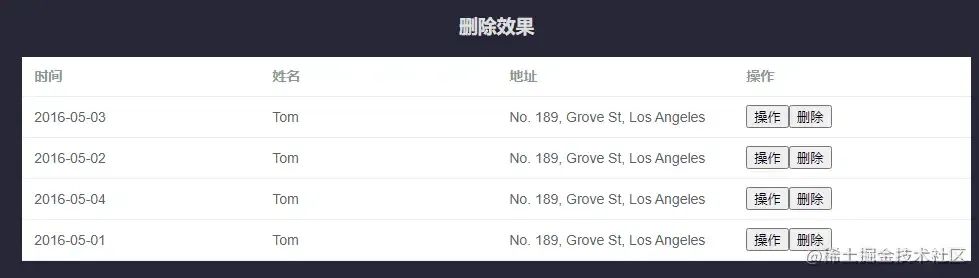
</section>删除效果
在上述表格的操作区域增加删除按钮,删除按钮点击时调用actions.delete($index)用来删除当前行。
<section>
<h1>删除效果</h1>
<EditTable class="edit-table" :data-source="tableData">
<EditTableColumn prop="date" label="时间">
<template #edit="{ row }">
<input v-model="row.date" />
</template>
</EditTableColumn>
<EditTableColumn prop="name" label="姓名">
<template #edit="{ row }">
<input v-model="row.name" />
</template>
</EditTableColumn>
<EditTableColumn prop="address" label="地址">
<template #edit="{ row }">
<input v-model="row.address" />
</template>
</EditTableColumn>
<EditTableColumn label="操作">
<template #default="{ actions, $index }">
<button @click="actions.startEditable($index)">操作</button>
<button @click="actions.deleteRow($index)">删除</button>
</template>
<template #edit="{ actions, $index }">
<button @click="actions.saveEditable($index)">保存</button>
<button @click="actions.cancelEditable($index)">取消</button>
<button @click="actions.deleteRow($index)">删除</button>
</template>
</EditTableColumn>
</EditTable>
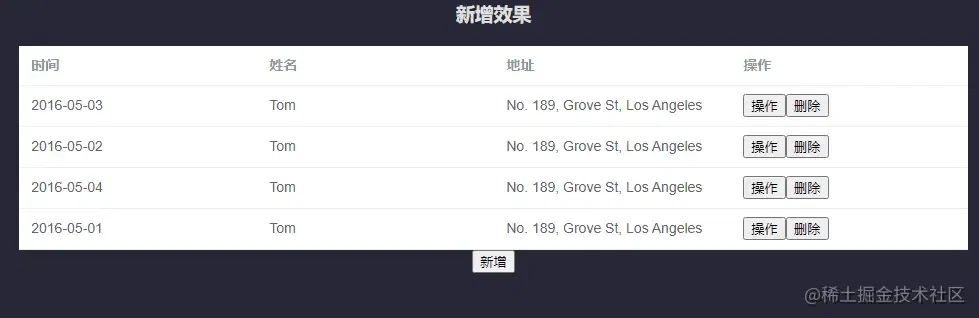
</section>新增效果
组件<EditTable>并不需要提供新增按钮,如果直接将新增按钮封装在组件内,那么这个组件就太呆了。因此<EditTable>只提供了actions.addRow方法,调用方可以根据自己的需求完成新增功能。
<script lang="ts" setup>
import { ref } from 'vue';
import EditTable from '@/components/EditTable.vue';
import EditTableColumn from '@/components/EditTableColumn.vue';
const tableData = [...];
const addEditTableRef = ref<InstanceType<typeof EditTable>>();
</script>
<template>
<div class="wrapper">
<section>
<h1>新增效果</h1>
<EditTable ref="addEditTableRef" class="edit-table" :data-source="tableData">
<EditTableColumn prop="date" label="时间">
<template #edit="{ row }">
<input v-model="row.date" />
</template>
</EditTableColumn>
<EditTableColumn prop="name" label="姓名">
<template #edit="{ row }">
<input v-model="row.name" />
</template>
</EditTableColumn>
<EditTableColumn prop="address" label="地址">
<template #edit="{ row }">
<input v-model="row.address" />
</template>
</EditTableColumn>
<EditTableColumn label="操作">
<template #default="{ actions, $index }">
<button @click="actions.startEditable($index)">操作</button>
<button @click="actions.deleteRow($index)">删除</button>
</template>
<template #edit="{ actions, $index }">
<button @click="actions.saveEditable($index)">保存</button>
<button @click="actions.cancelEditable($index)">取消</button>
<button @click="actions.deleteRow($index)">删除</button>
</template>
</EditTableColumn>
</EditTable>
<button @click="addEditTableRef?.editActions.addRow()">新增</button>
</section>
</div>
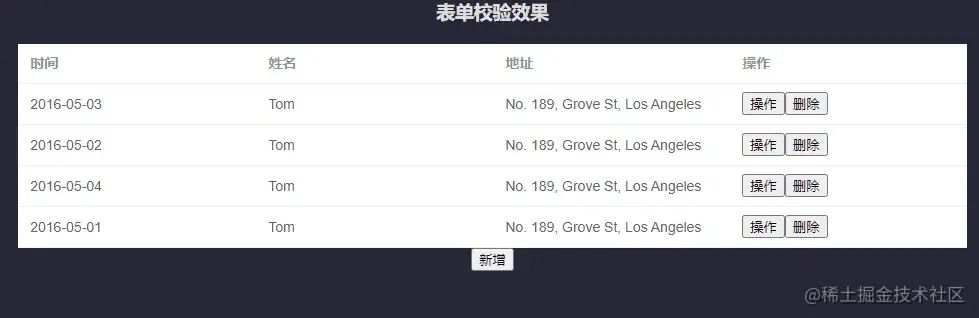
</template>表单校验
组件<EditTableColumn>允许验证用户的输入是否符合规范,来找到和纠正错误。只需要为<EditTableColumn :rules="rules">的rules属性传入约定的验证规则,高级用法可参考async-validator。
总之校验规则和表单的校验规则一致。
<section>
<h1>表单校验效果</h1>
<EditTable ref="formEditTableRef" class="edit-table" :data-source="tableData">
<EditTableColumn
prop="date"
label="时间"
:rules="[{ required: true, message: '时间是必填项', trigger: 'blur' }]"
>
<template #edit="{ row }">
<input v-model="row.date" />
</template>
</EditTableColumn>
<EditTableColumn
prop="name"
label="姓名"
:rules="[{ required: true, message: '姓名是必填项', trigger: 'blur' }]"
>
<template #edit="{ row }">
<input v-model="row.name" />
</template>
</EditTableColumn>
<EditTableColumn
prop="address"
label="地址"
:rules="[{ required: true, message: '地址是必填项', trigger: 'blur' }]"
>
<template #edit="{ row }">
<input v-model="row.address" />
</template>
</EditTableColumn>
<EditTableColumn label="操作">
<template #default="{ actions, $index }">
<button @click="actions.startEditable($index)">操作</button>
<button @click="actions.deleteRow($index)">删除</button>
</template>
<template #edit="{ actions, $index }">
<button @click="actions.saveEditable($index)">保存</button>
<button @click="actions.cancelEditable($index)">取消</button>
<button @click="actions.deleteRow($index)">删除</button>
</template>
</EditTableColumn>
</EditTable>
<button @click="formEditTableRef?.editActions.addRow()">新增</button>
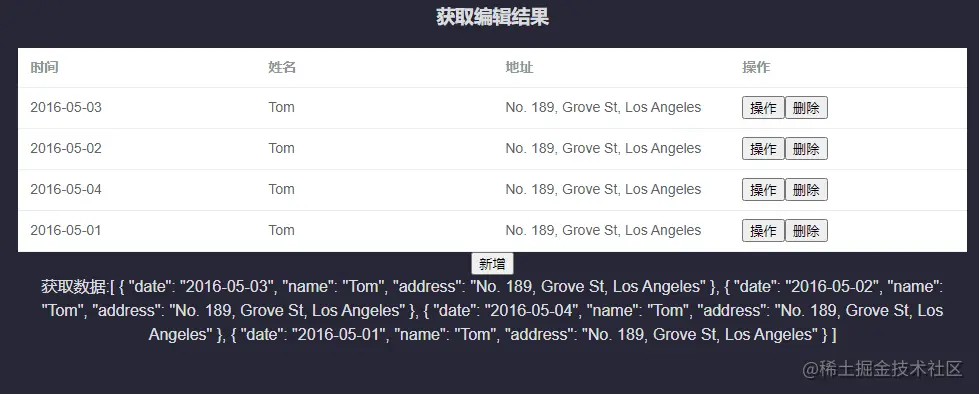
</section>获取编辑后的表单数据
组件<EditTable>对外暴露了resultData响应式对象,可以用来获取表格的最新数据。
<section>
<h1>获取编辑结果</h1>
<EditTable ref="formEditTableRef" class="edit-table" :data-source="tableData">
<EditTableColumn
prop="date"
label="时间"
:rules="[{ required: true, message: '时间是必填项', trigger: 'blur' }]"
>
<template #edit="{ row }">
<input v-model="row.date" />
</template>
</EditTableColumn>
<EditTableColumn
prop="name"
label="姓名"
:rules="[{ required: true, message: '姓名是必填项', trigger: 'blur' }]"
>
<template #edit="{ row }">
<input v-model="row.name" />
</template>
</EditTableColumn>
<EditTableColumn
prop="address"
label="地址"
:rules="[{ required: true, message: '地址是必填项', trigger: 'blur' }]"
>
<template #edit="{ row }">
<input v-model="row.address" />
</template>
</EditTableColumn>
<EditTableColumn label="操作">
<template #default="{ actions, $index }">
<button @click="actions.startEditable($index)">操作</button>
<button @click="actions.deleteRow($index)">删除</button>
</template>
<template #edit="{ actions, $index }">
<button @click="actions.saveEditable($index)">保存</button>
<button @click="actions.cancelEditable($index)">取消</button>
<button @click="actions.deleteRow($index)">删除</button>
</template>
</EditTableColumn>
</EditTable>
<button @click="formEditTableRef?.editActions.addRow()">新增</button>
<p>获取数据:{{ formEditTableRef?.resultData }}</p>
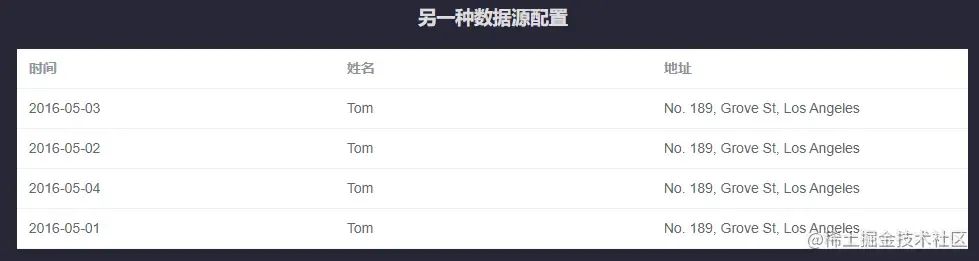
</section>另一种数据配置
组件<EditTable>除了支持data-source的方式配置数据外,还支持request属性传入返回数据的函数。
<section>
  <h1>获取编辑结果</h1>
  <EditTable ref="formEditTableRef" class="edit-table" :data-source="tableData">
    <EditTableColumn
      prop="date"
      label="时间"
      :rules="[{ required: true, message: '时间是必填项', trigger: 'blur' }]"
    >
      <template #edit="{ row }">
        <input v-model="row.date" />
      </template>
    </EditTableColumn>
    <EditTableColumn
      prop="name"
      label="姓名"
      :rules="[{ required: true, message: '姓名是必填项', trigger: 'blur' }]"
    >
      <template #edit="{ row }">
        <input v-model="row.name" />
      </template>
    </EditTableColumn>
    <EditTableColumn
      prop="address"
      label="地址"
      :rules="[{ required: true, message: '地址是必填项', trigger: 'blur' }]"
    >
      <template #edit="{ row }">
        <input v-model="row.address" />
      </template>
    </EditTableColumn>
    <EditTableColumn label="操作">
      <template #default="{ actions, $index }">
        <button @click="actions.startEditable($index)">操作</button>
        <button @click="actions.deleteRow($index)">删除</button>
      </template>
      <template #edit="{ actions, $index }">
        <button @click="actions.saveEditable($index)">保存</button>
        <button @click="actions.cancelEditable($index)">取消</button>
        <button @click="actions.deleteRow($index)">删除</button>
      </template>
    </EditTableColumn>
  </EditTable>
  <button @click="formEditTableRef?.editActions.addRow()">新增</button>
  <p>获取数据:{{ formEditTableRef?.resultData }}</p>
</section>
EditTable 属性
| 属性名 | 说明 | 类型 | 可选值 | 默认值 |
|---|---|---|---|---|
| data-source | 显示的数据 | array | — | — |
| request | 动态数据,如果同时配置了data-source和request,则最终渲染为两个数据的和 | function | — | — |
其他属性参考:ElementPlusTable[2]
EditTable 方法
| 方法名 | 说明 | 参数 |
|---|---|---|
| editActions.addRow | 增加一行可编辑态的行 | row |
| editActions.deleteRow | 删除指定行,不论该行是编辑态还是非编辑态都会被删除 | $index |
| editActions.startEditable | 指定行变为编辑态 | $index |
| editActions.saveEditable | 保存编辑态并触发表单校验,如果校验通过,编辑数据会被更新到表格中。 | $index |
| editActions.cancelEditable | 指定行取消编辑态 | $index |
其他方法参考: ElementPlusTable[3]
关于源码
由于就是一个简单的组件实现,所以也懒得去打包发布npm。直接在下面给出demo地址和演示环境:
GitHub地址[4]
codesandbox[5]
最后
<el-table>的属性配置基本都可以在<EditTable>中使用,所以只要会使用el-table[6]对于<EditTable>就可以立即使用。
我尝试了【带斑马纹表格】、【带边框表格】、【带状态表格】、【固定表头】、【固定列】、【流体高度】等,其他的表格大家可以自行尝试哦!
这样的<EditTable>不知道各位觉得如何?
如果大家觉得有点意思,欢迎在评论区留言交流!
参考资料
[1]
https://jlc7rc-5173.csb.app/?
[2]https://element-plus.gitee.io/zh-CN/component/table.html#table-%E5%B1%9E%E6%80%A7
[3]https://element-plus.gitee.io/zh-CN/component/table.html#table-%E6%96%B9%E6%B3%95
[4]https://github.com/JessYan0913/edit-table
[5]https://codesandbox.io/p/sandbox/silly-joana-jlc7rc
[6]https://element-plus.gitee.io/zh-CN/component/table.html
关于本文
作者:youth君
https://juejin.cn/post/7242140832379584567

往期推荐


前端新特性之Compute Pressure API,可以观察 CPU 的变化!!!

最后
欢迎加我微信,拉你进技术群,长期交流学习...
欢迎关注「前端Q」,认真学前端,做个专业的技术人...


点个在看支持我吧


 8万+
8万+


 被折叠的 条评论
为什么被折叠?
被折叠的 条评论
为什么被折叠?
 到【灌水乐园】发言


