


 本文详细介绍了JavaScript中函数的call、apply和bind方法的手写实现,通过创建唯一的Symbol作为内部方法名,巧妙地改变了函数的上下文环境。同时,针对bind方法的复杂性,解释了如何处理构造函数与普通函数的不同情况,并实现了参数合并的功能。通过实例展示了这三种方法的使用方式,有助于深入理解它们的工作原理。
手写JS面试题 --- call apply bind 实现
题目描述:手写 call apply bind 实现
实现代码如下:
Function.prototype.myCall = function (context, ...args) {
if (!context || context === null) {
context = window;
}
// 创建唯一的 key 值 作为我们构造的 context 内部方法名
let fn = Symbol();
context[fn] = this; // this 指向调用 call 的函数
// 执行函数并返回结果 相当于把自身作为传入的 context 的方法进行调用了!
return context[fn](...args);
};
// apply 原理一致 只是第二个传入的参数是一个数组!
Function.prototype.myApply = function (context, args) {
if (!context || context === null) {
context = window;
}
// 创建唯一的 key 值 作为我们构造的 context 内部方法名
let fn = Symbol();
context[fn] = this;
// 执行函数并返回结果!
return context[fn](...args);
};
// bind 实现要复杂一点 因为他考虑的情景比较多 还要涉及到参数合并(类似函数柯里化)
Function.prototype.myBind = function (context, ...args) {
if (!context || context === null) {
context = window;
}
// 创建唯一的 key 值 作为我们构造的 context 内部方法名!
let fn = Symbol();
context[fn] = this;
let _this = this;
// bind 情况要复杂一点
const result = function (...innerArgs) {
// 第一种情况 :若是将 bind 绑定之后的函数当作构造函数,通过 new 操作符使用,则不绑定传入的 this,而是将 this 指向实例化出来的对象
// 此时由于new操作符作用 this指向result实例对象 而result又继承自传入的_this 根据原型链知识可得出以下结论
// this.__proto__ === result.prototype // this instanceof result => true
// this.__proto__.__proto__ = result.prototype.__proto__ === _this.prototype; // this instanceof _this => true
if (this instanceof _this === true) {
// 此时 this 指向 result 的实例 这时候不需要改变 this 指向
this[fn] = _this;
this[fn](...[...args, ...innerArgs]); // 这里使用 es6 的方法让 bind 支持参数合并
delete this[fn];
} else {
// 如果只是作为普通的函数使用 那就很简单了 直接改变 this 指向为传入的 context
context[fn](...[...args, ...innerArgs]);
delete context[fn];
}
};
// 如果绑定的是构造函数 那么需要继承构造函数原型的属性和方法
// 实现继承的方式:使用 Object.create
result.prototype = Object.create(this.prototype);
return result;
}
// 用法如下:
function Person(name, age) {
console.log(name); //'我是参数传进来的name'
console.log(age); //'我是参数传进来的age'
console.log(this); //构造函数this指向实例对象
}
// 构造函数原型的方法
Person.prototype.say = function() {
console.log(123);
}
let obj = {
objName: '我是 obj 传进来的 name',
objAge: '我是 objAge 传进来的 age'
}
// 普通函数
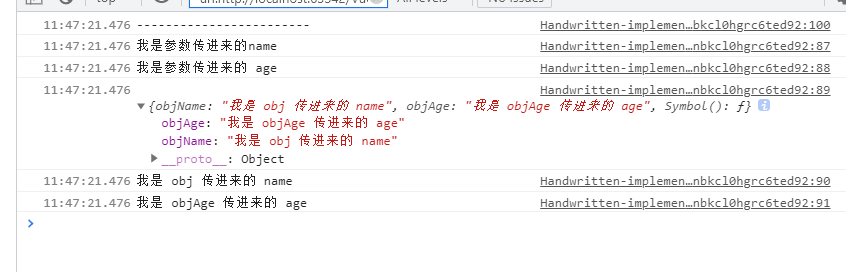
function normalFun(name, age) {
console.log(name); //'我是参数传进来的name'
console.log(age); //'我是参数传进来的age'
console.log(this); //普通函数this指向绑定bind的第一个参数 也就是例子中的obj
console.log(this.objName); //'我是obj传进来的name'
console.log(this.objAge); //'我是obj传进来的age'
}
// 先测试作为构造函数的调用
// let bindFun = Person.myBind(obj, '我是参数传进来的name')
// let a = new bindFun('我是参数传进来的 age')
// a.say(); // 123
console.log('------------------------')
// 在测试作为普通函数的调用!
let bindFun = normalFun.myBind(obj, '我是参数传进来的name')
bindFun('我是参数传进来的 age')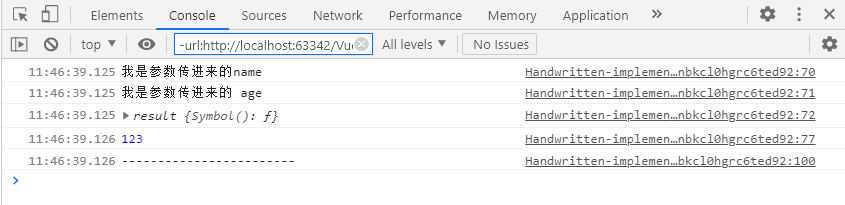


 1288
1288

 被折叠的 条评论
为什么被折叠?
被折叠的 条评论
为什么被折叠?
 到【灌水乐园】发言


