


步骤一:新建工程
新建一个maven工程,并使用以下依赖:或者去下载Spring Security 的jar包
<dependency>
            <groupId>org.springframework.security</groupId>
            <artifactId>spring-security-core</artifactId>
            <version>4.2.2.RELEASE</version>
        </dependency>

        <dependency>
            <groupId>org.springframework.security</groupId>
            <artifactId>spring-security-web</artifactId>
            <version>4.2.2.RELEASE</version>
        </dependency>

         <dependency>
            <groupId>org.springframework.security</groupId>
            <artifactId>spring-security-config</artifactId>
            <version>4.2.2.RELEASE</version>
        </dependency>
        <dependency>
            <groupId>org.springframework.security</groupId>
            <artifactId>spring-security-taglibs</artifactId>
            <version>4.2.2.RELEASE</version>
</dependency>步骤二:配置web.xml
Spring Security 的原理是使用了过滤器,所以我们配置SS的过滤器,好让它生效。
<filter>
		<filter-name>springSecurityFilterChain</filter-name>
		<filter-class>org.springframework.web.filter.DelegatingFilterProxy</filter-class>
	</filter>
	<filter-mapping>
		<filter-name>springSecurityFilterChain</filter-name>
		<url-pattern>/*</url-pattern>
	</filter-mapping>
步骤三:加载配置文件
我把spring系的配置文件一起加载,使用如下配置
<context-param>
		<param-name>contextConfigLocation</param-name>
		<param-value>classpath:spring/applicationContext*.xml</param-value>
	</context-param>
	<listener>
		<listener-class>org.springframework.web.context.ContextLoaderListener</listener-class>
	</listener>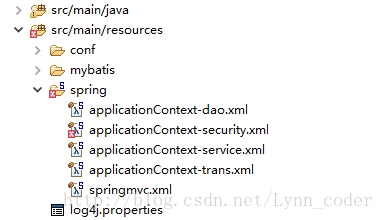
这是我项目结构图,applicationContext-security.xml是SS的配置文件
步骤四:编写配置文件
首先先看我自己工程中的配置文件
<beans:beans xmlns="http://www.springframework.org/schema/security"
    xmlns:beans="http://www.springframework.org/schema/beans"
    xmlns:xsi="http://www.w3.org/2001/XMLSchema-instance"
    xsi:schemaLocation="http://www.springframework.org/schema/beans
        http://www.springframework.org/schema/beans/spring-beans.xsd
        http://www.springframework.org/schema/security
        http://www.springframework.org/schema/security/spring-security.xsd">
 	<http pattern="/**/*.js" security="none" />
 	 <http pattern="/**/*.css" security="none" />
    <http use-expressions="true">
        <!-- 访问所有页面都需要有USER权限 -->
         <intercept-url pattern="/login.html" access="hasRole('ROLE_ANONYMOUS') or hasRole('ROLE_USER')" />
         <intercept-url pattern="/index.html" access="hasRole('ROLE_ANONYMOUS') or hasRole('ROLE_USER')" />
        <intercept-url pattern="/**" access="hasRole('ROLE_USER')" />

        <!-- 登录功能 -->
        <form-login login-page="/login.html"  default-target-url="/index.html" authentication-failure-url="/login.html?error=true" always-use-default-target="true" />
        <!-- 配置登录页面地址login-page、登录失败后的跳转地址authentication-failure-url -->
 <!--     <form-login login-page='/login.jsp' authentication-failure-url='/login.jsp?error' />-->
        <!-- 登出功能 -->
        <logout logout-url="/logout"  />
        <csrf disabled="true"/>
    </http>
 	<!--
    <authentication-manager>
	 <authentication-provider>
            <user-service>
                <user name="jimi" password="jimi" authorities="ROLE_USER" />
                <user name="bob" password="bob" authorities="ROLE_USER" />
            </user-service>
        </authentication-provider>
    </authentication-manager>
 -->
   <!-- Select users and user_roles from database -->
    <authentication-manager>
        <authentication-provider>
            <jdbc-user-service data-source-ref="dataSource"
                users-by-username-query="select user_id username,password password, enabled enabled from users where user_id=?"
                authorities-by-username-query="select user_id username, rightstr role from privilege where user_id=?  " />
             <password-encoder hash="md5">
             </password-encoder>
        </authentication-provider>
    </authentication-manager>
</beans:beans>
<http pattern="/**/*.js" security="none" /> <http use-expressions="true"> <intercept-url pattern="/login.html" access="hasRole('ROLE_ANONYMOUS') or hasRole('ROLE_USER')" />
表示login.html这个页面只有匿名用户和User权限的用户才能访问。
如果不开启SpEL,可以这样写:
<intercept-url pattern="/login.html" access="ROLE_ANONYMOUS,ROLE_USER" /> <!-- 访问所有页面都需要有USER权限 -->
<intercept-url pattern="/login.html" access="hasRole('ROLE_ANONYMOUS') or hasRole('ROLE_USER')" />
<intercept-url pattern="/index.html" access="hasRole('ROLE_ANONYMOUS') or hasRole('ROLE_USER')" />
<intercept-url pattern="/**" access="hasRole('ROLE_USER')" /> <form-login login-page="/login.html" default-target-url="/index.html" authentication-failure-url="/login.html?error=true" always-use-default-target="true" />
登出路径配置:还有其他配置选项,我没有配,就配了路径
<logout logout-url="/logout" /> <csrf disabled="true"/>
这是登陆管理器:
<authentication-manager>
	 <authentication-provider>
            <user-service>
                <user name="lynn" password="lynn" authorities="ROLE_USER" />
                <user name="bob" password="bob" authorities="ROLE_USER" />
            </user-service>
        </authentication-provider>
    </authentication-manager>
接下来介绍数据库式的:
 <!-- Select users and user_roles from database -->
    <authentication-manager>
        <authentication-provider>
            <jdbc-user-service data-source-ref="dataSource"
                users-by-username-query="select user_id username,password password, enabled enabled from users where user_id=?"
                authorities-by-username-query="select user_id username, rightstr role from privilege where user_id=?  " />
             <password-encoder hash="md5">
             </password-encoder>
        </authentication-provider>
</authentication-manager> <!-- 数据库连接池 -->
<!-- 加载配置文件 -->
<context:property-placeholder location="classpath:conf/db.properties" />
<!-- 数据库连接池 -->
<bean id="dataSource" class="com.alibaba.druid.pool.DruidDataSource"
destroy-method="close">
<property name="url" value="${jdbc.url}" />
<property name="username" value="${jdbc.username}" />
<property name="password" value="${jdbc.password}" />
<property name="driverClassName" value="${jdbc.driver}" />
<property name="maxActive" value="10" />
<property name="minIdle" value="5" />
</bean>
<!-- 让spring管理sqlsessionfactory 使用mybatis和spring整合包中的 -->
<bean id="sqlSessionFactory" class="org.mybatis.spring.SqlSessionFactoryBean">
<!-- 数据库连接池 -->
<property name="dataSource" ref="dataSource" />
<!-- 加载mybatis的全局配置文件 -->
<property name="configLocation" value="classpath:mybatis/SqlMapConfig.xml" />
</bean> <jdbc-user-service data-source-ref="dataSource"
users-by-username-query="select user_id username,password password, enabled enabled from users where user_id=?"
authorities-by-username-query="select user_id username, rightstr role from privilege where user_id=? " /> <password-encoder hash="md5">步骤五:更改前台表单
 <h1 class="text-center" style="margin-bottom: 30px">用户登录</h1>
            <form class="form-horizontal caption" action="login" method="post">
                <div class="form-group">
                    <label for="username" class="col-sm-3 control-label">用户名</label>
                    <div class="col-sm-8">
                        <input type="text" class="form-control" id="username" placeholder="用户名">
                    </div>
                </div>
                <div class="form-group">
                    <label for="password" class="col-sm-3 control-label">密码</label>
                    <div class="col-sm-8">
                        <input type="password" class="form-control" id="password" placeholder="密码">
                    </div>
                </div>
                <div class="form-group">
                    <div class="col-sm-offset-3 col-sm-9">
                        <div class="checkbox">
                            <label>
                                <input type="checkbox">记住我
                            </label>
                        </div>
                    </div>
                </div>
                <div class="form-group">
                    <div class="col-sm-offset-4 col-sm-5">
                        <button type="submit" class="btn btn-success btn-block">登录</button>
                    </div>
                </div>
            </form>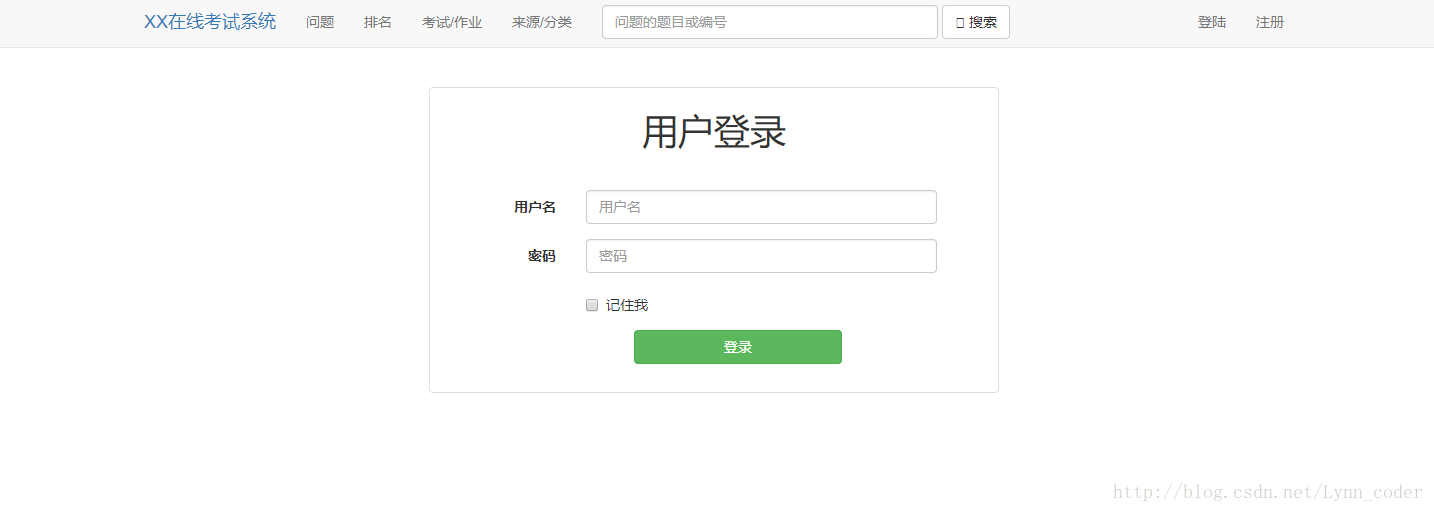
步骤六:启动工程测试
当我访问problem.html时,被弹到了登陆页面,但访问index.html能正常访问(因为设置了匿名访问权限)
登陆成功:
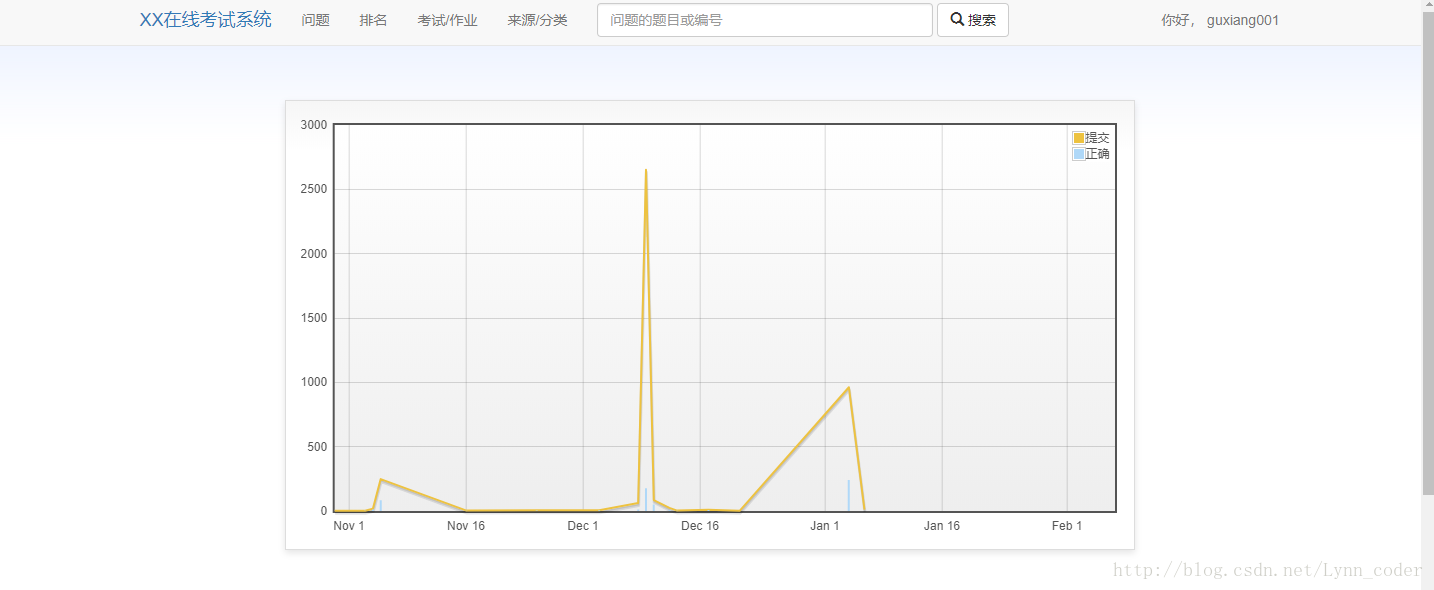
关于如何在页面上取到当前用户信息,看我接下来的文章


 3510
3510

 被折叠的 条评论
为什么被折叠?
被折叠的 条评论
为什么被折叠?
 到【灌水乐园】发言


