


GOT-OCR2.0详细安装教程
GOT-OCR详细安装
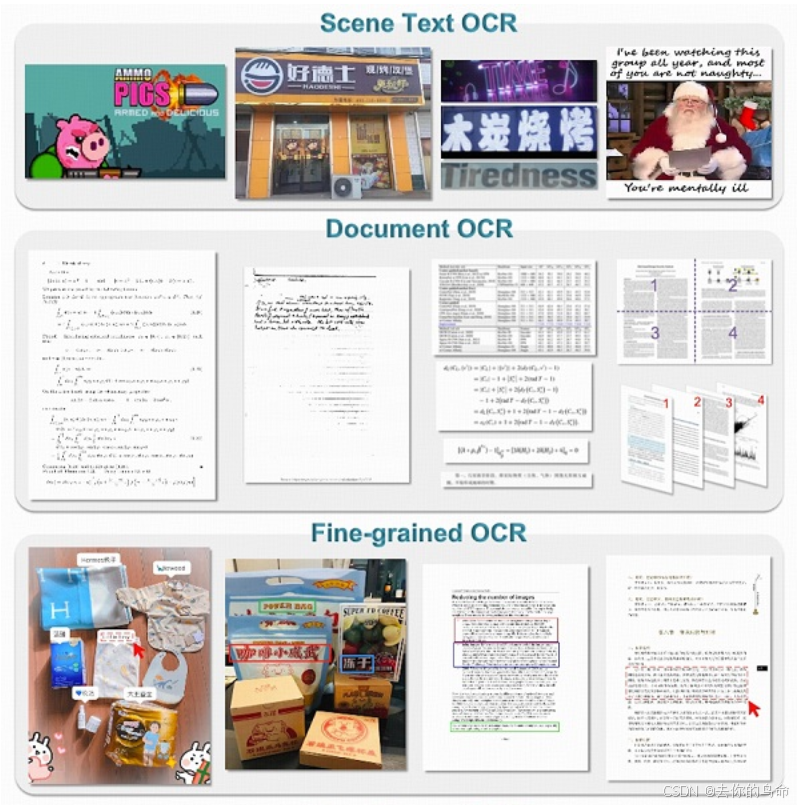
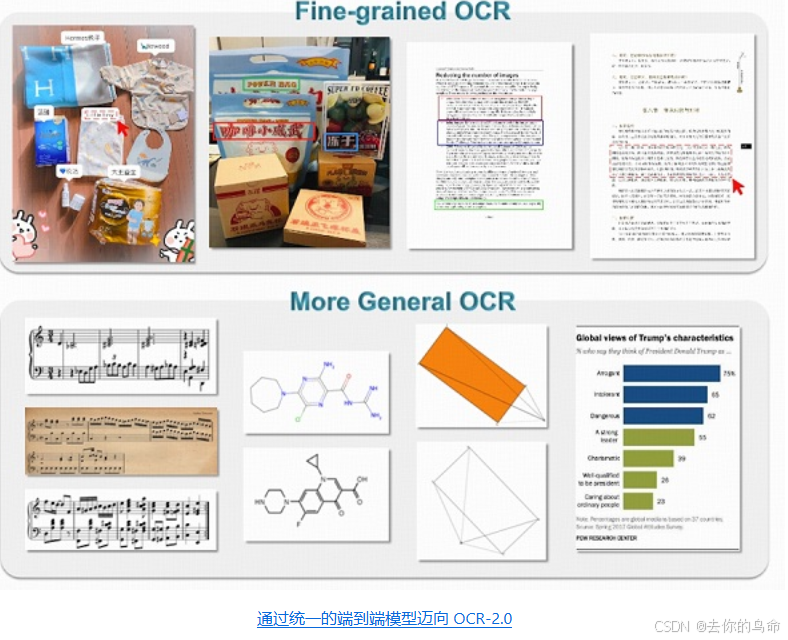
通用 OCR 理论:通过统一的端到端模型实现 OCR-2.0,PDF或者图片上进行OCR识别,对数学公式识别率也很高。
GOT-OCR下载
//拉取代码
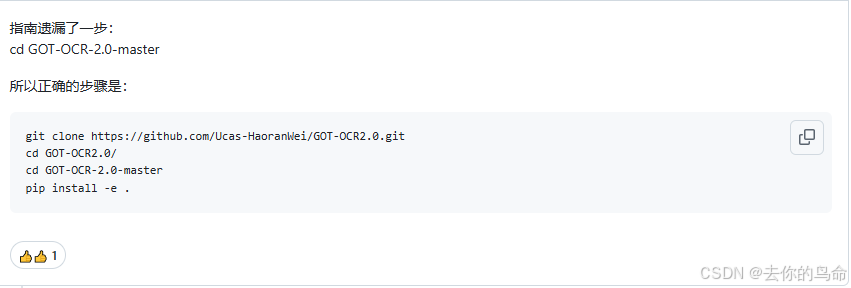
git clone https://github.com/Ucas-HaoranWei/GOT-OCR2.0.git
cd 'the GOT folder'
// 虚拟机环境
conda create -n got python=3.10 -y
conda activate got
//这里官网没写出来
cd GOT-OCR-2.0-master
pip install -e .
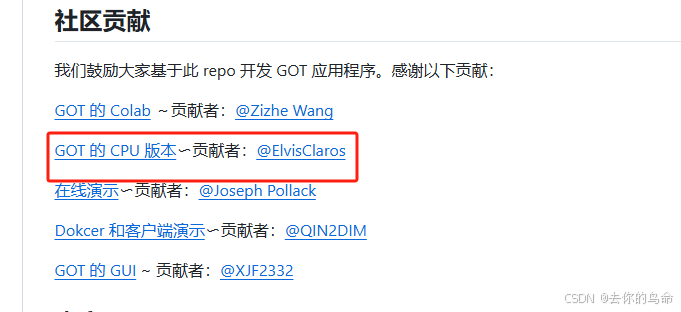
GOT-OCR CPU版本
如果你想用CPU来加载需要安装一下依赖
这里就过了。。。试下来CPU识别证件类型比较慢。。
安装过程异常处理
deepseek安装失败
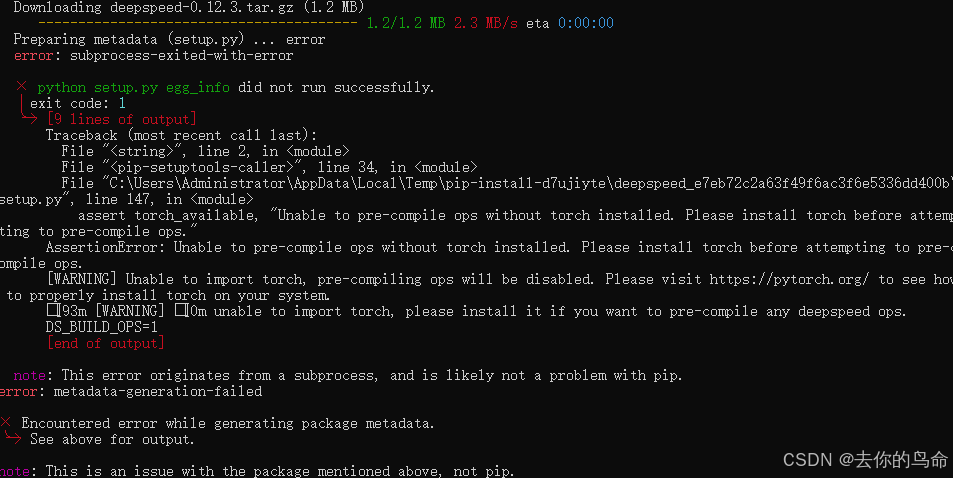
解决方式
修改 pyproject.toml文件
"deepspeed==0.14.5",
如果不想使用LLM自然语言模型功能可以注释掉。防止后面奇奇怪怪的问题

运行时:RuntimeError: Numpy is not available
解决方式:numpy版本过高。我的是2.23 ,卸载后重装
pip uninstall numpy

pip install numpy==1.26.4
GOT-OCR 运行
CPU 版本.目前测试5s左右。社区目前都是cuda运行,基本一张图片300毫秒 ,后面有空再研究下。
from transformers import AutoModel, AutoTokenizer
import numpy

print(numpy.__version__)
tokenizer = AutoTokenizer.from_pretrained('srimanth-d/GOT_CPU', trust_remote_code=True)
model = AutoModel.from_pretrained('srimanth-d/GOT_CPU', trust_remote_code=True, low_cpu_mem_usage=True, use_safetensors=True, pad_token_id=tokenizer.eos_token_id)
model = model.eval()

# input your test image
image_file = 'image/boxs.jpg'

# plain texts OCR
res = model.chat(tokenizer, image_file, ocr_type='ocr')

print(res)

GOT-OCR GPU版本
#GOT_weights 是模型文件 在官网上有
python GOT/demo/run_ocr_2.0.py  --model-name  GOT_weights/  --image-file  image/KLZKT123_20240315122850583.jpg  --type ocr
在线形式的调用方式
from transformers import AutoModel, AutoTokenizer
import numpy

print(numpy.__version__)


tokenizer = AutoTokenizer.from_pretrained('ucaslcl/GOT-OCR2_0', trust_remote_code=True)
model = AutoModel.from_pretrained('ucaslcl/GOT-OCR2_0', trust_remote_code=True, low_cpu_mem_usage=True, device_map='cuda', use_safetensors=True, pad_token_id=tokenizer.eos_token_id)
model = model.eval().cuda()


# input your test image
image_file = '../../image/ocr_56_202409211619.jpg'

# plain texts OCR
res = model.chat(tokenizer, image_file, ocr_type='ocr')


目前测下来速度5s左右.官网的示例是没有经过量化过的.属于方便开发者进行训练,如果要提速还需要直接去量化.
至此GOT-OCR2.0部署完成,官网也支持FLask方式调用,这里没有接入,感兴趣的同学可以去看下。
副业社区
https://bytecodestudio.site/


 1776
1776

 被折叠的 条评论
为什么被折叠?
被折叠的 条评论
为什么被折叠?
 到【灌水乐园】发言


