


因为正常联网安装会下载东西,卡住老常时间,所以还是断网安装吧!
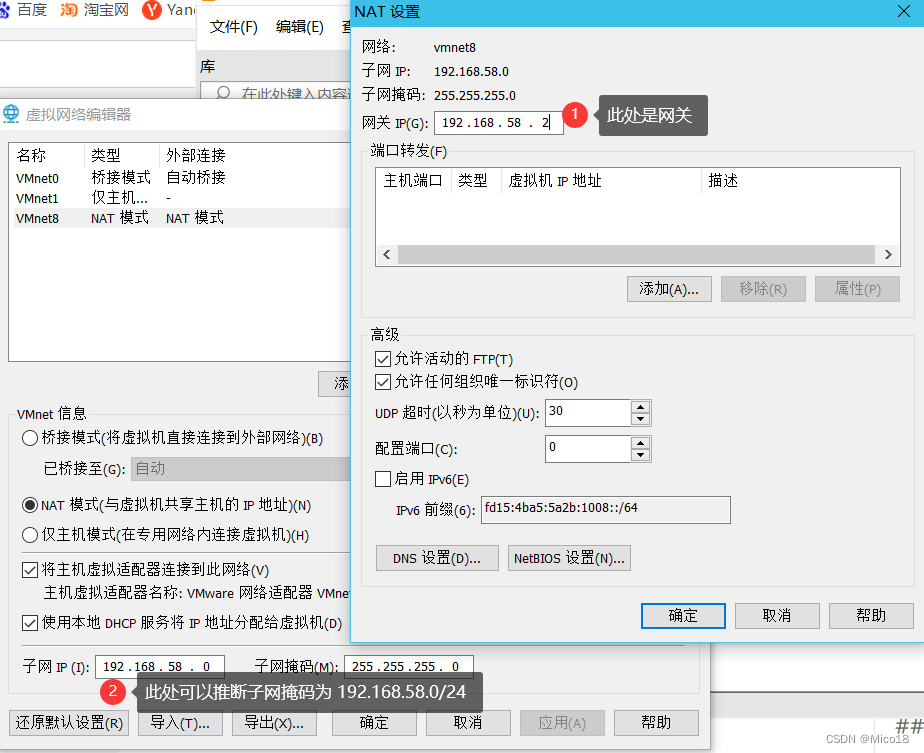
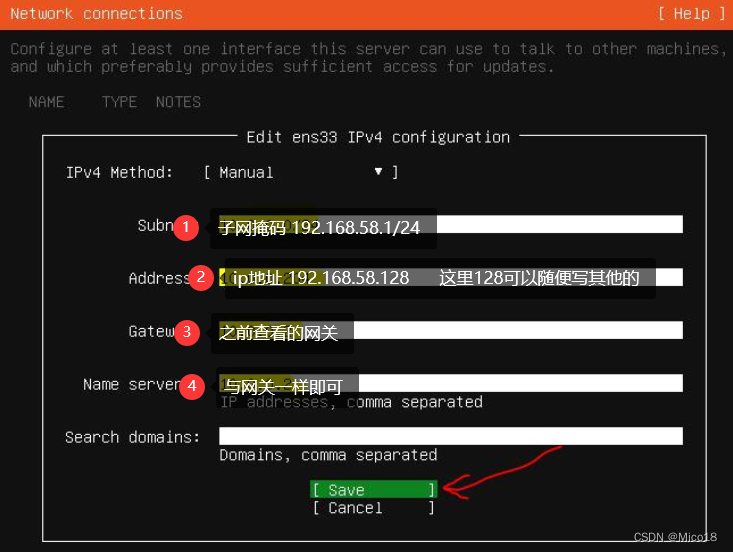
1.记下VM虚拟机网关和子网掩码
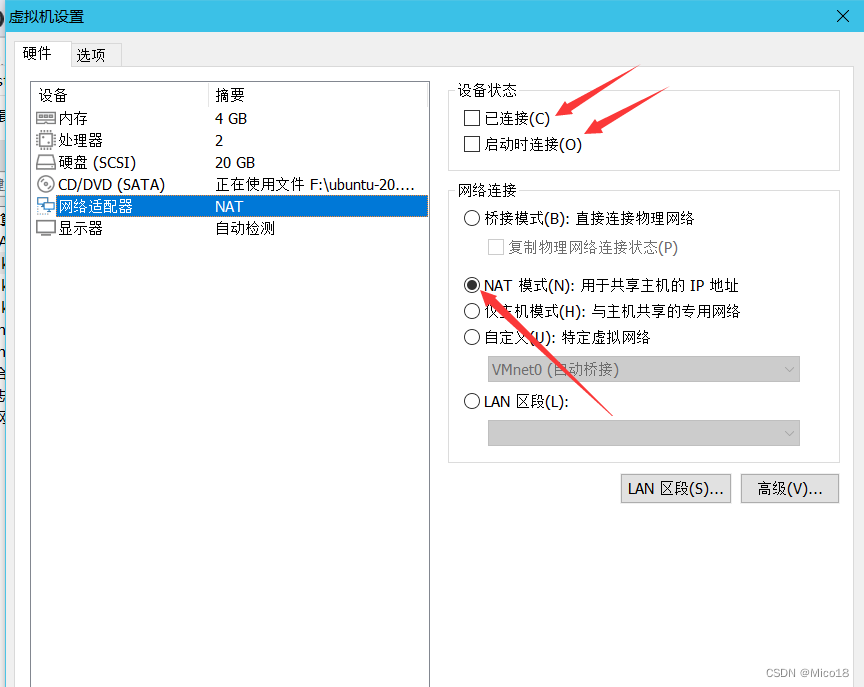
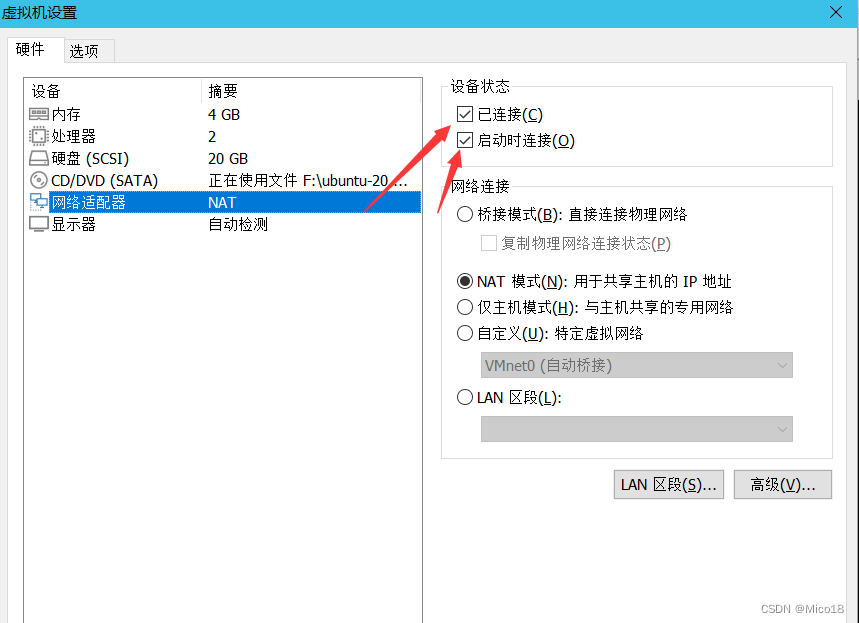
2.虚拟机正常新建和选择镜像,但是需要断开nat网络
新建虚拟机可以参考:VMWare虚拟机安装Ubuntu20.04详细过程
第9步即可停止。
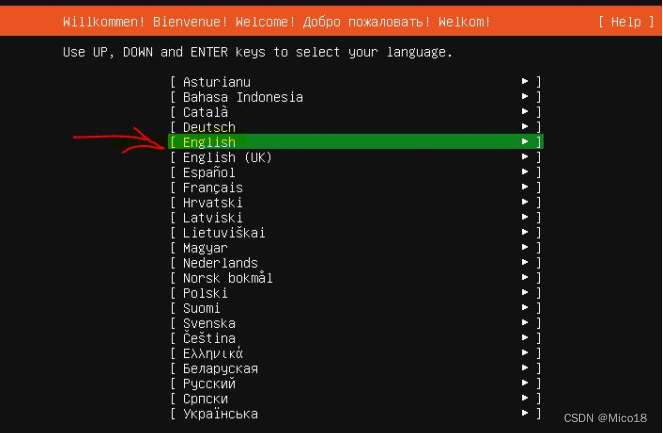
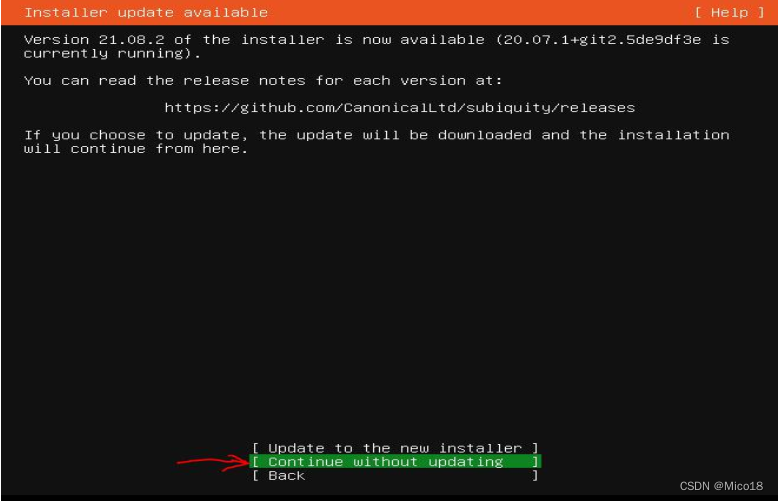
3.开启虚拟机


!!!!!!下图的子网掩码写错了,是192.168.58.0/24!!!!!!!

4.重启时打开网络即可成功进入
5.输入之前设置的用户和密码进入系统
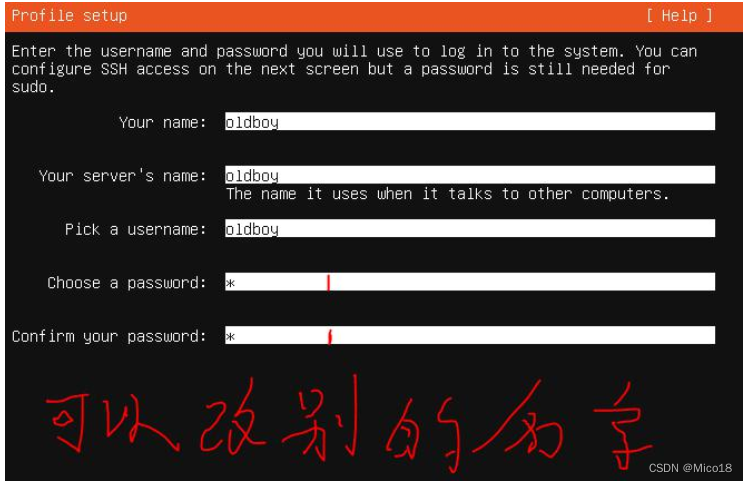
略,就是之前图里的oldboy和相应密码
6.设置主机名
hostnamectl set-hostname 主机名 #会让输入用户的密码
7.怎么root用户登录
$sudo passwd

[sudo] password for xxx: <--- 输入安装时那个用户的密码,oldboy的密码

Enter new UNIX password: <--- 新的root用户密码

Retype new UNIX password: <--- 重复新的root用户密码

passwd:已成功更新密码
重启后输入 root 和你设置的密码就可以直接root身份登录
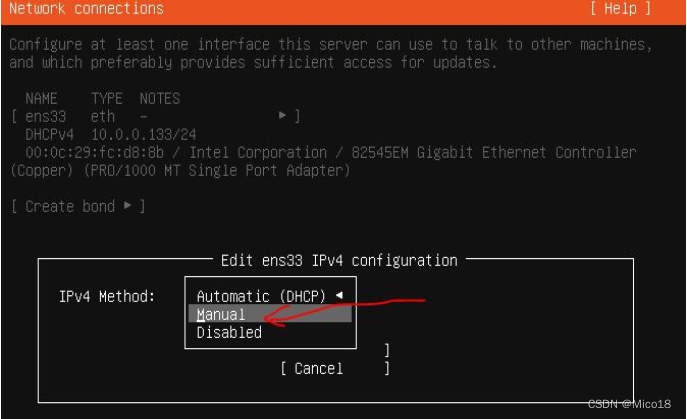
8.修改网络ip
#以root身份登录
chmod 700 /etc/netplan/00-installer-config.yaml
cat /etc/netplan/00-installer-config.yaml
# This is the network config written by 'subiquity'
network:
  ethernets:
    ens32:
      addresses:
      - 192.168.58.128/24     #这里修改128为想要的地址就可以了
      gateway4: 192.168.58.2
      nameservers:
        addresses:
        - 192.168.58.2
  version: 2
重启即可。
9.ssh客户端连接
vim /etc/ssh/sshd_config
HostKey /etc/ssh/ssh_host_rsa_key  #这一行
PermitRootLogin yes                        #这一行
PasswordAuthentication yes            #这一行
UsePAM yes                                    #这一行


root@oldboy:~# ssh-keygen -f  /etc/ssh/ssh_host_rsa_key        #如果对应的文件已经存在不要覆盖

root@oldboy:~# systemctl restart sshd
xshell即可连接了。


 666
666


 被折叠的 条评论
为什么被折叠?
被折叠的 条评论
为什么被折叠?
 到【灌水乐园】发言


