


二、NSLayoutConstraint
场景一:
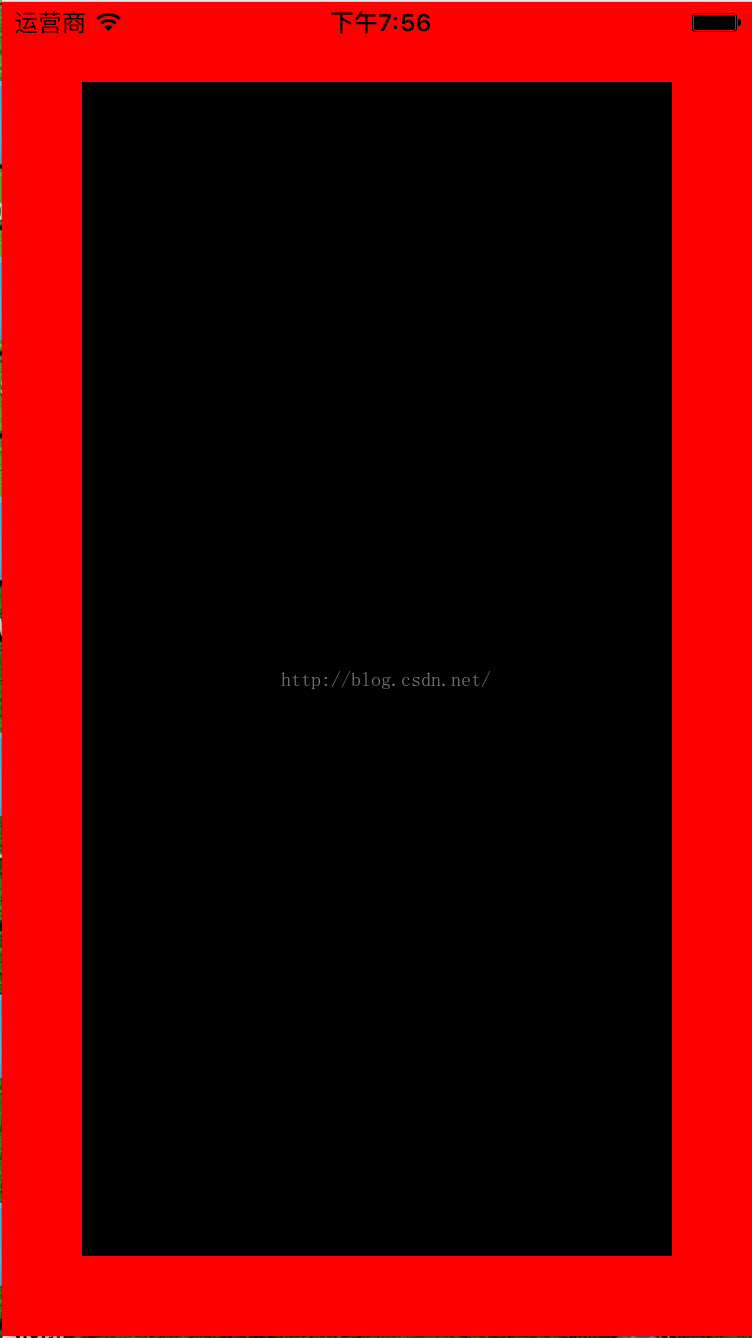
假如我们设计一个简单的页面。一个子view在父view中,其中子view的上下左右边缘都离父view的边缘40个像素。这个我们该如何写呢?如下:
|
1
2
3
4
5
6
7
8
9
10
11
12
13
14
15
16
17
18
19
20
21
|
[objc] view plaincopy
[self.view setBackgroundColor:[UIColor redColor]];
//创建子view
UIView *subView = [[UIView alloc] init];
[subView setBackgroundColor:[UIColor blackColor]];
//将子view添加到父视图上
[self.view addSubview:subView];
//使用Auto Layout约束,禁止将Autoresizing Mask转换为约束
[subView setTranslatesAutoresizingMaskIntoConstraints:NO];
//layout 子view
//子view的上边缘离父view的上边缘40个像素
NSLayoutConstraint *contraint1 = [NSLayoutConstraint constraintWithItem:subView attribute:NSLayoutAttributeTop relatedBy:NSLayoutRelationEqual toItem:self.view attribute:NSLayoutAttributeTop multiplier:1.0 constant:40.0];
//子view的左边缘离父view的左边缘40个像素
NSLayoutConstraint *contraint2 = [NSLayoutConstraint constraintWithItem:subView attribute:NSLayoutAttributeLeft relatedBy:NSLayoutRelationEqual toItem:self.view attribute:NSLayoutAttributeLeft multiplier:1.0 constant:40.0];
//子view的下边缘离父view的下边缘40个像素
NSLayoutConstraint *contraint3 = [NSLayoutConstraint constraintWithItem:subView attribute:NSLayoutAttributeBottom relatedBy:NSLayoutRelationEqual toItem:self.view attribute:NSLayoutAttributeBottom multiplier:1.0 constant:-40.0];
//子view的右边缘离父view的右边缘40个像素
NSLayoutConstraint *contraint4 = [NSLayoutConstraint constraintWithItem:subView attribute:NSLayoutAttributeRight relatedBy:NSLayoutRelationEqual toItem:self.view attribute:NSLayoutAttributeRight multiplier:1.0 constant:-40.0];
//把约束添加到父视图上
NSArray *array = [NSArray arrayWithObjects:contraint1, contraint2, contraint3, contraint4, nil nil];
[self.view addConstraints:array];
|
效果如图:
这里讲一下比较容易犯错的地方:
1、添加约束前确定已经把需要布局的子view添加到父view上了
2、一定要禁止将Autoresizing Mask转换为约束
3、要把子view的约束加在父view上
4、因为iOS中原点在左上角所以使用offset时注意right和bottom用负数
场景二:
子view在父view的中间,且子view长300,高200。
|
1
2
3
4
5
6
7
8
9
10
11
12
13
14
15
16
17
18
19
20
|
[objc] view plaincopy
[self.view setBackgroundColor:[UIColor redColor]];
//创建子view
UIView *subView = [[UIView alloc] init];
[subView setBackgroundColor:[UIColor blackColor]];
[self.view addSubview:subView];
//使用Auto Layout约束,禁止将Autoresizing Mask转换为约束
[subView setTranslatesAutoresizingMaskIntoConstraints:NO];
//layout 子view
//子view的中心横坐标等于父view的中心横坐标
NSLayoutConstraint *constrant1 = [NSLayoutConstraint constraintWithItem:subView attribute:NSLayoutAttributeCenterX relatedBy:NSLayoutRelationEqual toItem:self.view attribute:NSLayoutAttributeCenterX multiplier:1.0 constant:0.0];
//子view的中心纵坐标等于父view的中心纵坐标
NSLayoutConstraint *constrant2 = [NSLayoutConstraint constraintWithItem:subView attribute:NSLayoutAttributeCenterY relatedBy:NSLayoutRelationEqual toItem:self.view attribute:NSLayoutAttributeCenterY multiplier:1.0 constant:0.0];
//子view的宽度为300
NSLayoutConstraint *constrant3 = [NSLayoutConstraint constraintWithItem:subView attribute:NSLayoutAttributeWidth relatedBy:NSLayoutRelationGreaterThanOrEqual toItem:nil attribute:NSLayoutAttributeNotAnAttribute multiplier:1.0 constant:300.0];
//子view的高度为200
NSLayoutConstraint *constrant4 = [NSLayoutConstraint constraintWithItem:subView attribute:NSLayoutAttributeHeight relatedBy:NSLayoutRelationGreaterThanOrEqual toItem:nil attribute:NSLayoutAttributeNotAnAttribute multiplier:1.0 constant:200.0];
//把约束添加到父视图上
NSArray *array = [NSArray arrayWithObjects:constrant1, constrant2, constrant3, constrant4, nil nil];
[self.view addConstraints:array];
|
效果如图:

这里需要注意的是:
1、如果是设置view自身的属性,不涉及到与其他view的位置约束关系。比如view自身的宽、高等约束时,方法constraintWithItem:的第四个参数view2(secondItem)应设为
nil;且第五个参数attr2(secondAttribute)应设为 NSLayoutAttributeNotAnAttribute 。
2、在设置宽和高这两个约束时,relatedBy参数使用的是 NSLayoutRelationGreaterThanOrEqual,而不是NSLayoutRelationEqual。因为 Auto Layout 是相对布局,所以通常你不应该直接设置宽度和高度这种固定不变的值,除非你很确定视图的宽度或高度需要保持不变。
三、更新/修改约束
Auto Layout 的更新、修改约束操作,也不怎么友好和方便。
先来看一下 NSLayoutConstraint 的API,貌似只有constant属性可以修改,其它都是只读的。所以对于现有约束的修改和更新都是围绕NSLayoutConstraint实例的constant属性展开的。
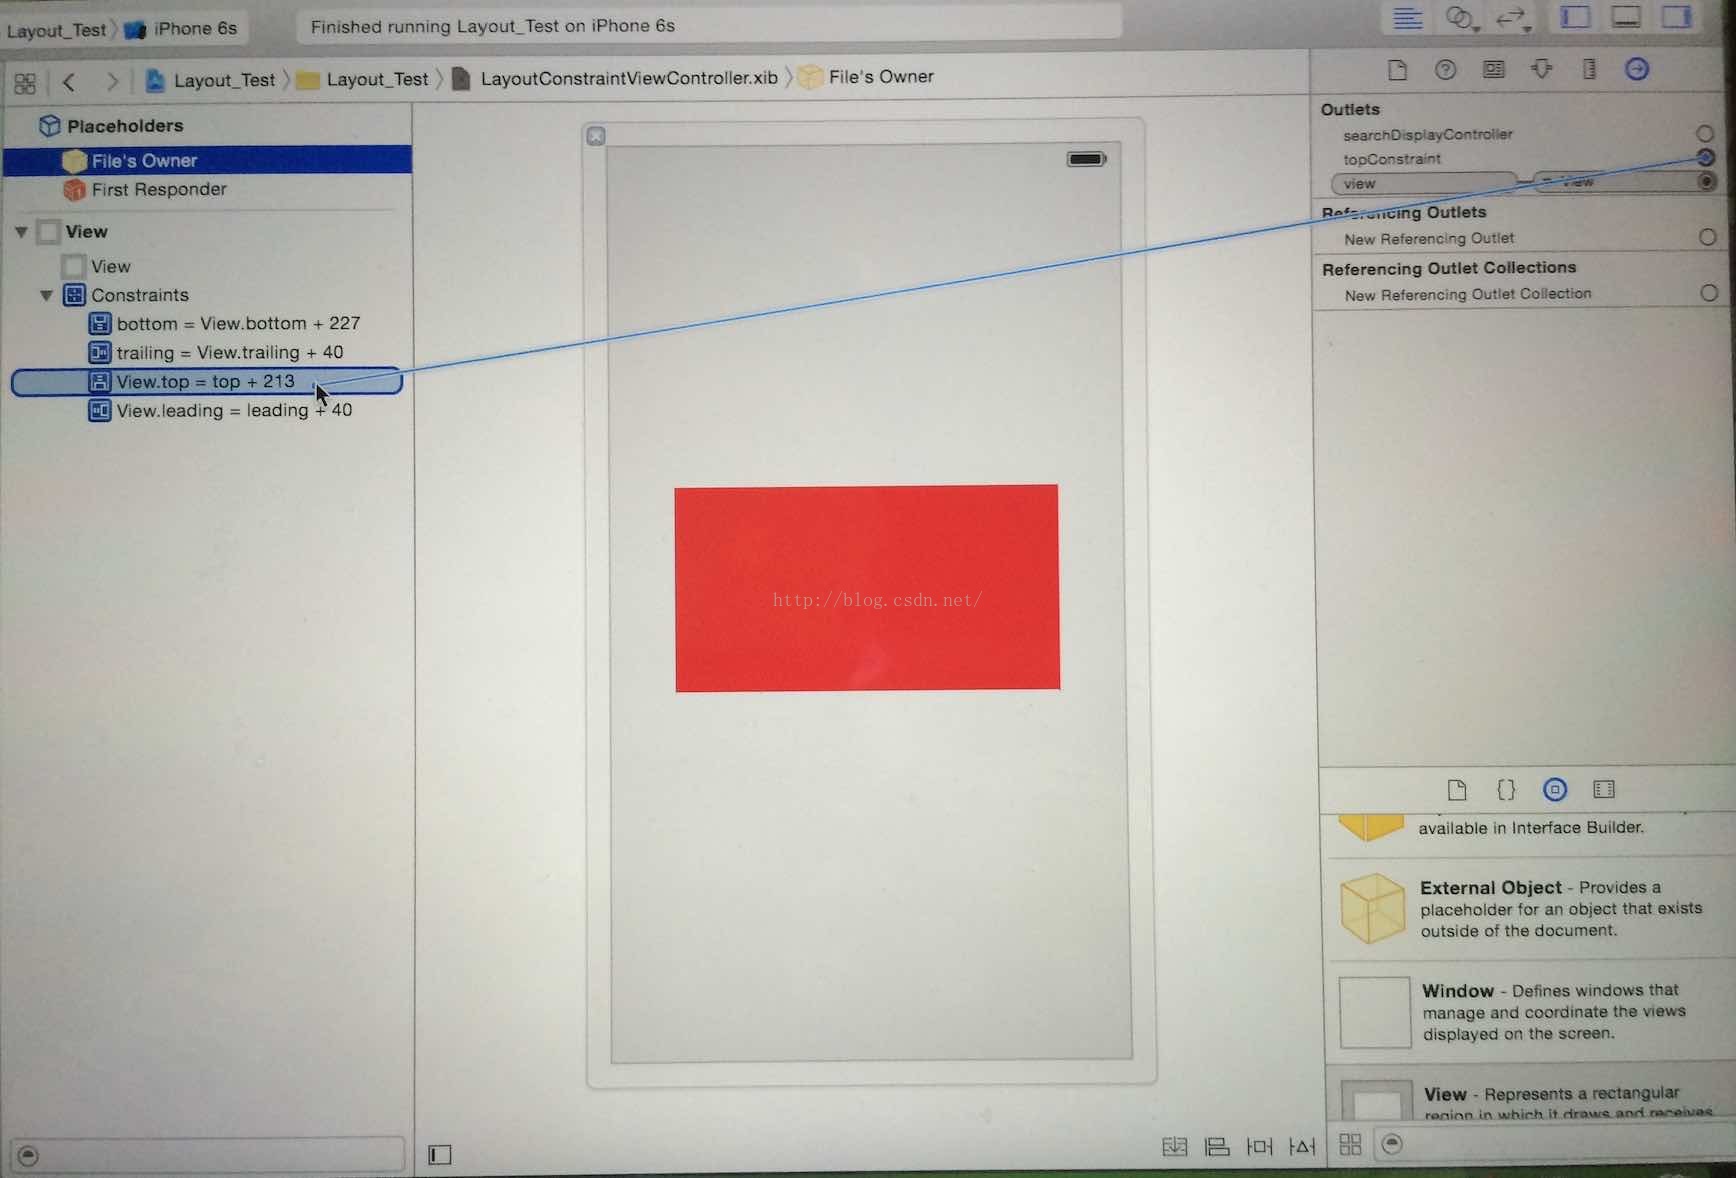
1、如果你是使用 Xib/StoryBoard 的话,在程序运行时想动态的改变视图的约束,你可以这样做:
约束Constraint也可以像控件一样做IBOutlet链接,通过拖线关联到文件。(事例这里是改变子view相对于父view的top约束)
首先在你的ViewController的头文件里定义一个约束属性:
@property (nonatomic, weak) IBOutlet NSLayoutConstraint *topConstraint ;
|
1
2
3
4
|
[objc] view plaincopy
#import @interface LayoutConstraintViewController : UIViewController
@property (nonatomic, weak) IBOutlet NSLayoutConstraint *topConstraint;
@end
|
然后在XIB里选中 File's Owner,选中Outlet栏目。将对应的Outlet拖动到View对应Constraint连接起来就可以了。跟button/label做链接一摸一样的。
这样我们就可以获得view上面的某个具体约束了,然后就可以在文件中对这个约束进行我们想要的修改。
|
1
2
3
|
[objc] view plaincopy
//更新约束
self.topConstraint.constant = 10;
|
总结来说就是:拖线关联到文件获得约束,修改约束的constant属性。
2、如果你是使用 Xib/StoryBoard ,但是不想通过上述拉线的方式获得约束然后再去更新它,你还可以采用代码的方式修改约束:
但是无论采用哪种方式,我们都要遵循Auto Layout 的约束更新机制:想要更新视图上面的约束,就要先找到对应的约束再去更新它。遍历view上面的所有约束,查找到要更新的约束再进行更新。
所以我们要像上面一样要先获得top约束。在代码中的体现就是通过约束的标识字段,在其父view的constraints数组中遍历查找。这是因为每个view的constraints数组中保存的实际上是 layout 子view所需的约束的集合。
我们可以通过下面的辅助函数实现:
|
1
2
3
4
5
6
7
|
[objc] view plaincopy
NSArray *constrains = self.view.constraints;
for
(NSLayoutConstraint* constraint
in
constrains) {
if
(constraint.firstAttribute == NSLayoutAttributeTop) {
constraint.constant = 10;
}
}
|
这里只判断了一个标识字段(NSLayoutAttributeTop),但是大多数情况下view上面的约束依赖不会那么简单,所以需要查找判断多个标识字段,才能找到。
3、如果你是使用代码布局,那就用上面2介绍的方法更新约束,或者在添加约束之前先将该约束记录下来,方便后面的更新修改。
四、Auto Layout 关于更新约束的几个方法
setNeedsLayout:告知页面需要更新,但是不会立刻开始更新。执行后会立刻调用layoutSubviews。
layoutIfNeeded:告知页面布局立刻更新。所以一般都会和setNeedsLayout一起使用。如果希望立刻生成新的frame需要调用此方法,利用这点一般布局动画可以在更新布局后直接使用这个方法让动画生效。
layoutSubviews:系统重写布局。
setNeedsUpdateConstraints:告知需要更新约束,但是不会立刻开始。
updateConstraintsIfNeeded:告知立刻更新约束。
updateConstraints:系统更新约束。
这么多方法中,目前我使用比较多的是 layoutIfNeeded 。因为在Auto Layout 实现动画的时候,layoutIfNeeded 方法可以立刻生成新的frame特性是一大利器。
五、使用 Auto Layout (NSLayoutConstraint)实现动画
目前貌似还有很多人对于 Auto Layout 的动画实现还不是很了解。毕竟以前我们处理动画之类的交互大都是和view的frame属性打交道,即使用传统的 animation方法修改view的frame。大致类似于
|
1
2
3
4
5
6
7
|
[objc] view plaincopy
CGRect newFrame = view.frame;
newFrame.size.height = 300;
[UIView animateWithDuration:3.0 animations:^{
view.frame = newFrame;
} completion:^(BOOL finished) {
}];
|
那么在Auto Layout下我们又该如何处理相关的动画呢?根据前面说到的Auto Layout布局约束的原理,在某个时刻约束也是会被还原成frame使视图显示,这个时刻可以通过layoutIfNeeded这个方法来进行控制,可以立刻生成新的frame并展示出来,从而实现动画效果。
|
1
2
3
4
5
6
7
8
9
10
11
12
13
14
15
16
|
[objc] view plaincopy
//start animations
//先根据初始化添加的约束生成最初的frame并显示view
[self.view layoutIfNeeded];
[UIView animateWithDuration:3.0 animations:^{
//遍历查找view的heigh约束,并修改它
NSArray *constrains = self.view.constraints;
for
(NSLayoutConstraint* constraint
in
constrains) {
if
(constraint.firstAttribute == NSLayoutAttributeHeight) {
constraint.constant = 300;
}
}
//更新约束 在某个时刻约束会被还原成frame使视图显示
[self.view layoutIfNeeded];
} completion:^(BOOL finished) {
}];
|
这样我们就可以通过 AutoLayout 实现传统的animation方法。需要注意的是在调用animation方法之前一定要先调用layoutIfNeeded,这是为了让view先生成最初的frame并显示,否则动画效果会失效。
Masonry 篇
code:
|
1
2
3
4
|
[objc] view plaincopy
[view1 mas_makeConstraints:^(MASConstraintMaker *make) {
make.edges.equalTo(superview).
with
.insets(padding);
}];
|
这也是最常用的用法,为view设置约束。 看到上面的代码风格,典型的链式语法,流畅易懂。
我们先来看一下Masonry支持的约束属性:
|
1
2
3
4
5
6
7
8
9
10
11
12
13
14
15
16
17
18
19
20
21
22
23
|
[objc] view plaincopy
// 左侧
@property (nonatomic, strong, readonly) MASConstraint *left;
// 顶部
@property (nonatomic, strong, readonly) MASConstraint *top;
// 右侧
@property (nonatomic, strong, readonly) MASConstraint *right;
// 底部
@property (nonatomic, strong, readonly) MASConstraint *bottom;
// 首部
@property (nonatomic, strong, readonly) MASConstraint *leading;
// 尾部
@property (nonatomic, strong, readonly) MASConstraint *trailing;
// 宽
@property (nonatomic, strong, readonly) MASConstraint *width;
// 高
@property (nonatomic, strong, readonly) MASConstraint *height;
// 中心点x
@property (nonatomic, strong, readonly) MASConstraint *centerX;
// 中心点y
@property (nonatomic, strong, readonly) MASConstraint *centerY;
// 文本基线
@property (nonatomic, strong, readonly) MASConstraint *baseline;
|
这里需要注意的是:NSLayoutAttributeLeft/NSLayoutAttributeRight 和 NSLayoutAttributeLeading/NSLayoutAttributeTrailing的区别是left/right永远是指左右,而leading/trailing在某些从右至左习惯的地区会变成,leading是右边,trailing是左边。所以如果涉及到国际化方面,建议还是使用 NSLayoutAttributeLeading/NSLayoutAttributeTrailing。
在Masonry中能够添加、修改 Auto layout 约束有三个函数:
[objc] view plaincopy
|
1
2
3
|
(NSArray *)mas_makeConstraints:(void(^)(MASConstraintMaker *make))block;
(NSArray *)mas_updateConstraints:(void(^)(MASConstraintMaker *make))block;
(NSArray *)mas_remakeConstraints:(void(^)(MASConstraintMaker *make))block;
|
其中:
mas_makeConstraints 只负责新增约束,Autolayout不能同时存在两条针对于同一对象的约束,否则会报错。(这个方法最常用)
mas_updateConstraints 针对上面的情况会更新在block中出现的约束,不会导致出现两个相同约束的情况。
mas_remakeConstraints 则会清除之前的所有约束 仅保留最新的约束。
如果我们灵活的运用这三个方法,基本就可以应付各种各样的约束布局情况了。
一、添加约束(mas_makeConstraints)
先来看一下Masonry如何实现一个view的简单布局。
场景一:
还是和上面的例子一样:一个子view在父view中,其中子view的上下左右边缘都离父view的边缘40个像素。
|
1
2
3
4
5
6
7
8
9
10
11
12
13
14
|
[objc] view plaincopy
[self.view setBackgroundColor:[UIColor redColor]];
//创建子view
UIView *subView = [[UIView alloc] init];
[subView setBackgroundColor:[UIColor blackColor]];
[self.view addSubview:subView];
//layout 子view
__weak __typeof(self)weakSelf = self;
[subView mas_makeConstraints:^(MASConstraintMaker *make) {
make.top.equalTo(weakSelf.view).
with
.offset(40);
//子view的上边缘离父view的上边缘40个像素
make.left.equalTo(weakSelf.view).
with
.offset(40);
//子view的左边缘离父view的左边缘40个像素
make.bottom.equalTo(weakSelf.view).
with
.offset(-40);
//子view的下边缘离父view的下边缘40个像素
make.right.equalTo(weakSelf.view).
with
.offset(-40);
//子view的右边缘离父view的右边缘40个像素
}];
|
针对上面的布局约束写法,还有更为简洁的写法:
|
1
2
3
4
5
|
[objc] view plaincopy
//layout 子view
[subView mas_makeConstraints:^(MASConstraintMaker *make) {
make.edges.equalTo(weakSelf.view).insets(UIEdgeInsetsMake(40, 40, 40, 40));
}];
|
效果如下:
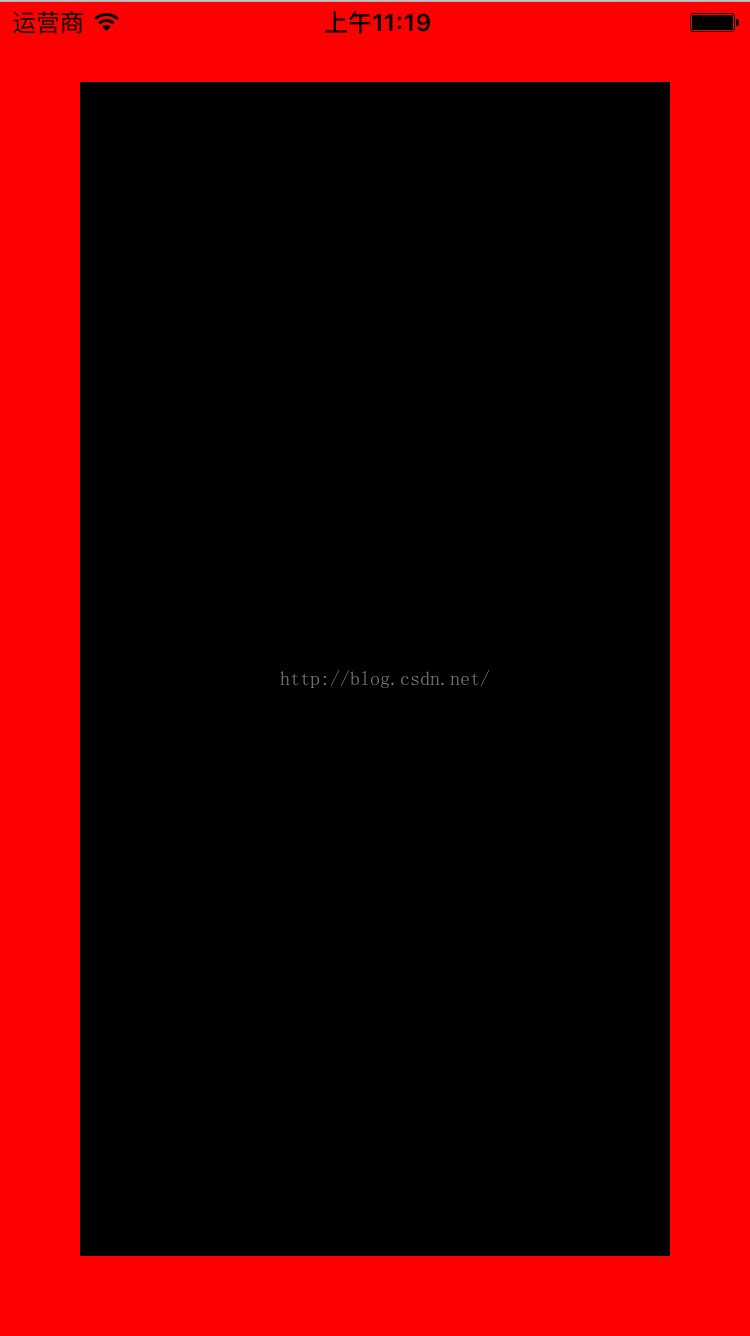
可以很明显的看出,使用Masonry布局无论是代码量还是语法描述都很简洁易懂。比起前面使用 NSLayoutConstraint 不是好一点半点。
场景二:
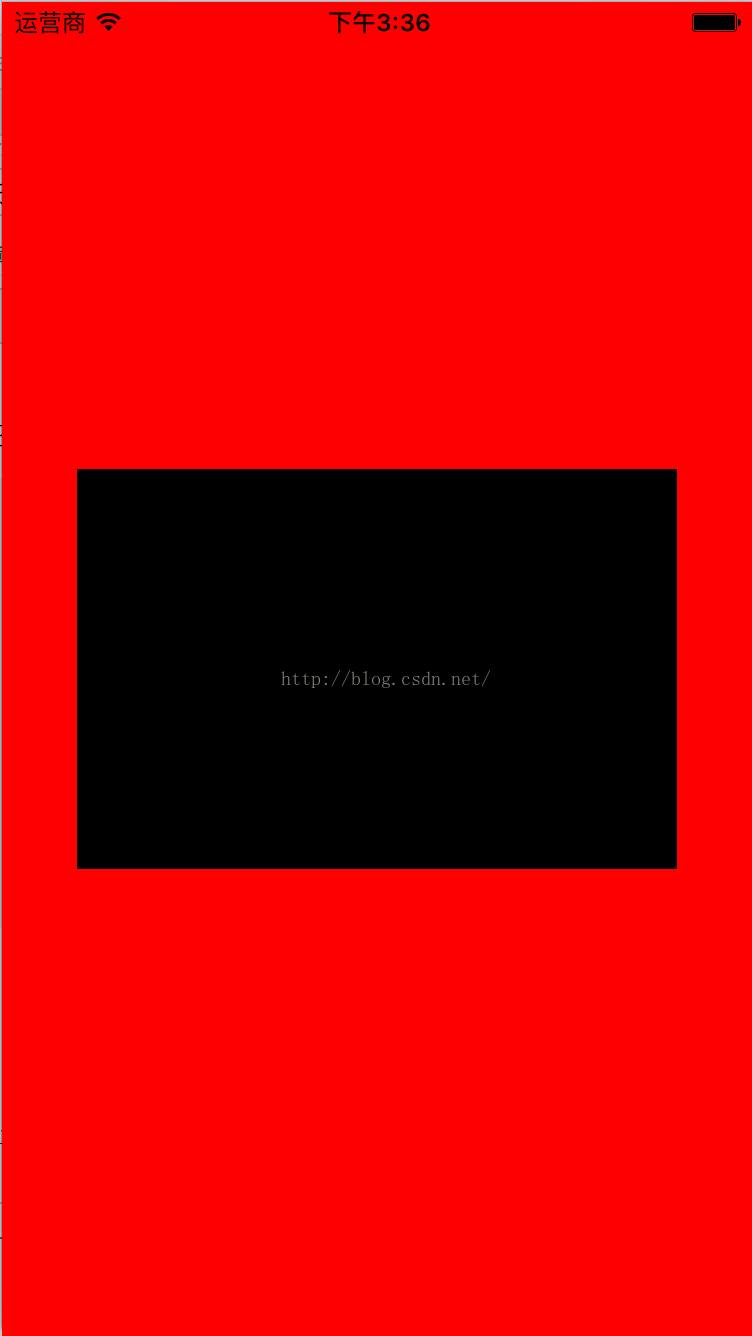
子view在父view的中间,且子view长300,高200。
|
1
2
3
4
5
6
7
8
9
10
11
12
|
[objc] view plaincopy
[self.view setBackgroundColor:[UIColor redColor]];
//创建子view
UIView *subView = [[UIView alloc] init];
[subView setBackgroundColor:[UIColor blackColor]];
[self.view addSubview:subView];
//layout 子view
__weak __typeof(self)weakSelf = self;
[subView mas_makeConstraints:^(MASConstraintMaker *make) {
make.center.equalTo(weakSelf.view);
//子view在父view中间
make.size.mas_equalTo(CGSizeMake(300, 200));
//子view长300,高200
}];
|
效果如下:
二、更新、修改约束(mas_updateConstraints)
使用Masonry更新约束非常方便简单。
比如需要将上面例子的view的宽度和高修都改为100:
|
1
2
3
4
5
6
|
[objc] view plaincopy
//将view的宽度、高度设为100
[subView mas_updateConstraints:^(MASConstraintMaker *make) {
make.width.equalTo(@100);
make.height.equalTo(@100);
}];
|
三、在使用Masonry中,我们需要注意几个问题
1、在使用 mas_makeConstraint 方法给view添加约束的时候,必须要确定该view已经添加到父view上了,即[self.view addSubview:view];否则将会约束报错。这个和使用NSLayoutConstraint一样。
2、Autolayout不能同时存在两条针对于同一对象的约束,否则会报错。只能进行更新修改。
3、其次对于 equalTo 和 mas_equalTo的区别:mas_equalTo只是对其参数进行了一个BOX操作(装箱) ,所支持的类型除了NSNumber支持的那些数值类型之外就只支持CGPoint、CGSize、UIEdgeInsets,例如:make.size.mas_equalTo(CGSizeMake(300,400));
对于对象或是多个属性的处理,就使用equalTo,例如:make.size.equalTo(weakSelf.view); make.width.equalTo(weakSelf.view); make.height.equalTo(@30);
4、方法with和and,这连个方法其实没有做任何操作,方法只是返回对象本身,这这个方法的左右完全是为了方法写的时候的可读性 。
5、因为iOS中原点在左上角所以使用offset时注意right和bottom用负数。
6、Masonry约束是无法更新 NSLayoutConstraint 约束。因为Masonry在更新约束的时候会去遍历查找view上面的约束集,先判断view上的约束的类是否为 MASLayoutConstraint的类,如果是才会进行更新。所以,如果你是用XIB、StoryBoard拉线添加的约束或者是通过代码方式使用NSLayoutConstraint类添加的约束都无法在代码里用Masonry的 mas_updateConstraints 方法进行约束更新。Masonry更新约束的部分源码:
|
1
2
3
4
5
6
7
8
9
10
11
12
13
14
15
16
17
18
|
[objc] view plaincopy
- (MASLayoutConstraint *)layoutConstraintSimilarTo:(MASLayoutConstraint *)layoutConstraint {
// check if any constraints are the same apart from the only mutable property constant
// go through constraints in reverse as we do not want to match auto-resizing or interface builder constraints
// and they are likely to be added first.
for
(NSLayoutConstraint *existingConstraint
in
self.installedView.constraints.reverseObjectEnumerator) {
if
(![existingConstraint isKindOfClass:MASLayoutConstraint.class])
continue
;
if
(existingConstraint.firstItem != layoutConstraint.firstItem)
continue
;
if
(existingConstraint.secondItem != layoutConstraint.secondItem)
continue
;
if
(existingConstraint.firstAttribute != layoutConstraint.firstAttribute)
continue
;
if
(existingConstraint.secondAttribute != layoutConstraint.secondAttribute)
continue
;
if
(existingConstraint.relation != layoutConstraint.relation)
continue
;
if
(existingConstraint.multiplier != layoutConstraint.multiplier)
continue
;
if
(existingConstraint.priority != layoutConstraint.priority)
continue
;
return
(id)existingConstraint;
}
return
nil;
}
|
四、Masonry实现动画
Masonry的动画实现和NSLayoutConstraint类的动画实现基本一致,都是基于 layoutIfNeeded 方法。传统的 animation方法通过Masonry实现如下:
|
1
2
3
4
5
6
7
8
9
10
11
12
13
14
15
16
17
18
19
20
21
22
23
24
25
26
27
28
29
|
[objc] view plaincopy
[self.view setBackgroundColor:[UIColor redColor]];
//创建子view
UIView *subView = [[UIView alloc] init];
[subView setBackgroundColor:[UIColor blackColor]];
[self.view addSubview:subView];
//layout 子view
__weak __typeof(self)weakSelf = self;
[subView mas_makeConstraints:^(MASConstraintMaker *make) {
//子view的上边缘离父view的上边缘100个像素
make.top.equalTo(weakSelf.view).
with
.offset(100);
//子view的左边缘离父view的左边缘50个像素
make.left.equalTo(weakSelf.view).
with
.offset(50);
//子view的右边缘离父view的右边缘50个像素
make.right.equalTo(weakSelf.view).
with
.offset(-50);
//子view的高度为1
make.height.equalTo(@1);
}];
//先根据初始化添加的约束生成最初的frame并显示view
[self.view layoutIfNeeded];
//开始动画
[UIView animateWithDuration:3.0 animations:^{
[subView mas_updateConstraints:^(MASConstraintMaker *make) {
make.height.equalTo(@300);
}];
//更新约束 在某个时刻约束会被还原成frame使视图显示
[self.view layoutIfNeeded];
} completion:^(BOOL finished) {
}];
|


 3万+
3万+

 被折叠的 条评论
为什么被折叠?
被折叠的 条评论
为什么被折叠?
 到【灌水乐园】发言


