


Docker部署携程Apollo
- 下载Apollo源码
- 执行Apollo脚本(MySQL)
- 修改Apollo配置
- 修改build.bat脚本
- 打开build.bat文件所在文件夹,双击运行
- 创建apollo-adminservice、apollo-configservice、apollo-portal文件夹
- 拷贝Dockerfile以及apollo-xxx-github.zip文件到对应的文件夹(Dockerfile是Apollo自带的,在项目的src/main/docker路径)
- 使用Docker-Compose快速编排
- 准备就绪,把文件上传到服务器(/home/java_jar/apollo)
- 构建镜像&容器并运行
- 查看注册中心(http://ip:8080)
- 打开浏览器,访问portal(http://ip:8070)
下载Apollo源码
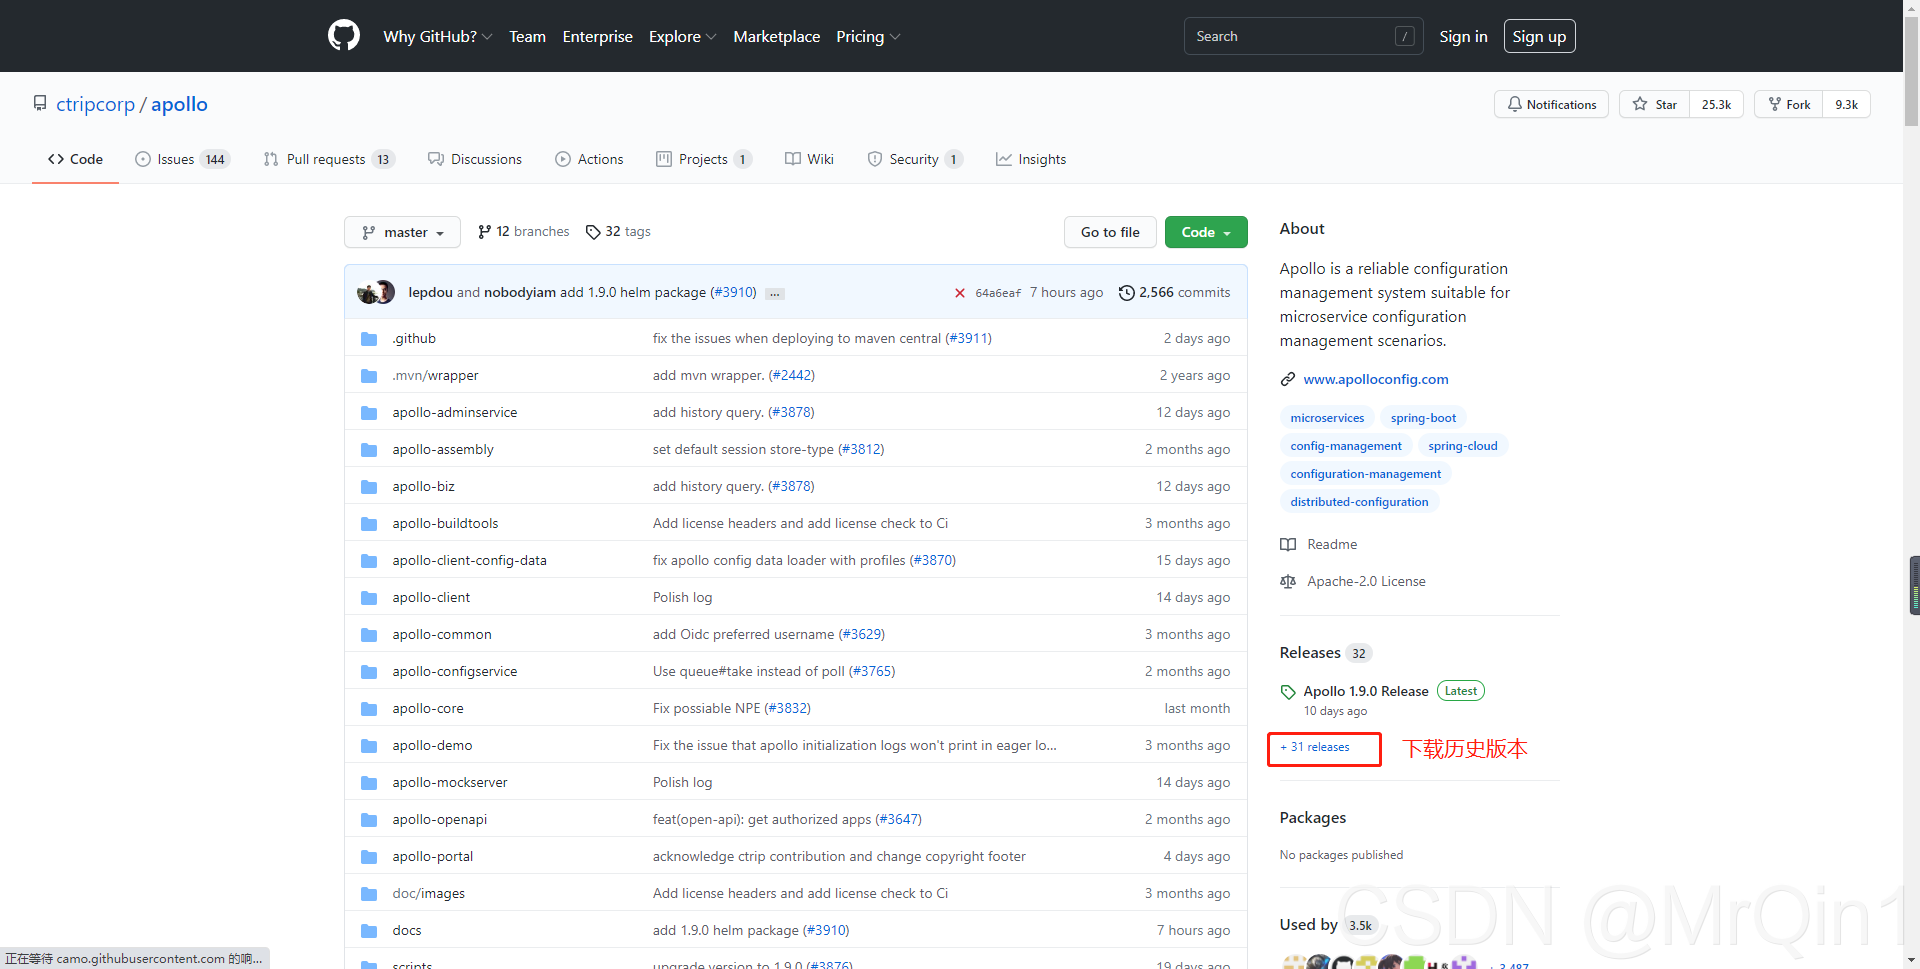
Apollo官网地址:https://github.com/ctripcorp/apollo
我下载了1.7.2的版本,但是打包的版本是1.7.1

执行Apollo脚本(MySQL)
修改Apollo配置
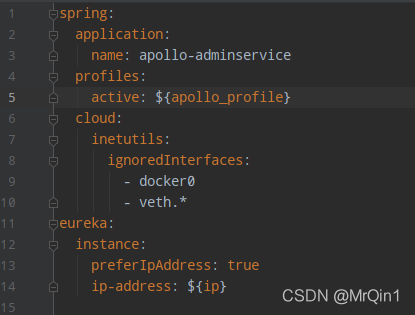
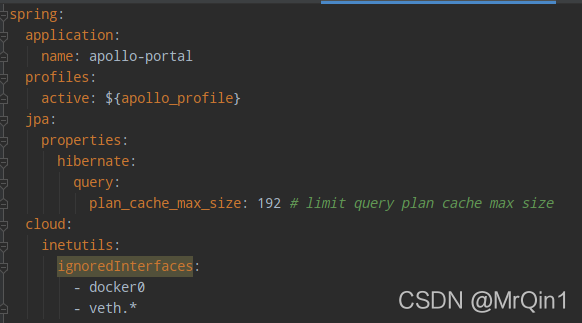
修改adminservice、configservice、portal服务src/resource/application.yml文件
三个服务增加如下配置(调整网络策略)
# 忽略docker0、veth.*的网卡
spring:
	cloud:
    	inetutils:
      	ignoredInterfaces:
        	- docker0
        	- veth.*
adminservice、configservice服务再增加如下配置:
# 指定注册中心IP
# 可以在application.yml文件里加,也可以在bootstrap.yml文件里加
eureka:
  instance:
    preferIpAddress: true
    ip-address: ${ip}
如图:

修改build.bat脚本
1.增加ip字段
set ip=172.16.2.89
2.增加参数,把ip写入到application.yml文件
-Dip=%ip%
3.修改数据库连接信息
rem apollo config db info
set apollo_config_db_url="jdbc:mysql://ip:port/ApolloConfigDB?characterEncoding=utf8"
set apollo_config_db_username="root"
set apollo_config_db_password="123456"

rem apollo portal db info
set apollo_portal_db_url="jdbc:mysql://ip:port/ApolloPortalDB?characterEncoding=utf8"
set apollo_portal_db_username="root"
set apollo_portal_db_password="123456"
4.注释多余的环境信息(我这边只启用了dev环境)
rem meta server url, different environments should have different meta server addresses
set dev_meta="http://configservice服务ip:configservice服务port(默认8080)"
rem set fat_meta="http://someIp:8080"
rem set uat_meta="http://anotherIp:8080"
rem set pro_meta="http://yetAnotherIp:8080"
build.bat内容如下:
@echo off

rem apollo config db info
set apollo_config_db_url="jdbc:mysql://ip:port/ApolloConfigDB?characterEncoding=utf8"
set apollo_config_db_username="root"
set apollo_config_db_password="123456"

rem apollo portal db info
set apollo_portal_db_url="jdbc:mysql://ip:port/ApolloPortalDB?characterEncoding=utf8"
set apollo_portal_db_username="root"
set apollo_portal_db_password="123456"

rem meta server url, different environments should have different meta server addresses
set dev_meta="http://configservice服务ip:configservice服务port"
rem set fat_meta="http://someIp:8080"
rem set uat_meta="http://anotherIp:8080"
rem set pro_meta="http://yetAnotherIp:8080"

set META_SERVERS_OPTS=-Ddev_meta=%dev_meta% -Dfat_meta=%fat_meta% -Duat_meta=%uat_meta% -Dpro_meta=%pro_meta%

set ip=部署Apollo的宿主机ip

rem =============== Please do not modify the following content ===============
rem go to script directory
cd "%~dp0"

cd ..

rem package config-service and admin-service
echo "==== starting to build config-service and admin-service ===="

call mvn clean package -DskipTests -pl apollo-configservice,apollo-adminservice -am -Dapollo_profile=github -Dspring_datasource_url=%apollo_config_db_url% -Dspring_datasource_username=%apollo_config_db_username% -Dspring_datasource_password=%apollo_config_db_password% -Dip=%ip%

echo "==== building config-service and admin-service finished ===="

echo "==== starting to build portal ===="

call mvn clean package -DskipTests -pl apollo-portal -am -Dapollo_profile=github,auth -Dspring_datasource_url=%apollo_portal_db_url% -Dspring_datasource_username=%apollo_portal_db_username% -Dspring_datasource_password=%apollo_portal_db_password% -Dip=%ip% %META_SERVERS_OPTS%

echo "==== building portal finished ===="

pause
打开build.bat文件所在文件夹,双击运行
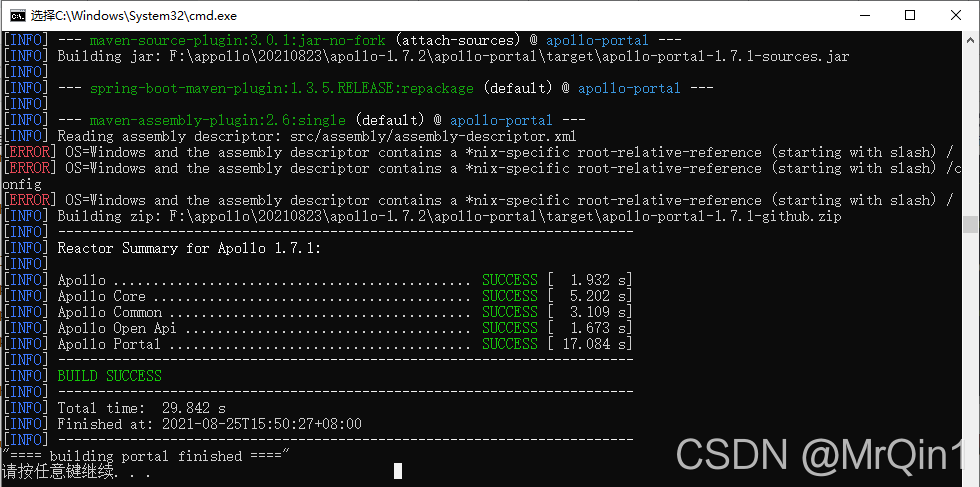
编译打包成功
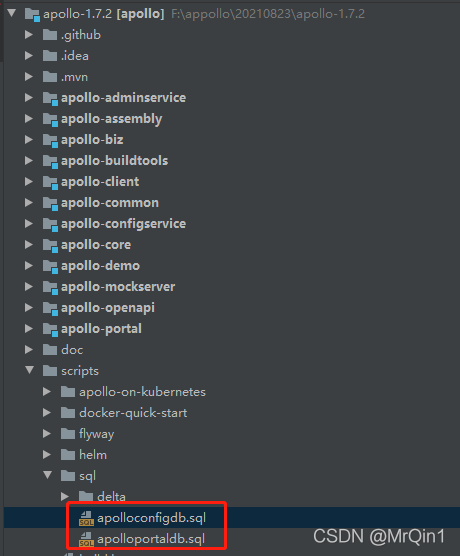
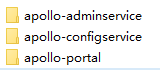
创建apollo-adminservice、apollo-configservice、apollo-portal文件夹
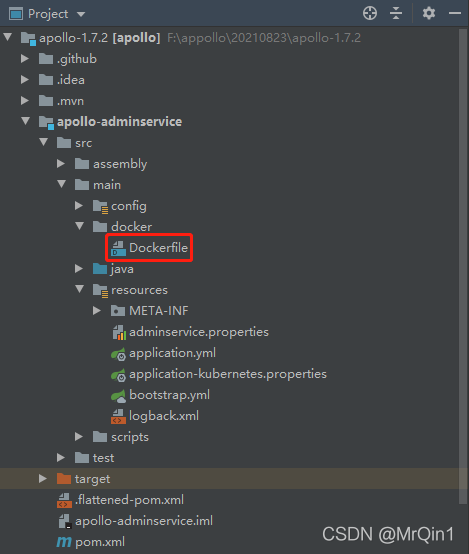
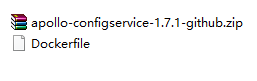
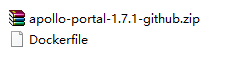
拷贝Dockerfile以及apollo-xxx-github.zip文件到对应的文件夹(Dockerfile是Apollo自带的,在项目的src/main/docker路径)
以apollo-adminservice服务为例

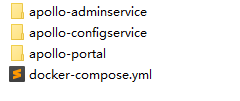
使用Docker-Compose快速编排
docker-compose.yml内容如下
version: "3"

services:
  apollo-configservice:                                         ##容器服务名
    container_name: apollo-configservice                        ##容器名
    build: apollo-configservice/								##Dockerfile路径
    image: apollo-configservice                         		##镜像名
    ports:
      - "8080:8080"
    volumes:
      - "/home/apollo/logs:/opt/logs"    ##将/opt/logs目录挂载到宿主机的/home/apollo/logs方便在宿主机上查看日志
    # 由于在打包的时候以及把数据库及ip信息写入配置文件,这里就不需要再次更改启动参数
    # environment:
    #   - spring_datasource_url=jdbc:mysql://localhost:3306/ApolloConfigDB?characterEncoding=utf8
    #   - spring_datasource_username=root
    #   - spring_datasource_password=123456
    #   - eureka.instance.ip-address=172.16.2.89
    restart: always

  apollo-adminservice:
    container_name: apollo-adminservice
    build: apollo-adminservice/
    image: apollo-adminservice
    ports:
      - "8090:8090"
    depends_on:
      - apollo-configservice
    volumes:
      - "/home/apollo/logs:/opt/logs"
      # environment:
      #  - eureka.instance.ip-address=172.16.2.89
    restart: always

  apollo-portal:
    container_name: apollo-portal
    build: apollo-portal/
    image: apollo-portal
    ports:
      - "8070:8070"
    depends_on:
      - apollo-configservice
      - apollo-adminservice
    volumes:
      - "/home/apollo/logs:/opt/logs"
    # environment:
    #   - spring_datasource_url=jdbc:mysql://localhost:3306/ApolloConfigDB?characterEncoding=utf8
    #   - spring_datasource_username=root
    #   - spring_datasource_password=123456
    #   - eureka.instance.ip-address=172.16.2.89
    restart: always
准备就绪,把文件上传到服务器(/home/java_jar/apollo)
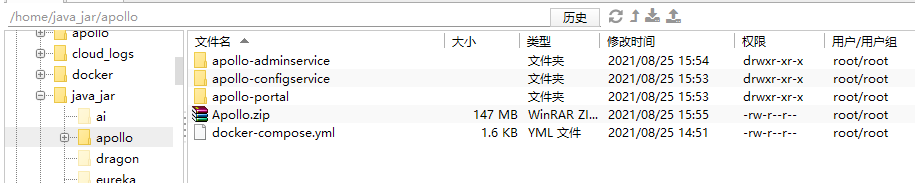
解压Apollo.zip
unzip Apollo.zip
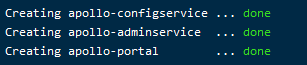
构建镜像&容器并运行
docker-compose up -d
看到下图字样表示构建成功
查看容器
docker ps -a|grep apollo

或者
docker-compose ps
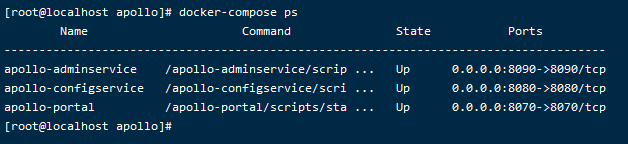
容器启动成功
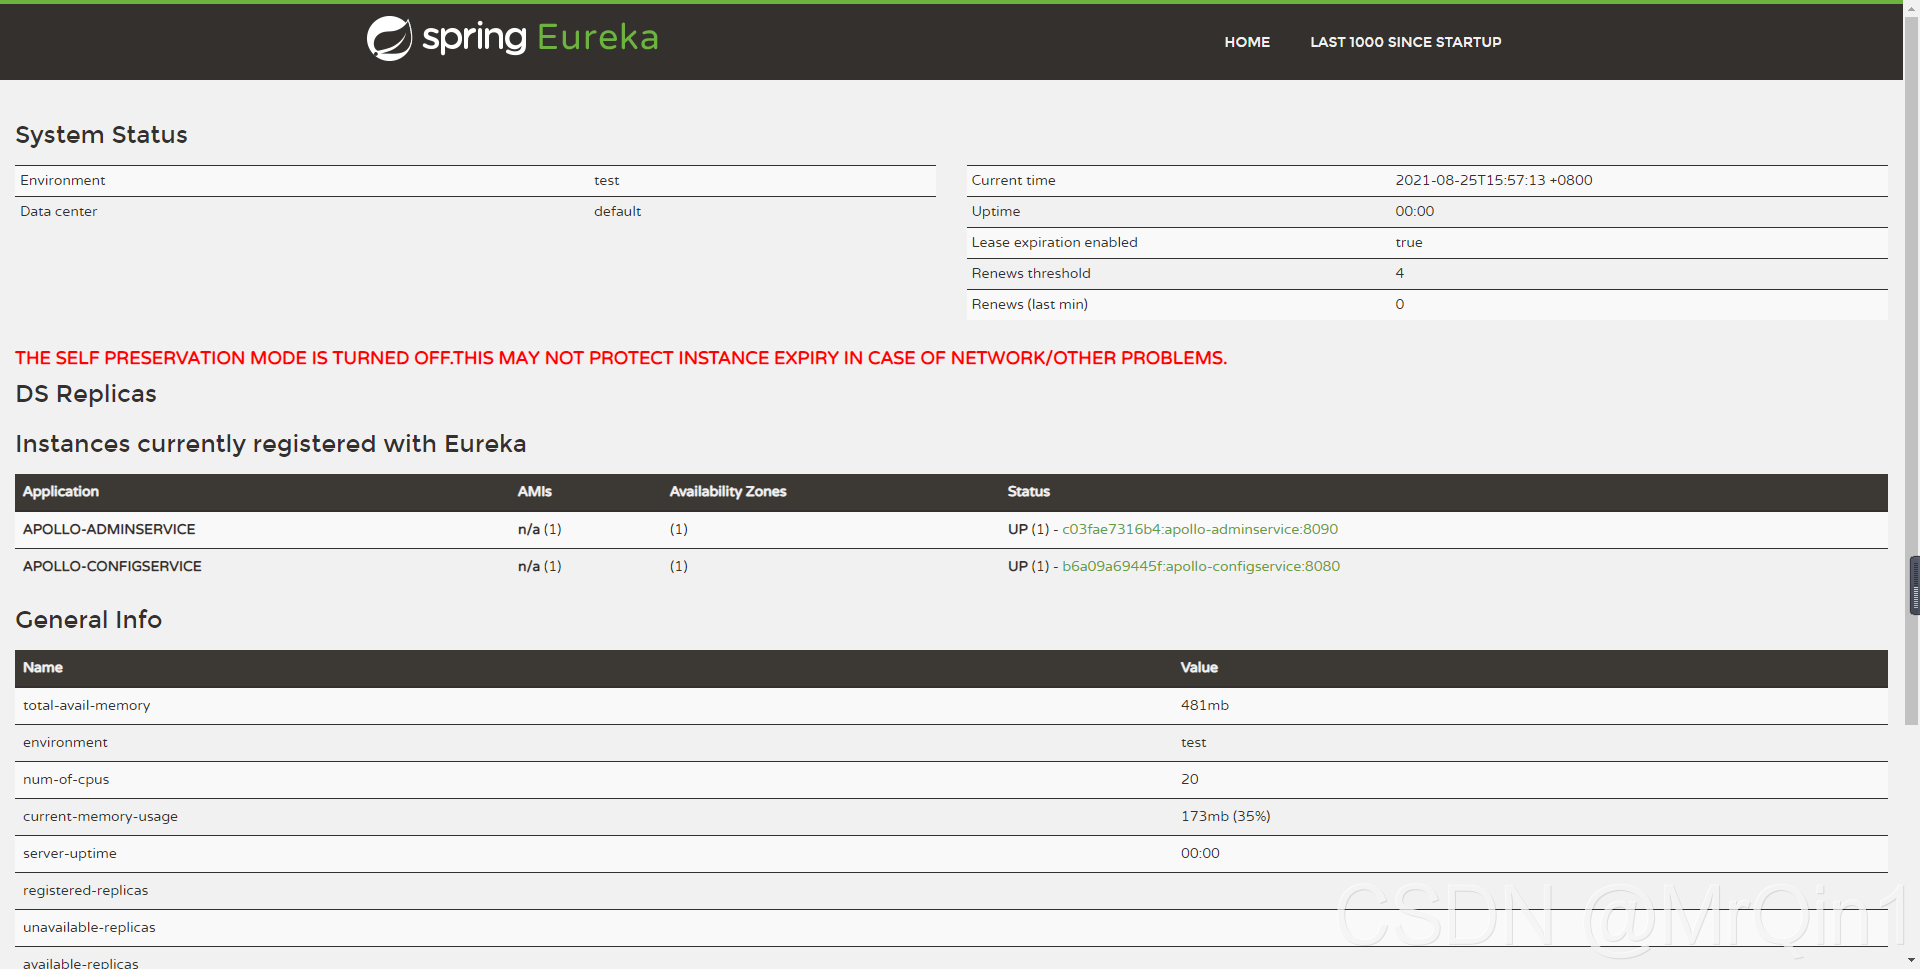
查看注册中心(http://ip:8080)
打开浏览器,访问portal(http://ip:8070)
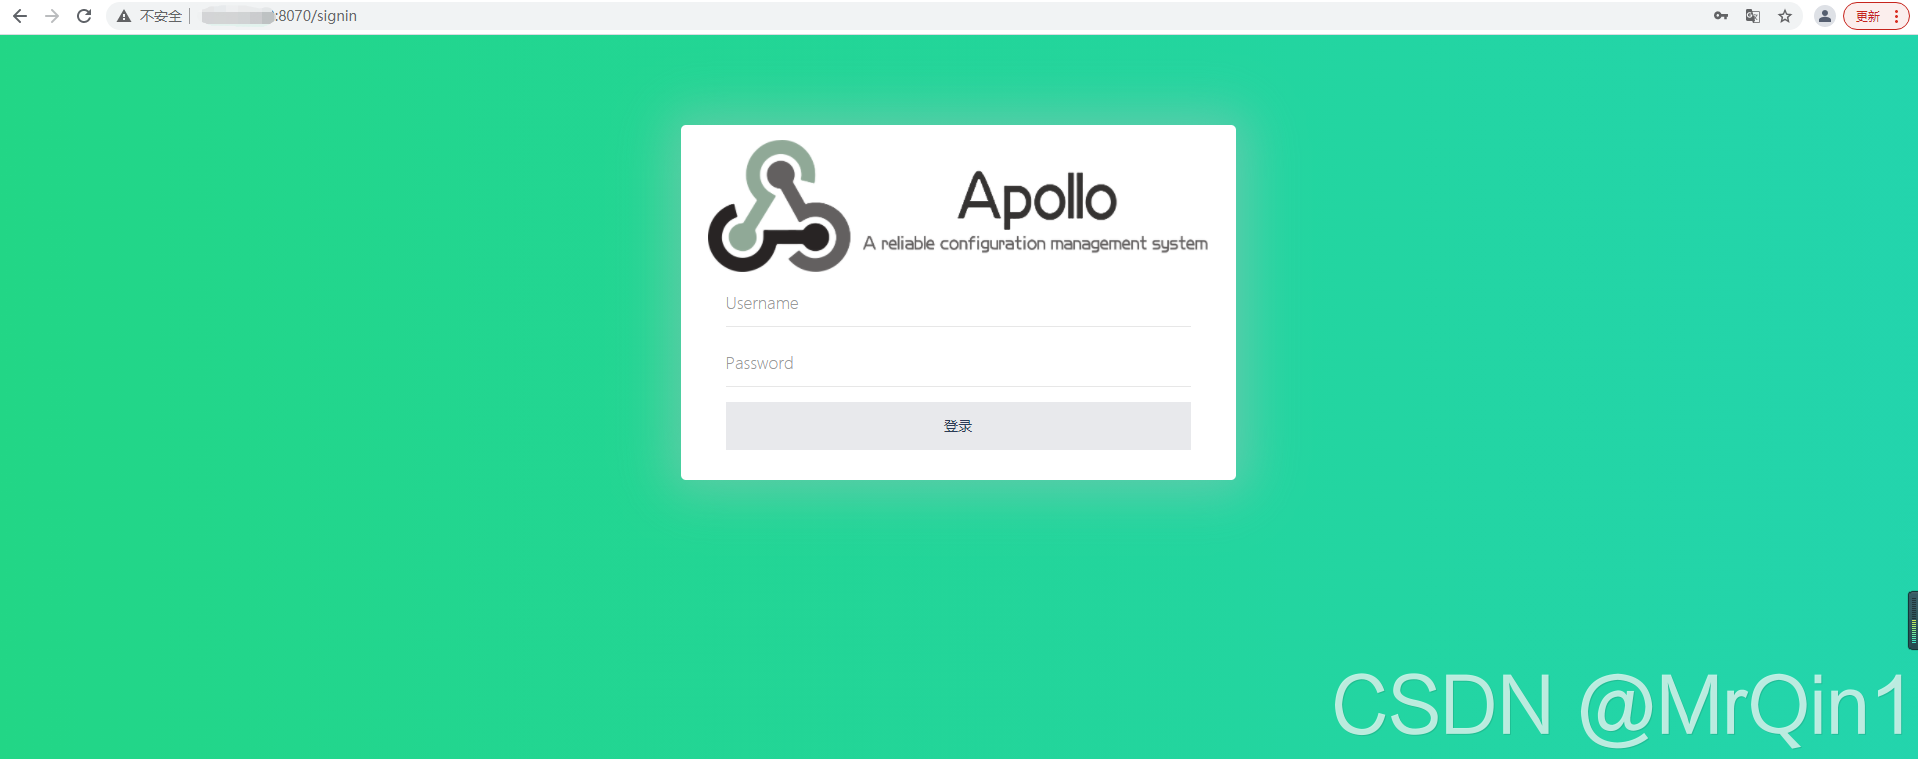
默认账号/密码:Apollo/admin
Apollo官网有非常详细的文档资料参考,不过部署过程中还是踩了不少坑,贡献此文给各位码友(Apollo1.7.0及以后的版本支持在线拉取镜像,具体参考GitHub-Apollo官方文档),如有不明白的地方欢迎留言,谢谢


 1433
1433


 被折叠的 条评论
为什么被折叠?
被折叠的 条评论
为什么被折叠?
 到【灌水乐园】发言


