


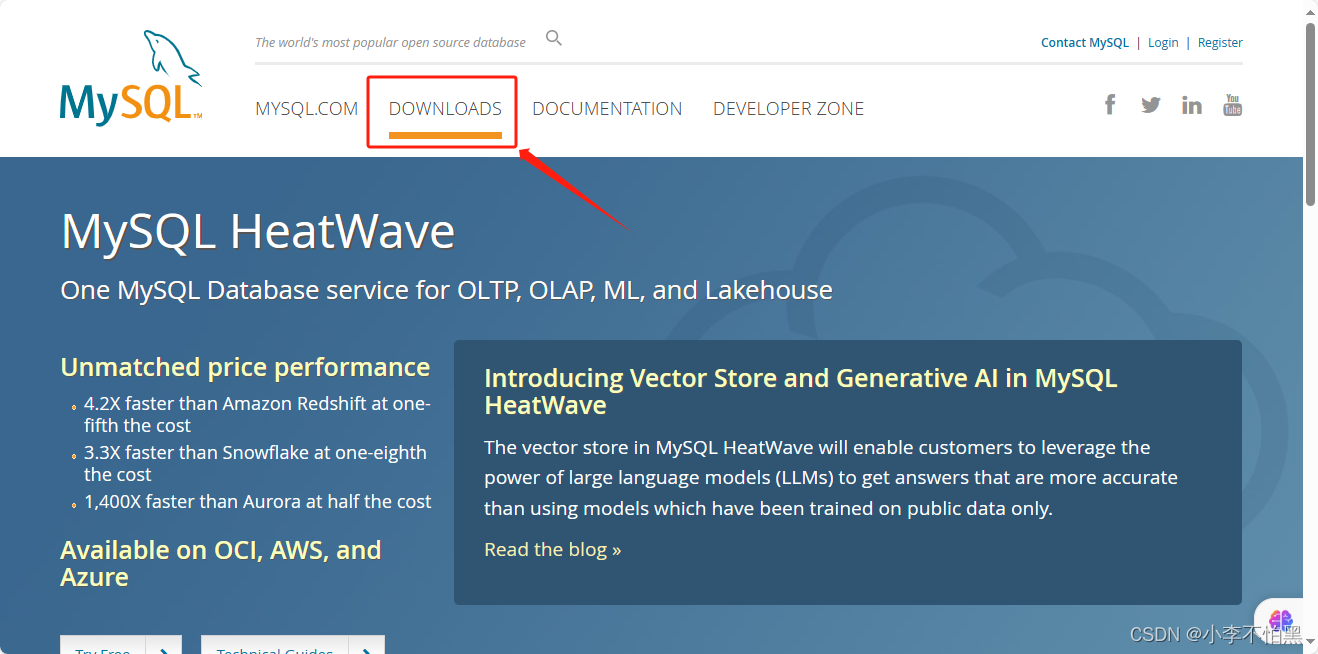
mysql官网:MySQL
1、找到所需要的MySQL安装包
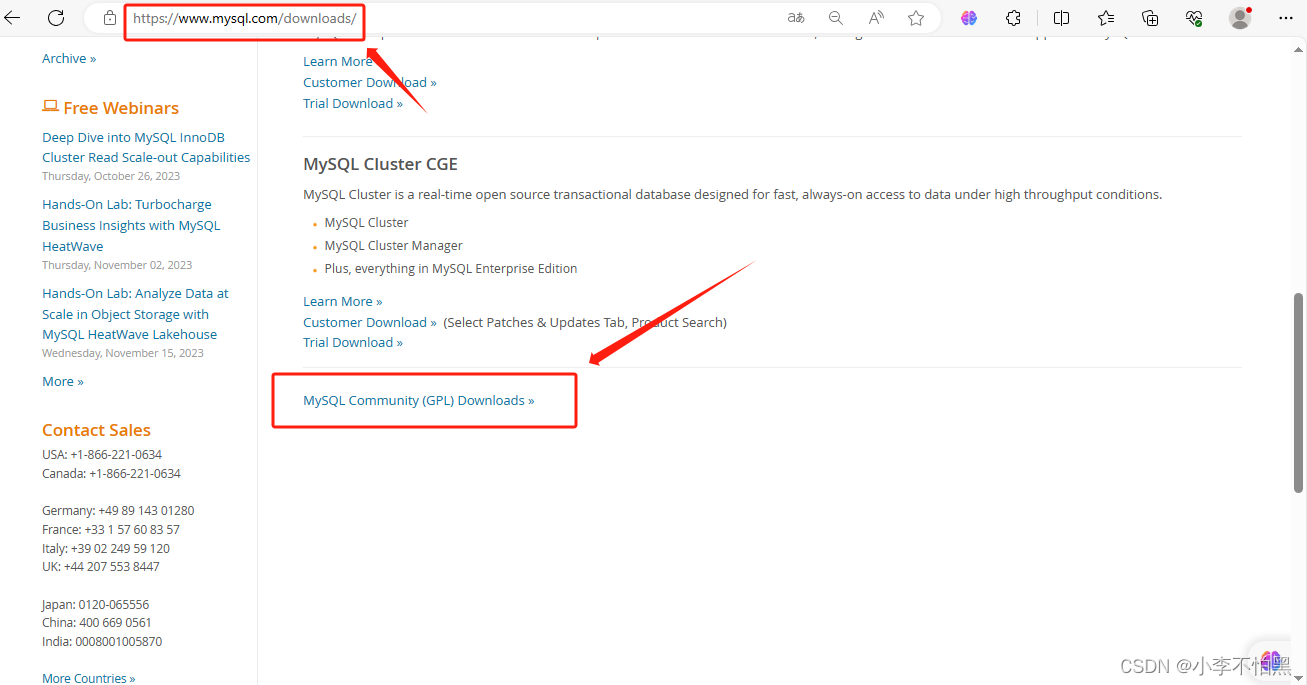

下述步骤中可根据自己的需求去选择,演示以Linux 7为例进行安装

右击选择 No thanks, just start my download 选择复制链接

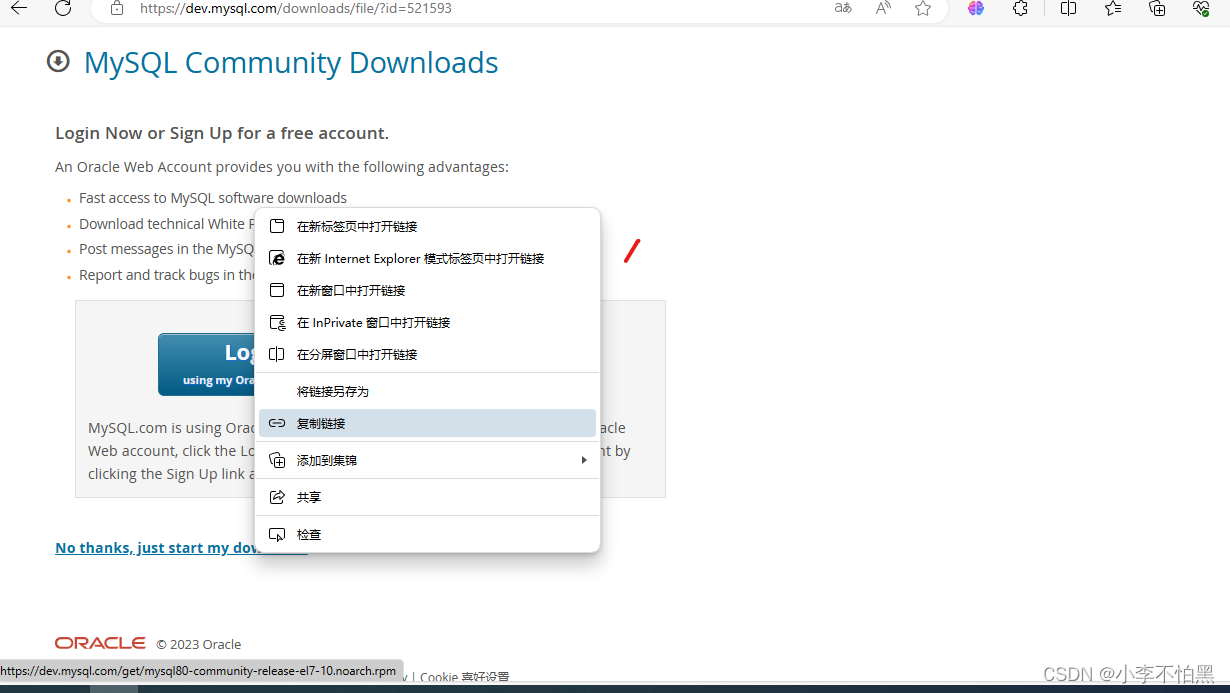
即可提取到所需安装包地址:https://dev.mysql.com/get/mysql80-community-release-el7-10.noarch.rpm
2、在服务器上清理MySQL环境
(此步在企业中正在使用的服务器不可使用,在其他期间需谨慎使用)
[root@xiaolizi ~]# yum erase mariadb mariadb-server mariadb-libs mariadb-devel -y
[root@xiaolizi ~]# userdel -r mysql
[root@xiaolizi ~]# rm -rf /etc/my*
[root@xiaolizi ~]# rm -rf /var/lib/mysql
3、下载yum源的rpm安装包
[root@xiaolizi ~]# yum install -y https://dev.mysql.com/get/mysql80-community-release-el7-7.noarch.rpm4、修改yum配置中的源信息
(把安装5.7的源打开, 关闭安装8.0的源)
方法1:直接进入yum源配置文件中去修改
[root@xiaolizi ~]# vim /etc/yum.repos.d/mysql-community.repo
方法2:使用脚本修改
[root@xaiolizi ~]# yum repolist all |grep mysql
[root@xaiolizi ~]# yum -y install yum-utils
[root@xaiolizi ~]# yum-config-manager --disable mysql80-community
[root@xaiolizi ~]# yum-config-manager --enable mysql57-community
注:以上两种方法均为永久关闭👆
方法3:直接yum关闭
[root@xaiolizi ~]# yum install -y mysql-community-server --enablerepo mysql57-community --disablerepo mysql80-community注: 方法3为临时关闭,服务重启之后则恢复默认👆
5、关闭防火墙和selinux
[root@xaiolizi ~]# setenforce 0  && sed -ri s/SELINUX=enforcing/SELINUX=disabled/g /etc/selinux/config
[root@xaiolizi ~]# systemctl stop firewalld && systemctl disable firewalld
6、安装必要的软件包
[root@xaiolizi ~]# yum -y groupinstall "Development Tools"
[root@xaiolizi ~]# yum -y install mysql-community-server
[root@xaiolizi ~]# systemctl start mysqld
7、找出密码并登录数据库
[root@xaiolizi ~]# grep "password" /var/log/mysqld.log
2023-10-16T22:41:24.218413Z 1 [Note] A temporary password is generated for root@localhost: %i+g10uS.dre
[root@xaiolizi ~]# mysql -uroot -p'%i+g10uS.dre'
mysql: [Warning] Using a password on the command line interface can be insecure.
Welcome to the MySQL monitor.  Commands end with ; or \g.
Your MySQL connection id is 2
Server version: 5.7.24

Copyright (c) 2000, 2018, Oracle and/or its affiliates. All rights reserved.

Oracle is a registered trademark of Oracle Corporation and/or its
affiliates. Other names may be trademarks of their respective
owners.

Type 'help;' or '\h' for help. Type '\c' to clear the current input statement.

mysql>
8、修改数据库密码
(登录数据库之后一定要修改登录密码,防止丢失)
方法1:数据库中修改
mysql> alter user 'root'@'localhost' identified by "CSDNyyds@123";
Query OK, 0 rows affected (0.00 sec)
方法2:数据库外修改(即命令行修改)
[root@xaiolizi ~]# mysqladmin -uroot -p'%i+g10uS.dre' password "CSDNyyds@123"拓展1: 若数据库密码丢失,可由下列操作进行修改
(在/etc/my.cnf文件中追加skip-grant-tables直接跳过密码进入数据库修改密码,在修改密码之后需在my.cnf中删除 skip-grant-tables )
[root@xiaolizi ~]# echo "skip-grant-tables"  >> /etc/my.cnf
[root@xiaolizi ~]# mysql
mysql>update mysql.user set authentication_string=password("CSDNyyds@123") where User='root' and Host="localhost";
拓展2: 若数据库密码强度太高,可由下列操作进行修改
(在/etc/my.cnf文件中追加validate-password=OFF来关闭mysql密码强度策略,在生产环境切勿尝试,‘慎用’,首次启动不可关闭 )
[root@xiaolizi ~]# echo "validate-password=OFF" >> /etc/my.cnf
补充:参数skip-grant-tables 和 参数validate-password=OFF不可同时存在,慎用!!


 72
72


 被折叠的 条评论
为什么被折叠?
被折叠的 条评论
为什么被折叠?
 到【灌水乐园】发言


