


在android开发中,调用相机的功能的频幕可谓相当之高,尤其在当前社交应用五花八门的情况下,相机的功能被开发的相当丰富,如美颜相机,美拍,微拍和最早的360相机等,可是制造多少“美女”,咳咳。好了,言归正传,今天咱们先学基本的应用。
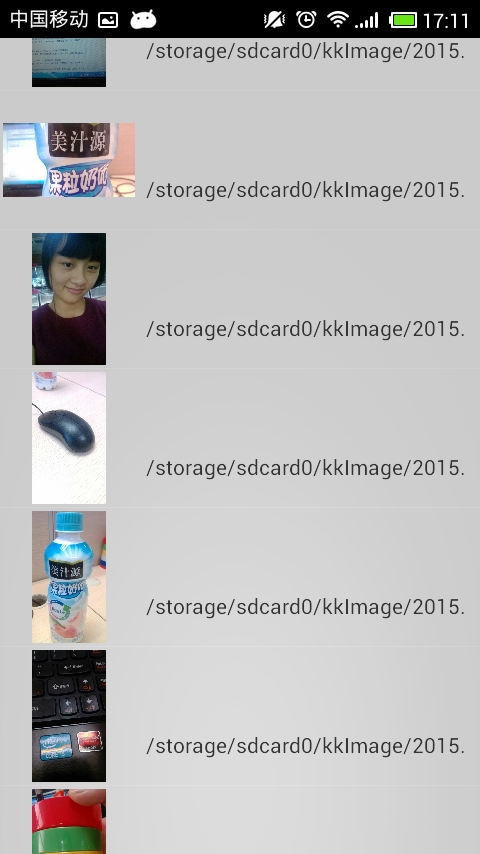
首先,来几张demo演示图,
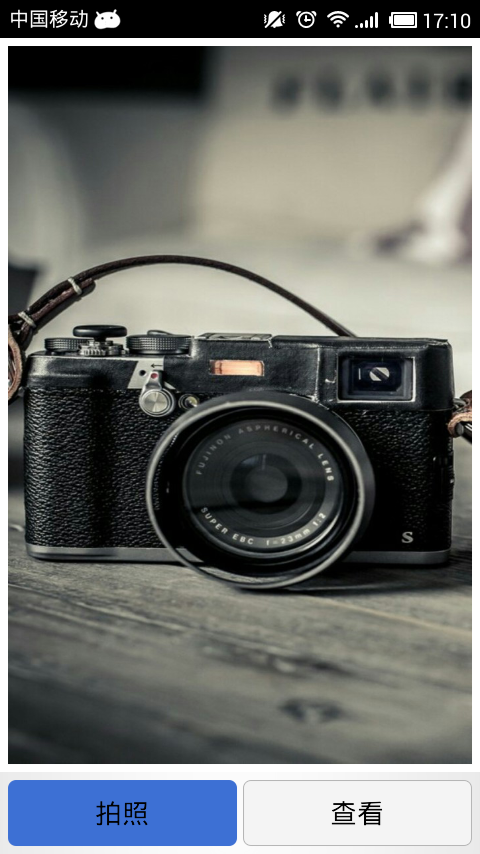
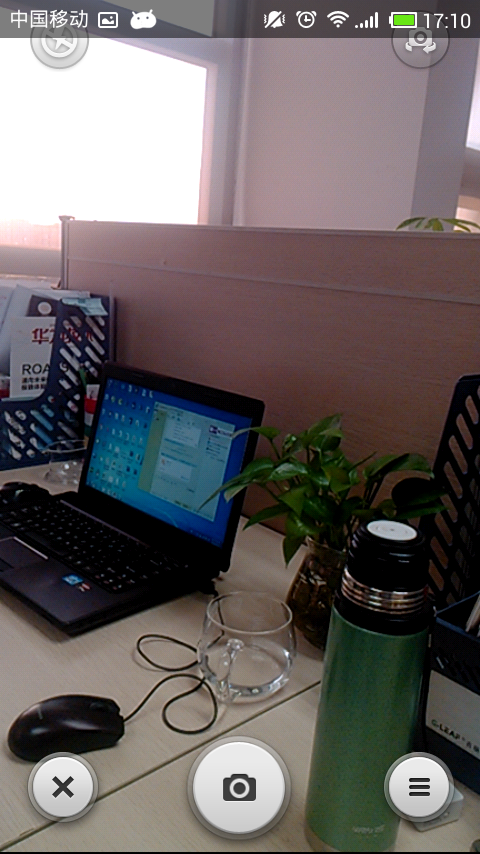
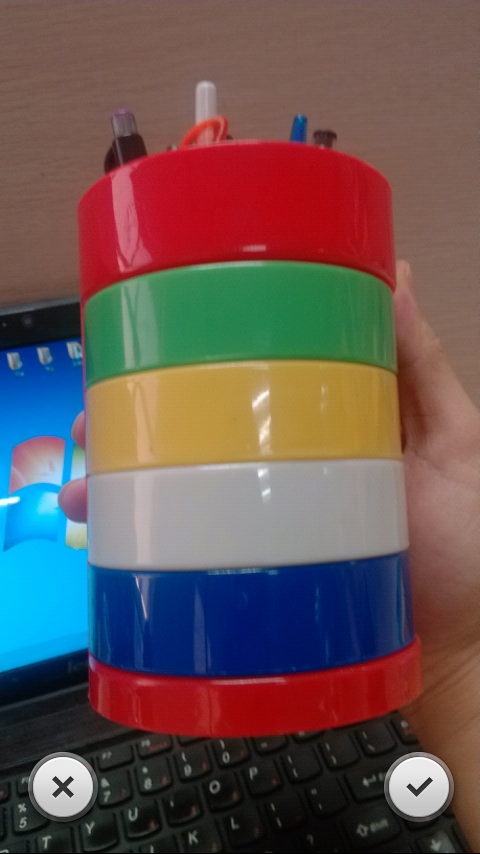
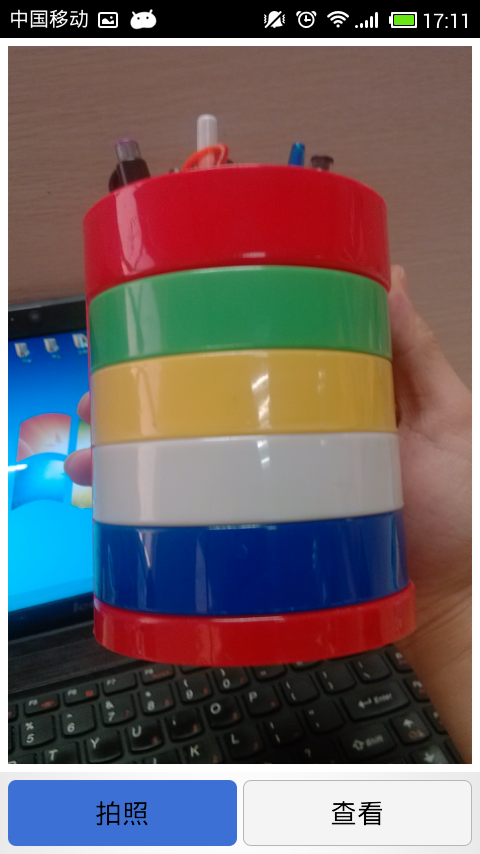
下面直接上代码,首先在Maintivity中,如下:
package com.example.android_camera.activity;

import java.io.File;
import java.util.Calendar;
import java.util.Locale;

import android.app.Activity;
import android.content.Intent;
import android.graphics.Bitmap;
import android.graphics.BitmapFactory;
import android.net.Uri;
import android.os.Bundle;
import android.provider.MediaStore;
import android.text.format.DateFormat;
import android.util.Log;
import android.view.View;
import android.view.View.OnClickListener;
import android.view.Window;
import android.widget.Button;
import android.widget.ImageView;
import android.widget.Toast;

import com.example.android_camera.R;
import com.example.android_camera.util.StorePhotos;


/**
 *
 * @author kk  调用系统相机拍摄,压缩后显示(防止图片过大加载中报OOM),并被保存到本地
 *
 */

public class MainActivity extends Activity {

    private ImageView imageview;

    private Button BtnPlay;

    private Button Btn_look;

    private String fileName="";

    @Override
    protected void onCreate(Bundle savedInstanceState) {
        super.onCreate(savedInstanceState);
        requestWindowFeature(Window.FEATURE_NO_TITLE);
        setContentView(R.layout.activity_main);

        initview();

        Linstener();
    }

    private void Linstener() {
        // TODO Auto-generated method stub
        BtnPlay.setOnClickListener(new OnClickListener() {

            @Override
            public void onClick(View v) {

                fileName=getPhotopath();

                Intent intent=new Intent(MediaStore.ACTION_IMAGE_CAPTURE);
                intent.putExtra(MediaStore.EXTRA_VIDEO_QUALITY, 1);
                File out = new File(fileName);
                Uri uri = Uri.fromFile(out);
                // 获取拍照后未压缩的原图片,并保存在uri路径中
                intent.putExtra(MediaStore.EXTRA_OUTPUT, uri);
                startActivityForResult(intent, 0);
            }


        });

        Btn_look.setOnClickListener(new OnClickListener() {

            @Override
            public void onClick(View v) {
                // TODO Auto-generated method stub
                Intent intent=new Intent(MainActivity.this,PictureListActivity.class);
                startActivity(intent);

            }
        });
    }

    private String getPhotopath() {
        // TODO Auto-generated method stub

        DateFormat df = new DateFormat();

         String name = df.format("yyyyMMdd_hhmmss",
                Calendar.getInstance(Locale.CHINA))
                + ".png";
        String fileName = "/sdcard/kkImage/" + name;
        File file = new File("/sdcard/kkImage/");
        if(!file.exists()){
            Log.e("TAG","第一次创建文件夹");
            file.mkdirs();// 如果文件夹不存在,则创建文件夹
        }

        return fileName;
    }

    private void initview() {
        // TODO Auto-generated method stub
        imageview=(ImageView) findViewById(R.id.ImageView);
        BtnPlay=(Button) findViewById(R.id.BtnPlay);
        Btn_look=(Button) findViewById(R.id.Btn_look);
    }

    @Override
    protected void onActivityResult(int requestCode, int resultCode, Intent data) {
        // TODO Auto-generated method stub
        if(requestCode==0){
             super.onActivityResult(requestCode, resultCode, data);

                Bitmap bitmap = getSmallBitmap(fileName);
                //这里是先压缩质量,再调用存储方法
                new StorePhotos(bitmap, fileName);
                imageview.setImageBitmap(bitmap);

        }
        else{
            Toast.makeText(this,"未拍摄照片!", Toast.LENGTH_SHORT).show();
        }
    }

     // 根据路径获得图片并压缩,返回bitmap用于显示
    public static Bitmap getSmallBitmap(String filePath) {
            final BitmapFactory.Options options = new BitmapFactory.Options();
            options.inJustDecodeBounds = true;//设置为ture,只读取图片的大小,不把它加载到内存中去
            BitmapFactory.decodeFile(filePath, options);

            // Calculate inSampleSize
        options.inSampleSize = calculateInSampleSize(options, 480, 800);//此处,选取了480x800分辨率的照片

            // Decode bitmap with inSampleSize set
        options.inJustDecodeBounds = false;//处理完后,同时需要记得设置为false

        return BitmapFactory.decodeFile(filePath, options);
        }

     //计算图片的缩放值
    public static int calculateInSampleSize(BitmapFactory.Options options,int reqWidth, int reqHeight) {
        final int height = options.outHeight;
        final int width = options.outWidth;
        int inSampleSize = 1;

        if (height > reqHeight || width > reqWidth) {
                 final int heightRatio = Math.round((float) height/ (float) reqHeight);
                 final int widthRatio = Math.round((float) width / (float) reqWidth);
                 inSampleSize = heightRatio < widthRatio ? heightRatio : widthRatio;
        }
            return inSampleSize;
    }
}
布局文件为:
<LinearLayout xmlns:android="http://schemas.android.com/apk/res/android"
    xmlns:tools="http://schemas.android.com/tools"
    android:layout_width="match_parent"
    android:layout_height="match_parent"
    android:orientation="vertical"
    tools:context="com.example.android_camera.activity.MainActivity" >

    <ImageView
        android:layout_weight="9"
        android:id="@+id/ImageView"
        android:layout_width="match_parent"
        android:layout_height="0dp"
        android:scaleType="fitXY"
        android:src="@drawable/carema_bg"
        android:padding="5dp"
        android:background="@android:color/white"
         />
    <LinearLayout
        android:layout_width="match_parent"
        android:layout_height="0dp"
        android:layout_weight="1"
        android:orientation="horizontal"
        android:padding="5dp"
        >
    <Button
        android:id="@+id/BtnPlay"
        android:layout_width="0dp"
        android:layout_weight="1"
        android:layout_height="match_parent"
        android:text="@string/BtnPlay"
        android:background="@drawable/btn_submit"
         />
    <Button
        android:id="@+id/Btn_look"
        android:layout_width="0dp"
        android:layout_weight="1"
        android:layout_height="match_parent"
        android:text="@string/Btn_look"
        android:background="@drawable/btn_submit2"
        android:layout_marginLeft="4dp"
        />
    </LinearLayout>
</LinearLayout>
从MainActivity中可以看出,当回调显示时,需要对图片进行压缩,然后再保存,用StorePhotos类如下:
package com.example.android_camera.util;

import java.io.File;
import java.util.ArrayList;
import java.util.List;

import android.content.Context;
import android.os.Environment;
import android.util.Log;

/**
 *
 * @author kk   获取SD卡中的图片路径,图片处理类
 *
 */

public class GetImagesPath {
    private Context mcontext;

    private static File[] files;

    private static List<String> pathList=new ArrayList<String>();

    public GetImagesPath(Context context) {

        this.mcontext=context;
    }

    public static List<String> Get(){

        //获得保存图片的文件夹
        File file=new File(Environment.getExternalStorageDirectory()
                .getAbsolutePath() + "/kkImage");
        //先判断是否为文件夹,以免后续操作出错
        if (file.isDirectory()) {
            files = new File(Environment.getExternalStorageDirectory()
                    .getAbsolutePath() + "/kkImage").listFiles();

            for (File filepath : files) {
                String path=filepath.getAbsolutePath();
                Log.e("TAG","图片的路径为:"+path);
                pathList.add(path);
            }
            return pathList;
        }

        return null;
    }

}
此时,当点击查看所有保存在本地的图片时,首先需要遍历图片所保存的文件夹,我这里保存的文件夹是“/sdcard/kkImage/“下,取到图片的所有路径(最好是绝对路径),然后用ListView把图片用列表的形式展示出来,那么重点来了,这么多图片的显示加载,极有可能发生OOM,因此需要对图片的加载进行相应的处理,相应代码如下:
1.获取图片路径代码
package com.example.android_camera.util;

import java.io.File;
import java.util.ArrayList;
import java.util.List;

import android.content.Context;
import android.os.Environment;
import android.util.Log;

/**
 *
 * @author kk   获取SD卡中的图片路径,图片处理类
 *
 */

public class GetImagesPath {
    private Context mcontext;

    private static File[] files;

    private static List<String> pathList=new ArrayList<String>();

    public GetImagesPath(Context context) {

        this.mcontext=context;
    }

    public static List<String> Get(){

        //获得保存图片的文件夹
        File file=new File(Environment.getExternalStorageDirectory()
                .getAbsolutePath() + "/kkImage");
        //先判断是否为文件夹,以免后续操作出错
        if (file.isDirectory()) {
            files = new File(Environment.getExternalStorageDirectory()
                    .getAbsolutePath() + "/kkImage").listFiles();

            for (File filepath : files) {
                String path=filepath.getAbsolutePath();
                Log.e("TAG","图片的路径为:"+path);
                pathList.add(path);
            }
            return pathList;
        }

        return null;
    }

}
2.弹窗展示具体图片信息dialog
package com.example.android.dialog;

import com.example.android_camera.R;

import android.app.Dialog;
import android.content.Context;
import android.graphics.Bitmap;
import android.os.Bundle;
import android.view.Display;
import android.view.Window;
import android.view.WindowManager;
import android.widget.ImageView;
import android.widget.TextView;

public class LargeImageDialog extends Dialog {

    private Context mcontext;

    private String path;

    private Bitmap bm;

    private ImageView dialog_img;

    private TextView dialog_text;

    public LargeImageDialog(Context context,String path,Bitmap bitmap) {
        super(context);
        this.mcontext=context;
        this.path=path;
        this.bm=bitmap;
    }

    @Override
    protected void onCreate(Bundle savedInstanceState) {
        // TODO Auto-generated method stub
        super.onCreate(savedInstanceState);
        requestWindowFeature(Window.FEATURE_NO_TITLE);
        this.setContentView(R.layout.img_dialog);

        bindView();
        init();
    }


    private void bindView() {
        // TODO Auto-generated method stub
        dialog_img=(ImageView) findViewById(R.id.dialog_img);

        dialog_text=(TextView) findViewById(R.id.dialog_text);

        Window dialogWindow=getWindow();
        WindowManager m =dialogWindow.getWindowManager();
        Display d = m.getDefaultDisplay(); // 获取屏幕宽、高用
        WindowManager.LayoutParams lp=dialogWindow.getAttributes();
        lp.width=(int) (d.getWidth()*0.9);//设置为屏幕宽度的0.9
        lp.height=(int) (d.getHeight()*0.9);//设置为屏幕高度的0.9
        dialogWindow.setAttributes(lp);
    }

    private void init() {
        dialog_img.setImageBitmap(bm);
        dialog_text.setText("图片存储路径为:"+path);
    }

}
此时,一个相机拍照,压缩存储,列表查看,详细信息的小demo就已经呼之欲出了,我这里只是把一些相关的代码列出来,在下面我会把Demo的下载链接添加上,供朋友们参考,不足的地方还请留言指正 0.0
噢,还有个重要又常被忘记的一点,记得添加相应的权限:
 <!-- 在SDCard中创建与删除文件权限 -->
    <uses-permission android:name="android.permission.MOUNT_UNMOUNT_FILESYSTEMS" />
    <!-- 往SDCard写入数据权限 -->
    <uses-permission android:name="android.permission.WRITE_EXTERNAL_STORAGE" />
    <!-- 读取SDCard中的数据权限 -->
    <uses-permission android:name="android.permission.READ_EXTERNAL_STORAGE" />

    <uses-feature android:name="android.hardware.camera" />
    <uses-feature android:name="android.hardware.camera.autofocus" />
好了,everything is ok!


 8386
8386

 被折叠的 条评论
为什么被折叠?
被折叠的 条评论
为什么被折叠?
 到【灌水乐园】发言


