


发布服务
一、构建项目 webservice-server
(注:我这里是采用maven构建的web项目)
过程略
二、编写服务
HelloWorldService
import java.util.Date;

import javax.jws.WebMethod;
import javax.jws.WebParam;
import javax.jws.WebResult;
import javax.jws.WebService;
import javax.jws.soap.SOAPBinding;

@WebService
@SOAPBinding(style = SOAPBinding.Style.RPC)
public interface HelloWorldService {

    @WebMethod
    String say();

    @WebMethod
    String sayHello(@WebParam(name = "name") String name);

    @WebMethod
    @WebResult(name = "valid")
    int checkTime(@WebParam(name = "clientTime") Date clientTime);
}
HelloWorldServiceImpl
import java.text.SimpleDateFormat;
import java.util.Date;

import javax.jws.WebService;
import javax.jws.soap.SOAPBinding;

import org.jaxws.api.HelloWorldService;

@WebService(endpointInterface = "org.jaxws.api.HelloWorldService")
@SOAPBinding(style = SOAPBinding.Style.RPC)
public class HelloWorldServiceImpl implements HelloWorldService{

    @Override
    public String say() {
        System.out.println("hello world!");
        return "hello world!";
    }

    @Override
    public String sayHello(String name) {
        System.out.println("hello " + name + "!");
        return "hello " + name + "!";
    }

    @Override
    public int checkTime(Date clientTime) {
        // 精确到秒
        String dateServer = new java.sql.Date(System.currentTimeMillis()).toString() + " " + new java.sql.Time(System.currentTimeMillis());
        String dateClient = new SimpleDateFormat("yyyy-MM-dd HH:mm:ss").format(clientTime);
        return dateServer.equals(dateClient) ? 1 : 0;
    }
}
这里有两种发布方式:
1)Endpoint.publish
import javax.xml.ws.Endpoint;
import org.jaxws.service.impl.HelloWorldServiceImpl;
public class Main {
/**
* 发布webservice(方法一)
*/
public static void main(String[] args) {
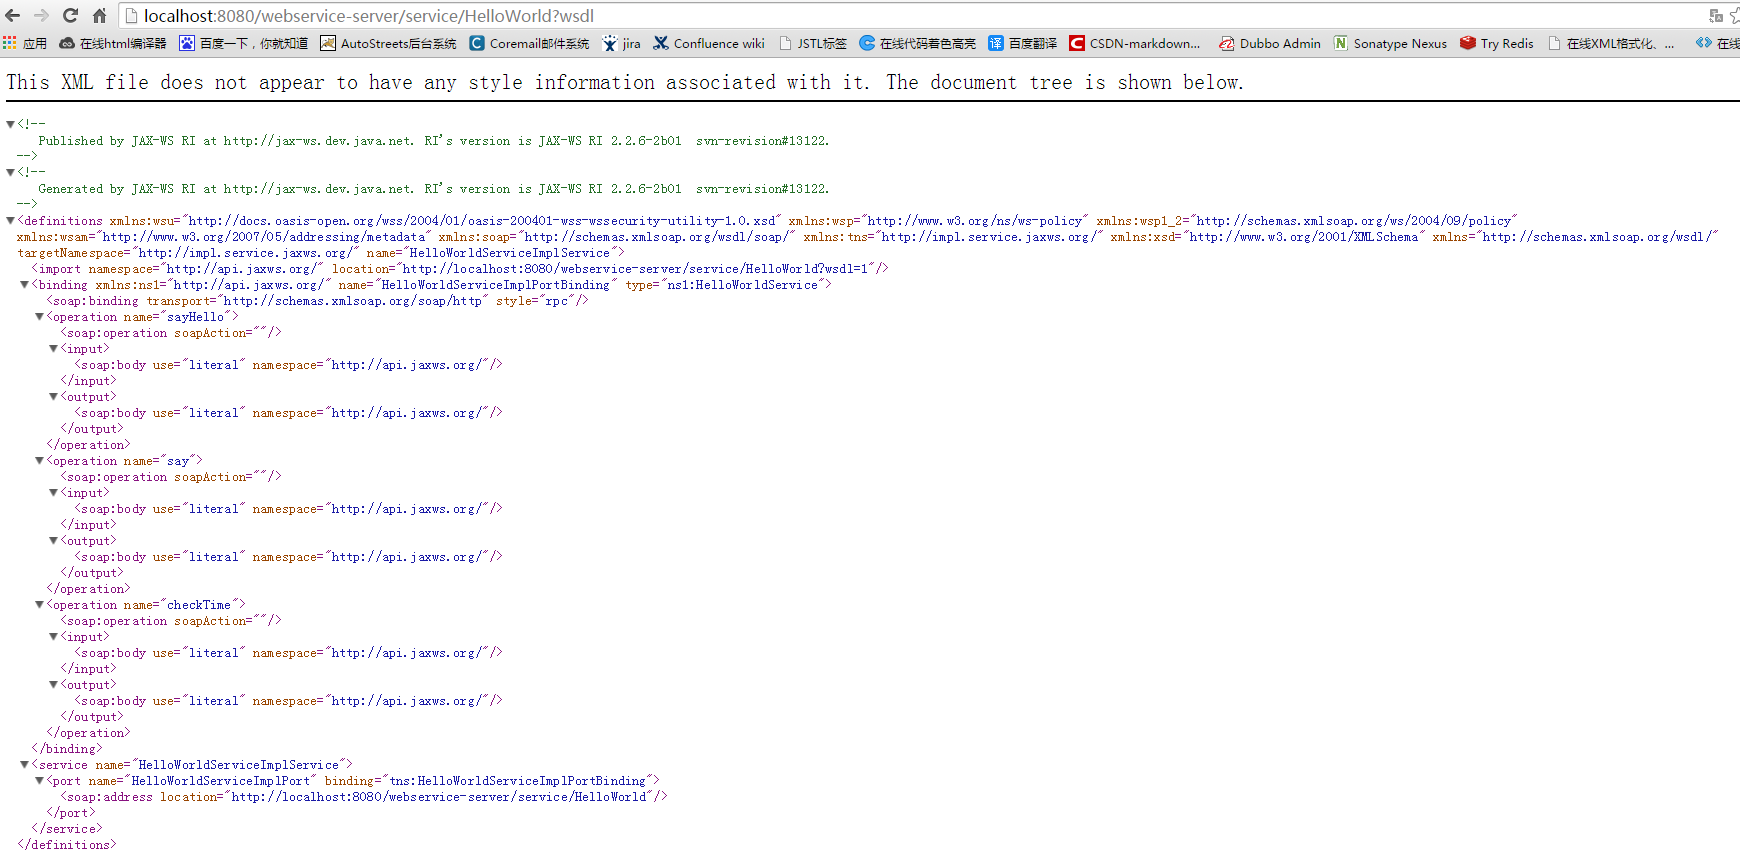
Endpoint.publish("http://localhost:8080/webservice-server/service/HelloWorld?wsdl", new HelloWorldServiceImpl());
}
}运行即可,然后访问 http://localhost:8080/webservice-server/service/HelloWorld?wsdl (注:localhost 设置为 localhost 则只能本机访问)查看是否成功,成功如图:
2)Servlet
sun-jaxws.xml
<?xml version="1.0" encoding="UTF-8"?>
<endpoints xmlns="http://java.sun.com/xml/ns/jax-ws/ri/runtime"
    version="2.0">
<endpoint name="HelloWorldService"
        implementation="org.jaxws.service.impl.HelloWorldServiceImpl"
        url-pattern="/service/HelloWorld" />
</endpoints>
web.xml
<?xml version="1.0" encoding="UTF-8"?>
<web-app version="3.0" xmlns="http://java.sun.com/xml/ns/javaee"
  xmlns:xsi="http://www.w3.org/2001/XMLSchema-instance"
  xsi:schemaLocation="http://java.sun.com/xml/ns/javaee
  http://java.sun.com/xml/ns/javaee/web-app_3_0.xsd">

  <display-name>Archetype Created Web Application</display-name>

  <listener>
      <listener-class>
          com.sun.xml.ws.transport.http.servlet.WSServletContextListener
      </listener-class>
  </listener>

  <servlet>
    <servlet-name>HelloWorldService</servlet-name>
    <servlet-class>
        com.sun.xml.ws.transport.http.servlet.WSServlet
    </servlet-class>
  </servlet>
  <servlet-mapping>
    <servlet-name>HelloWorldService</servlet-name>
    <url-pattern>/service/HelloWorld</url-pattern>
  </servlet-mapping>

</web-app>
pom.xml
(注:下面是使用servlet发布需要用到的依赖包)
<dependency>
<groupId>javax.xml.ws</groupId>
<artifactId>jaxws-api</artifactId>
<version>2.2.8</version>
<type>jar</type>
<scope>compile</scope>
</dependency>
<dependency>
<groupId>com.sun.xml.ws</groupId>
<artifactId>jaxws-rt</artifactId>
<version>2.2.6-2</version>
<type>jar</type>
<scope>compile</scope>
</dependency>
<dependency>
<groupId>org.glassfish.gmbal</groupId>
<artifactId>gmbal-api-only</artifactId>
<version>3.2.0-b003</version>
<type>jar</type>
<scope>compile</scope>
</dependency>
<dependency>
<groupId>org.glassfish.external</groupId>
<artifactId>management-api</artifactId>
<version>3.1.0-b001</version>
<type>jar</type>
<scope>compile</scope>
</dependency>
<dependency>
<groupId>org.jvnet.staxex</groupId>
<artifactId>stax-ex</artifactId>
<version>1.7</version>
<type>jar</type>
<scope>compile</scope>
</dependency>
<dependency>
<groupId>com.sun.xml.stream.buffer</groupId>
<artifactId>streambuffer</artifactId>
<version>1.5</version>
<type>jar</type>
<scope>compile</scope>
</dependency>
<dependency>
<groupId>com.sun.xml.ws</groupId>
<artifactId>policy</artifactId>
<version>2.3.1</version>
<type>jar</type>
<scope>compile</scope>
</dependency>
<dependency>
<groupId>com.sun.xml.bind</groupId>
<artifactId>jaxb-impl</artifactId>
<version>2.2.5</version>
<type>jar</type>
<scope>compile</scope>
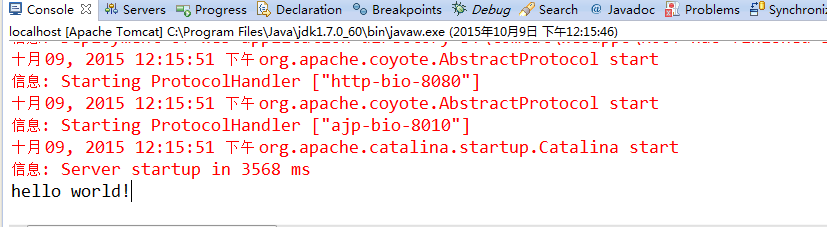
</dependency>加载到tomcat运行,然后访问 http://localhost:8080/webservice-server/service/HelloWorld?wsdl 查看是否成功,地址根据你的 servlet 配置而定。
调用访问
一、基础方式
该种方式需要引用发布服务的 API 来使用 (注:我重新写了一份 API,代称 NEW API,使用该方法引用 NEW API 无效,会报错)
import java.net.MalformedURLException;
import java.net.URL;

import javax.xml.namespace.QName;
import javax.xml.ws.Service;

import org.jaxws.api.HelloWorldService;


public class TestClient {

    public static void main(String[] args) {

        try {
             //创建访问WSDL服务地址的URL
             URL url = new URL("http://localhost:8080/webservice-server/service/HelloWorld?wsdl");
             //通过QName指明服务的具体信息
             QName sname = new QName("http://impl.service.jaxws.org/", "HelloWorldServiceImplService");
             //创建服务
             Service service = Service.create(url, sname);
             //实现接口
             HelloWorldService ms = service.getPort(HelloWorldService.class);
             ms.say();
             ms.sayHello("asd");
             //以上服务有问题,依然依赖于IMyService接口
        } catch (MalformedURLException e) {
            e.printStackTrace();
        }

    }

}
二、远程访问
这里我使用 spring 集成方法来调用 JAX-WS。springmvc 等配置忽略。
spring-jaxws.xml
<?xml version="1.0" encoding="UTF-8"?>
<beans xmlns="http://www.springframework.org/schema/beans"
    xmlns:xsi="http://www.w3.org/2001/XMLSchema-instance" xmlns:context="http://www.springframework.org/schema/context"
    xmlns:aop="http://www.springframework.org/schema/aop" xmlns:tx="http://www.springframework.org/schema/tx"
    xmlns:util="http://www.springframework.org/schema/util"
    xsi:schemaLocation="http://www.springframework.org/schema/beans
        http://www.springframework.org/schema/beans/spring-beans.xsd
        http://www.springframework.org/schema/context
        http://www.springframework.org/schema/context/spring-context.xsd
        http://www.springframework.org/schema/aop
        http://www.springframework.org/schema/aop/spring-aop.xsd
        http://www.springframework.org/schema/tx
        http://www.springframework.org/schema/tx/spring-tx.xsd
        http://www.springframework.org/schema/util
        http://www.springframework.org/schema/util/spring-util.xsd">

    <util:properties id="jaxwsProperties" location="classpath:jaxws.properties" />
    <context:property-placeholder properties-ref="jaxwsProperties" ignore-unresolvable="true" />

    <bean id="helloWorldService" class="org.springframework.remoting.jaxws.JaxWsPortProxyFactoryBean">
        <property name="serviceInterface" value="org.jaxws.webservice.HelloWorldService" />
        <property name="wsdlDocumentUrl" value="${jaxws.wsdl.url}" />
        <property name="namespaceUri" value="http://impl.service.jaxws.org/" />
        <property name="serviceName" value="HelloWorldServiceImplService" />
        <property name="portName" value="HelloWorldServiceImplPort" />
    </bean>

</beans>
jaxws.properties
jaxws.wsdl.url=http://localhost:8080/webservice-server/service/HelloWorld?wsdl重写接口 HelloWorldService
import java.util.Date;

import javax.jws.WebService;
import javax.jws.soap.SOAPBinding;

@WebService(name = "HelloWorldServiceImplService", targetNamespace = "http://impl.service.jaxws.org/")
@SOAPBinding(style = SOAPBinding.Style.RPC)
public interface HelloWorldService {

    String say();

    String sayHello(String name);

    int checkTime( Date clientTime);
}
测试:
BaseSpringTest
import org.junit.runner.RunWith;
import org.springframework.test.context.ContextConfiguration;
import org.springframework.test.context.junit4.SpringJUnit4ClassRunner;

@RunWith(SpringJUnit4ClassRunner.class)
@ContextConfiguration(locations = {"classpath:META-INF/spring/spring-mvc.xml","classpath:META-INF/spring/spring-jaxws.xml"})
public abstract class BaseSpringTest {
}
TestJaxwsService
import org.jaxws.webservice.HelloWorldService;
import org.junit.Test;
import org.springframework.beans.factory.annotation.Autowired;
import org.test.BaseSpringTest;
public class TestJaxwsService extends BaseSpringTest{
@Autowired
private HelloWorldService helloWorldService;
@Test
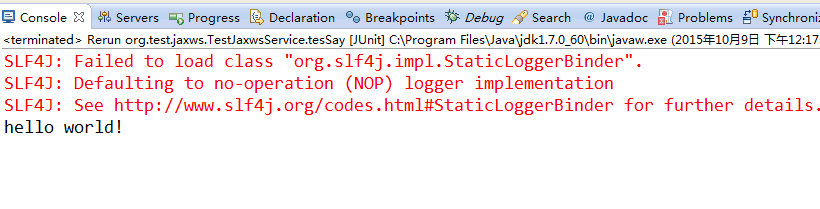
public void tesSay() {
System.out.println(helloWorldService.say());
}
}运行结果:
具体代码地址:webservice-jaxws-demo


 4467
4467


 被折叠的 条评论
为什么被折叠?
被折叠的 条评论
为什么被折叠?
 到【灌水乐园】发言


