


一 更新rpm软件包
- 在安装之前需要更新我们linux的rpm软件包,下载地址
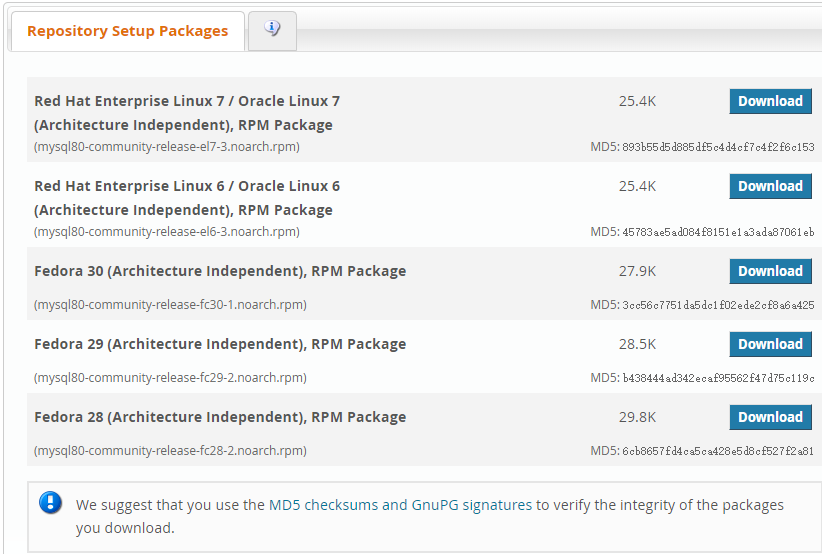
- 这里需要辨别我们使用的系统是Linux6还是Linux7,在bash中执行如下命令
lsb_release -a
可见本机版本为[root@iz8vb7sribf5t1bdc956nxz wordpress]# lsb_release -a LSB Version: :core-4.1-amd64:core-4.1-noarch Distributor ID: CentOS Description: CentOS Linux release 7.4.1708 (Core) Release: 7.4.1708 Codename: Core7.4.1708 - 下载对应版本的
rpm包wget https://repo.mysql.com//mysql80-community-release-el7-3.noarch.rpm - 安装rpm包
sudo yum localinstall mysql80-community-release-el7-3.noarch.rpm[root@iz8vb7sribf5t1bdc956nxz mysql_yum_source]# sudo yum localinstall mysql80-community-release-el7-3.noarch.rpm Loaded plugins: fastestmirror Examining mysql80-community-release-el7-3.noarch.rpm: mysql80-community-release-el7-3.noarch Marking mysql80-community-release-el7-3.noarch.rpm to be installed Resolving Dependencies --> Running transaction check ---> Package mysql80-community-release.noarch 0:el7-3 will be installed --> Finished Dependency Resolution - 通过以下命令检查是否已成功添加MySQL Yum存储库:
yum repolist enabled | grep "mysql.*-community.*"[root@iz8vb7sribf5t1bdc956nxz mysql_yum_source]# yum repolist enabled | grep "mysql.*- community.*" mysql-connectors-community/x86_64 MySQL Connectors Community 118 mysql-tools-community/x86_64 MySQL Tools Community 95 mysql80-community/x86_64 MySQL 8.0 Community Server 129
二 选择发行系列
- 默认情况下,如果直接安装,默认启用最新GA系列,(当前为
MySQL 8.0),所以需要修改默认值,启用我们想安装的版本 - 使用
yum repolist all | grep mysql查看禁用和用状态[root@iz8vb7sribf5t1bdc956nxz mysql_yum_source]# yum repolist all | grep mysql mysql-cluster-7.5-community/x86_64 MySQL Cluster 7.5 Community disabled ..... mysql-cluster-8.0-community/x86_64 MySQL Cluster 8.0 Community disabled mysql-cluster-8.0-community-source MySQL Cluster 8.0 Community - disabled mysql-connectors-community/x86_64 MySQL Connectors Community enabled: 118 mysql-connectors-community-source MySQL Connectors Community - disabled mysql-tools-community/x86_64 MySQL Tools Community enabled: 95 mysql-tools-community-source MySQL Tools Community - Sourc disabled ... mysql80-community/x86_64 MySQL 8.0 Community Server enabled: 129 mysql80-community-source MySQL 8.0 Community Server - disableddisabled禁用,enabled启用 - 假如我们现在需要安装
mysql5.6,就需要禁止mysql8.0,执行如下命令- 安装命令支持包yum-utils:
yum -y install yum-utils - 禁用mysql8.0 :
sudo yum-config-manager --disable mysql80-community - 启用mysql5.6:
sudo yum-config-manager --enable mysql56-community - 再使用如下命令检查是否切换成功:
yum repolist enabled | grep mysql[root@iz8vb7sribf5t1bdc956nxz mysql_yum_source]# yum repolist enabled | grep mysql mysql-connectors-community/x86_64 MySQL Connectors Community 118 mysql-tools-community/x86_64 MySQL Tools Community 95 mysql56-community/x86_64 MySQL 5.6 Community Server 479
- 安装命令支持包yum-utils:
三 安装MySQL
- 通过以下命令安装MySQL:
sudo yum install mysql-community-server- 这将安装MySQL服务器的软件包(mysql-community-server)以及运行服务器所需的组件的软件包,包括客户端的软件包(mysql-community-client),客户端和服务器的常见错误消息和字符集(mysql-community-common)以及共享的客户端库(mysql-community-libs)。 。
- 启动并验证MySQL服务器
- 开启服务:
sudo service mysqld start - 查看服务运行状态:
sudo service mysqld status[root@iz8vb7sribf5t1bdc956nxz mysql_yum_source]# service mysqld status Redirecting to /bin/systemctl status mysqld.service ● mysqld.service - MySQL Community Server Loaded: loaded (/usr/lib/systemd/system/mysqld.service; enabled; vendor preset: disabled) Active: active (running) since Thu 2019-09-26 11:16:29 CST; 26s ago Process: 10832 ExecStartPost=/usr/bin/mysql-systemd-start post (code=exited, status=0/SUCCESS) Process: 10772 ExecStartPre=/usr/bin/mysql-systemd-start pre (code=exited, status=0/SUCCESS) Main PID: 10831 (mysqld_safe)
- 开启服务:
四 初始化mysql账户
- 刚创建数据库,root是没有密码的,我们可以直接登录,执行如下操作
mysql -u root - 查看此时数据库的所有账户和密码
mysql> SELECT User, Host, Password FROM mysql.user; +------+-------------------------+----------+ | User | Host | Password | +------+-------------------------+----------+ | root | localhost | | | root | iz8vb7sribf5t1bdc956nxz | | | root | 127.0.0.1 | | | root | ::1 | | | | localhost | | | | iz8vb7sribf5t1bdc956nxz | | +------+-------------------------+----------+ 6 rows in set (0.00 sec) - 分配root帐户密码,使用如下命令哪个版本都可以使用
UPDATE mysql.user SET Password = PASSWORD('yourpassword') WHERE User = 'root';- 刷新权限:
FLUSH PRIVILEGES;
- 为了安全性,我们一般都会删除匿名账户
DROP USER ''@'localhost';
DROP USER ''@'host_name'; - 默认情况下,该mysql.db表包含允许任何用户访问test 名称以开头的数据库和其他数据库的行 test_,我们将这些库删除
DELETE FROM mysql.db WHERE Db LIKE 'test%';
DROP DATABASE test; - 我们希望外网连接mysql数据库,执行如下命令
grant all privileges on *.* to root@"%" identified by "password" flush privileges;-
第一行:
A.*.*: 第一个*表示数据库,第二个*表示数据表,*.*表示所有数据库中的所有表,用户可以根据自己的应用给特定的数据库授权。
B.root@"%": root表示给root帐号授权,"%"中%号可以指定用户的IP,%表示任意的IP都可以访问。
C."password": 是帐户对应的密码,这里是root密码 -
第二行:
刷新授权信息,使授权设置立即生效
-
- 参考地址:mysql官网


 521
521


 被折叠的 条评论
为什么被折叠?
被折叠的 条评论
为什么被折叠?
 到【灌水乐园】发言


