


Vue项目介绍
首先是创建,可以用命令行
即
vue create xxxx
或者UI界面
(安装Vue CIL,如果已安装,此步忽略)
npm install -g @vue/cli
安装成功后如图

1.首先cmd随便进入一个文件夹:

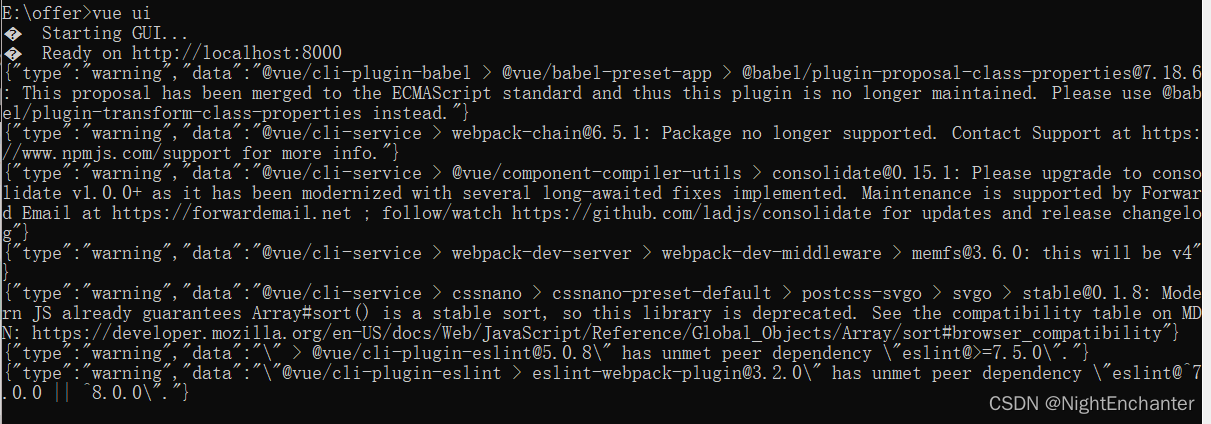
2.cmd中接着输入 vue ui即可

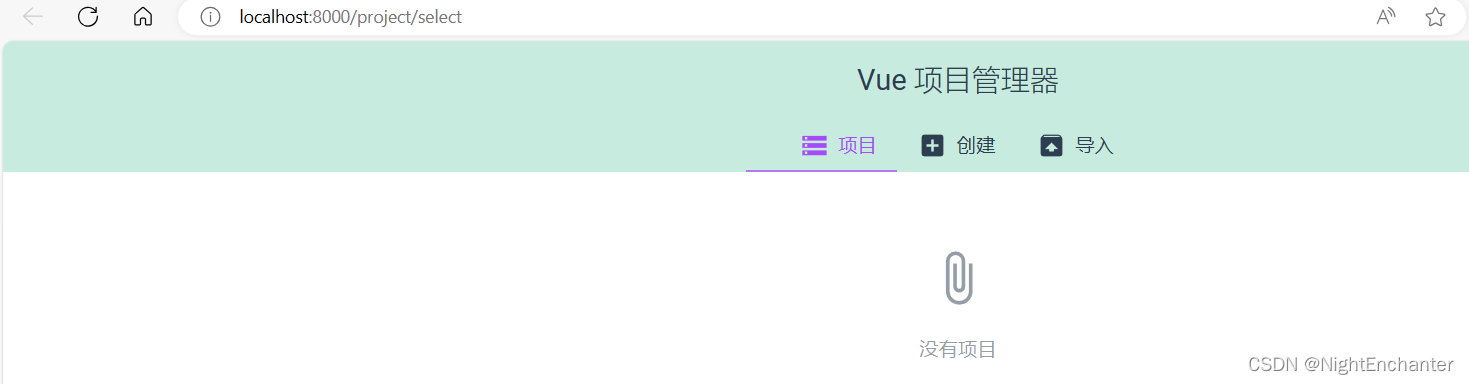
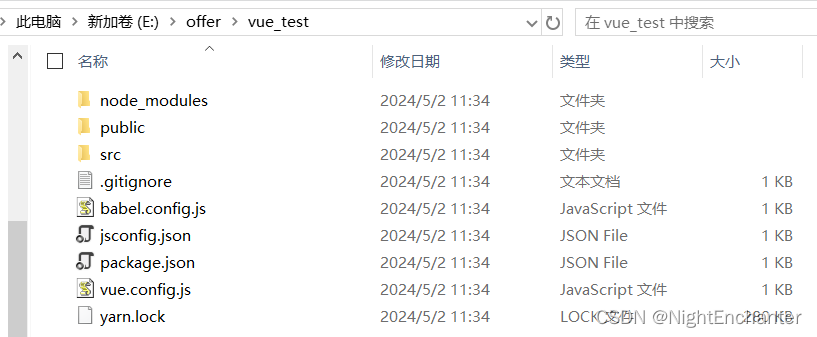
接着点创建项目,补充相关信息选项后即可,相应的cmd和文件夹也会变化
Vue目录结构
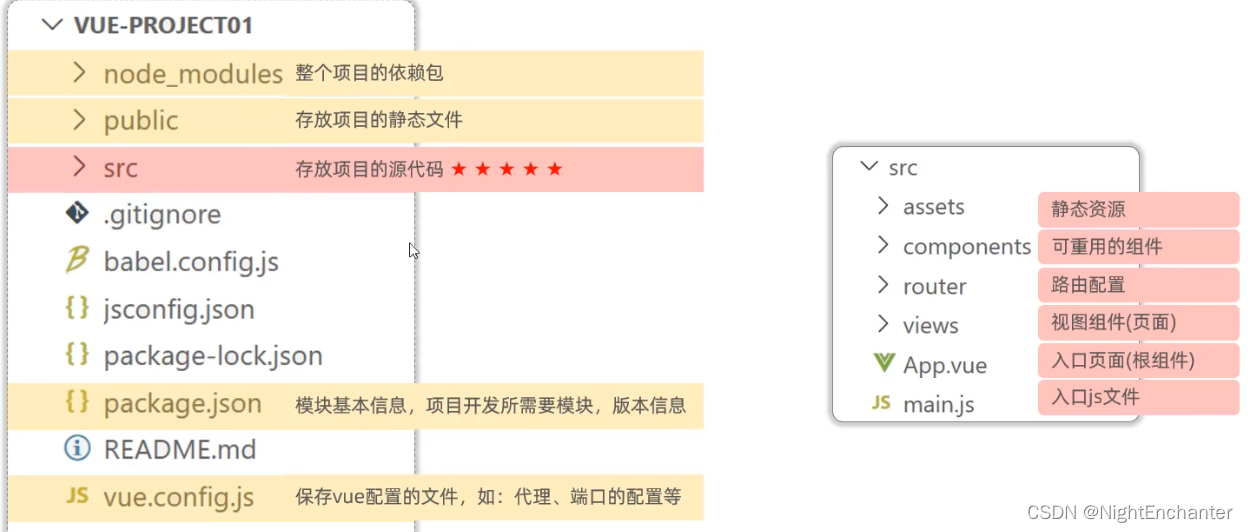
更详细的Vue目录结构介绍如下:
vue_project/
├── public/
│   ├── index.html           # 入口 HTML 文件
│   └── favicon.ico          # 网站图标
├── src/
│   ├── assets/              # 资源文件夹,如图片、字体等
│   ├── components/          # 组件文件夹
│   │   ├── HelloWorld.vue   # 示例组件
│   ├── views/               # 页面级组件文件夹
│   │   ├── Home.vue         # 示例页面组件
│   ├── router/              # 路由配置文件夹
│   │   └── index.js         # 路由配置文件
│   ├── store/               # 状态管理文件夹
│   │   ├── index.js         # 状态管理入口文件
│   │   ├── mutations.js     # mutations 定义
│   │   ├── actions.js       # actions 定义
│   │   └── getters.js       # getters 定义
│   ├── styles/              # 样式文件夹,如 CSS、Sass、Less 等
│   │   └── main.scss        # 主样式文件
│   ├── utils/               # 工具函数文件夹
│   │   └── api.js           # API 请求封装
│   ├── App.vue              # 根组件
│   └── main.js              # 入口 JavaScript 文件
├── .babelrc                 # Babel 配置文件
├── .eslintrc.js             # ESLint 配置文件
├── vue.config.js            # Vue CLI 配置文件
└── package.json             # 项目配置文件
Vue项目启动
某马总结的很好,这里一图以盖之:

Vue开发流程
1.初始化项目:使用 Vue CLI 初始化一个新的 Vue 项目。
vue create my-project
cd my-project
2.编写和组织组件:在 src/components/ 目录下编写各种 Vue 组件,比如 HelloWorld.vue:
<!-- HelloWorld.vue -->
<template>
  <div class="hello-world">
    <h1>{{ greeting }}</h1>
    <button @click="changeGreeting">Change Greeting</button>
  </div>
</template>

<script>
export default {
  data() {
    return {
      greeting: 'Hello, World!'
    };
  },
  methods: {
    changeGreeting() {
      this.greeting = 'Bonjour, le monde!';
    }
  }
};
</script>

<style scoped>
.hello-world {
  font-size: 24px;
}
</style>
3.配置路由:在 src/router/ 目录下配置路由,比如 index.js:
// src/router/index.js
import { createRouter, createWebHistory } from 'vue-router';
import Home from '../views/Home.vue';

const routes = [
  {
    path: '/',
    name: 'Home',
    component: Home
  }
];

const router = createRouter({
  history: createWebHistory(process.env.BASE_URL),
  routes
});

export default router;
4.管理状态:在 src/store/ 目录下使用 Vuex (最重要的一点,vuex存的数据是响应式的,即当数据改变后,Vue会通知到使用该数据的代码,从而使视图自动更新)来管理应用的全局状态,比如 index.js:
**// src/store/index.js
import { createStore } from 'vuex';

export default createStore({
  state: {
    count: 0
  },
  mutations: {
    increment(state) {
      state.count++;
    }
  },
  actions: {
    incrementAsync({ commit }) {
      setTimeout(() => {
        commit('increment');
      }, 1000);
    }
  },
  getters: {
    doubleCount(state) {
      return state.count * 2;
    }
  }
});
5.处理样式:在 src/styles/ 目录下编写样式文件,比如 main.scss:
// src/styles/main.scss
body {
  font-family: Arial, sans-serif;
  background-color: #f0f0f0;
}
6.处理数据请求:在 src/utils/ 目录下封装 API 请求函数,比如 api.js:
// src/utils/api.js
import axios from 'axios';

const API_BASE_URL = 'https://api.example.com';

export const fetchData = async () => {
  try {
    const response = await axios.get(`${API_BASE_URL}/data`);
    return response.data;
  } catch (error) {
    console.error('Error fetching data:', error);
    throw error;
  }
};
7.调试和测试,编写测试用例并进行测试,使用浏览器F12等工具进行调试。
8.打包:使用 npm run build 命令将项目打包成署所需的文件
npm run build


 1595
1595


 被折叠的 条评论
为什么被折叠?
被折叠的 条评论
为什么被折叠?
 到【灌水乐园】发言


