


> 一年前的笔记了,现在发出来,哈哈哈
vue-cli只是了解一些,今天在github上下载了一个SpringBoot+Mybatis+Vue的项目,而我上个月刚把SpringBoot+Mybatis搞完,而这个项目目前只上传了前端vue的源码,那我就拿来练练手。
之前写了一个博客的SpringBoot案例(只有后端)
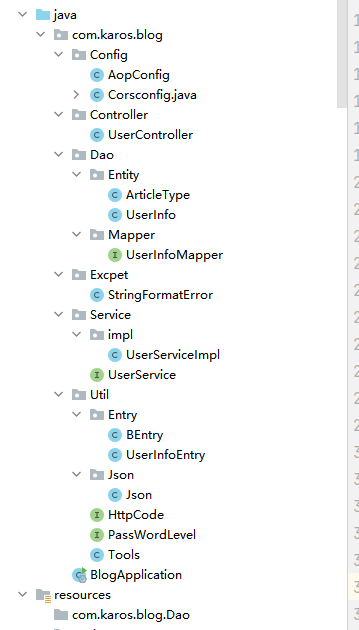
刚好登录功能上可以和前端项目进行对接,这个前端项目是一个bbs,我先把借鉴的github项目放上来,大家也可以支持这位作者一波:a-jingchao/bbs-forum-system (github.com)
好了正题开始:
在前后端对接的时候遇到了这个问题

查了一下,就是跨域问题,主要的原因应该是我前端vue-cli占用了8080端口,而我后端用的是8081端口
这里说下解决方法(前后端一方完成就可以了):
前端 vue-cli
建议配置下axios
axios.defaults.baseURL = “/api”;然后vue-cli修改vue.config.js
代码:
/**
 * 解决跨域问题
 * @type {
 *          {
 *          devServer: {
 *              proxy: {
 *              "/api": {
 *                  changeOrigin: boolean,
 *                  pathRewrite: {
 *                      "^/api": string
 *                      },
 *                  target: string
 *                  }
 *              },
 *            host: string,
 *            open: boolean
 *            }
 *          }
 *        }
 */
module.exports = {
    devServer: {
        host: 'localhost',
        open: true, // 自动打开浏览器
        // 代理配置表,在这里可以配置特定的请求代理到对应的API接口
        // 例如将'localhost:8080/api/xxx'代理到'www.example.com/api/xxx'
        proxy: {
            '/api': { // 匹配所有以 '/api'开头的请求路径
                target: 'http://localhost:8081', // 代理目标的基础路径
                // secure: false,  // 如果是https接口,需要配置这个参数
                changeOrigin: true, // 支持跨域
                pathRewrite: { // 重写路径: 去掉路径中开头的'/api'
                    '^/api': ''
                }
            }
        }
    }
}
后端 SpringMVC | SpringBoot
写一个配置类实现WebMVCConfigurer接口并重写addCorsMappings方法
import org.springframework.context.annotation.Configuration;
import org.springframework.web.servlet.config.annotation.CorsRegistry;
import org.springframework.web.servlet.config.annotation.WebMvcConfigurer;

/**
 * 解决跨域问题
 */
@Configuration
class CorsConfig implements WebMvcConfigurer {

    @Override
    public void addCorsMappings(CorsRegistry registry) {
        // 设置允许跨域的路径
        registry.addMapping("/**")
        // 设置允许跨域请求的域名
         .allowedOrigins("*")
        // 是否允许证书
        .allowCredentials(true)
        // 设置允许的方法
        .allowedMethods("GET", "POST", "DELETE", "PUT")
        // 设置允许的header属性
        .allowedHeaders("*")
         // 跨域允许时间
        .maxAge(3600);

    }
}
这样就可以了,可以直接cv过去
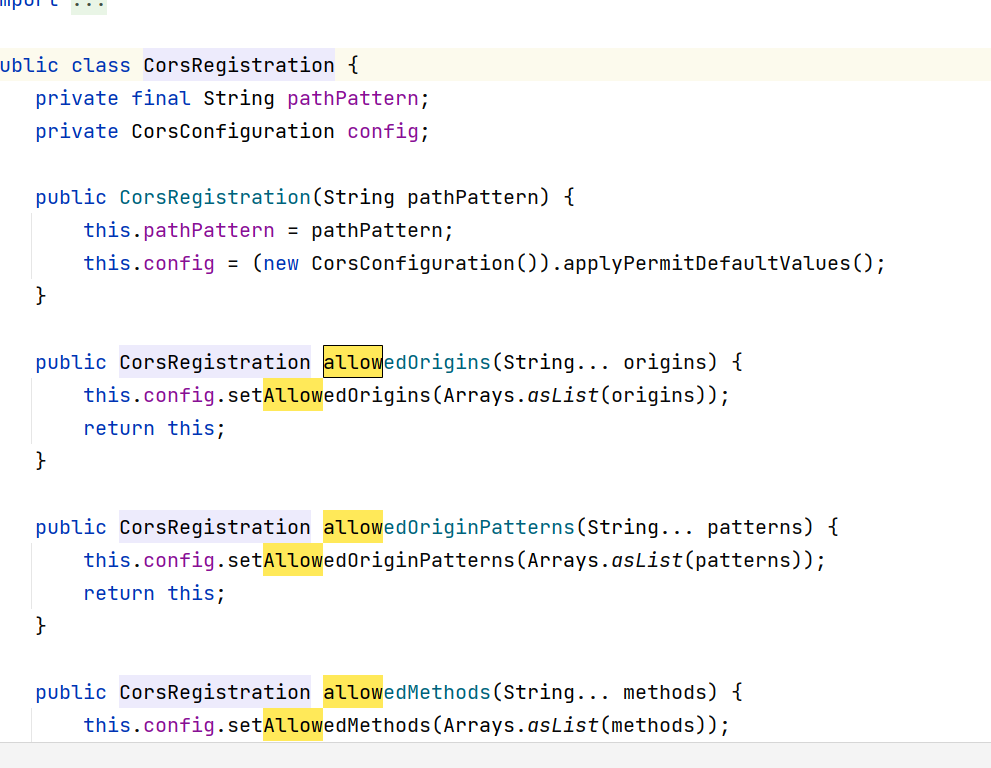
除了设置跨域路径外,另外几个函数的设置顺序可以任意,因为这五个函数都在CorsRegistration类中,每个返回的都是this(又是一个小技巧)
但是使用此方法配置之后再使用自定义拦截器时跨域相关配置就会失效。
原因是请求经过的先后顺序问题,当请求到来时会先进入拦截器中,而不是进入Mapping映射中,所以返回的头信息中并没有配置的跨域信息。浏览器就会报跨域异常。
后端最优的办法
这个时候就应该使用过滤器
@Configuration
public class CorsConfig {

    private CorsConfiguration corsConfig() {
        CorsConfiguration corsConfiguration = new CorsConfiguration();
        corsConfiguration.addAllowedOrigin("*");
        corsConfiguration.addAllowedHeader("*");
        corsConfiguration.addAllowedMethod("*");
        corsConfiguration.setAllowCredentials(true);
        corsConfiguration.setMaxAge(3600L);
        return corsConfiguration;
    }
    @Bean
    public CorsFilter corsFilter() {
        UrlBasedCorsConfigurationSource source = new UrlBasedCorsConfigurationSource();
        source.registerCorsConfiguration("/**", corsConfig());
        return new CorsFilter(source);
    }
}
有什么地方写的不对希望各位大佬指出


 1万+
1万+


 被折叠的 条评论
为什么被折叠?
被折叠的 条评论
为什么被折叠?
 到【灌水乐园】发言


