


1、安装vue-router
npm install vue-router@4
2、在根目录下创建 /src/router/index.js文件,存放路由信息
创建一个router实例,routes里包含各个路由,名称以及组件存放路径
路由模式:history,直接指向history对象,它表示当前窗口的浏览历史,history对象保存了当前窗口 访问过的所有页面网址。URL中没有#,可能更好看点。
import { createRouter, createWebHashHistory } from "vue-router";
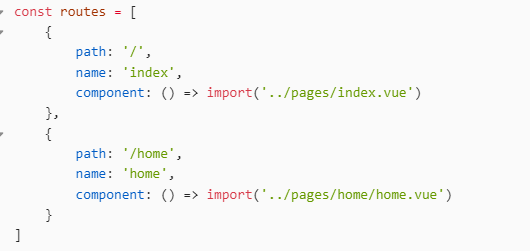
const routes = [
{
path: '/',
name: 'index',
component: () => import('../pages/index.vue')
},
{
path: '/home',
name: 'home',
component: () => import('../pages/home/home.vue')
}
]
const router = createRouter({
history: createWebHashHistory(),
routes
})
export default router
接着在main.js里注册路由器。
import { createApp } from "vue";
import App from './App.vue';
import router from './router' // 第一步

const app = createApp(App);
app.use(router)              // 第二步
app.mount('#app')
3、创建 src/pages/index/index.vue 和 src/pages/home/index.vue 两个vue的页面。
这两个页面在之前已经配置。
我们先给两个vue文件稍微添加点内容。
<template>
    <div>我是index页面的内容!</div>
</template>

<script setup>

</script>

<style scoped>

</style>
<template>
    <div>我是home页面的内容!</div>
</template>

<script setup>

</script>

<style scoped>

</style>
咋们修改一下App.vue的内容
<template>
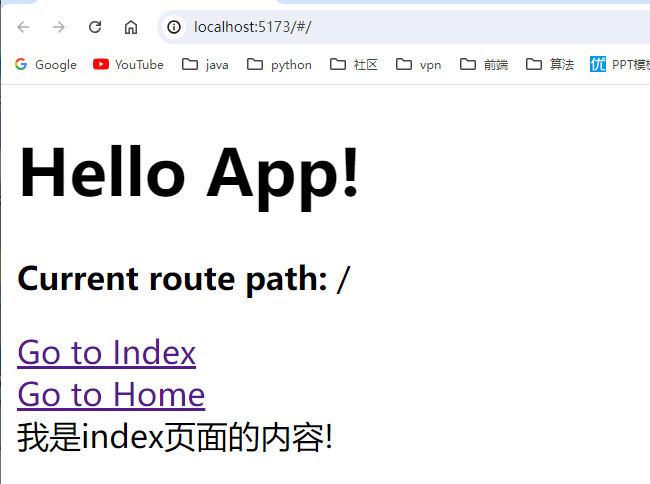
<h1>Hello App!</h1>
<p>
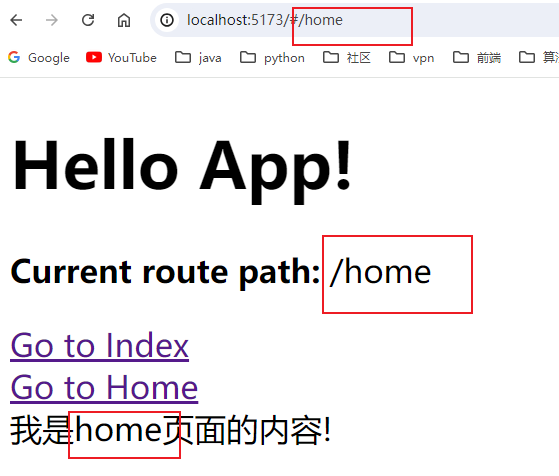
<strong>Current route path:</strong> {{ $route.fullPath }}
</p>
<nav>
<RouterLink to="/">Go to Index</RouterLink>
<RouterLink to="/home">Go to Home</RouterLink>
</nav>
<main>
<RouterView />
</main>
</template>
<script setup>
</script>
<style scoped>
</style>
我们特别注意这些位置变化
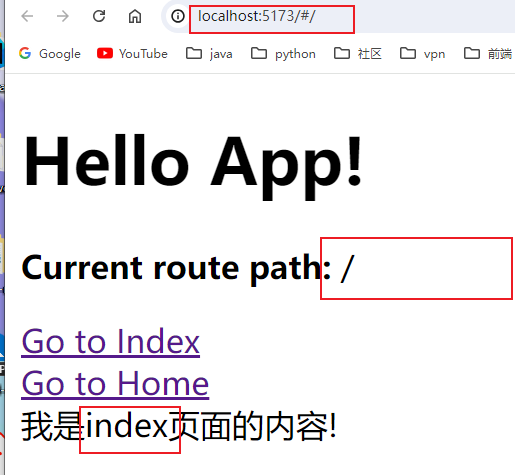
当点击Go to Index时,页面其实没什么变化,因为我们启动页面,默认就是’ / ',就是加载的Index页面
当点击Go to Index时,页面有了变化,完成了路由的跳转,跳转到Home页面。


 2274
2274

 被折叠的 条评论
为什么被折叠?
被折叠的 条评论
为什么被折叠?
 到【灌水乐园】发言


