


前端技术:nodejs+vue+elementui,视图层其实质就是vue页面,通过编写vue页面从而展示在浏览器中,编写完成的vue页面要能够和控制器类进行交互,从而使得用户在点击网页进行操作时能够正常。
Express 框架于Node运行环境的Web框架,

资产管理的工作职责:
1、严格按照公司资产管理规定管理公司各类资产,将公司各类资产管理做到分类科学,帐目分明,查询便利,所有固定资产做到编号唯一;
2、负责指导各部门建立和健全本部门资产台帐,管好用好本部门的资产,按月有计划有重点地了解固定资产管理、使用情况,及时发现问题报告公司;
3、全面参与每年的公司资产盘点工作,认真做好资产清查、台帐更新以及公司资产卡片的填制、粘贴等工作。提交盘点报告。
资产管理系统可以更加直观的了解到企业资产的使用情况,让企业资产透明化。资产管理系统可以帮助企业标记企业所有的资产,这些资产包括电脑,桌子,椅子等不动资产的标识,以及固定资产的新增,修改,退出,转移,删除,借用,归还,维修等日常工作。还有资产盘点,资产折旧,综合查询,安全管理等功能。有效的减少了人工成本,还能帮助管理者更加清晰的对企业固有资产有合理认知,不会盲目估算。
语言 node.js
框架:Express
前端:Vue.js
数据库:mysql
数据库工具:Navicat
开发软件:VScode
前端技术:nodejs+vue+elementui
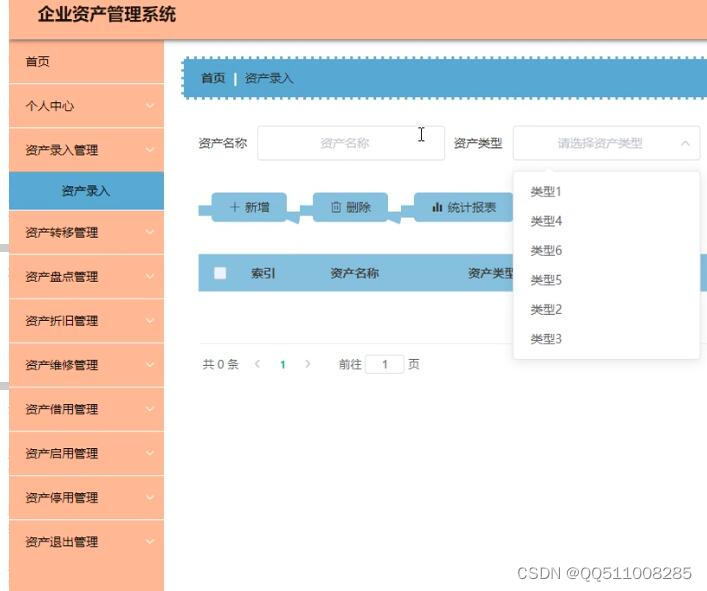
1、日常管理
资产卡片管理、资产录入、资产转移、资产维修、资产借用、资产启用、资产停用、 资产退出;
2、资产盘点
盘点单查询、盘点单录入、盘盈盘亏明细表、盘点汇总;
3、折旧管理
计提折旧、折旧月报、折旧年报、资产减值准备、资产价值重估、累计折旧明细;
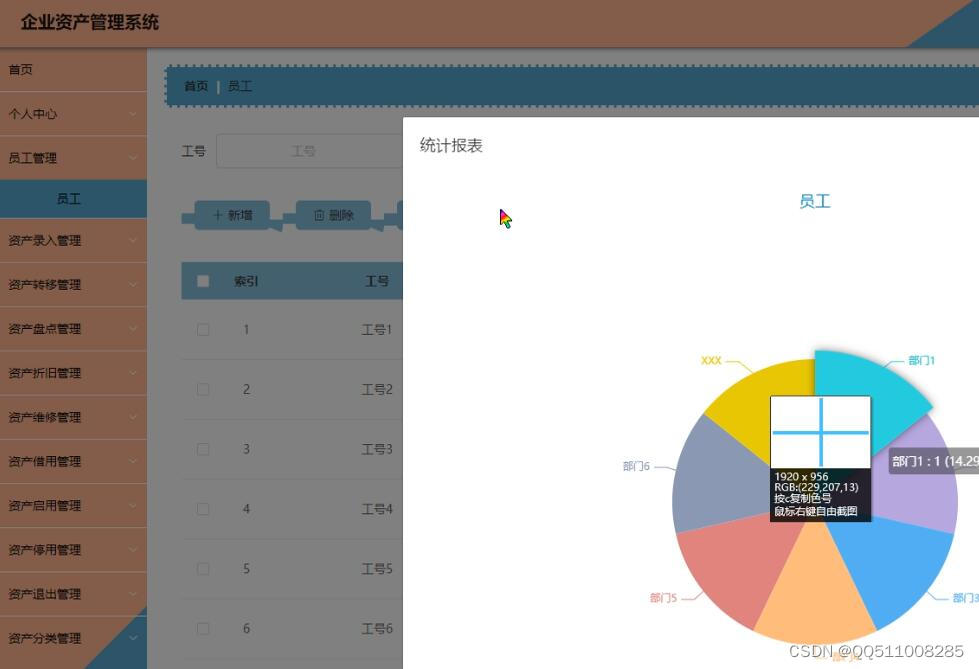
4、报表管理
分类明细统计报表、部门明细统计报表、新增资产统计报表、退出资产统计报表;
5、系统管理
操作员/权限、部门/人员信息、资产分类编码、资产属性信息。


 121
121


 被折叠的 条评论
为什么被折叠?
被折叠的 条评论
为什么被折叠?
 到【灌水乐园】发言


