部署gitlab
注:部署需要至少4GB内存来运行(系统语言必须为英语)
#安装epel和git工具
[root@localhost ~]# yum -y install epel-release git

#安装依赖包
[root@localhost ~]# yum -y install curl openssh-server openssh-clients postfix cronie

[root@localhost ~]# yum remove policycoreutils-python-utils-2.9-19.el8.noarch -y //卸载这些包不然后续会报错
[root@localhost ~]# yum remove policycoreutils  //卸载这个

[root@localhost ~]# wget http://mirror.centos.org/centos/7/os/x86_64/Packages/policycoreutils-python-2.5-34.el7.x86_64.rpm  //下载依赖包
[root@localhost ~]# rpm -ivh --nodeps policycoreutils-python-2.5-34.el7.x86_64.rpm   //忽略依赖关系强制安装


#启动postfix服务并设置开机自启
[root@localhost ~]# systemctl restart postfix.service
[root@localhost ~]# systemctl enable postfix.service
Created symlink /etc/systemd/system/multi-user.target.wants/postfix.service → /usr/lib/systemd/system/postfix.service.

#关闭防火墙和selinux
[root@localhost ~]# systemctl disable --now firewalld.service
Removed /etc/systemd/system/multi-user.target.wants/firewalld.service.
Removed /etc/systemd/system/dbus-org.fedoraproject.FirewallD1.service.
[root@localhost ~]# vim /etc/selinux/config
SELINUX=disabled
下载gitlab的rpm包
地址:https://mirror.tuna.tsinghua.edu.cn/gitlab-ce/yum/el7/gitlab-ce-15.2.2-ce.0.el7.x86_64.rpm
[root@localhost ~]# ls
anaconda-ks.cfg  gitlab-ce-15.2.2-ce.0.el7.x86_64.rpm  initial-setup-ks.cfg


#安装 gitlab包
[root@localhost ~]# rpm -ivh gitlab-ce-15.2.2-ce.0.el7.x86_64.rpm
警告:gitlab-ce-15.2.2-ce.0.el7.x86_64.rpm: 头V4 RSA/SHA1 Signature, 密钥 ID f27eab47: NOKEY
Verifying...                          ################################# [100%]
准备中...                          ################################# [100%]
正在升级/安装...
   1:gitlab-ce-15.2.2-ce.0.el7        ################################# [100%]
It looks like GitLab has not been configured yet; skipping the upgrade script.

       *.                  *.
      ***                 ***
     *****               *****
    .******             *******
    ********            ********
   ,,,,,,,,,***********,,,,,,,,,
  ,,,,,,,,,,,*********,,,,,,,,,,,
  .,,,,,,,,,,,*******,,,,,,,,,,,,
      ,,,,,,,,,*****,,,,,,,,,.
         ,,,,,,,****,,,,,,
            .,,,***,,,,
                ,*,.


     _______ __  __          __
    / ____(_) /_/ /   ____ _/ /_
   / / __/ / __/ /   / __ `/ __ \
  / /_/ / / /_/ /___/ /_/ / /_/ /
  \____/_/\__/_____/\__,_/_.___/


Thank you for installing GitLab!
GitLab was unable to detect a valid hostname for your instance.
Please configure a URL for your GitLab instance by setting `external_url`
configuration in /etc/gitlab/gitlab.rb file.
Then, you can start your GitLab instance by running the following command:
  sudo gitlab-ctl reconfigure

For a comprehensive list of configuration options please see the Omnibus GitLab readme
https://gitlab.com/gitlab-org/omnibus-gitlab/blob/master/README.md

Help us improve the installation experience, let us know how we did with a 1 minute survey:
https://gitlab.fra1.qualtrics.com/jfe/form/SV_6kVqZANThUQ1bZb?installation=omnibus&release=15-2
#修改配置文件
[root@localhost ~]# vim /etc/gitlab/gitlab.rb
external_url 'http://192.168.220.5'   //找到这一行改成域名或者ip

[root@localhost ~]# gitlab-ctl reconfigure  //重新配置需要等待一段时间
[root@localhost ~]# gitlab-ctl restart //配置完成后重启


[root@localhost ~]# ss -antl  //启动后查看会有很多相关服务的端口
State    Recv-Q   Send-Q     Local Address:Port      Peer Address:Port   Process
LISTEN   0        1024           127.0.0.1:9100           0.0.0.0:*
LISTEN   0        1024           127.0.0.1:9229           0.0.0.0:*
LISTEN   0        1024           127.0.0.1:8080           0.0.0.0:*
LISTEN   0        511              0.0.0.0:80             0.0.0.0:*
LISTEN   0        128            127.0.0.1:9168           0.0.0.0:*
LISTEN   0        128            127.0.0.1:8082           0.0.0.0:*
LISTEN   0        1024           127.0.0.1:9236           0.0.0.0:*
LISTEN   0        1024           127.0.0.1:8150           0.0.0.0:*
LISTEN   0        128              0.0.0.0:22             0.0.0.0:*
LISTEN   0        1024           127.0.0.1:8151           0.0.0.0:*
LISTEN   0        5              127.0.0.1:631            0.0.0.0:*
LISTEN   0        1024           127.0.0.1:3000           0.0.0.0:*
LISTEN   0        1024           127.0.0.1:8153           0.0.0.0:*
LISTEN   0        100            127.0.0.1:25             0.0.0.0:*
LISTEN   0        1024           127.0.0.1:8154           0.0.0.0:*
LISTEN   0        1024           127.0.0.1:8155           0.0.0.0:*
LISTEN   0        128            127.0.0.1:8092           0.0.0.0:*
LISTEN   0        511              0.0.0.0:8060           0.0.0.0:*
LISTEN   0        1024           127.0.0.1:9121           0.0.0.0:*
LISTEN   0        1024           127.0.0.1:9090           0.0.0.0:*
LISTEN   0        1024           127.0.0.1:9187           0.0.0.0:*
LISTEN   0        1024           127.0.0.1:9093           0.0.0.0:*
LISTEN   0        128                [::1]:9168              [::]:*
LISTEN   0        128                 [::]:22                [::]:*
LISTEN   0        5                  [::1]:631               [::]:*
LISTEN   0        100                [::1]:25                [::]:*
LISTEN   0        1024                   *:9094                 *:*
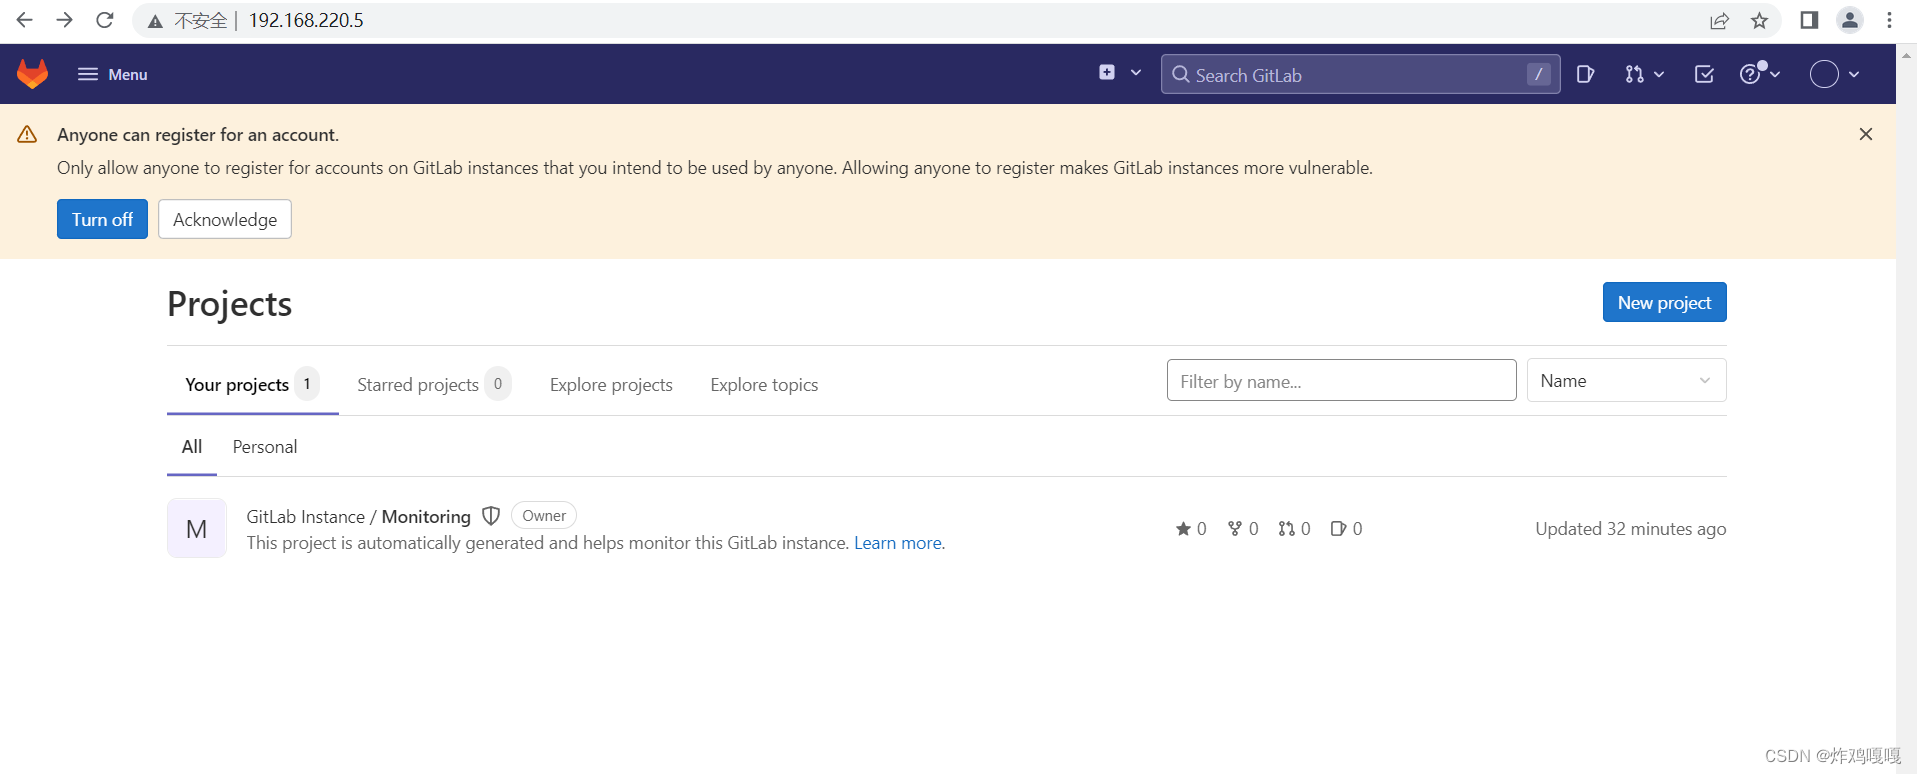
浏览器访问能看到这个页面就是部署成功了

破解密码
[root@localhost ~]# gitlab-rails console -e  production
--------------------------------------------------------------------------------
 Ruby:         ruby 2.7.5p203 (2021-11-24 revision f69aeb8314) [x86_64-linux]
 GitLab:       15.2.2 (4ecb014a935) FOSS
 GitLab Shell: 14.9.0
 PostgreSQL:   13.6
------------------------------------------------------------[ booted in 30.36s ]
Loading production environment (Rails 6.1.4.7)
irb(main):001:0> user = User.where(id: 1).first   //id为root账户
=> #<User id:1 @root>
irb(main):002:0> user.password = '12345678'   //设置密码
=> "12345678"
irb(main):003:0> user.password_confirmation = '12345678'
=> "12345678"
irb(main):004:0> user.save!    //保存修改
=> true
irb(main):005:0> exit
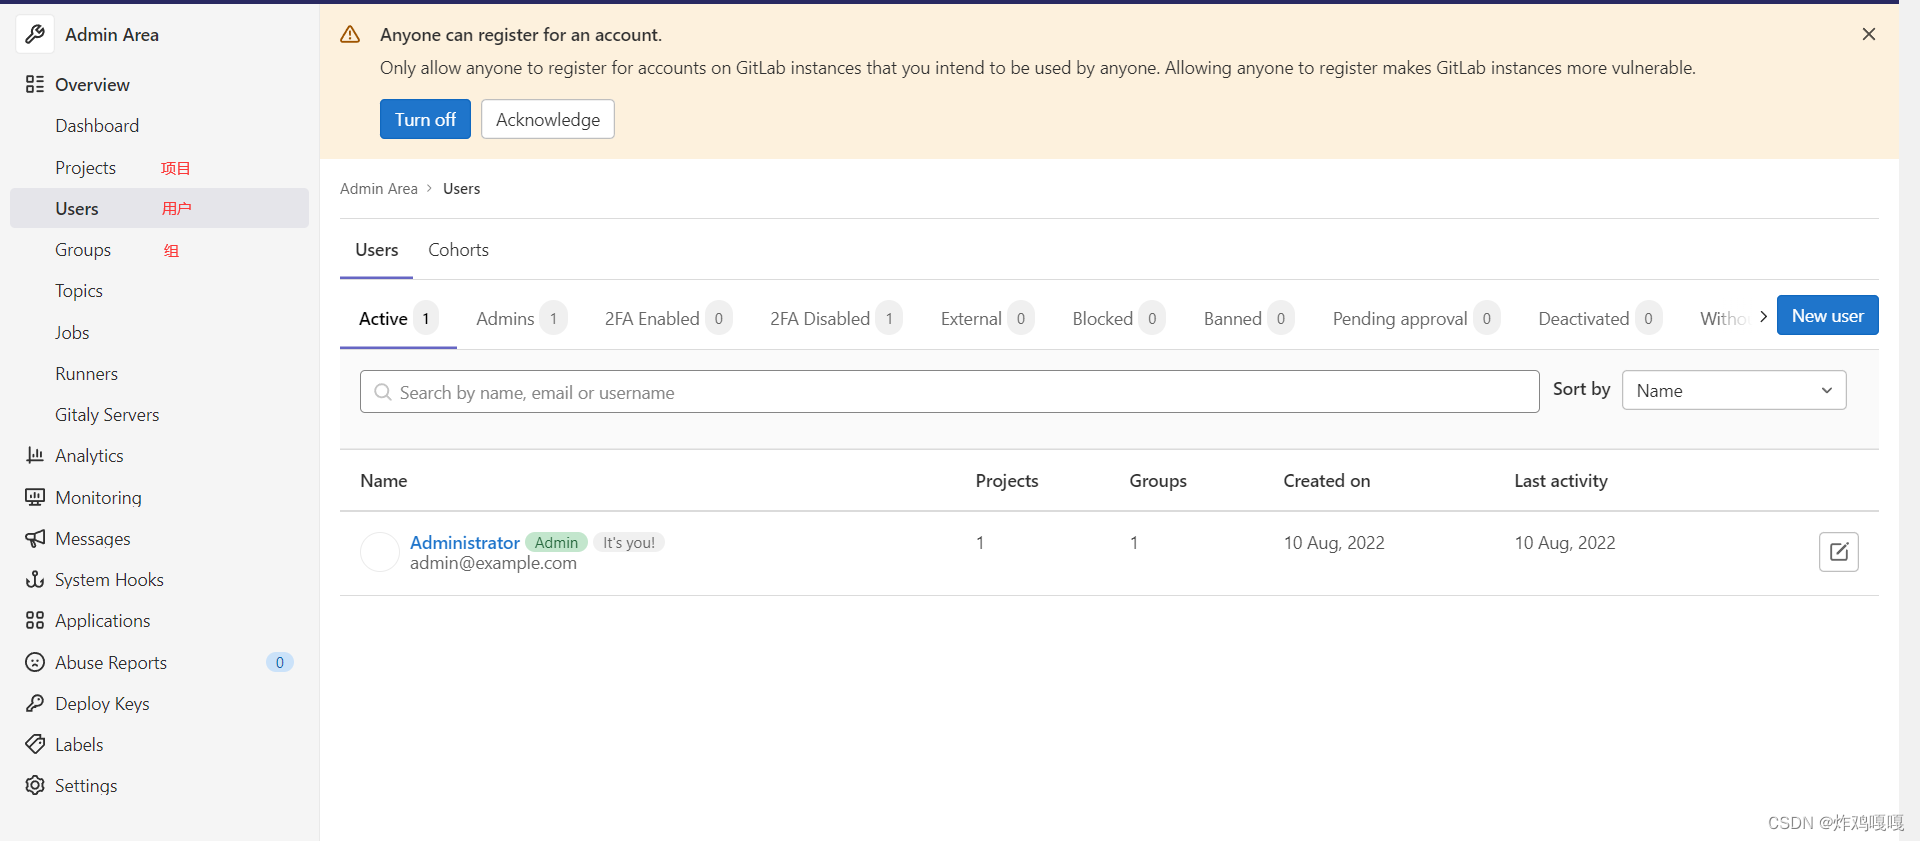
回到网页尝试登录


 1844
1844


 被折叠的 条评论
为什么被折叠?


