


1、准备工作:
(1)Android Studio
(2)Android SDK
(3)Android NDK(必须是r9+版本的,至于为什么,最后会提到)
2、具体开发流程:
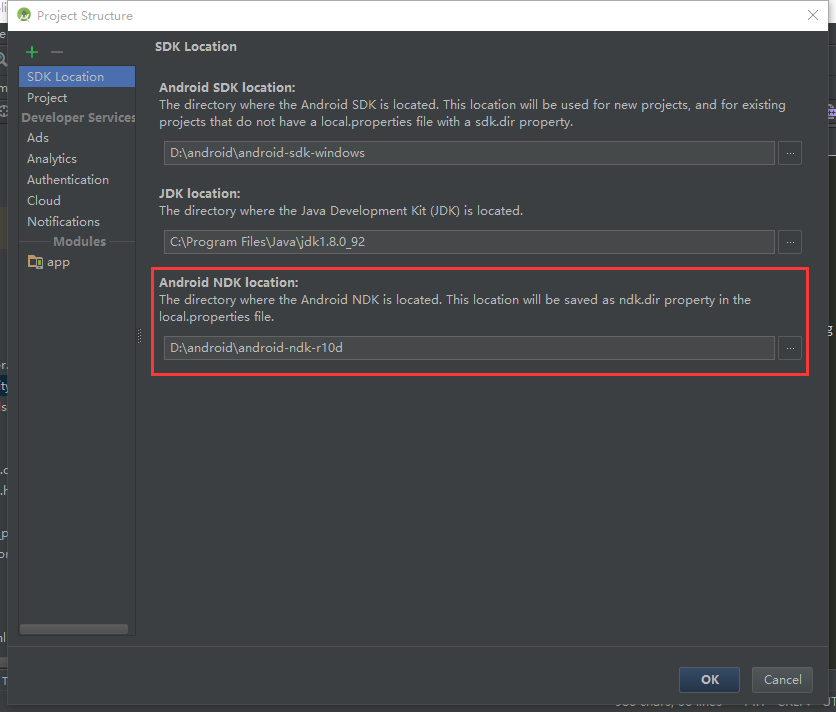
在Android Studio中新建一个project或者在project中新建一个module都行,然后在Project Structure–>SDK Location中配置NDK的位置
然后新建一个类NdkJniUtils,在内部声明native方法
package com.scutee.victor.ndktest;

public class NdkJniUtils {

    public native String getCLanguageString();

}
接着,新建一个MainActivity,在布局文件中添加一个TextView,用于显示调用JNI的方法返回的结果
public class MainActivity extends AppCompatActivity {
private TextView tvNDK = null;
@Override
protected void onCreate(Bundle savedInstanceState) {
super.onCreate(savedInstanceState);
setContentView(R.layout.activity_main);
tvNDK = (TextView) findViewById(R.id.tvNDK);
NdkJniUtils jniUtil = new NdkJniUtils();
tvNDK.setText(jniUtil.getCLanguageString());
}
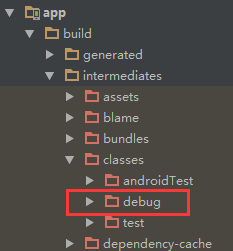
}然后build project,得到我们需要的字节码文件(即.class文件),编译成功后,class文件所在目录为:MyApplication\app\build\intermediates\classes\debug。
打开AS的Terminal(或者windows下的cmd),转到上述目录,然后执行javah命令生成头文件
xxx\debug>javah -jni com.scutee.victor.ndktest.NdkJniUtils
执行成功后,在该目录下会生成一个头文件:com_scutee_victor_ndktest_NdkJniUtils.h
/* DO NOT EDIT THIS FILE - it is machine generated */
#include <jni.h>
/* Header for class com_scutee_victor_ndktest_NdkJniUtils */

#ifndef _Included_com_scutee_victor_ndktest_NdkJniUtils
#define _Included_com_scutee_victor_ndktest_NdkJniUtils
#ifdef __cplusplus
extern "C" {
#endif
/*
 * Class:     com_scutee_victor_ndktest_NdkJniUtils
 * Method:    getCLanguageString
 * Signature: ()Ljava/lang/String;
 */
JNIEXPORT jstring JNICALL Java_com_scutee_victor_ndktest_NdkJniUtils_getCLanguageString
        (JNIEnv *, jobject);

#ifdef __cplusplus
}
#endif
#endif
接着,在工程main目录下新建一个jni目录,将上述的.h头文件剪切进来;然后在jni根目录下新建一个c文件,名字随意,内容代码如下:
#include "com_scutee_victor_ndktest_NdkJniUtils.h"
JNIEXPORT jstring JNICALL Java_com_scutee_victor_ndktest_NdkJniUtils_getCLanguageString
(JNIEnv *env, jobject obj) {
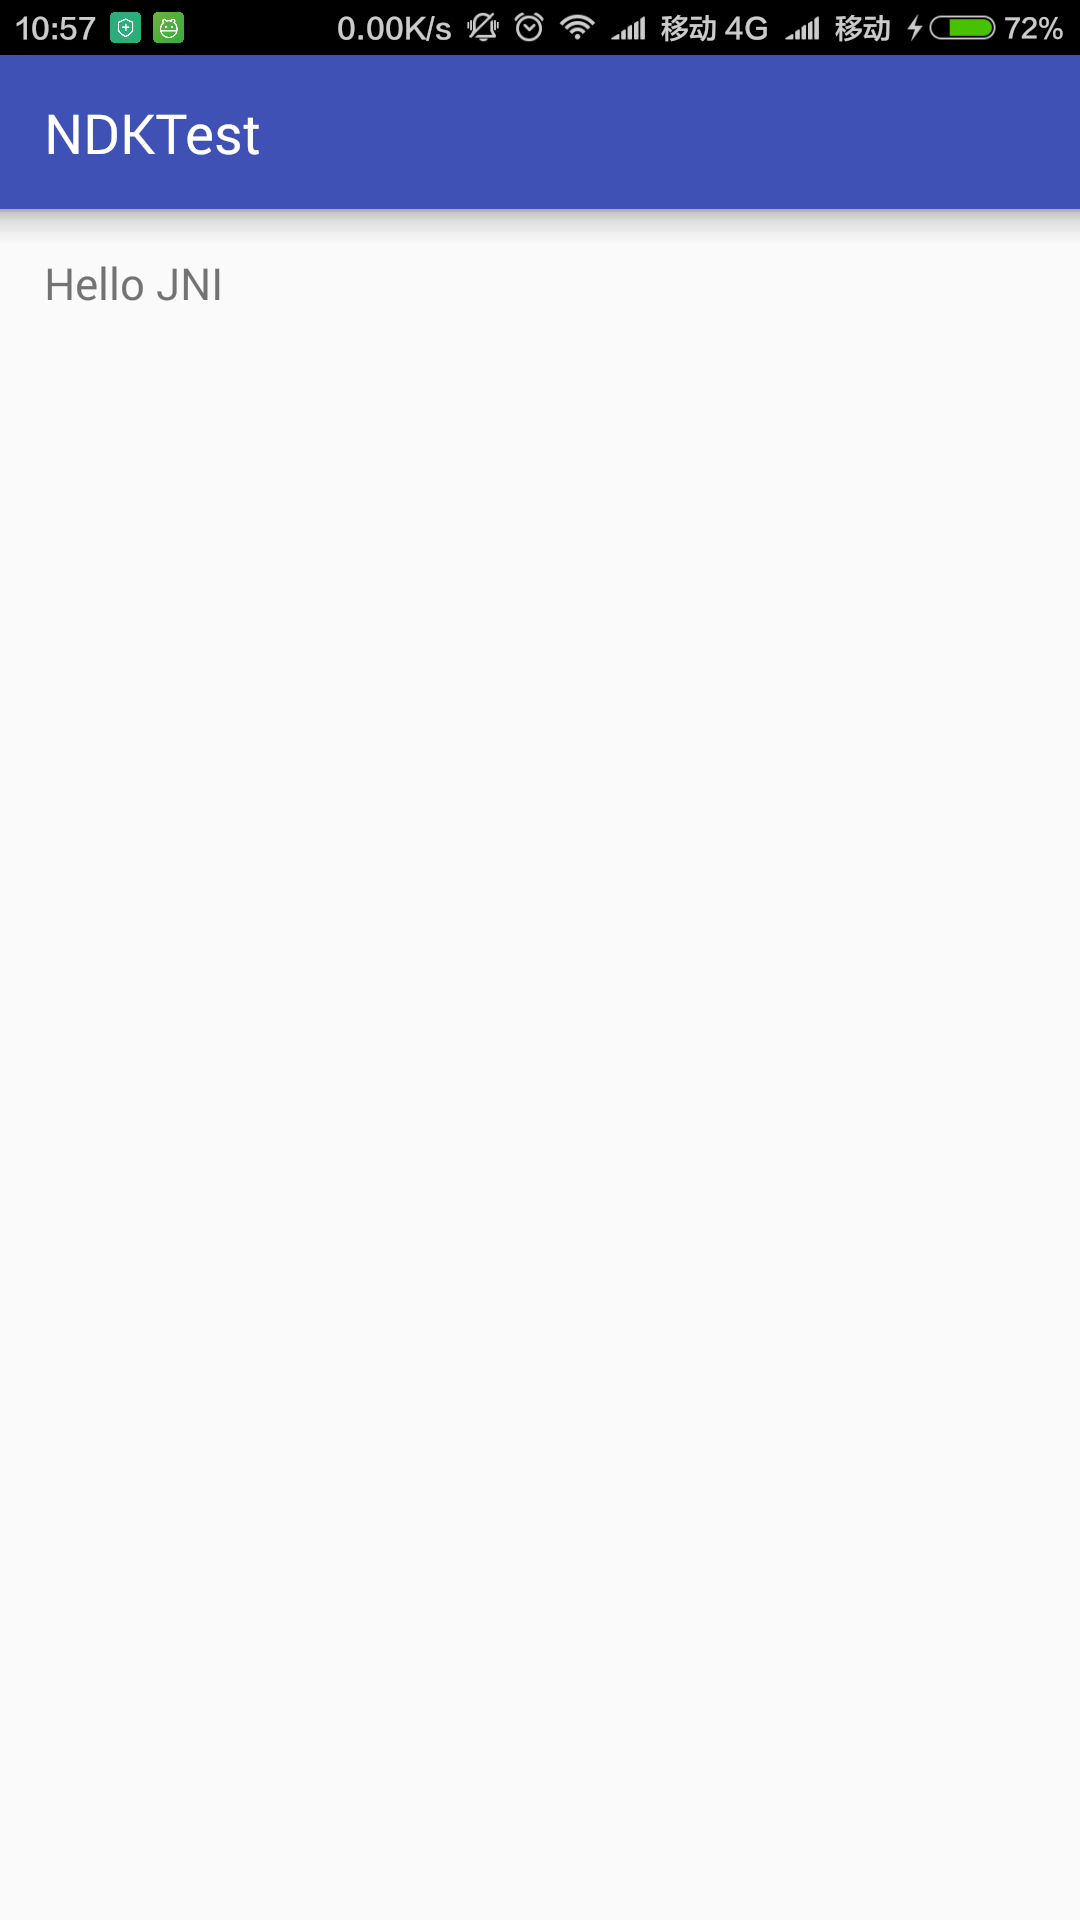
return (*env)->NewStringUTF(env, "Hello JNI");
}(注:env是接口指针;obj是“this”指针)
接下来,需要配置一下在app module中的build.gradle,找到其中的defaultConfig,具体配置如下:
defaultConfig {
        ndk {
            moduleName "JniTestLib"
            ldLibs "log", "z", "m"
            abiFilters "armeabi", "armeabi-v7a", "x86"
        }
    }
(注:moduleName是生成的so库的名字,随意取,最后编译出来的.so文件会在该名字前加lib;ldLibs:添加依赖库文件;abiFilters:输出指定三种abi体系结构下的so库)
最后,回到一开始新建的NdkJniUtils这个类,添加静态初始化加载本地library的代码:
static {
        System.loadLibrary("JniTestLib");
    }
到此AS下NDK JNI开发的代码编写和设置就ok了,编译运行即可
3、JNI开发中遇到的错误及解决方法:
(1)编译报错:
Error:Execution failed for task ':app:compileDebugNdk'. > com.android.ide.common.process.ProcessException: org.gradle.process.internal.ExecException: Process 'command 'D:\android\android-ndk-r10d\ndk-build.cmd'' finished with non-zero exit value 2据说这是ndk在windows的一个bug,通常解决方案:在jni根目录下新建一个空的c文件,如:test.c
(2)编译报错:
Error:Execution failed for task ':app:compileDebugNdk'. > com.android.ide.common.process.ProcessException: org.gradle.process.internal.ExecException: Process 'command 'D:\android\android-ndk-r10d\ndk-build.cmd'' finished with non-zero exit value 2原因:在Android Studio下进行JNI开发,NDK必须要r9+版本
(3)编译报错:
Error:(14, 1) A problem occurred evaluating project ':app'.
> Error: NDK integration is deprecated in the current plugin.  Consider trying the new experimental plugin.  For details, see http://tools.android.com/tech-docs/new-build-system/gradle-experimental.  Set "android.useDeprecatedNdk=true" in gradle.properties to continue using the current NDK integration.
解决方法:在project的gradle.properties下加一行代码:“android.useDeprecatedNdk=true”:
# Project-wide Gradle settings.

# IDE (e.g. Android Studio) users:
# Gradle settings configured through the IDE *will override*
# any settings specified in this file.

# For more details on how to configure your build environment visit
# http://www.gradle.org/docs/current/userguide/build_environment.html

# Specifies the JVM arguments used for the daemon process.
# The setting is particularly useful for tweaking memory settings.
# Default value: -Xmx10248m -XX:MaxPermSize=256m
# org.gradle.jvmargs=-Xmx2048m -XX:MaxPermSize=512m -XX:+HeapDumpOnOutOfMemoryError -Dfile.encoding=UTF-8

# When configured, Gradle will run in incubating parallel mode.
# This option should only be used with decoupled projects. More details, visit
# http://www.gradle.org/docs/current/userguide/multi_project_builds.html#sec:decoupled_projects
# org.gradle.parallel=true
android.useDeprecatedNdk=true开发过程中参考的博文:
http://yanbober.github.io/2015/02/14/android_studio_jni_1/


 590
590


 被折叠的 条评论
为什么被折叠?
被折叠的 条评论
为什么被折叠?
 到【灌水乐园】发言


