


1 Filter
Filter用于请求的过滤,如请求时,做登录的全局性校验
1.1 示例
在创建Filter前,可以通过启动Tomcat访问index.jsp
http://localhost:8080/Mvc-Demo/index.jsp
添加Filter后,重新启动Tomcat,并再次访问index.jsp
@WebFilter("/*")
public class TestFilter1 implements Filter {
    @Override
    public void init(FilterConfig filterConfig) throws ServletException {

    }

    @Override
    public void doFilter(ServletRequest servletRequest, ServletResponse servletResponse, FilterChain filterChain) throws IOException, ServletException {
        System.out.println("TestFilter1 doFilter");
    }

    @Override
    public void destroy() {

    }
}
此时浏览器不在展示Hello, World。 并且控制台输出doFilter()方法中的内容。
添加放行后, 重启Tomcat
filterChain.doFilter(servletRequest, servletResponse);
此时能够正常访问到webapp下的资源
1.2 拦截路径配置
- 拦截具体资源: /index.jsp 只有访问index.jsp时才会拦截
- 目录拦截: /user/*, 访问/user下的所有资源,都会被拦截
- 后缀名拦截: *.jsp, 范文后缀名为jsp的资源,都会被拦截
- 拦截所有: /*, 访问所有资源,都会被拦截
1.3 过滤器链
每个web应用,可以配置多个过滤器,多个过滤器链式调用执行
代码演示:
两个过滤器
@WebFilter("/*")
public class TestFilter1 implements Filter {
    @Override
    public void init(FilterConfig filterConfig) throws ServletException {

    }

    @Override
    public void doFilter(ServletRequest servletRequest, ServletResponse servletResponse, FilterChain filterChain) throws IOException, ServletException {
        System.out.println("TestFilter1 doFilter enter");
        filterChain.doFilter(servletRequest, servletResponse);
        System.out.println("TestFilter1 doFilter end");
    }

    @Override
    public void destroy() {

    }
}


@WebFilter("/*")
public class TestFilter2 implements Filter {
    @Override
    public void init(FilterConfig filterConfig) throws ServletException {

    }

    @Override
    public void doFilter(ServletRequest servletRequest, ServletResponse servletResponse, FilterChain filterChain) throws IOException, ServletException {
        System.out.println("TestFilter2 doFilter enter");
        filterChain.doFilter(servletRequest, servletResponse);
        System.out.println("TestFilter2 doFilter end");
    }

    @Override
    public void destroy() {

    }
}
index.jsp页面
<html>
<body>
<h2>Hello World!</h2>

<% System.out.println("index.jsp"); %>
</body>
</html>
启动tomcat后,访问index.jsp,日志输出
TestFilter1 doFilter enter
TestFilter2 doFilter enter
index.jsp
TestFilter2 doFilter end
TestFilter1 doFilter end
从日志可以看出,拦截器的执行逻辑是先执行放行前的逻辑,再执行拦截后的逻辑。
拦截器的执行顺序: 按照拦截器的名字来顺序执行
2 Listener
Listener是监听器,是JavaWeb三大组件(Servlet, Filter, Listener)之一
监听器可以监听application, session, request三个对象的创建,销毁
示例:
@WebListener
public class ContextLoaderListener implements ServletContextListener {
    @Override
    public void contextInitialized(ServletContextEvent servletContextEvent) {
        System.out.println("contextInitialized ...");
    }

    @Override
    public void contextDestroyed(ServletContextEvent servletContextEvent) {
        System.out.println("contextDestroyed ...");
    }
}
启动服务器,则可以看到在控制台输出的初始化日志
关闭服务器,也可以看到控制台中输出的销毁日志
3 Ajax
AJAX(Asynchronous JavaScript And XMl) 异步的JavaScript和XML
作用: 与服务器进行数据请求
示例:
服务端Servlet
@WebServlet("/ajaxServlet")
public class AjaxServlet extends HttpServlet {

    @Override
    protected void doGet(HttpServletRequest req, HttpServletResponse resp) throws ServletException, IOException {
        resp.getWriter().write("hello ajax~");
    }

    @Override
    protected void doPost(HttpServletRequest req, HttpServletResponse resp) throws ServletException, IOException {
        this.doGet(req, resp);
    }
}
前端
</head>
<body>
  <script>
    var xhttp;
    if (window.XMLHttpRequest) {
        xhttp = new XMLHttpRequest();
    } else {
        xhttp = new ActiveXObject("Microsoft.XML HTTP");
    }

    xhttp.open("GET", "http://localhost:8080/Mvc-Demo/ajaxServlet")
    xhttp.send();

    xhttp.onreadystatechange = function () {
        if(this.readyState == 4 && this.status == 200) {
            console.log(this.responseText)
        }
    }
  </script>
</body>
</html>
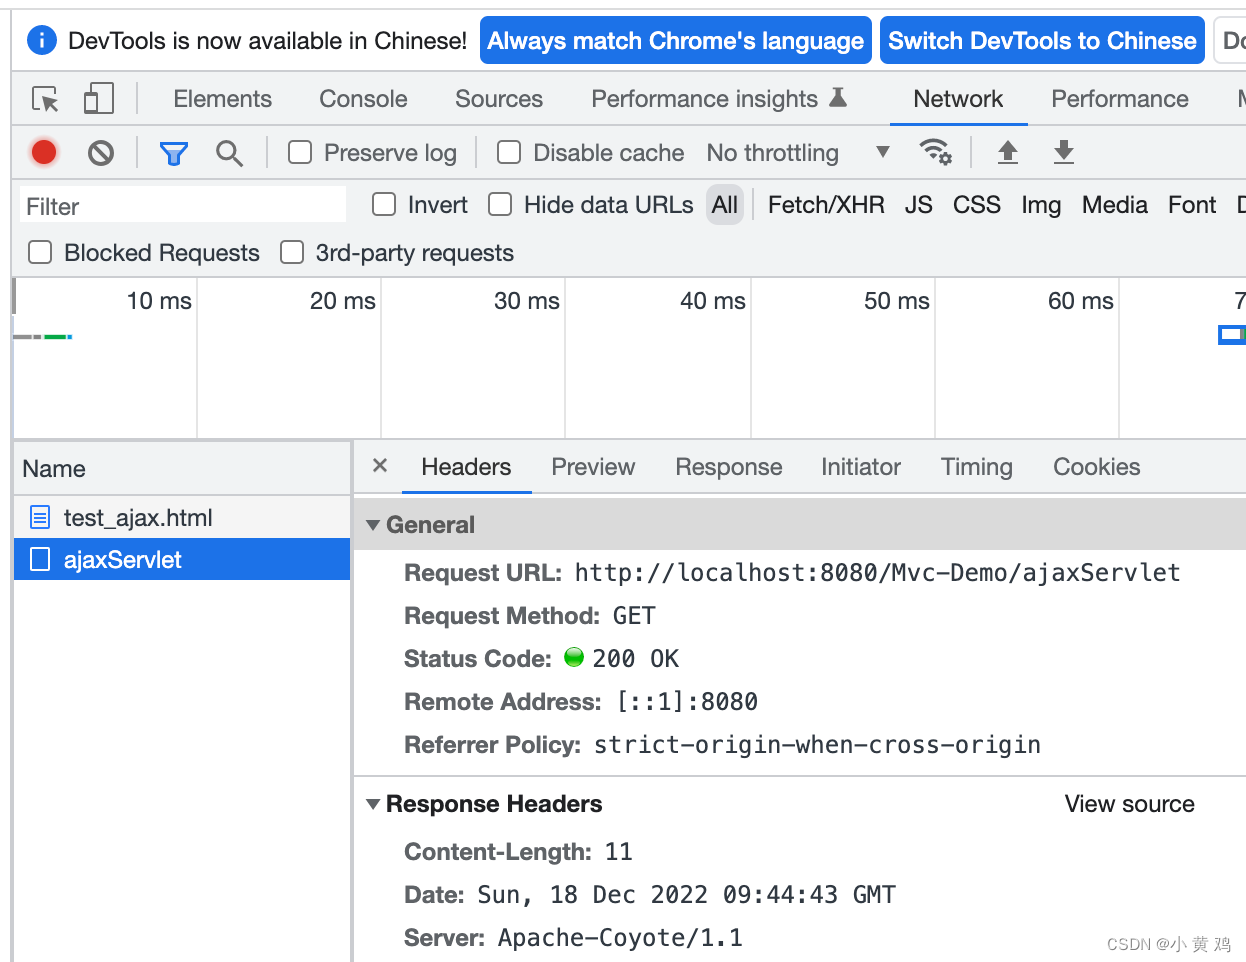
请求 http://localhost:8080/Mvc-Demo/test_ajax.html 后,会看到servlet接口也有被请求
示例: 当光标失去焦点是,请求服务端
前端代码
<script>
    document.getElementById("username").onblur = function () {
        var username = this.value;
        var xhttp;
        if (window.XMLHttpRequest) {
            xhttp = new XMLHttpRequest();
        } else {
            xhttp = new ActiveXObject("Microsoft.XML Http")
        }

        xhttp.open("GET", "http://localhost:8080/Mvc-Demo/selectUserServlet?username=" + username)
        xhttp.send();

        xhttp.onreadystatechange = function() {
            if (this.readyState == 4 && this.status == 200) {
                if (this.responseText == "true") {
                    document.getElementById("username_err").style.display = '';
                } else {
                    document.getElementById("username_err").style.display = 'none';
                }
            }
        }
    }
</script>
servlet
@WebServlet("/selectUserServlet")
public class SelectUserServlet extends HttpServlet {

    @Override
    protected void doGet(HttpServletRequest req, HttpServletResponse resp) throws ServletException, IOException {
        //模拟结果, 写死成true
        boolean flag = true;
        resp.getWriter().write("" + flag);
    }

    @Override
    protected void doPost(HttpServletRequest req, HttpServletResponse resp) throws ServletException, IOException {
        this.doGet(req, resp);
    }
}
当输入框中失去焦点后,将会有用户名已存在的提示
4 axios
axios是对原生的ajax的封装
示例:
Servlet
@WebServlet("/axiosServlet")
public class AxiosServlet extends HttpServlet {

    @Override
    protected void doGet(HttpServletRequest req, HttpServletResponse resp) throws ServletException, IOException {
        String username = req.getParameter("username");
        System.out.println("username = " + username);
        resp.getWriter().write("hello axios~");
    }

    @Override
    protected void doPost(HttpServletRequest req, HttpServletResponse resp) throws ServletException, IOException {
        this.doGet(req, resp);
    }
}
Html
<!DOCTYPE html>
<html lang="en">
<head>
    <meta charset="UTF-8">
    <title>Title</title>
</head>
<body>
  <script src="js/axios-0.18.0.js"></script>
  <script>
    axios({
        method:"post",
        url: "http://localhost:8080/Mvc-Demo/axiosServlet",
        data: "username=lisi"
    }).then(function (resp) {
        console.log("resp.data = " + resp.data)
    })
  </script>
</body>
</html>
请求http://localhost:8080/Mvc-Demo/test_axios.html后,日志输出
resp.data = hello axios~
5 JSON
JavaScript object Notation JavaScript对象表示法
定义示例:
{
	"name": "lisi",
	"age": 14,
	"city": "上海"
}
json解析
<!DOCTYPE html>
<html lang="en">
<head>
    <meta charset="UTF-8">
    <title>Title</title>
</head>
<body>
  <script>
    var jsonStr = '{"name" : "lisi", "age" : 15, "city" : "上海"}'
    var jsonObj = JSON.parse(jsonStr);
    console.log("name = " + jsonObj.name + ", age = " + jsonObj.age)

 	let jsonStr2 = JSON.stringify(jsonObj)
    console.log("jsonStr2 = " + jsonStr2);
  </script>
</body>
</html>
日志输出
name = lisi, age = 15
jsonStr2 = {"name":"lisi","age":15,"city":"上海"}
json作为异步请求参数
var jsObject = {name: "lisi"}
    axios({
        method:"post",
        url: "http://localhost:8080/Mvc-Demo/axiosServlet",
        data: jsObject
    }).then(function (resp) {
        console.log("resp.data = " + resp.data)
    })
fastJson
fastjson是用来实现Java对象和字符串的转换
首先引入fastjson的依赖
<dependency>
   <groupId>com.alibaba</groupId>
    <artifactId>fastjson</artifactId>
    <version>1.2.62</version>
</dependency>
测试代码
public class TestJson {

    public static void main(String[] args) {
        User user = new User();
        user.setId(1);
        user.setUsername("lisi");
        user.setPassword("876");

        String jsonStr = JSON.toJSONString(user);
        System.out.println("jsonStr = " + jsonStr);

        User user2 = JSON.parseObject(jsonStr, User.class);
        System.out.println("user2 = " + user2);
    }
}
日志输出
jsonStr = {"id":1,"password":"876","username":"lisi"}
user2 = User{id=1, username='lisi', password='876'}
6 案例
6.1 品牌列表示例
servlet代码
@WebServlet("/selectAllServlet")
public class SelectAllServlet extends HttpServlet {
    private BrandService service = new BrandService();

    @Override
    protected void doGet(HttpServletRequest req, HttpServletResponse resp) throws ServletException, IOException {
        List<Brand> brands = service.selectAll();

        String jsonStr = JSON.toJSONString(brands);
        resp.setContentType("text/json; charset=utf-8");
        resp.getWriter().write(jsonStr);
    }

    @Override
    protected void doPost(HttpServletRequest req, HttpServletResponse resp) throws ServletException, IOException {
        this.doGet(req, resp);
    }
}
js代码
<%--
  Created by IntelliJ IDEA.
  User: yl
  Date: 2022/11/30
  Time: 5:11 PM
  To change this template use File | Settings | File Templates.
--%>
<%@ page contentType="text/html;charset=UTF-8" language="java" %>
<%@ taglib prefix="c" uri="http://java.sun.com/jsp/jstl/core" %>
<html>
<head>
    <title>所有品牌</title>
</head>
<body>
  <h1>${user.username},欢迎您</h1>
  <hr>
  <a href="addBrand.jsp"> <input type="button" value="新增"></a><br>
  <table id="brandTable" border="1" cellspacing="0" width="80%">
    <tr>
        <th>序号</th>
        <th>品牌名称</th>
        <th>企业名称</th>
        <th>排序</th>
        <th>品牌介绍</th>
        <th>状态</th>
        <th>操作</th>
    </tr>
  </table>
  <script src="js/axios-0.18.0.js"></script>
  <script>
      window.onload = function () {
          axios({
              method: "get",
              url: "http://localhost:8080/Mvc-Demo/selectAllServlet"
          }).then(function (resp) {
              let brands = resp.data;
              let tableData = "<tr>\n" +
                  "   <th>序号</th>\n" +
                  "   <th>品牌名称</th>\n" +
                  "   <th>企业名称</th>\n" +
                  "   <th>排序</th>\n" +
                  "    <th>品牌介绍</th>\n" +
                  "    <th>状态</th>\n" +
                  "   <th>操作</th>\n" +
                  "</tr>";

              for (let i = 0; i < brands.length; i++) {
                  let brand = brands[i];

                  tableData += "<tr align=\"center\">\n" +
                      "              <td>" + (i + 1) + "</td>\n" +
                      "              <td>" + brand.brandName + "</td>\n" +
                      "              <td>" + brand.companyName + "</td>\n" +
                      "              <td>" + brand.ordered + "</td>\n" +
                      "              <td>" + brand.description + "</td>\n" +
                      "              <td>" + brand.status + "</td>\n" +
                      "              <td>\n" +
                      "                  <a href=\"/Mvc-Demo/selectByIdServlet?id=${brand.id}\">修改\n" +
                      "                  </a> <a href=\"#\"> 删除</a>\n" +
                      "              </td>\n" +
                      "          </tr>";
              }
              document.getElementById("brandTable").innerHTML = tableData;
          })
      }
  </script>
</body>
</html>
6.2 品牌添加示例
servlet代码
@WebServlet("/addServlet")
public class AddServlet extends HttpServlet {
    private BrandService service = new BrandService();
    @Override
    protected void doGet(HttpServletRequest req, HttpServletResponse resp) throws ServletException, IOException {
        req.setCharacterEncoding("utf-8");
        BufferedReader br = req.getReader();
        String params = br.readLine();

        System.out.println("params = " + params);

        Brand brand = JSON.parseObject(params, Brand.class);
        service.add(brand);
        resp.getWriter().write("success");
    }

    @Override
    protected void doPost(HttpServletRequest req, HttpServletResponse resp) throws ServletException, IOException {
        System.out.println("doPost");
        this.doGet(req, resp);
    }
}
js代码
<%@ page contentType="text/html;charset=UTF-8" language="java" %>
<html>
<head>
    <title>添加品牌</title>
</head>
<body>
    <h3>添加品牌</h3>
    <form action="" method="post">
        品牌名称: <input id="brandName" name="brandName"><br> <br>
        企业名称: <input id="companyName"  name="companyName"><br> <br>
        品牌排序: <input id="ordered" name="ordered"><br> <br>
        描述信息: <textarea rows="5" cols="20" id="description" name="description"></textarea> <br> <br>
        状态:
        <input type="radio" name="status" value="0">禁用
        <input type="radio" name="status" value="1">启用 <br><br>

        <input type="button" id="submit" value="提交">
    </form>

    <script src="js/axios-0.18.0.js"></script>
    <script>
        document.getElementById("submit").onclick = function () {
            var formData = {
                brandName: "",
                companyName: "",
                ordered: "",
                description: "",
                status: "",
            };
            let brandName = document.getElementById("brandName").value;
            let companyName = document.getElementById("companyName").value;
            let ordered = document.getElementById("ordered").value;
            let description = document.getElementById("description").value;

            formData.brandName = brandName;
            formData.companyName = companyName;
            formData.ordered = ordered;
            formData.description = description;

            let status = document.getElementsByName("status");
            for (let i = 0; i < status.length; i++) {
                if (status[i].checked) {
                    formData.status = status[i].value;
                }
            }

            console.log("formData = " + formData)
            axios({
                method:"post",
                url: "http://localhost:8080/Mvc-Demo/addServlet",
                data: formData
            }).then(function (resp) {
                if (resp.data == "success") {
                    location.href = "http://localhost:8080/Mvc-Demo/brand.jsp";
                }
            })
        };
    </script>
</body>
</html>


 779
779


 被折叠的 条评论
为什么被折叠?
被折叠的 条评论
为什么被折叠?
 到【灌水乐园】发言


