


资料编号:172
一:功能介绍
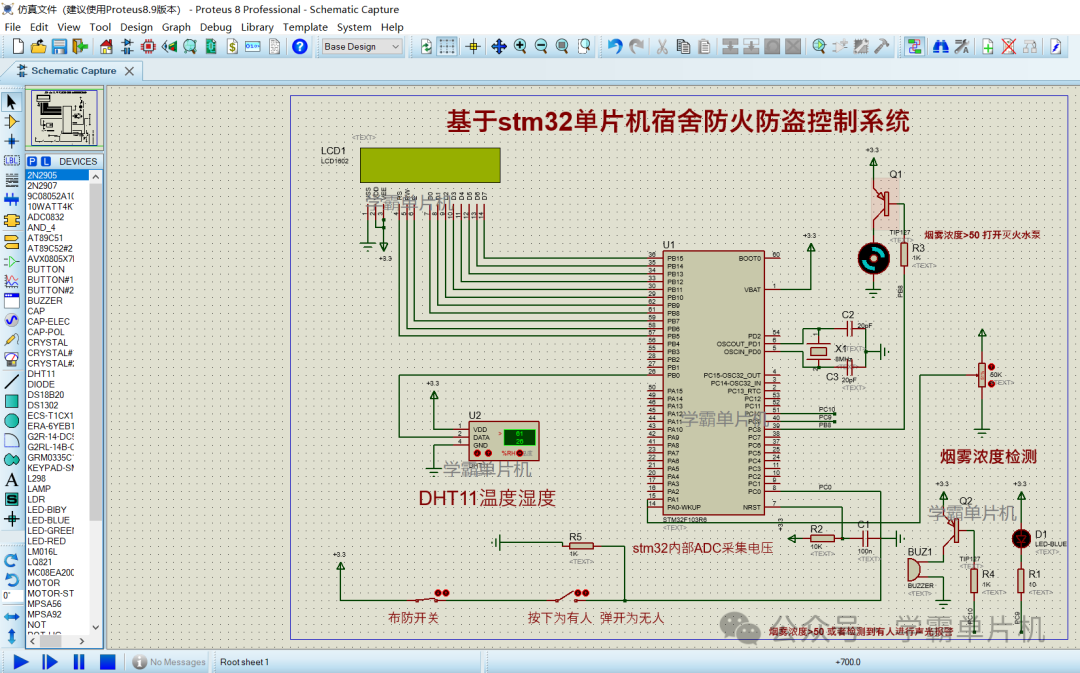
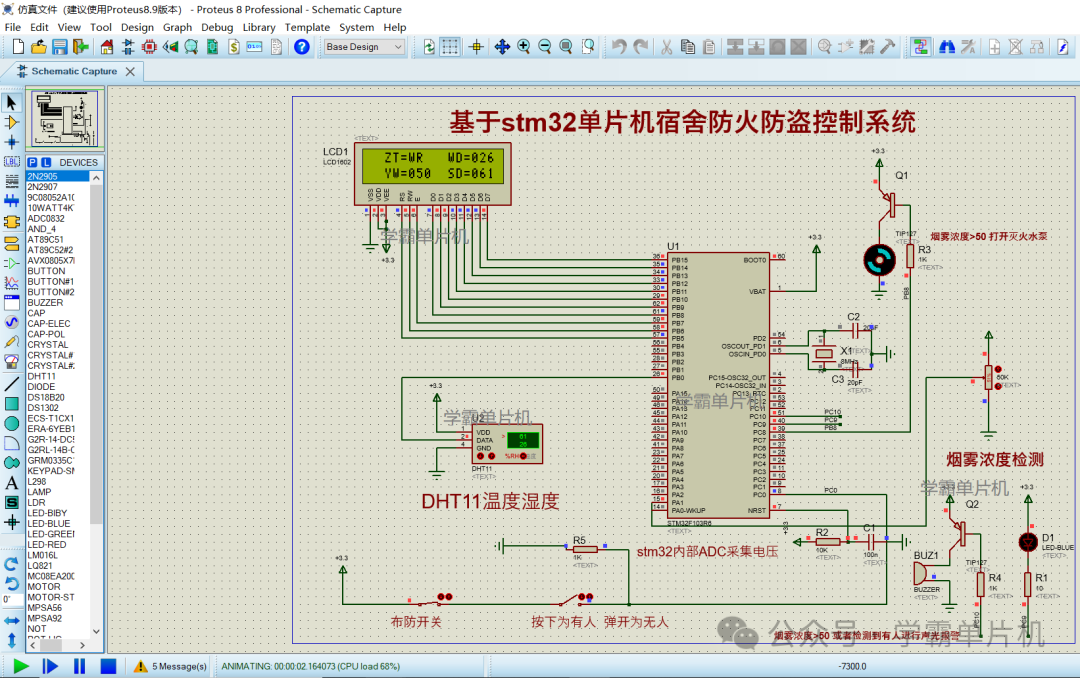
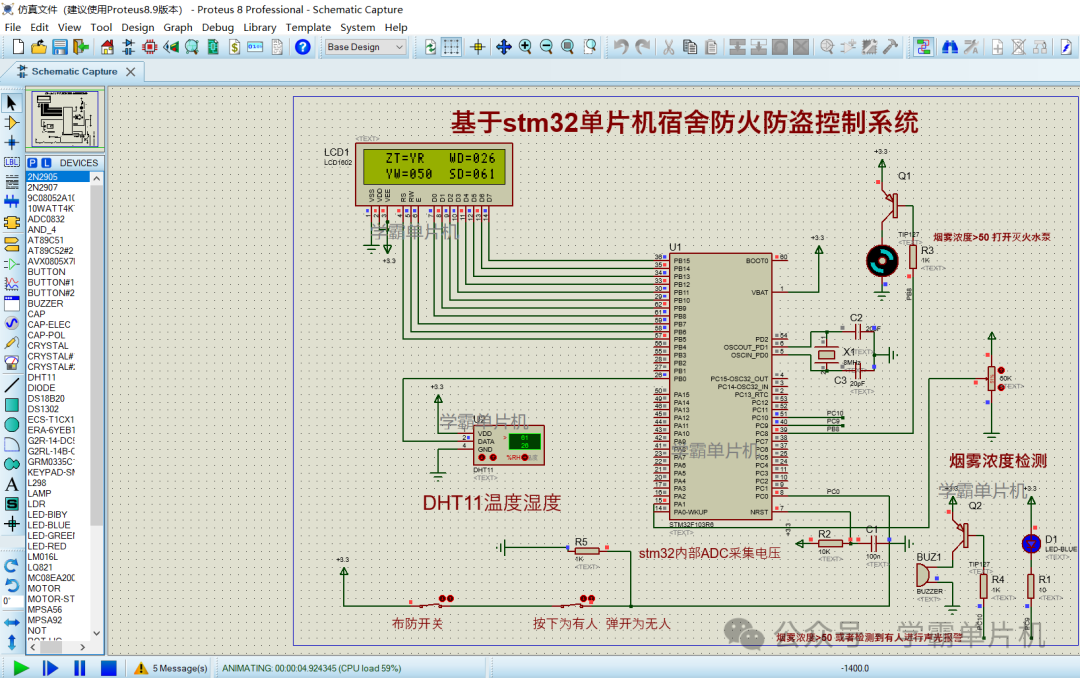
1、采用stm32单片机+LCD1602显示屏+DHT11温湿度+电机+电位器+蜂鸣器+LED+开关,制作一个基于stm32单片机宿舍防火防盗控制系统Proteus仿真;
2、通过电位器模拟烟雾浓度变化,采用stm32单片机内部ADC采集烟雾浓度,显示到LCD1602显示屏上;
3、当烟雾浓度大于50(此值程序可调),蜂鸣器和LED灯进行声光报警,并且自动开启灭火水泵;
4、当布防开关打开时,检测到有人闯入(开关模拟红外人体检测),蜂鸣器和LED灯进行声光报警,并且LCD1602显示是否有人入侵;
5、通过DHT11温湿度传感器采集宿舍的实时温湿度,显示到LCD1602显示屏上;
二:仿真演示视频+程序简要讲解(程序有中文注释,新手容易看懂)
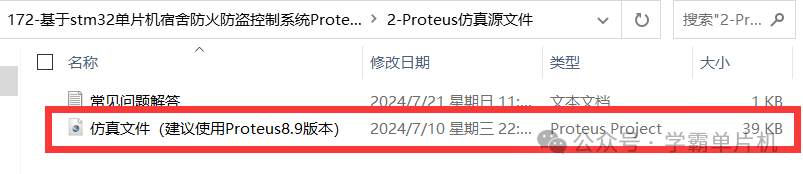
三:设计软件介绍
本设计使用C语言编程设计,程序代码采用keil5编写,程序有中文注释,新手容易看懂,仿真采用Proteus软件进行仿真,演示视频使用的是Proteus8.9版本;资料包里有相关软件包,可自行下载安装。
四:程序打开方法
特别注意:下载资料包以后一定要先解压! !!(建议解压到桌面上,文件路径太深会导致程序打开异常),解压后再用keil5打开。
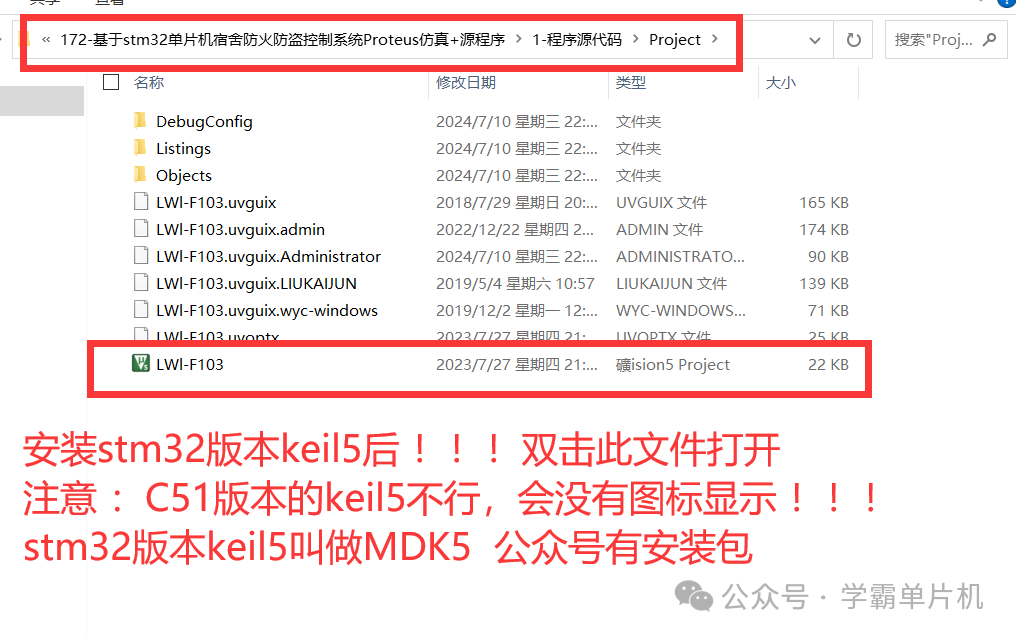
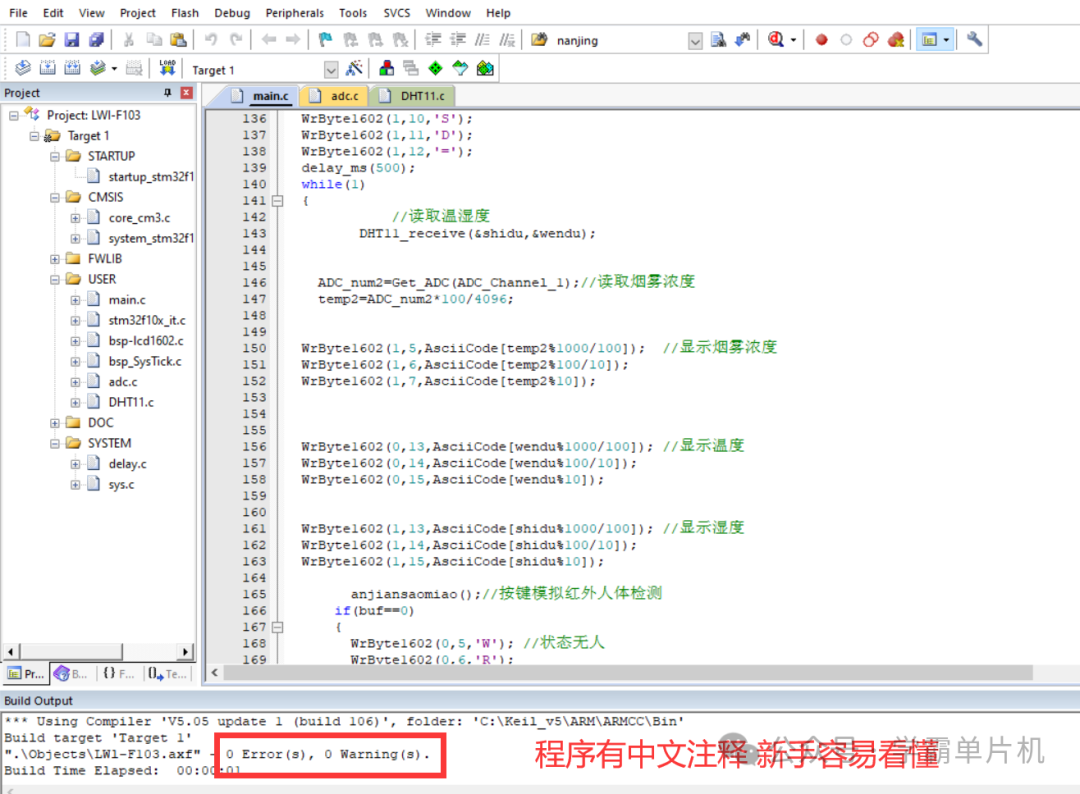
程序部分展示,有中文注释,新手容易看懂
  //按键扫描,获取按键状态
/*****************引脚配置********************/
void GPIO_Configuration(void)
{
  GPIO_InitTypeDef GPIO_InitStructure;
  RCC_APB2PeriphClockCmd(RCC_APB2Periph_GPIOB,ENABLE);


  //LCD1602 管脚
  GPIO_InitStructure.GPIO_Pin =  GPIO_Pin_8| GPIO_Pin_9| GPIO_Pin_10| GPIO_Pin_11| GPIO_Pin_12| GPIO_Pin_13| GPIO_Pin_14| GPIO_Pin_15;
  GPIO_InitStructure.GPIO_Speed = GPIO_Speed_2MHz;
  GPIO_InitStructure.GPIO_Mode = GPIO_Mode_Out_OD;
  GPIO_Init(GPIOB, &GPIO_InitStructure);
  GPIO_InitStructure.GPIO_Pin = GPIO_Pin_7 |GPIO_Pin_6|GPIO_Pin_5;
  GPIO_InitStructure.GPIO_Speed = GPIO_Speed_2MHz;
  GPIO_InitStructure.GPIO_Mode = GPIO_Mode_Out_PP;
  GPIO_Init(GPIOB, &GPIO_InitStructure);
  //DHT11
  GPIO_InitStructure.GPIO_Pin =  GPIO_Pin_0;
  GPIO_InitStructure.GPIO_Speed = GPIO_Speed_2MHz;
  GPIO_InitStructure.GPIO_Mode = GPIO_Mode_Out_OD;
  GPIO_Init(GPIOB, &GPIO_InitStructure);
}
void IO_out( void )
{
  GPIO_InitTypeDef GPIO_InitStructure;
  RCC_APB2PeriphClockCmd(RCC_APB2Periph_GPIOA|RCC_APB2Periph_GPIOC ,ENABLE);
  RCC_APB2PeriphClockCmd(RCC_APB2Periph_AFIO, ENABLE);

  GPIO_InitStructure.GPIO_Pin = GPIO_Pin_0| GPIO_Pin_1| GPIO_Pin_2| GPIO_Pin_3;
  GPIO_InitStructure.GPIO_Speed = GPIO_Speed_2MHz;
  GPIO_InitStructure.GPIO_Mode = GPIO_Mode_IPD;;
  GPIO_Init(GPIOC, &GPIO_InitStructure);


  GPIO_InitStructure.GPIO_Pin = GPIO_Pin_10|GPIO_Pin_9|GPIO_Pin_8;
  GPIO_InitStructure.GPIO_Speed = GPIO_Speed_50MHz;
  GPIO_InitStructure.GPIO_Mode = GPIO_Mode_Out_PP;
  GPIO_Init(GPIOC, &GPIO_InitStructure);


}
void anjiansaomiao(void)
{
  static char k1;
  //按键扫描,获取按键状态
  k1 = GPIO_ReadInputDataBit(GPIOC , GPIO_Pin_0);


  //表明按下
  if(k1==1)
  {
      buf=1;
  }
    else buf=0;
}


int main(void)
{
  int ADC_num2;
  int temp2;
  GPIO_Configuration();//初始化
  ADC1_GPIO_Config();
  ADC_Config();
  Init1602();
  IO_out();
  WrByte1602(0,1,' '); //字符显示
  WrByte1602(0,2,'Z');
  WrByte1602(0,3,'T');
  WrByte1602(0,4,'=');

  WrByte1602(1,1,' ');
  WrByte1602(1,2,'Y');
  WrByte1602(1,3,'W');
  WrByte1602(1,4,'=');


  WrByte1602(0,9,' ');
  WrByte1602(0,10,'W');
  WrByte1602(0,11,'D');
  WrByte1602(0,12,'=');


  WrByte1602(1,9,' ');
  WrByte1602(1,10,'S');
  WrByte1602(1,11,'D');
  WrByte1602(1,12,'=');
  delay_ms(500);
  while(1)
  {
             //读取温湿度
         DHT11_receive(&shidu,&wendu);


    ADC_num2=Get_ADC(ADC_Channel_1);//读取烟雾浓度
    temp2=ADC_num2*100/4096;


  WrByte1602(1,5,AsciiCode[temp2%1000/100]);  //显示烟雾浓度
  WrByte1602(1,6,AsciiCode[temp2%100/10]);
  WrByte1602(1,7,AsciiCode[temp2%10]);


  WrByte1602(0,13,AsciiCode[wendu%1000/100]);  //显示温度
  WrByte1602(0,14,AsciiCode[wendu%100/10]);
  WrByte1602(0,15,AsciiCode[wendu%10]);


  WrByte1602(1,13,AsciiCode[shidu%1000/100]);  //显示湿度
  WrByte1602(1,14,AsciiCode[shidu%100/10]);
  WrByte1602(1,15,AsciiCode[shidu%10]);


        anjiansaomiao();//按键模拟红外人体检测
      if(buf==0)
      {
        WrByte1602(0,5,'W'); //状态无人
        WrByte1602(0,6,'R');
      }
      else
      {
        WrByte1602(0,5,'Y'); //状态有人
        WrByte1602(0,6,'R');
      }

    if(temp2>50||buf==1)  PCout(10)=PCout(9)=0;//烟雾浓度超过50或者检测到有人蜂鸣器报警
    else PCout(10)=PCout(9)=1;
    if(temp2>50) PCout(8)=0;//烟雾浓度超过50  打开灭火水泵
    else PCout(8)=1;
五:仿真文件(采用Proteus打开)
六:资料清单展示(文件中包含的相关资料)
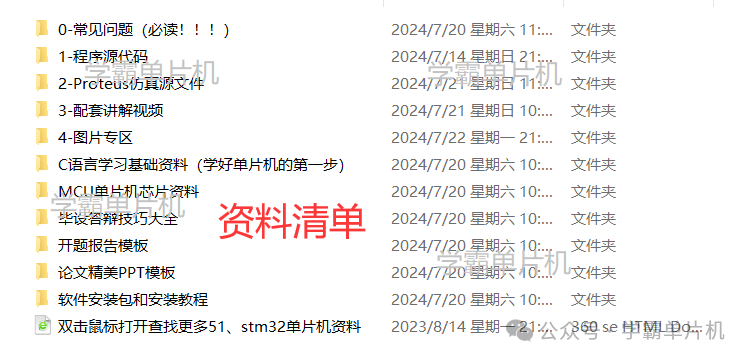
付费后即可在下方获取资料下载链接


 1221
1221

 被折叠的 条评论
为什么被折叠?
被折叠的 条评论
为什么被折叠?
 到【灌水乐园】发言


