关键词:白板铅笔笔迹同步过程,打开房间,同步机制,获取图像base64位
一、webrtc
1.1 白板铅笔笔迹同步过程
1)common.js的作用----------../Help/index.html
Commontask like output in textarea, global variables/objects etc. have been placed in<a href="../common.js">common.js</a> file.
这句话表明,common.js放的是全局变量。
2)events-handler.js ---------- ../Help/index.html
<ahref="../events-handler.js">events-handler.js</a> is used tohandle global events like mousemove, mouseup, mousedown and their touchrelevant!
events-handler.js的作用是:处理全局事件,像鼠标移动、抬起、按下等。
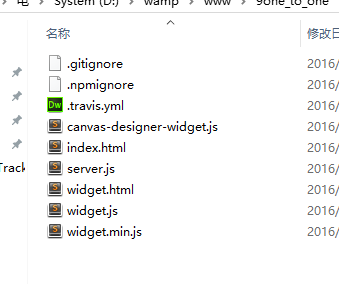
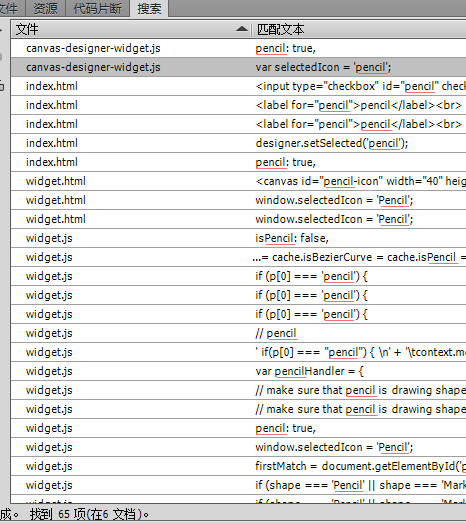
3)做了个精减版,总共65个pencil,所剩文件如下:
分别解析如下:
3.1—3.2)----------canvas-designer-widget.js
var tools = {
line: true,
arrow: true,
pencil:true,
dragSingle: true,
dragMultiple: true,
eraser: true,
rectangle: true,
arc: true,
bezier: true,
quadratic: true,
text: true,
image: true,
marker: true
};
var selectedIcon= 'pencil';
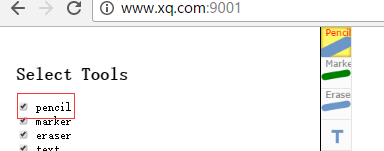
注:这里的pencil是为了选择图标的显示与不显示。
3.3---3.5)----------index.html
注:这三个对应是一个lable和一个checkbox.
3.6—3.7)----------index.html
designer.setSelected('pencil');
designer.setTools({
pencil: true,
text: true,
image: true,
eraser: true,
line: true,
arrow: true,
dragSingle: true,
dragMultiple: true,
arc: true,
rectangle: true,
quadratic: true,
bezier: true,
marker: true,
zoom:true
});
注:这个确实是控制按钮的显示与否的。设为pencil:false,笔就不显示。
3.8---3.10)----------------------------------widget.html
if (window.selectedIcon) {
try {
window.selectedIcon =window.selectedIcon.split('')[0].toUpperCase() +window.selectedIcon.replace(window.selectedIcon.split('').shift(1), '');
} catch (e) {
window.selectedIcon = 'Pencil';
}
} else {
window.selectedIcon = 'Pencil';
}
注:单击选取pencil按钮(有一个pencil-icon所以占一个符号位。)
3.11)----------------------------------widget.js
if (p[0] === 'pencil') {
tempArray[i] =['context.beginPath();\n' + 'context.moveTo(' + point[0] + ', ' + point[1] +');\n' + 'context.lineTo(' + point[2] + ', ' + point[3] + ');\n' +this.strokeOrFill(p[2])];
}
注:这一句好像没什么用,去掉也不影响画笔迹。
3.12)----------------------------------widget.js
if (p[0] === 'pencil') {
alert('333333333333333333');
output +=this.shortenHelper(p[0], [
getPoint(point[0], x,'x'),
getPoint(point[1], y, 'y'),
getPoint(point[2], x,'x'),
getPoint(point[3], y,'y')
], p[2]);
}
注:这一句好像没什么用,去掉也不影响画笔迹。
3.13)----------------------------------widget.js
if (p[0] === 'pencil') {
output +='context.beginPath();\n' + 'context.moveTo(' + getPoint(point[0], x, 'x') + ',' + getPoint(point[1], y, 'y') + ');\n' + 'context.lineTo(' +getPoint(point[2], x, 'x') + ', ' + getPoint(point[3], y, 'y') + ');\n'
+
this.strokeOrFill(p[2]);
}
注:这一句好像没什么用,去掉也不影响画笔迹。
3.14)
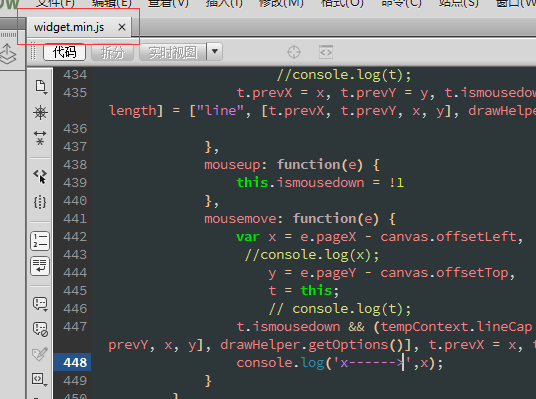
能console.log出来的地方如下:
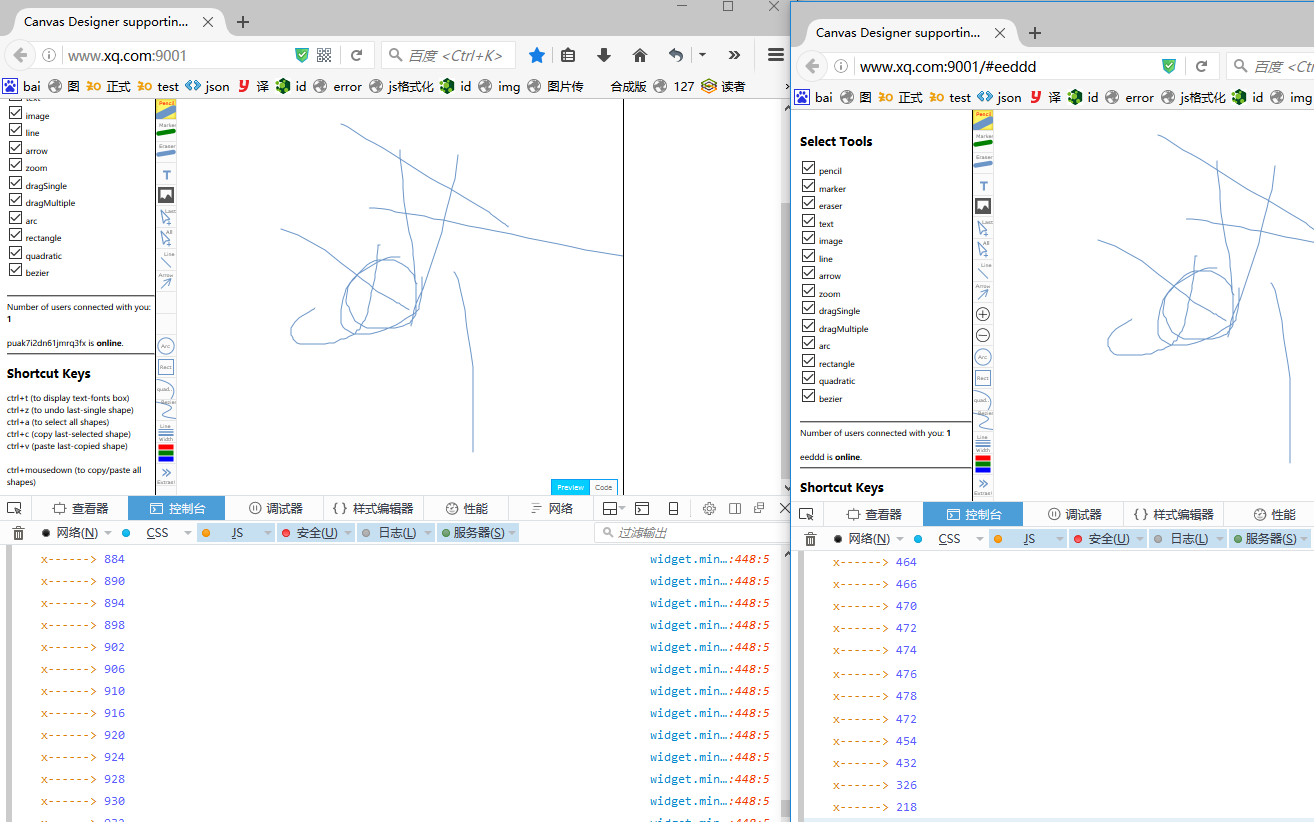
注:虽说知道了怎么传值,但现在还不知道怎么同步数据,感觉还是方向不对。下一步从打开房间,建立连接通道着手。
1.2 打开房间,同步机制
1) 打开房间,上来一个按钮如下:
<buttonid="open-room">Open</button>
与这个id相关的点击事件如下:
document.getElementById('open-room').οnclick= function() {
var roomid = document.getElementById('room-id').value;
if(!roomid.length) return alert('Please enter roomid.');
this.disabled = true;
connection.open(roomid);
this.parentNode.innerHTML = '<a href="#' + roomid + '"target="_blank">Please share this link</a>';
};
2)上述程序中有一句 connection.open(roomid);,它就是建立连接通道用的,解析如下:
a)连接的初始化
var connection = new RTCMultiConnection();
b)传递消息
connection.socketMessageEvent = 'canvas-designer';
c) 控制同步时间的代码如下:----index.html
if(designer.pointsLength <= 0) {
// make sure that remote user gets all drawings synced.
setTimeout(function() {
connection.send('plz-sync-points');
}, 1000);
}
由上述代码可知,1秒钟同步一次,经测试确实如此(1000--->120000之后,就变成2分钟同步一次啦。)
d)数据同步函数如下:-----------------index.html
var designer = new CanvasDesigner();
// you can place widget.html anywhere
designer.widgetHTML = 'widget.html';
designer.widgetJsURL = 'widget.min.js'
designer.addSyncListener(function(data) {
connection.send(data);
});
注:如果把程序中connection.send(data);注释掉,数据将同步不过去。
e) 对于追加笔迹,同步方法如下:
Array.prototype.slice.call(document.getElementById('action-controls').querySelectorAll('input[type=checkbox]')).forEach(function(checkbox){
checkbox.onchange = function() {
designer.destroy();
designer.addSyncListener(function(data) {
connection.send(data);
});
var tools = {};
Array.prototype.slice.call(document.getElementById('action-controls').querySelectorAll('input[type=checkbox]')).forEach(function(checkbox2){
if(checkbox2.checked) {
tools[checkbox2.id] = true;
}
});
designer.setTools(tools);
designer.appendTo(document.getElementById('widget-container'));
};
});
1.3 做一个获取图像base64位按钮,加深图像传输过程
1)做按钮
<button id="btn-getDataURL1"style="float:right;">Get DataURL1</button>
2)加样式
#btn-undo, #btn-close-undo-popup,#btn-close-dataURL-popup, #btn-getDataURL,#btn-getDataURL1{
font-size: 1.2em;
padding: 2px 9px;
}
3)加单击函数
document.getElementById('btn-getDataURL1').onclick = function() {
var format = dataURLFormat.value;
designer.toDataURL1(format|| 'image/png', function(dataURL1) {
window.open(dataURL1);
linkToImage.style = 'margin-left:10px;display: block;text-align: center;margin-bottom: -50px;';
linkToImage.href = dataURL1;
linkToImage.innerHTML = 'Click to DownloadImage';
linkToImage.download = 'image.' + (format ||'image/png').split('/')[1];
});
// closeDataURLPopup();
};
4)定义上述的designer.toDataURL1函数:
designer.toDataURL1= function(format, callback) {
dataURLListener = callback;
if (!designer.iframe) return;
designer.postMessage1({
genDataURL: true,
format: format
});
};
5)定义上述的designer.postMessage1函数
designer.postMessage1 = function(message) {
if (!designer.iframe) return;
message.uid = designer.uid;
designer.iframe.contentWindow.postMessage(message, '*');
};
2016年10月31日星期一





 1869
1869

 被折叠的 条评论
为什么被折叠?


