


最近研究了一下iOS中的绘图,写了一个很简单的demo在这里分享给大家,有很多不完善的地方,大家可以后期添加一些自己想要的功能,初学者可以参考一下我的这篇博文。
下面给大家演示一下步骤(iOS 9.0版本):
首先,打开xcode,新建一个工程:
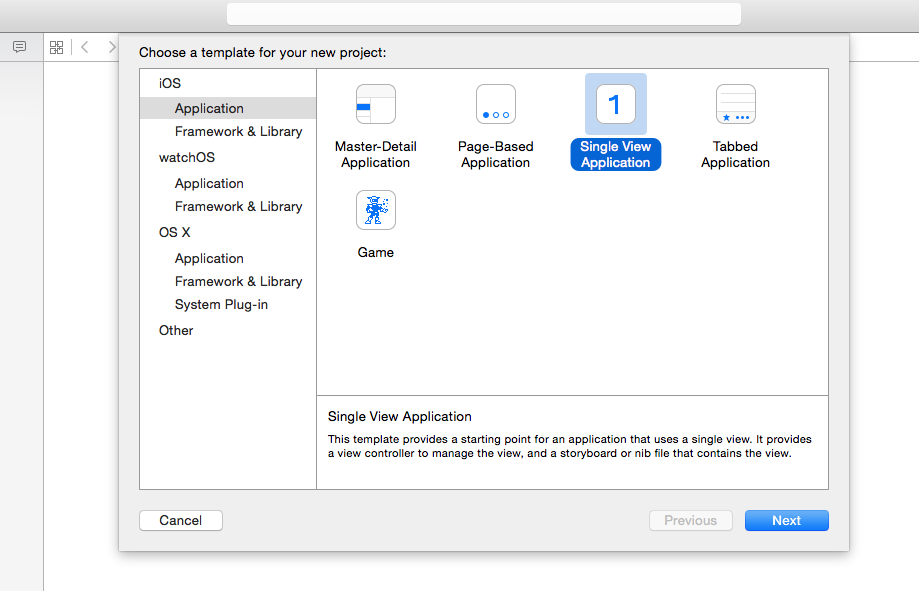
接下来创建一个class,继承于UIView
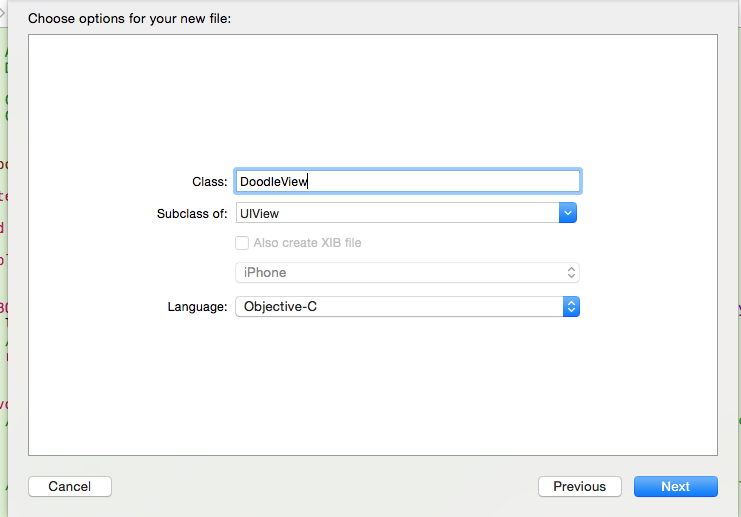
准备工作完成之后的文件列表如下:
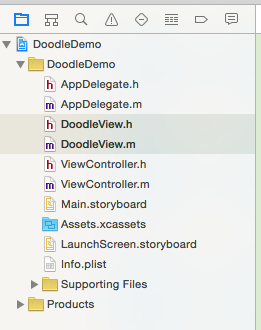
OK,到这一切都准备好了,可以敲代码了。
首先我们要在ViewController里创建一个DoodleView的对象。
#import "ViewController.h"
#import "DoodleView.h"
@interface ViewController ()

@end

@implementation ViewController

- (void)viewDidLoad {
    [super viewDidLoad];
    DoodleView *doodleView = [[DoodleView alloc]initWithFrame:CGRectMake(20, 20, 335, 540)];
    [self.view addSubview:doodleView];
}

- (void)didReceiveMemoryWarning {
    [super didReceiveMemoryWarning];
    // Dispose of any resources that can be recreated.
}

@end
接下来进入DoodleView可以看到如下的内容:
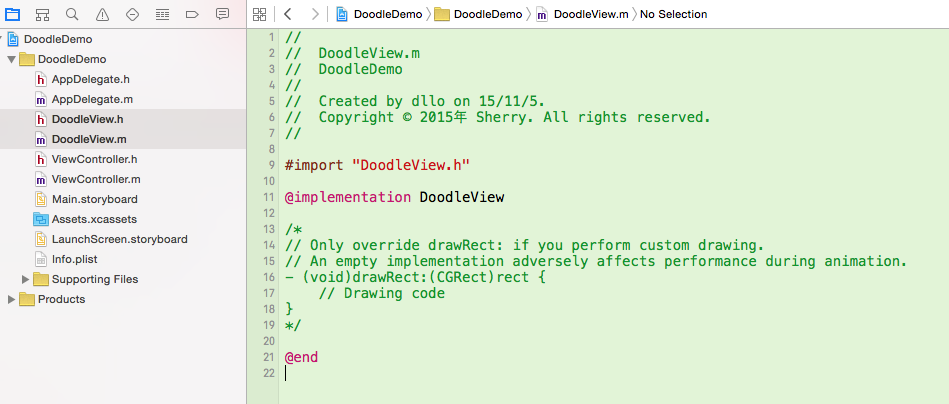
我们要写的代码就是写在- (void)drawRect:(CGRect)rect {
}方法里边,如果注掉的部分没有此方法,重写一个此方法即可。
代码如下:
#import "DoodleView.h"

@implementation DoodleView


- (void)drawRect:(CGRect)rect {

    //获取当前视图的绘制信息
    CGContextRef context = UIGraphicsGetCurrentContext();
    //设置绘制需要的线的宽度
    CGContextSetLineWidth(context, 3);
    // 设置线的颜色
    CGContextSetStrokeColorWithColor(context, [UIColor orangeColor].CGColor);
    // 设置一个起点
    CGContextMoveToPoint(context, 10, 10);
    //确定一个终点
    CGContextAddLineToPoint(context, 200, 200);
    //给三个转折点
    CGContextAddCurveToPoint(context, arc4random()%300, arc4random()%300, arc4random()%300, arc4random()%300, arc4random()%300, arc4random()%300);
    // 2.画矩形
    CGContextAddRect(context, CGRectMake(10, 10, 150, 100));
    CGContextAddEllipseInRect(context, CGRectMake(50, 10, 100, 100));
    // 设置线段头尾部的样式
    CGContextSetLineCap(context, kCGLineCapRound);


    // 设置线段转折点的样式
    //CGContextSetLineJoin(context, kCGLineJoinRound);
    // 渲染一次
    CGContextStrokePath(context);
}


@end
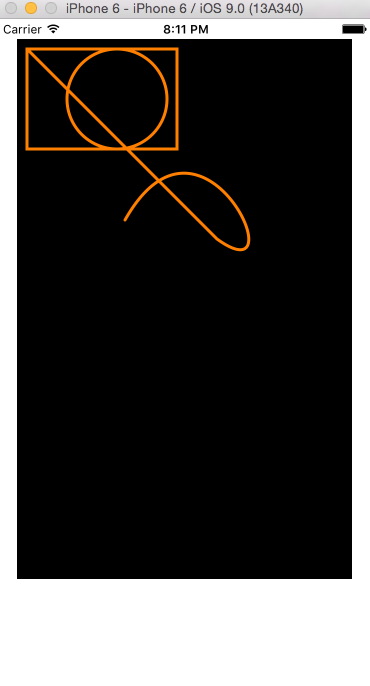
此时我们可以画出线,正方形,圆形了。效果图:
接下来才真正开始绘图板编写:
删除- (void)drawRect:(CGRect)rect {}方法里的代码,
绘图板的代码如下:
#import "DoodleView.h"

@interface DoodleView()
//装线的数组(这个数组内部都是小数组-对应每一条线)
@property (nonatomic, strong) NSMutableArray *linesArr;
@end

@implementation DoodleView

- (id)initWithFrame:(CGRect)frame
{
    self = [super initWithFrame:frame];
    if (self) {
        self.linesArr = [NSMutableArray array];
    }
    return self;
}

- (void)drawRect:(CGRect)rect {
    // Drawing code
    //获取当前视图的绘制信息
    CGContextRef context = UIGraphicsGetCurrentContext();
    //设置绘制需要的线的宽度
    CGContextSetLineWidth(context, 3);
    // 设置线的颜色
    CGContextSetStrokeColorWithColor(context, [UIColor orangeColor].CGColor);

    for (NSInteger i = 0; i < self.linesArr.count; i++) {
        NSMutableArray *line = [self.linesArr objectAtIndex:i];
        if (line.count < 1) {
            continue;
        }
        for (NSInteger k = 0; k < line.count - 1; k++) {
            NSString *p = [line objectAtIndex:k];
            NSString *p1 = [line objectAtIndex:k + 1];
            CGPoint point1 = CGPointFromString(p);
            CGPoint point2 = CGPointFromString(p1);
            CGContextMoveToPoint(context, point1.x, point1.y);
            CGContextAddLineToPoint(context, point2.x, point2.y);
            CGContextStrokePath(context);
        }
    }
}


- (void)touchesBegan:(NSSet<UITouch *> *)touches withEvent:(UIEvent *)event
{
    //每次手接触到屏幕,都是一条线的开始
    NSMutableArray *line = [NSMutableArray array];
    //将一条新的线放到大数组中
    [self.linesArr addObject:line];
}

- (void)touchesMoved:(NSSet<UITouch *> *)touches withEvent:(UIEvent *)event
{
    //1.获取当前经过的点
    UITouch *touch = [touches anyObject];
    CGPoint p = [touch locationInView:self];
    NSString *point = NSStringFromCGPoint(p);
    //2.放到线里边
    NSMutableArray *line = [self.linesArr lastObject];
    [line addObject:point];
    //3.绘制
    [self setNeedsDisplay];//系统会自己调用drawrect方法
}

- (void) touchesEnded:(NSSet<UITouch *> *)touches withEvent:(UIEvent *)event
{
    //判断是否为nil,如果空就移除
    if ([self.linesArr lastObject] == nil) {
        [self.linesArr removeLastObject];
    }
}
@end
到这儿就可以实现最基本的涂鸦绘图功能了~
效果图如下:
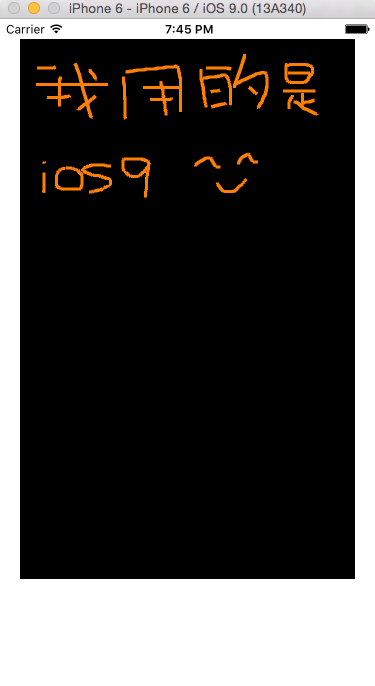
还有很多可以完善的地方,小伙伴们自己继续研究吧~


 3593
3593

 被折叠的 条评论
为什么被折叠?
被折叠的 条评论
为什么被折叠?
 到【灌水乐园】发言


