


ios绘图
The PencilKit framework was introduced by Apple in iOS 13. It gives developers the ability to easily add writing and drawing capabilities to their own apps via the Apple Pencil or touch. It’s the same low latency framework used by Apple across their apps (such as Notes).
PencilKit框架是Apple在iOS 13中引入的。它使开发人员能够通过Apple Pencil或touch轻松向自己的应用程序添加书写和绘图功能。 这与Apple在其应用程序(例如Notes)中使用的低延迟框架相同。
PencilKit makes it easy to incorporate hand-drawn content into your iPadOS or macOS apps. PencilKit provides a drawing environment for your iOS app that receives input from Apple Pencil or the user’s finger, and turns it into images you display in iPadOS, iOS, or macOS. The environment comes with tools for creating, erasing, and selecting lines. — PencilKit, Apple Developer
PencilKit使将手绘内容轻松整合到iPadOS或macOS应用程序中变得容易。 PencilKit为您的iOS应用程序提供了一个绘图环境,该环境可以接收来自Apple Pencil或用户手指的输入,并将其转换为您在iPadOS,iOS或macOS中显示的图像。 该环境附带了用于创建,擦除和选择线条的工具。 — Apple Developer PencilKit
You just need three lines of code to start off
您只需要三行代码即可开始
The PKCanvasView handles all information being added to your app through Apple Pencil and touch via the tool specified. All this information and data is stored in a PKDrawing object, which you can save and load within your app, or export to an image. You can either setup your own tools or use Apple’s native PKToolPicker.
PKCanvasView处理通过Apple Pencil添加到您的应用中的所有信息,并通过指定的工具进行触摸。 所有这些信息和数据都存储在PKDrawing对象中,您可以在应用程序中保存和加载该对象,或者将其导出到图像。 您可以设置自己的工具,也可以使用Apple本地的PKToolPicker 。
Drawing on the canvas is seamless, and is a very enjoyable user experience.
在画布上绘画是无缝的,并且是非常愉快的用户体验。
On to a simple example: a cute drawing app aimed at creative kids.
举一个简单的例子:针对创意孩子的可爱绘图应用程序。
Create a new project in Xcode 12, select the App template and Storyboard for the interface. Set the Device Orientation to be Landscape Left in the project’s target General tab.
在Xcode 12中创建一个新项目,选择App模板和Storyboard作为界面。 在项目的目标“常规”选项卡中,将“设备方向”设置为“横向向左”。
We will use an Asset Catalog to manage the colors. Add a new file to your project, scroll to the Resources section and select Asset Catalog. Name it Colors.
我们将使用资产目录来管理颜色。 将新文件添加到您的项目,滚动到“资源”部分,然后选择“资产目录”。 命名为颜色。
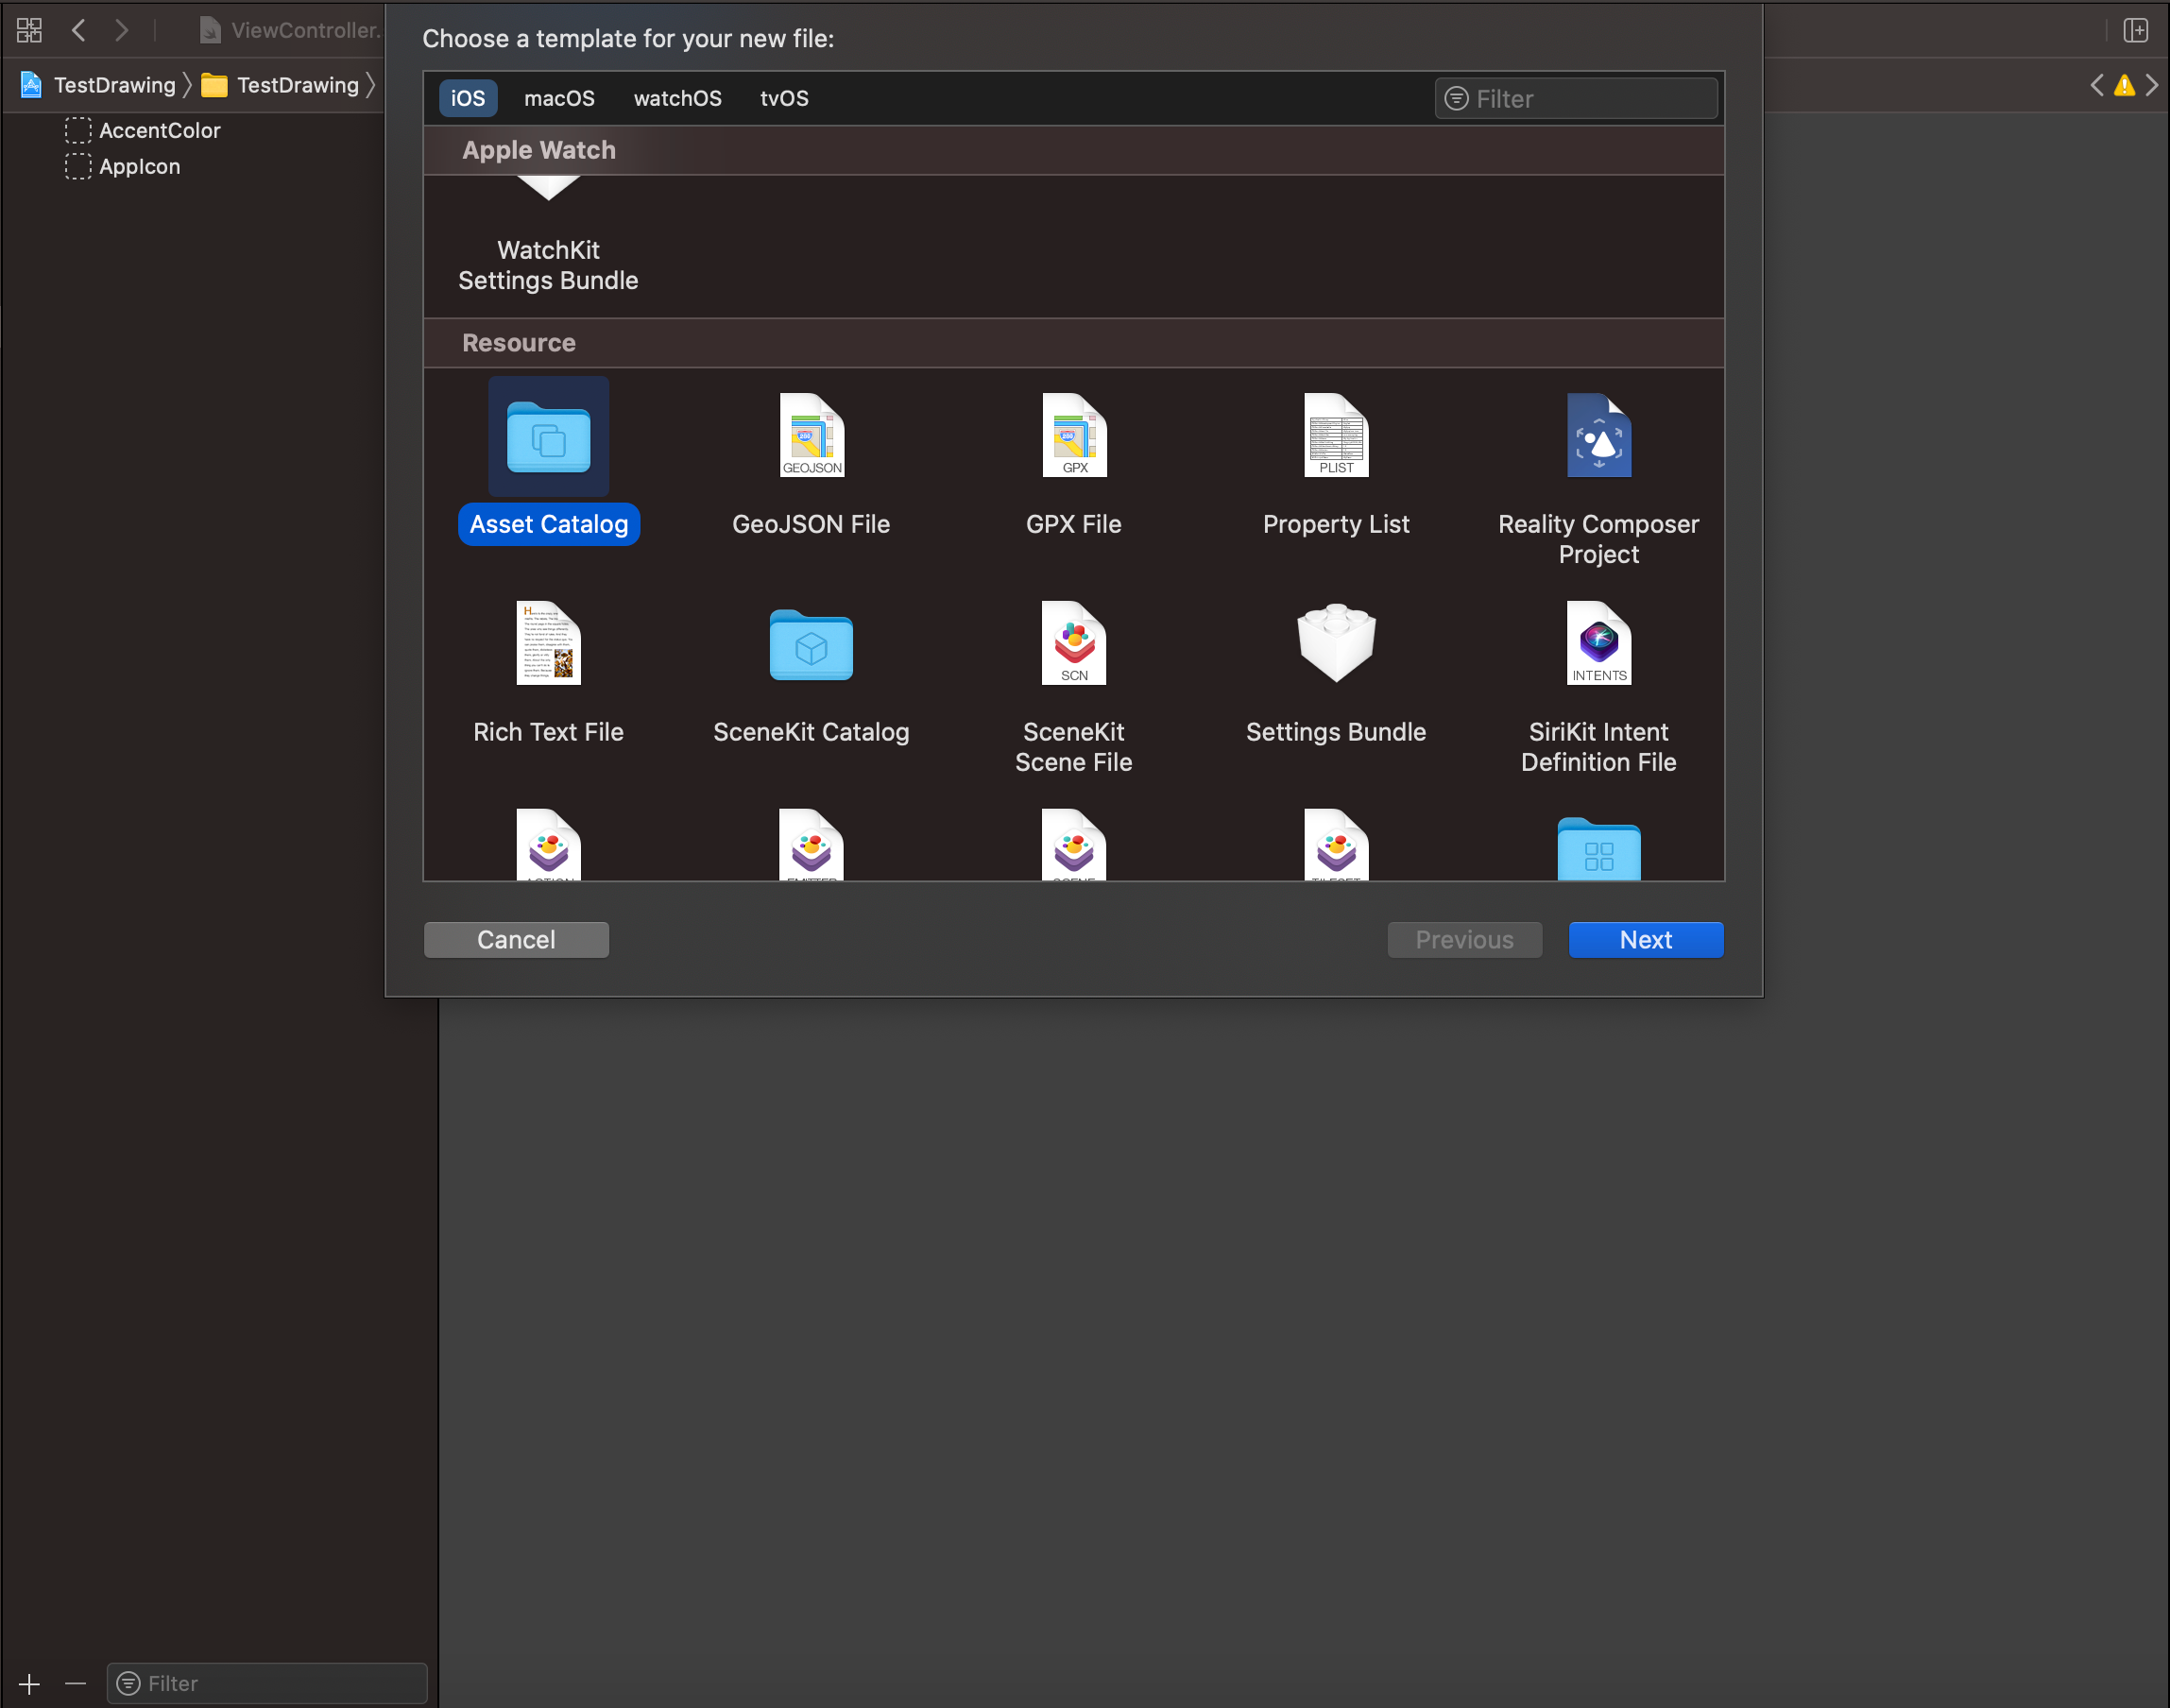
At the bottom of the Color Asset Catalog click on the add sign and select Color Set.
在“颜色资产目录”的底部,单击加号,然后选择“颜色集”。

Two empty color sets will be created. These are to manage the colors for light and dark mode in your apps. However, since we are creating an app aimed at drawing we will not need to manage the colors in this way (unless you want to 😊).
将创建两个空的颜色集。 这些用于管理应用程序中明暗模式的颜色。 但是,由于我们正在创建一个针对绘图的应用程序,因此我们不需要以这种方式管理颜色(除非您要want)。
Click on the Attribute’s Inspector. Name your new color, then in the Appearances section select None. In the Color section, set the input method to either 8-bit (0–255) or 8-bit Hexadecimal (if you cannot see the Color section click on the color set). I wanted a pastel palette for the app and used the following names and hexadecimal values:
单击属性的检查器。 为您的新颜色命名,然后在“外观”部分中选择“无”。 在“颜色”部分中,将输入法设置为8位(0–255)或8位十六进制(如果看不到“颜色”部分,请单击颜色集)。 我想要该应用程序的柔和调色板,并使用以下名称和十六进制值:
BabyBlue (6EB5FF)
婴儿蓝( 6EB5FF )
Buttercup (FFF5BA)
毛cup ( FFF5BA )
Lilac (DCD3FF)
丁香( DCD3FF )
Meadow (BFFCC6)
草地( BFFCC6 )
Rose (FFABAB)
玫瑰( FFABAB )
In your ViewController import the PencilKit framework. Create an iterable enumeration of the colors.
在您的ViewController中,导入PencilKit框架。 创建颜色的可迭代枚举。
Create the following properties in your ViewController.
在ViewController中创建以下属性。
We create a PKCanvasView, three pen types via PKInkingTool, and an eraser via PKEraserTool. As you can notice, I am using the .pencil type for both crayon and pencil. There is no .crayon type (though there is a .pen type) so I decided to to vary the width between the two pens to give the effect of a crayon 🖍 and a pencil ✏️ .
我们创建了一个PKCanvasView,通过PKInkingTool 3种类型,并通过PKEraserTool的橡皮擦。 如您所见,蜡笔和铅笔都使用.pencil类型。 没有.crayon类型(虽然有.pen类型),所以我决定改变两支笔之间的宽度,以产生蜡笔🖍和铅笔✏️的效果。
We will be creating the UI programmatically. I will break it down in three steps. The first step is to add the PKCanvasView to the ViewController.
我们将以编程方式创建UI。 我将分三步进行分解。 第一步是将PKCanvasView添加到ViewController。
The canvas will be the same size as our view, and we set it’s drawingPolicy to .anyInput so kids can draw using an Apple Pencil or a finger. The default tool of our canvas will be the crayon.
画布的尺寸将与我们的视图相同,并且我们将其drawingPolicy设置为.anyInput,以便孩子们可以使用Apple Pencil或手指进行绘制。 我们画布的默认工具是蜡笔。
The second step is to create the color palette buttons.
第二步是创建调色板按钮。
We iterate over Colors enumeration and create a button for each case, as well as assign the raw integer value as the button’s tag. The button’s tag will be used in determining which color was tapped in the updatePens function.
我们遍历Colors枚举并为每种情况创建一个按钮,并将原始整数值分配为按钮的标记。 按钮的标记将用于确定在updatePens函数中点击了哪种颜色。
We then create a horizontal UIStackView and add all the buttons to it as subviews. Finally, I specify constraints on the stackview to have it at the bottom of the view.
然后,我们创建一个水平UIStackView并将所有按钮添加为子视图。 最后,我在stackview上指定约束以使其位于视图的底部。
I use a helper function to make my buttons rounded by extending UIButton.
我使用辅助函数通过扩展UIButton使按钮变圆。
The last step is to create the tools.
最后一步是创建工具。
We use a helper function for creating the tools buttons called createButton.
我们使用一个辅助函数来创建名为createButton的工具按钮。
When a tool button is tapped, we set the appropriate tool to the canvas. We will use the UndoManger to manage the drawing operations.
点击工具按钮时,我们将适当的工具设置到画布上。 我们将使用UndoManger来管理绘图操作。
We then create a Vertical stackview, add the tools buttons to it, and set the constrains for it to be on the left hand side of the screen.
然后,我们创建一个Vertical stackview,在其中添加工具按钮,并将其约束设置在屏幕的左侧。
Going back to the color palette buttons, I mentioned calling the updatePens function when any of these buttons are tapped.
回到调色板按钮,我提到在点击其中任何一个按钮时调用updatePens函数。
The function takes the button that was tapped and uses its tag to figure out which color was selected. It then updates the tool being used by the canvas to the new color (if possible) as well as the other pens.
该函数采用被点击的按钮,并使用其标签来确定选择了哪种颜色。 然后,它将画布使用的工具以及其他笔更新为新颜色(如果可能)。
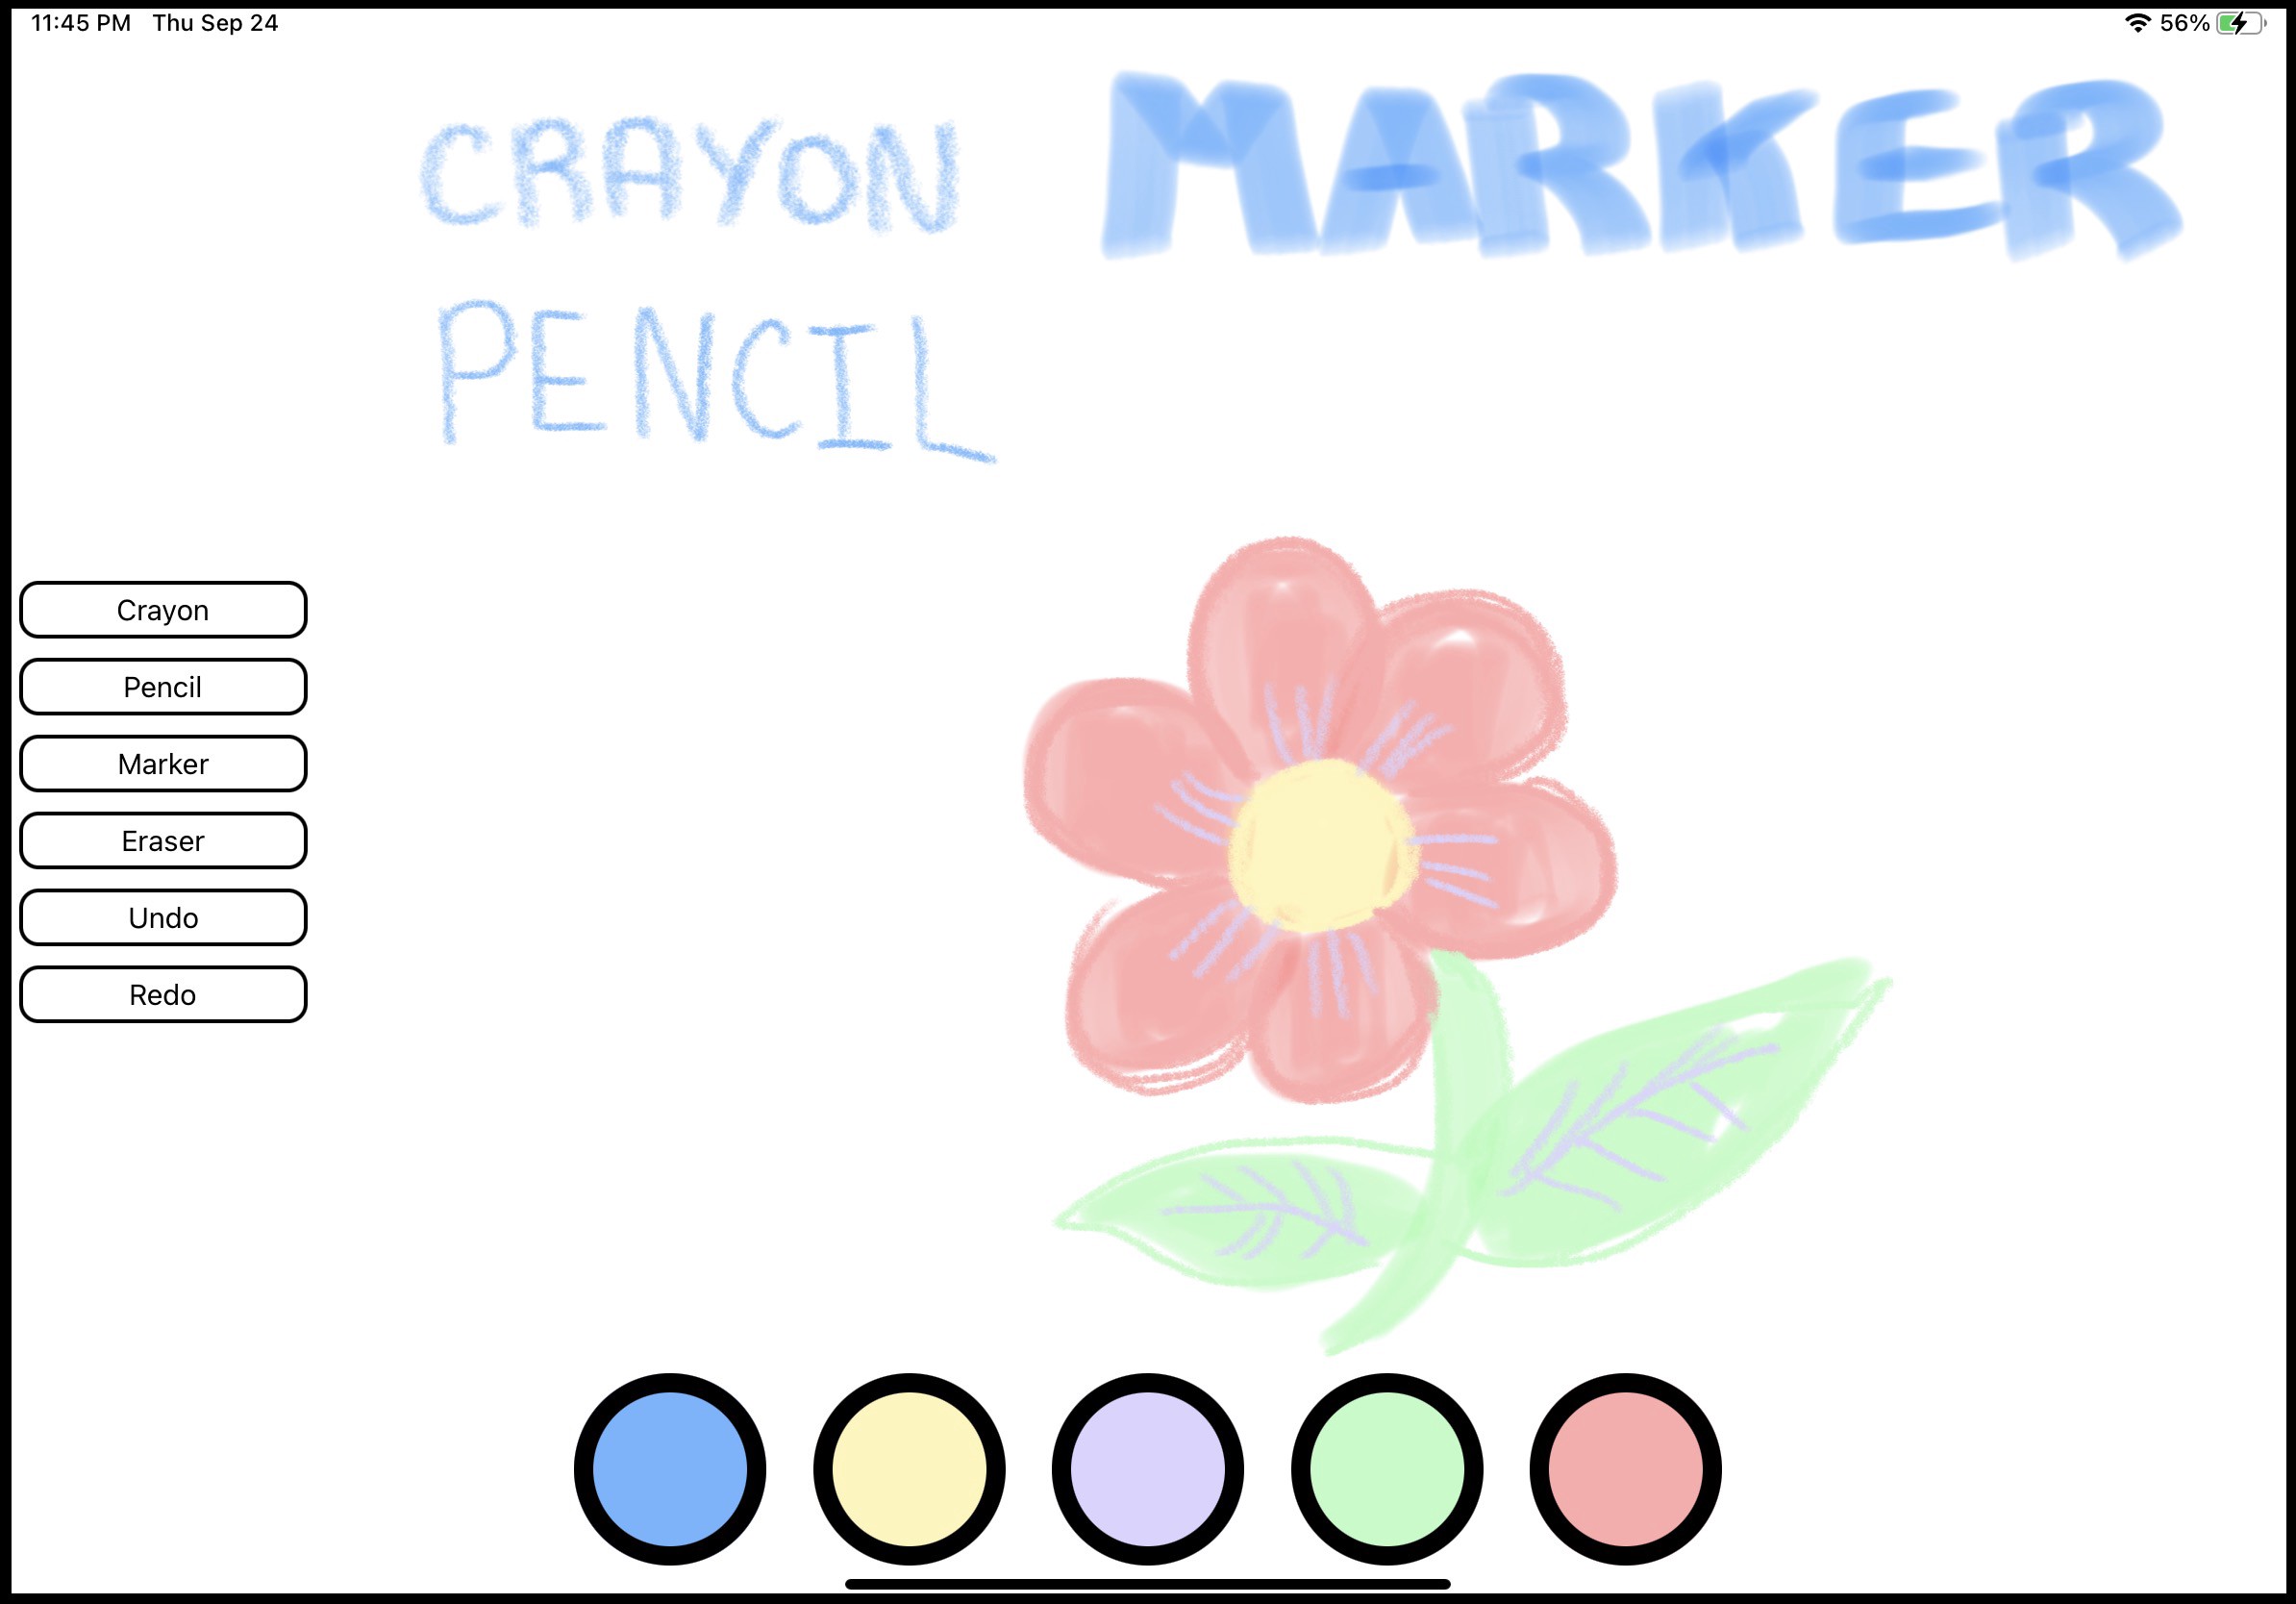
Here is the app in action.
这是正在运行的应用程序。
Great functionality with minimal coding! 😄
以最少的编码实现强大的功能! 😄
ios绘图


 476
476

 被折叠的 条评论
为什么被折叠?
被折叠的 条评论
为什么被折叠?
 到【灌水乐园】发言


